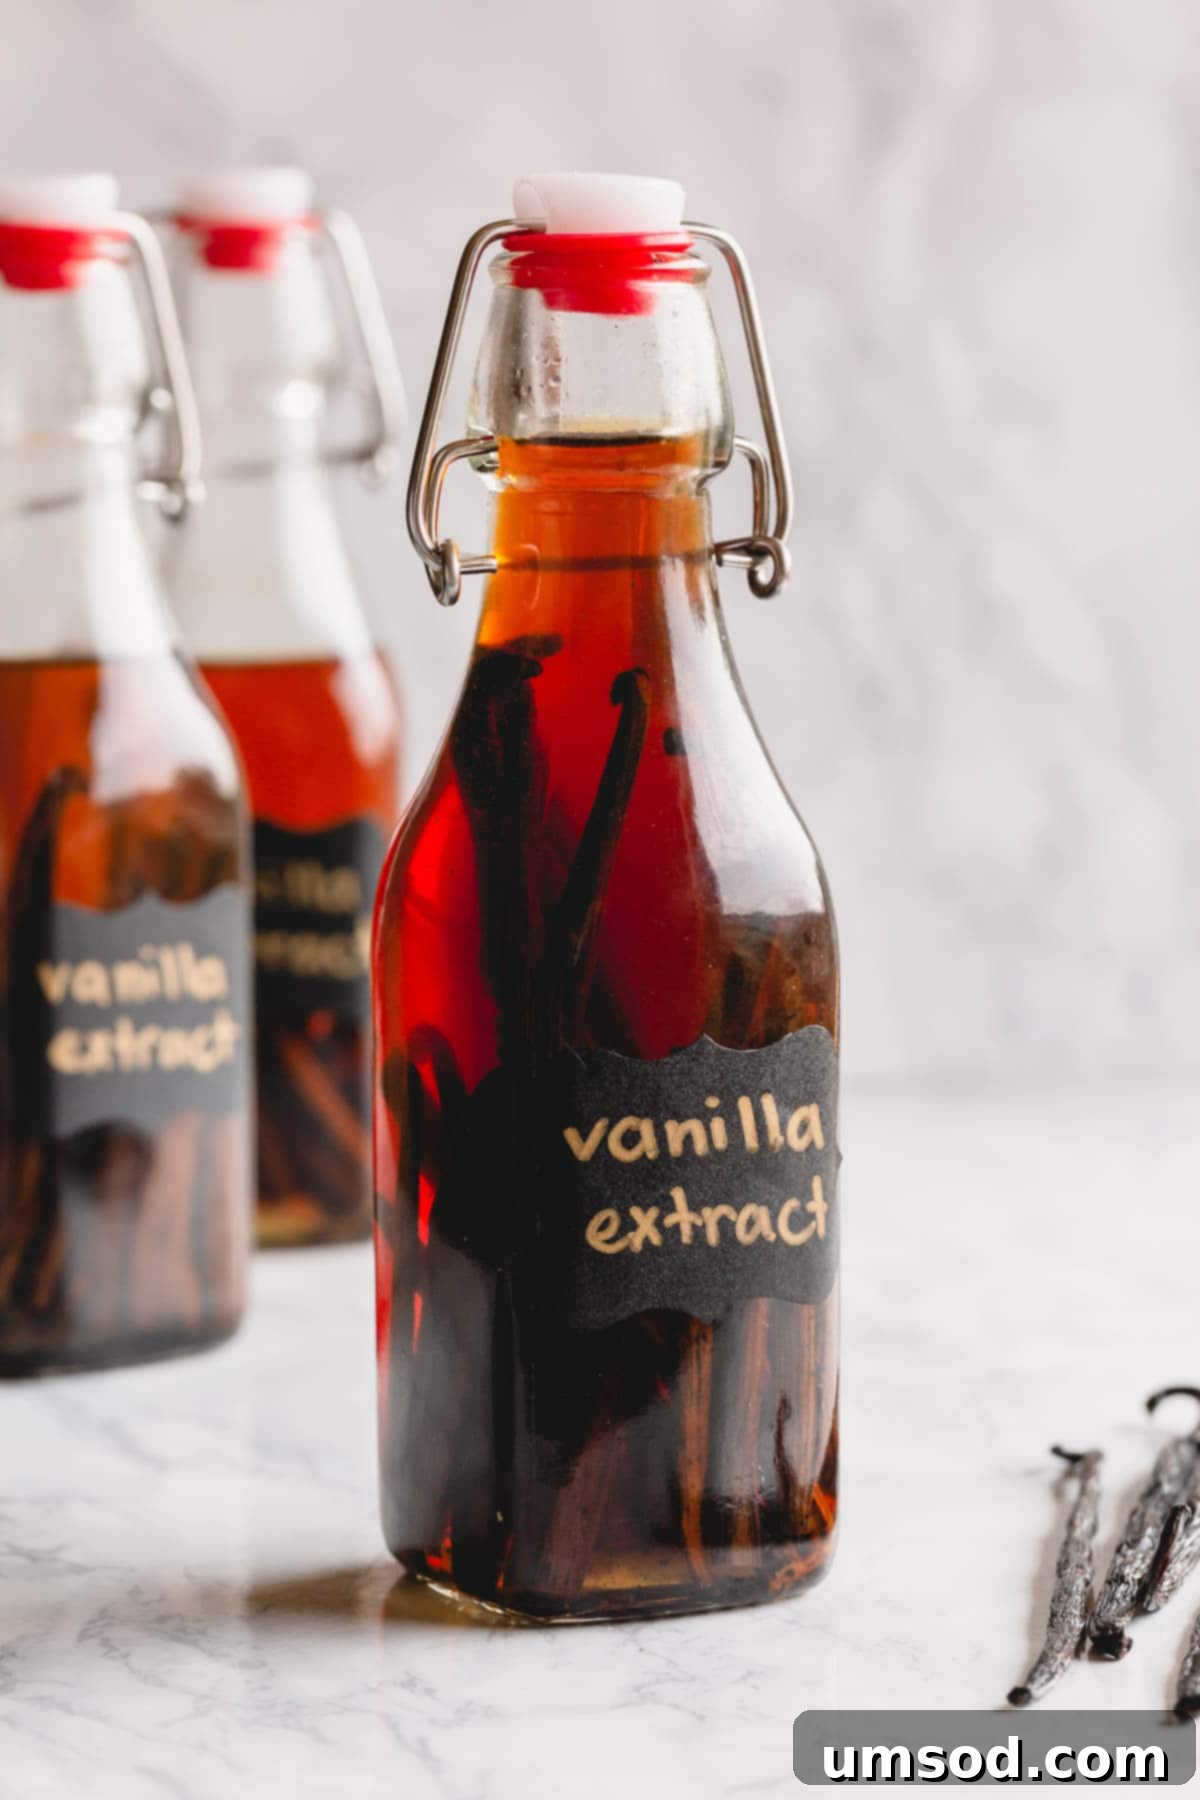
Embark on a delightful culinary journey by learning how to craft your own exquisite homemade vanilla extract. This detailed tutorial reveals the secrets to achieving the most flavorful vanilla extract possible, all while being surprisingly cost-effective. It’s a remarkably simple process that requires just two main ingredients and a dash of patience, yielding a versatile ingredient that’s not only perfect for elevating your own baking but also makes a thoughtful and cherished gift for fellow food enthusiasts.
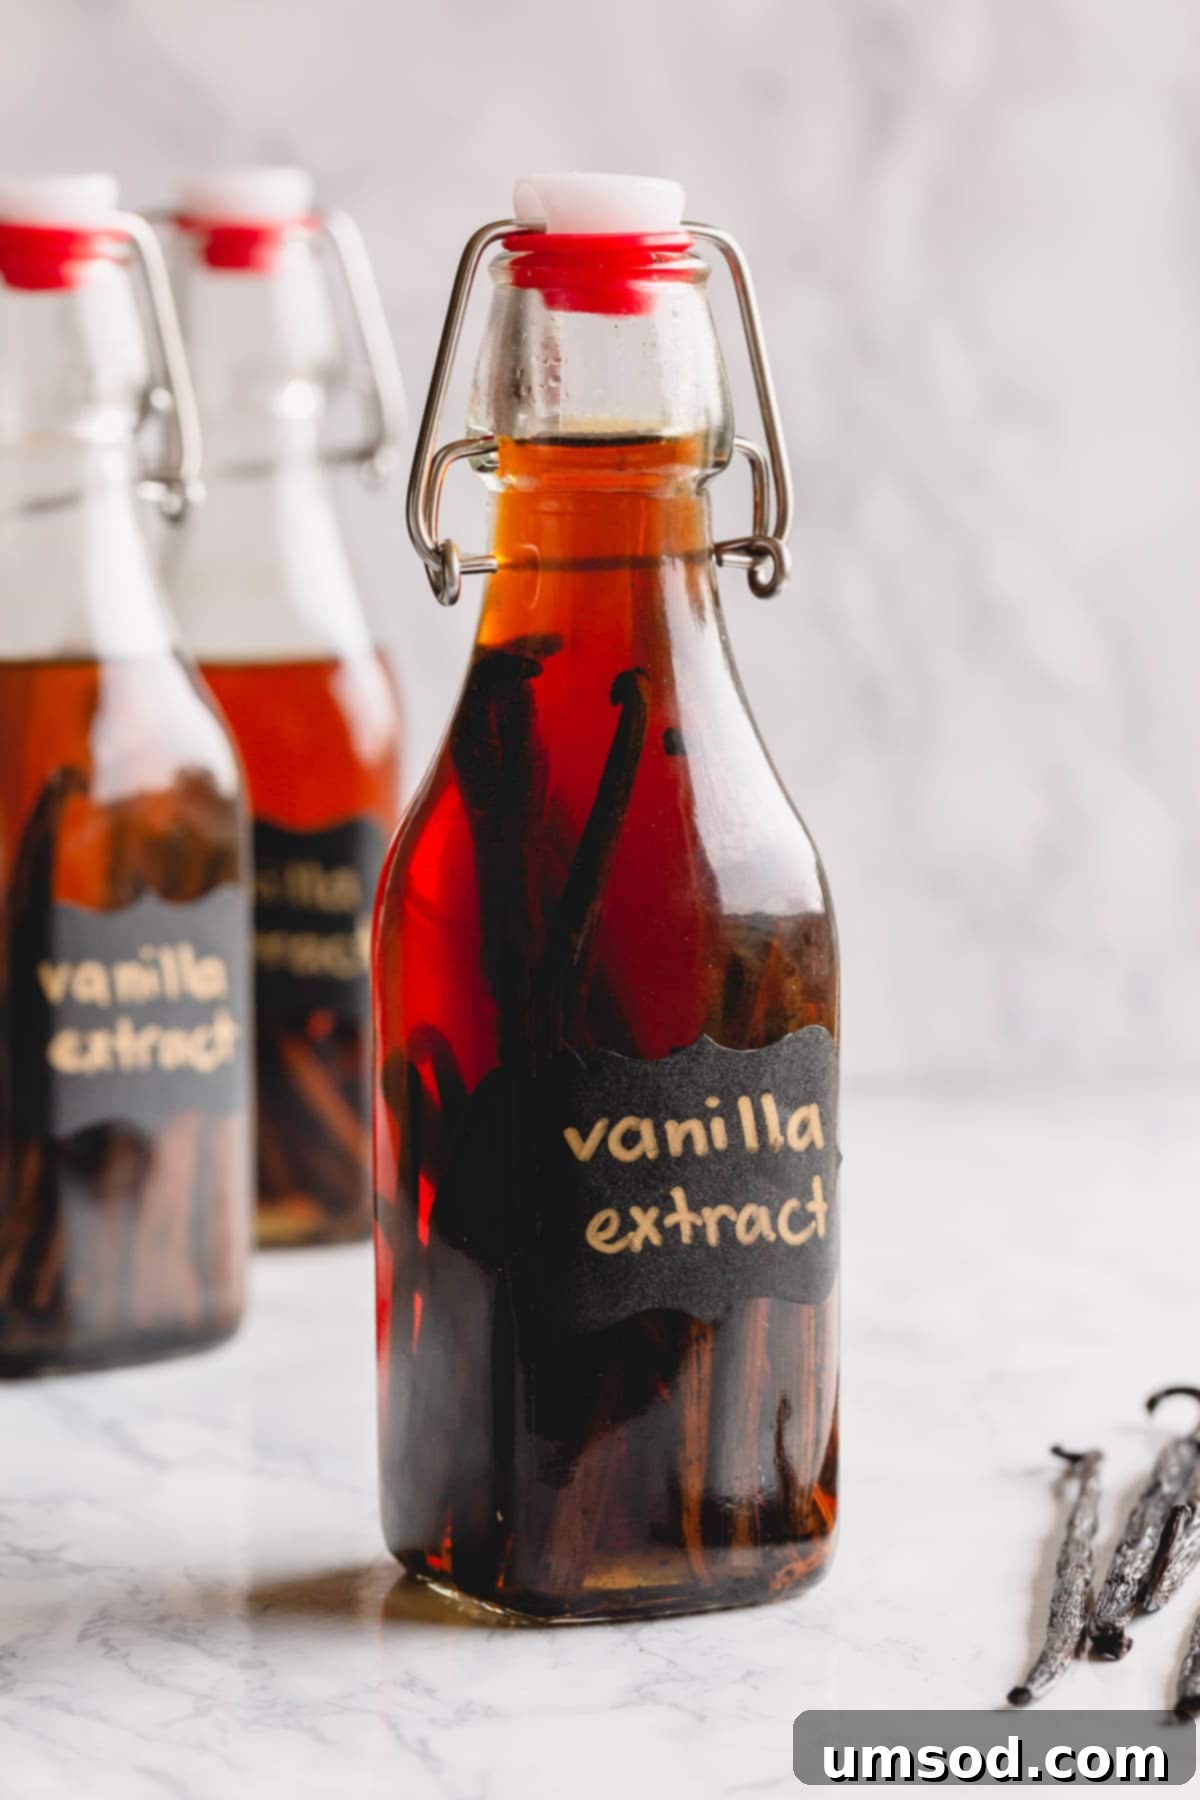
Why Homemade Vanilla Extract Outshines Store-Bought Varieties
If you’ve recently browsed the spice aisle, you’ve likely noticed the escalating prices of vanilla extract. The global vanilla bean shortage, which began several years ago, sent prices soaring. For many avid bakers, this surge was a clear signal to explore alternatives, and the world of DIY vanilla extract opened up, proving to be a game-changer with zero regrets!
Here are compelling reasons why you’ll fall in love with making your own vanilla extract, distinguishing it from its store-bought counterparts:
- Effortlessly Simple to Create: You truly only need two primary ingredients – high-quality vanilla beans and your preferred alcohol – along with a generous amount of time for the magic to happen. The active preparation takes mere minutes.
- Unmatched Flavor and Potency: Homemade vanilla extract boasts a depth of flavor and aromatic complexity that mass-produced versions simply cannot replicate. The slow infusion process extracts every nuance from the vanilla beans, resulting in a rich, robust, and potent extract that will transform your baked goods.
- Exceptional Longevity: Once properly prepared and stored, homemade vanilla extract is incredibly stable and can last for many, many years, continually developing more profound flavors over time. It’s an investment that keeps on giving!
For anyone passionate about baking who frequently uses vanilla extract, the superior quality and value of a homemade version will be profoundly appreciated. It’s perfect for all your favorite recipes that call for vanilla extract, from delicate vanilla cupcakes and creamy vanilla bean ice cream to classic cookies, custards, and more.
Essential Ingredients & Tools for Making Vanilla Extract
As highlighted, concocting this exceptional extract requires minimal ingredients and a few practical tools. Here’s a closer look at what you’ll need for your DIY vanilla extract project:
- Vanilla Beans – The Flavor Foundation: These aromatic pods are undoubtedly the star of your extract. Various varieties and grades of vanilla beans exist, each offering unique flavor profiles. When it comes to quantity, prioritize the weight of the beans rather than counting individual pods. This method ensures consistent flavor and potency, as bean sizes can vary significantly. Adhering to FDA guidelines, aim for approximately 1 ounce (around 28 grams) of vanilla beans per 8 ounces (1 cup) of alcohol for a standard “single-fold” extract.
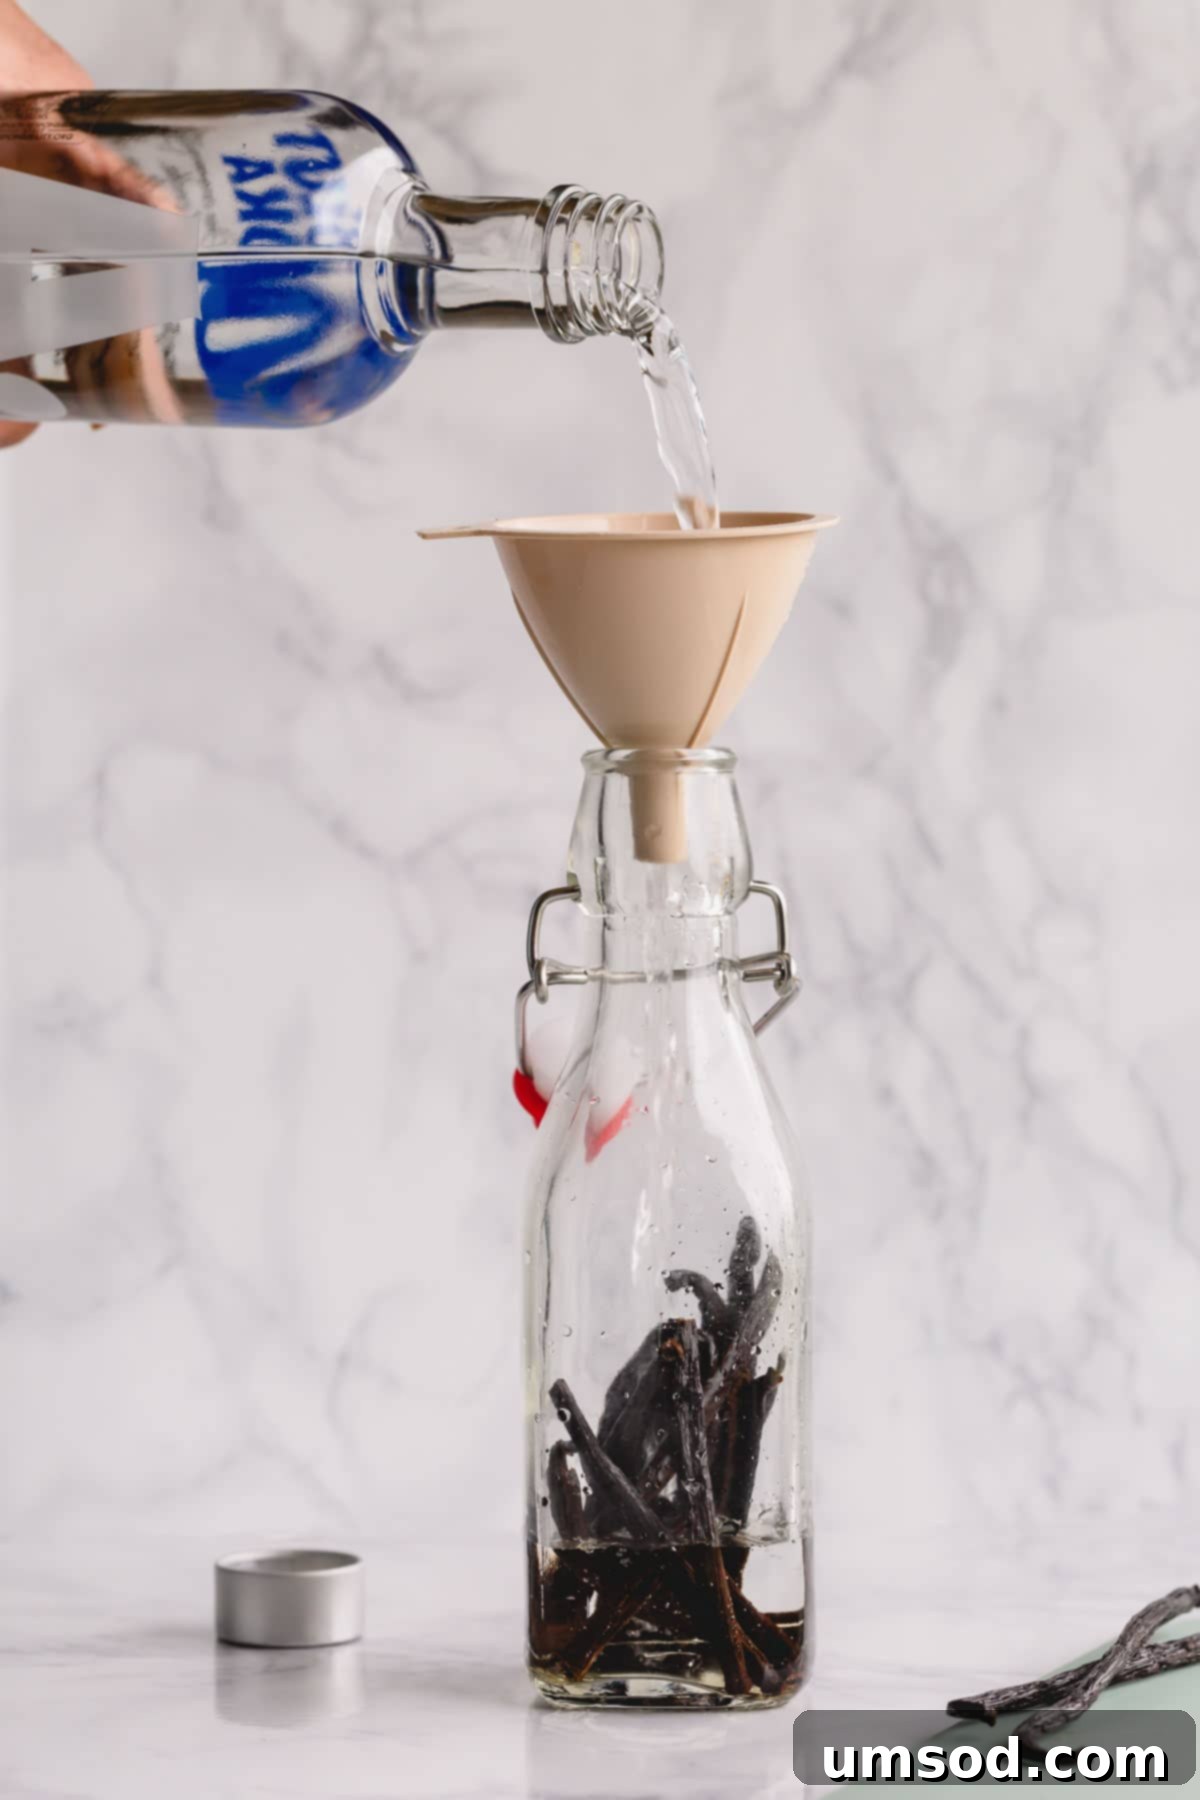
- 80-Proof Alcohol – The Extraction Medium: The alcohol acts as a solvent, drawing out the complex flavors and aromas from the vanilla beans. While you can use vodka, rum, bourbon, or brandy, many prefer a neutral spirit like **vodka**. Vodka’s clean profile allows the vanilla’s true essence to shine through without competing flavors. You don’t need to purchase the most expensive bottle; a good mid-level vodka will provide excellent results. Remember, the better the base alcohol, the smoother and purer your final extract will taste.
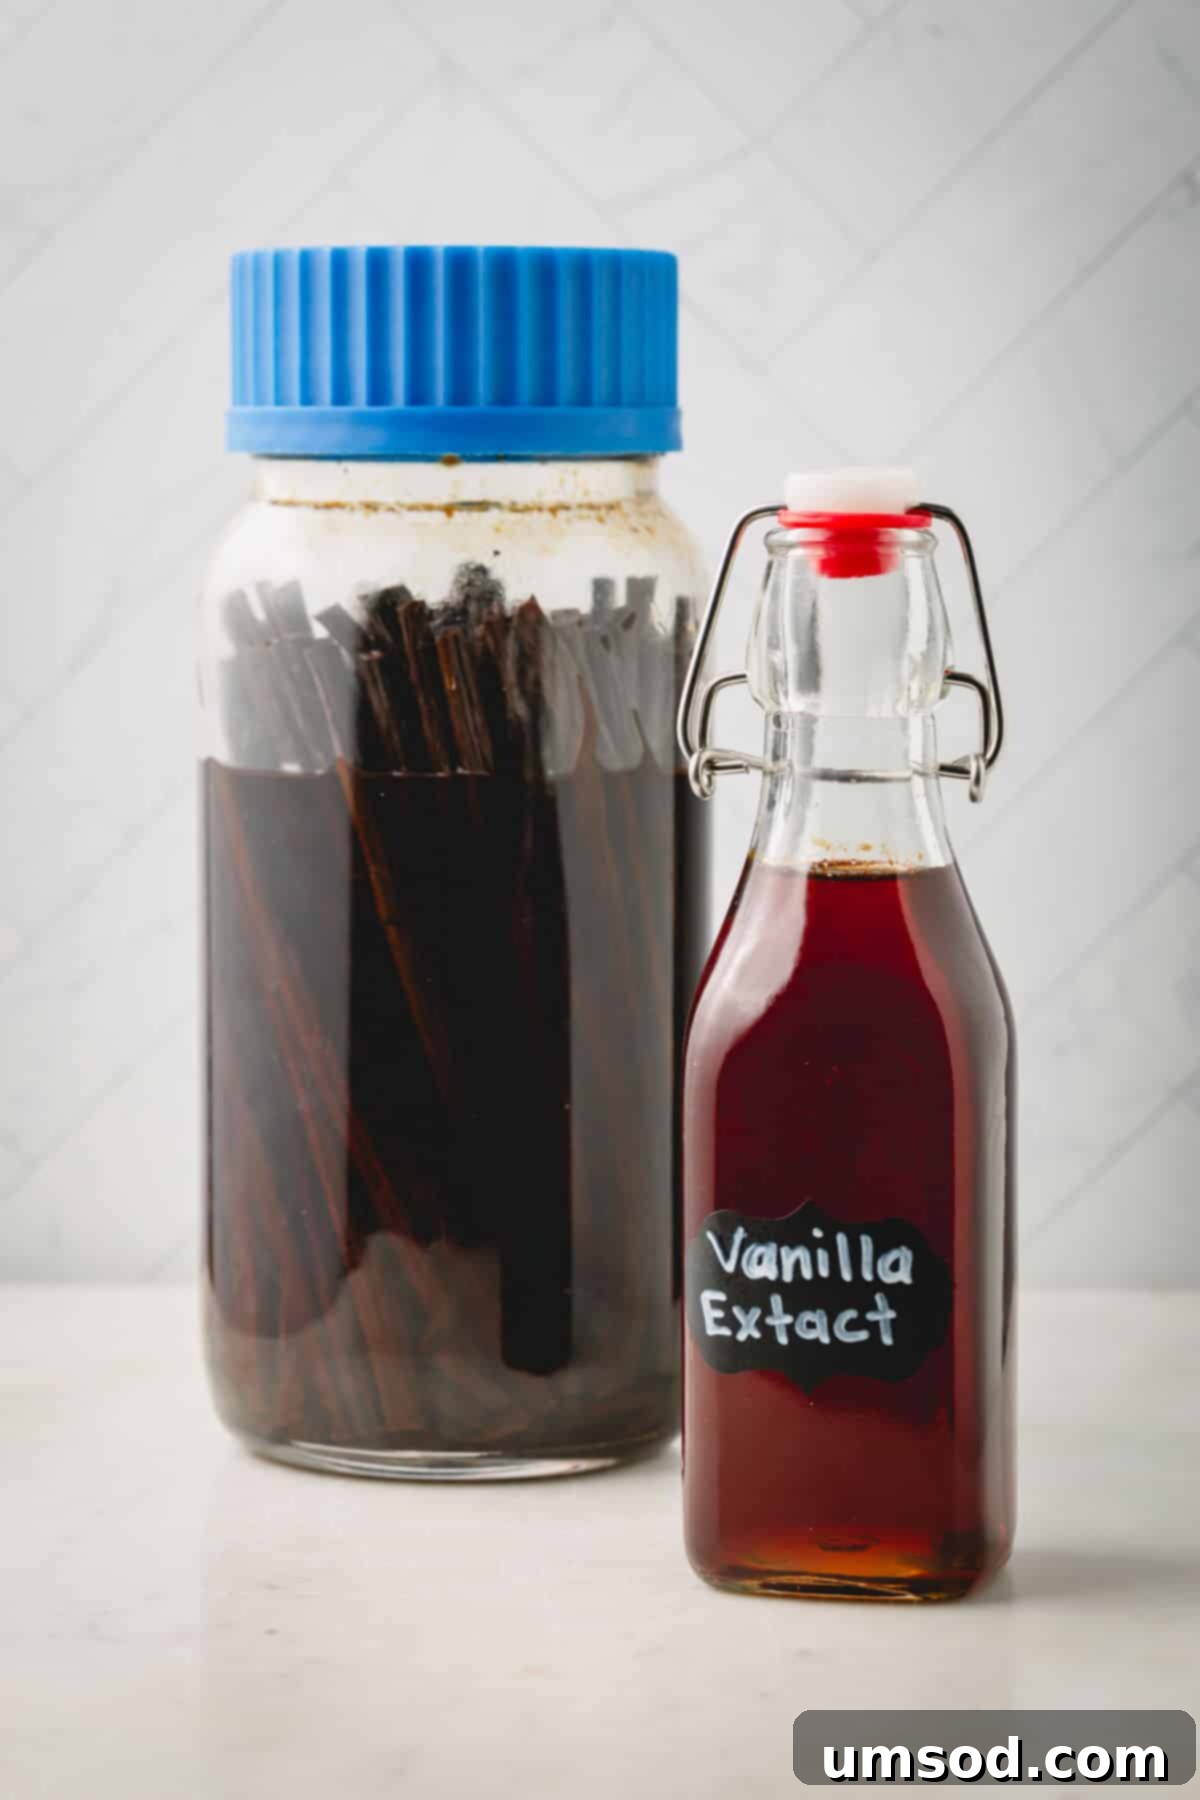
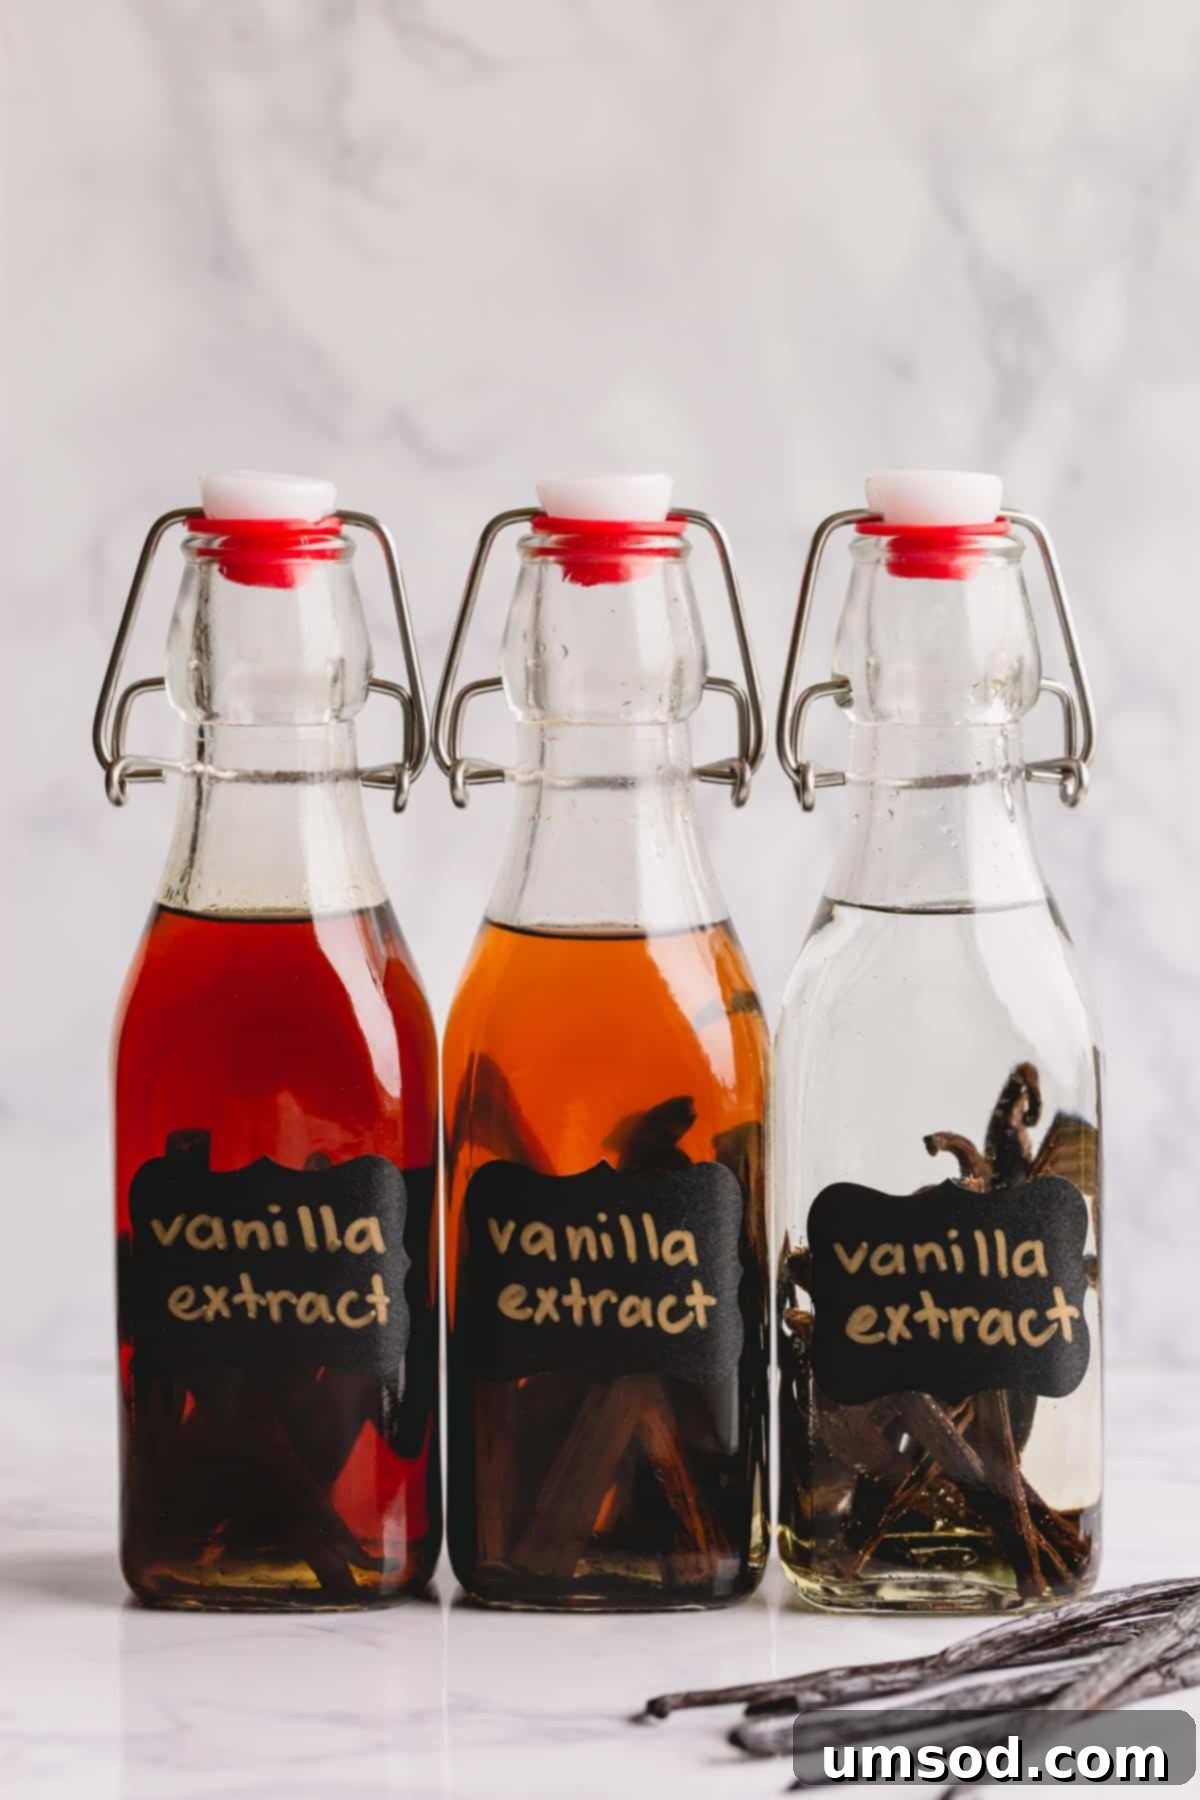
- Airtight Bottles or Jars – The Infusion Vessel: Any glass container with a tight-fitting, non-porous lid will work. Mason jars are a popular and reliable choice. You can even repurpose a clean vodka bottle if you wish! However, for ease of use and gifting, swing-top glass bottles are a fantastic option, offering convenient sealing and pouring. When selecting your containers, keep these points in mind:
- Always opt for glass jars over plastic, as plastic can leach undesirable chemicals and won’t stand the test of time.
- Avoid cork lids, as they are porous and can allow precious alcohol to evaporate over time, diminishing your extract’s strength.
- While some recommend amber-colored bottles to protect against light, clear glass bottles are perfectly fine if you store your extract in a cool, dark place. Clear bottles allow you to observe the beautiful transformation of your extract as it steeps, ensuring quality. More on proper storage methods below.
- Funnels, Labels, and More – Enhancing the Process: While not strictly essential, these items significantly streamline the process and add a professional touch. A funnel is incredibly helpful for cleanly pouring alcohol into bottles, preventing spills. And for organization, consider using chalkboard sticker labels to clearly mark the date your extract was started, the type of beans used, or whether it’s a single-fold or double-fold variety.
Does the Quality of Vodka Really Matter for Vanilla Extract?
Indeed, it does! Higher-quality vodkas often undergo more rigorous filtration processes, which results in a smoother, cleaner, and more neutral flavor profile. This purity directly translates to a superior vanilla extract, allowing the delicate notes of the vanilla bean to truly shine without any harsh undertones from the alcohol. A mid-range vodka typically offers the best balance of quality and cost-effectiveness. My personal preference, purely for its consistent quality, is Absolute Vodka.
Selecting the Perfect Vanilla Beans for Your Extract
The type and quality of vanilla beans you choose will significantly impact the final flavor profile of your homemade extract. Understanding the different varieties and grades will help you make an informed decision.
Vanilla Bean Varieties
Each vanilla bean variety brings its own distinct character to your extract:
- Madagascar (Bourbon) Vanilla Beans: This is the most common and versatile variety, known for its classic, rich, creamy, sweet, and buttery flavor profile. It’s an excellent all-purpose choice that complements almost any baked good and is highly recommended if you’re new to making extract.
- Tahitian Vanilla Beans: Gaining popularity for good reason, Tahitian beans offer a fantastic fruity and floral aroma with subtle undertones of cherry and chocolate. They are particularly exquisite in fruit-based desserts, custards, and cold dishes, though their delicate notes can sometimes diminish under high heat.
- Mexican Vanilla Beans: Considered premium beans, their higher cost is due to limited production in Mexico. Mexican vanilla is rich and smooth, often boasting hints of spice like clove, nutmeg, and even a smoky nuance. They are wonderful for dishes where you want a more complex and robust vanilla flavor.
Vanilla Bean Grades
Vanilla beans are typically classified into two grades, both suitable for extract making. I’ve personally used both and been delighted with the results:
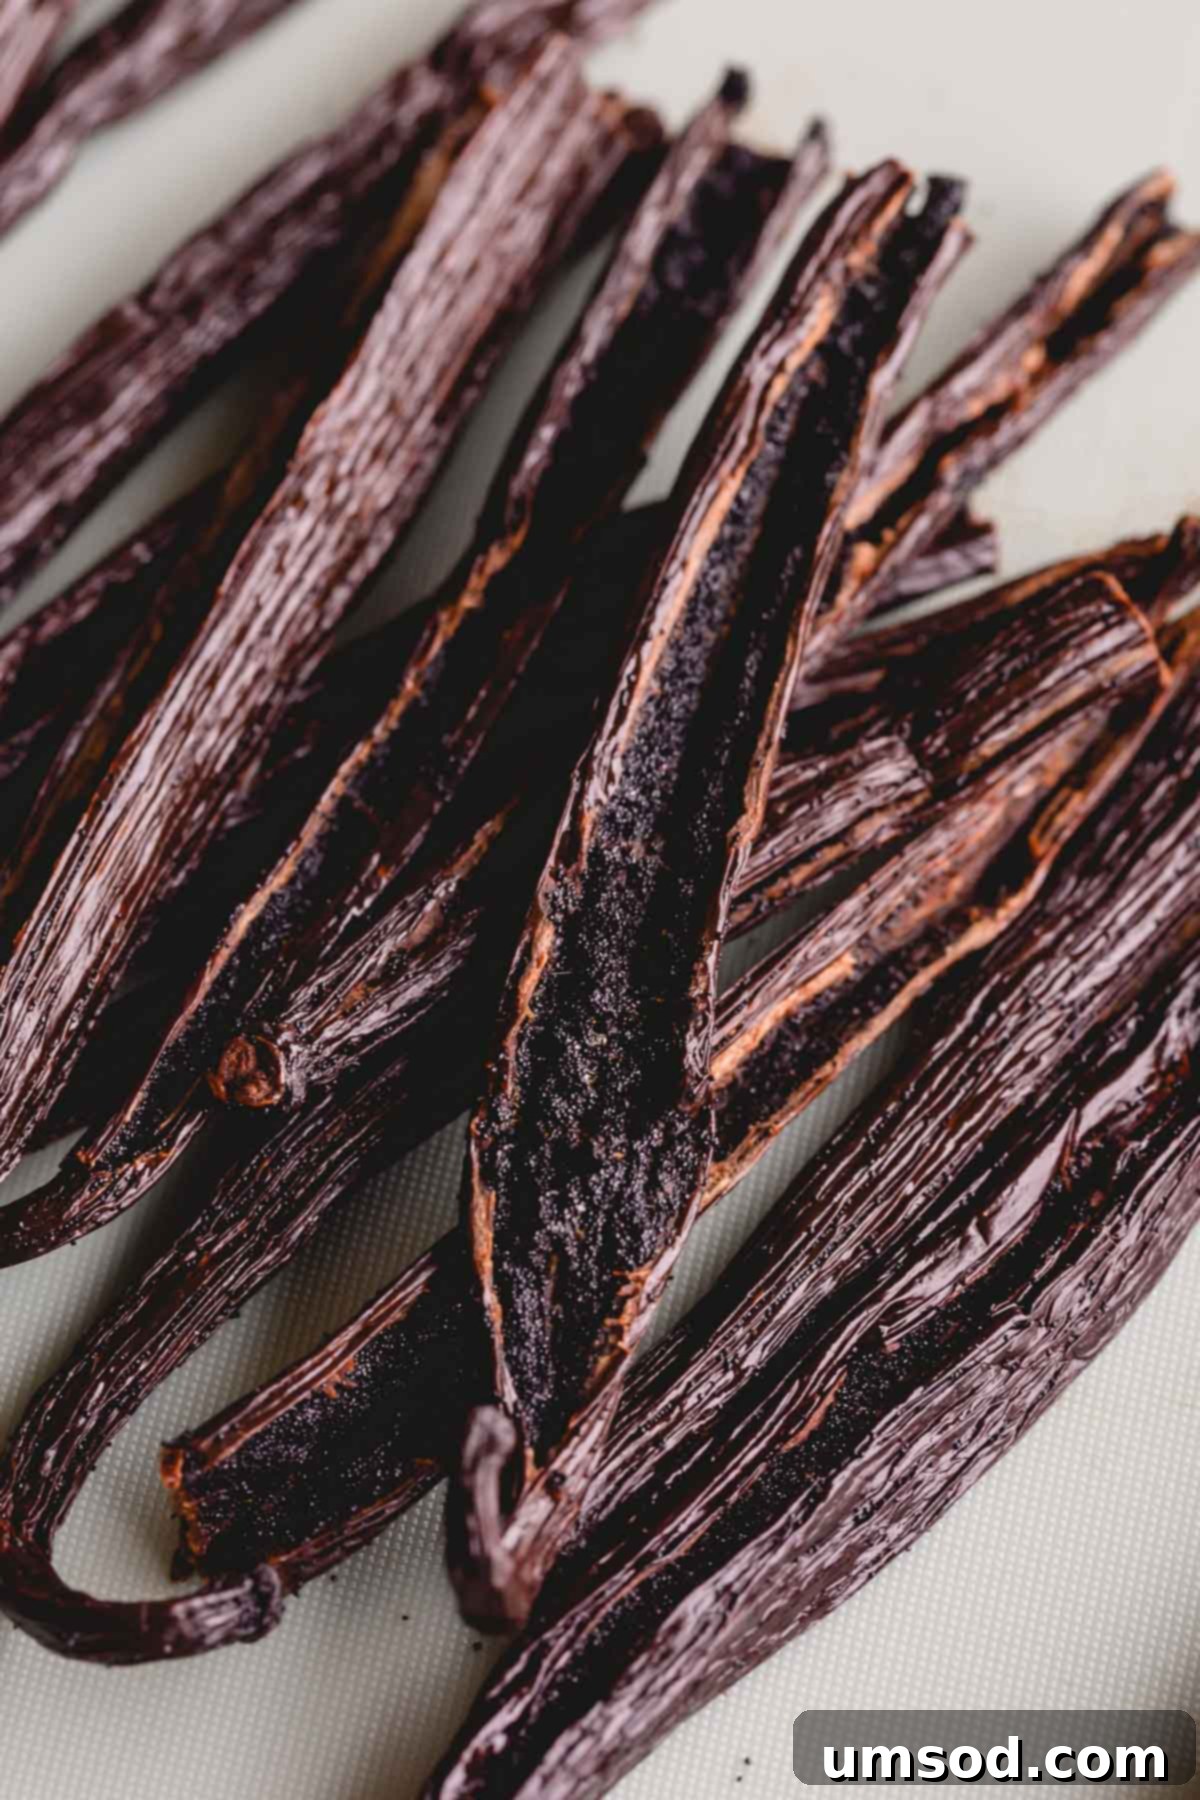
- Grade A (Gourmet or Prime) Beans: These are plump, moist, and pliable beans with a high moisture content (typically 25-30%). They are often preferred for direct culinary use, such as scraping the caviar into dishes, but also yield an excellent extract.
- Grade B (Extract Grade) Beans: These beans are drier and typically have a lower moisture content (around 15-20%). They are less expensive than Grade A beans and are specifically ideal for making extracts because their drier nature means they have a more concentrated vanilla flavor per pound, which is then efficiently extracted by the alcohol over time.
How to Master Homemade Vanilla Extract: Step-by-Step
Crafting your own vanilla extract is a straightforward process, primarily requiring time and minimal active effort. Follow these simple steps for the best results:
- 1. Sterilize Your Jars: While optional, sterilizing your containers is a good practice for ensuring the longevity and purity of your extract. Submerge glass jars in boiling water for 5-10 minutes, or run them through a dishwasher on a sterilize setting. Allow them to air dry completely before use.
- 2. Prepare the Vanilla Beans: To expedite the extraction process and release the flavorful “caviar” (seeds), slice each vanilla bean lengthwise down the middle. You don’t need to cut them all the way through, just enough to expose the inner seeds. This step is optional; whole beans will also work but may require a longer steeping time (up to a year). If your bottles are tall, you might need to cut the beans in half or thirds to ensure they are fully submerged in the alcohol. Once prepared, place the sliced or whole beans into your clean, dry jars.
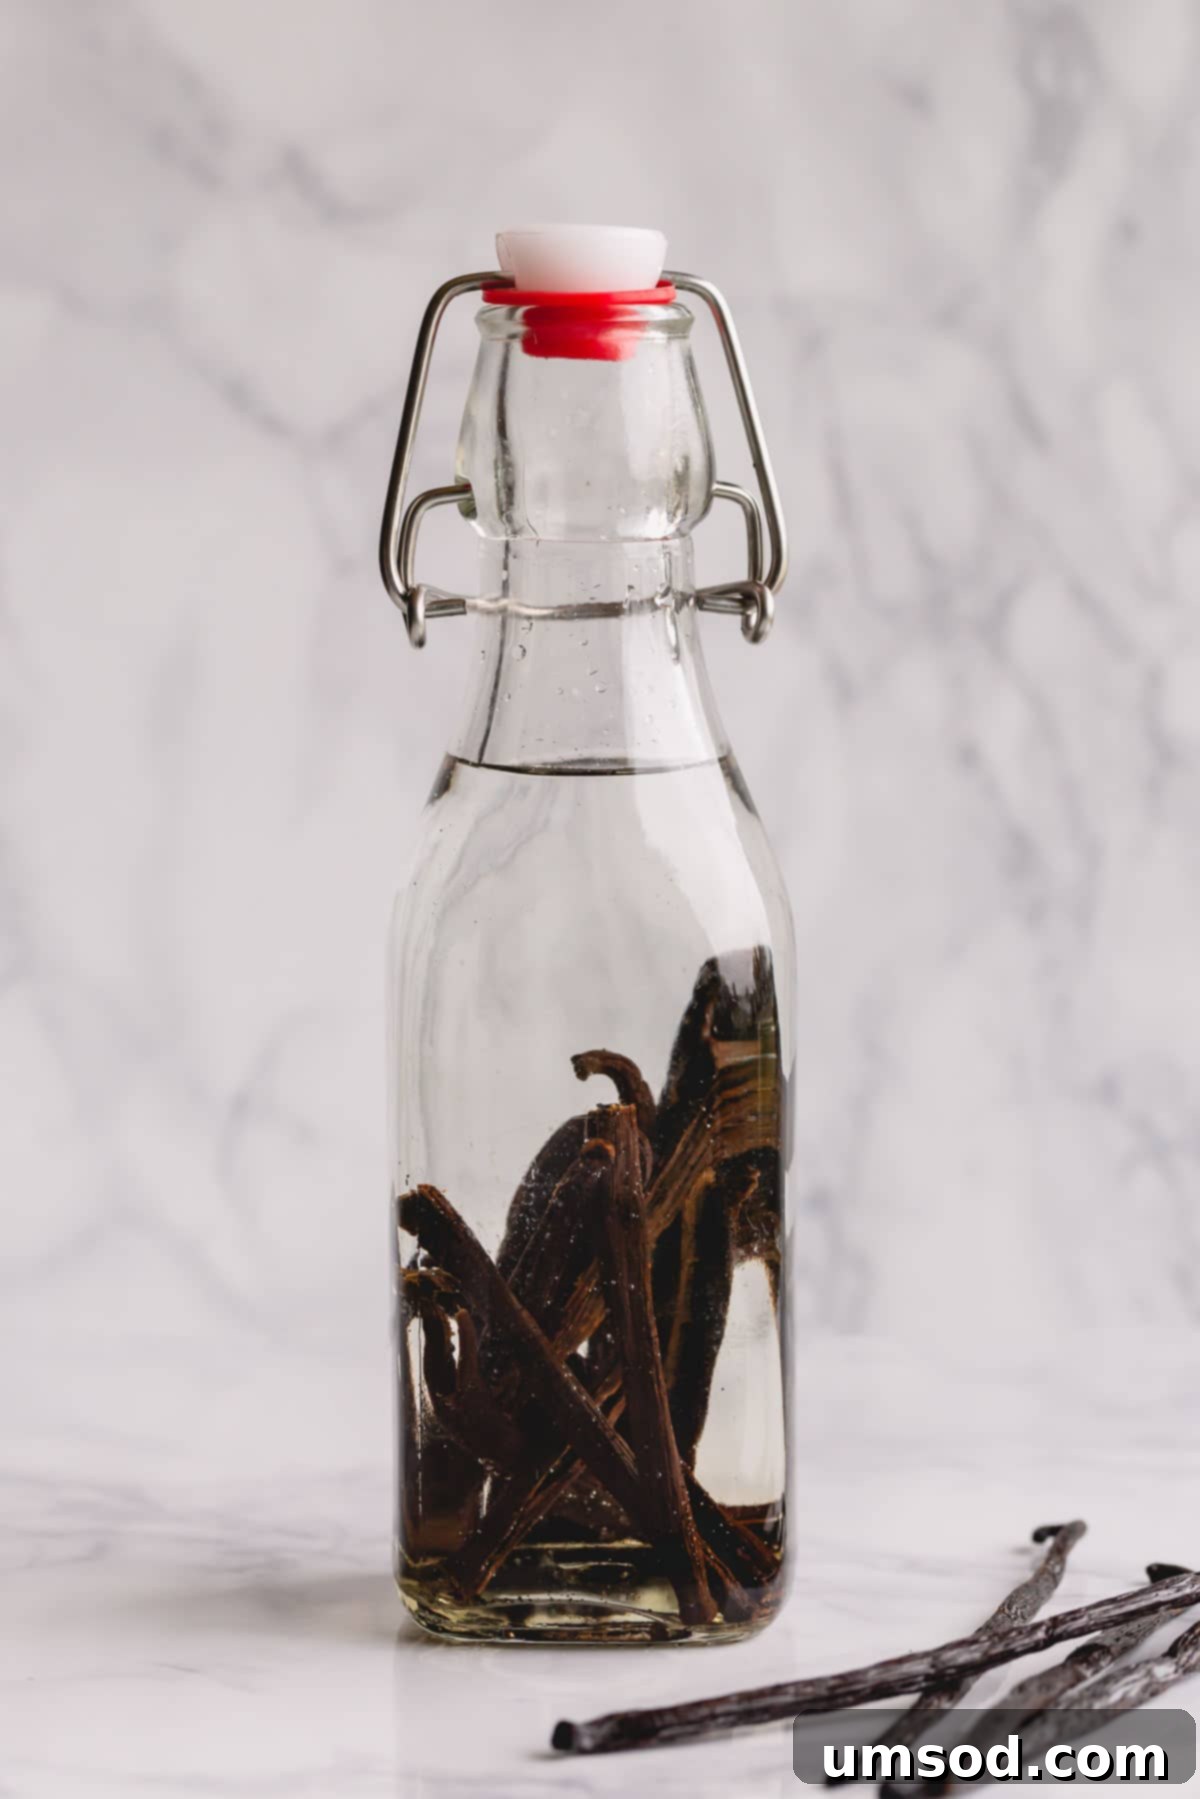
- 3. Add the Alcohol: Pour your chosen 80-proof alcohol (vodka, rum, bourbon, or brandy) over the vanilla beans, ensuring they are completely submerged. Fill the jar, leaving a small headspace at the top. Seal the jars tightly to prevent evaporation.
- 4. Store and Steep: Place your sealed jars in a cool, dark place, away from direct sunlight or heat. The steeping process takes time; aim for at least 2 months, but ideally, allow 6-12 months for the fullest flavor development. During this period, shake the jars gently once a week or whenever you remember to encourage optimal infusion. The longer it steeps, the richer and more complex your vanilla extract will become.
Essential Tip: Date Your Vanilla Extract Bottles
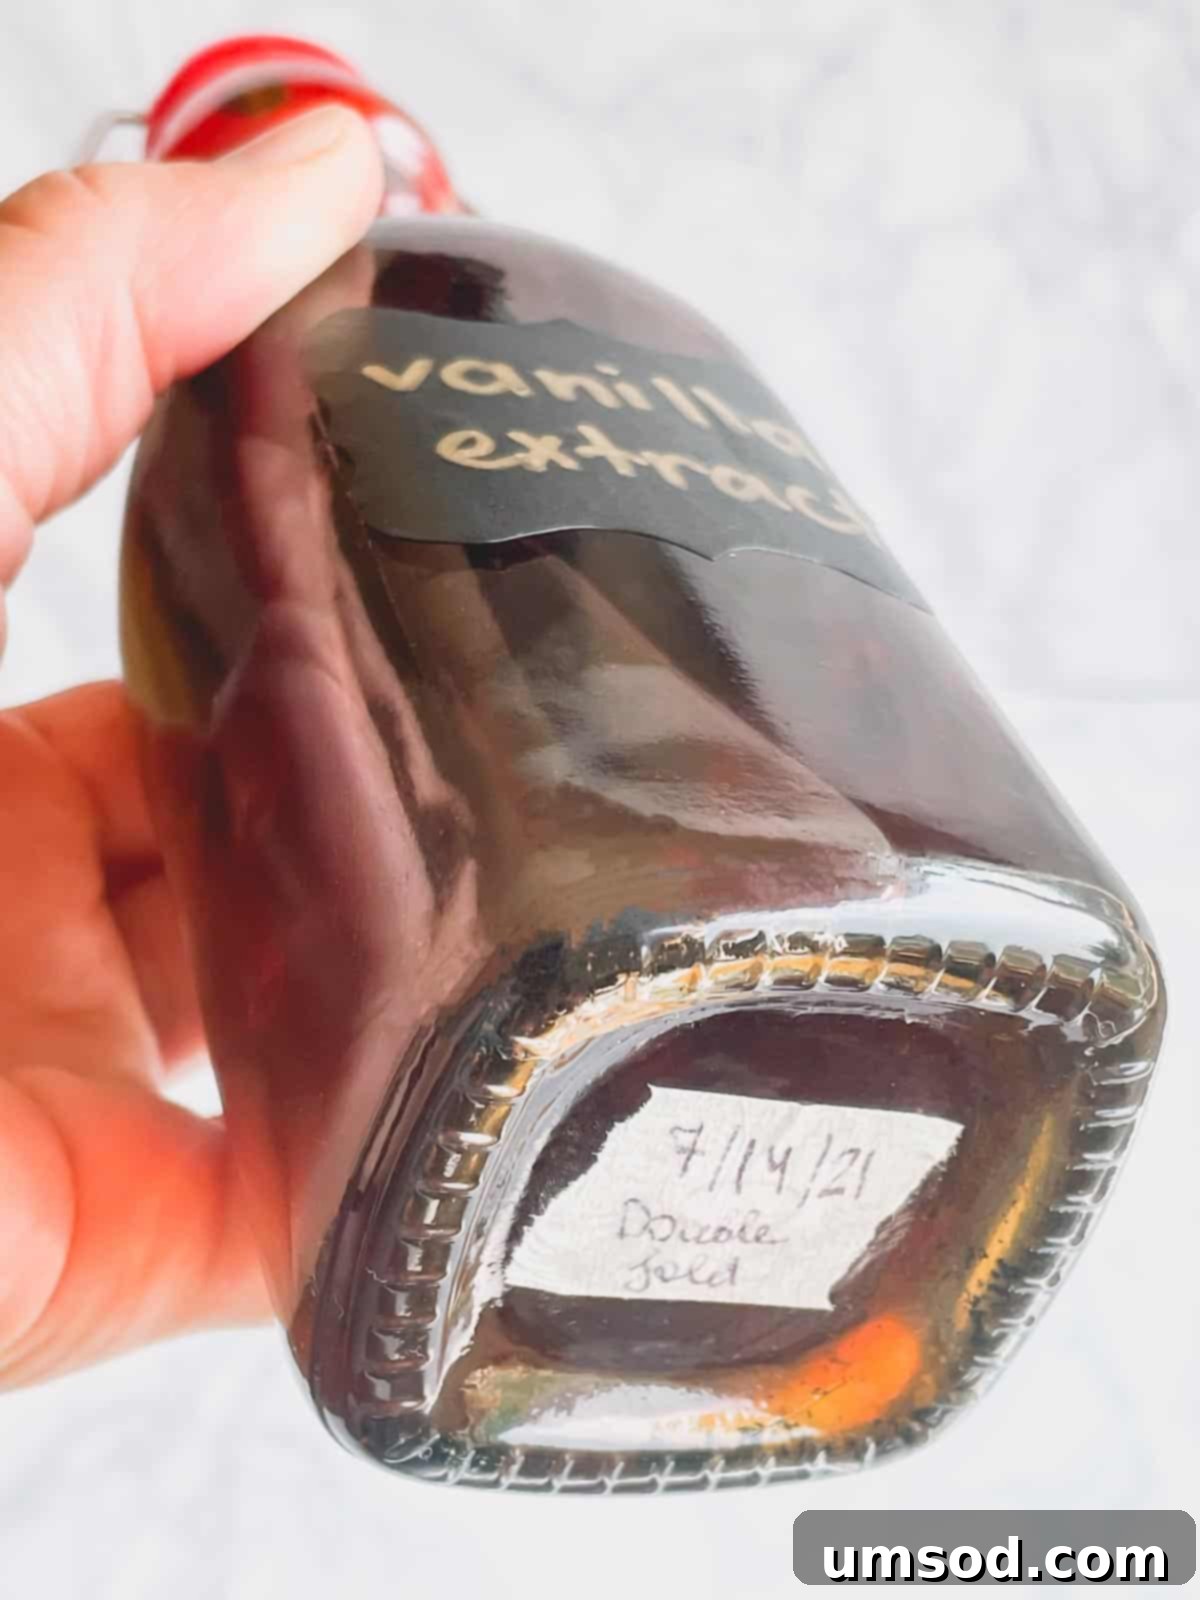
To keep track of your batches and monitor their steeping progress, it’s highly recommended to apply a small piece of tape or a label to the bottom or side of each jar and clearly write the date you started the extract. This simple step helps you know when your extract is ready for use and allows you to track its age and potency. Additionally, you might want to note whether it’s a “single-fold” or “double-fold” batch for future reference, especially if you experiment with different strengths.
Understanding Single-Fold vs. Double-Fold Vanilla Extract
The term “fold” refers to the strength or concentration of vanilla flavor in the extract. Typically, most commercially available vanilla extracts are “single-fold,” meaning they meet a specific minimum concentration standard set by regulations. However, when making your own, you have the flexibility to create a more potent version.
- Single-Fold Extract: This is the standard strength, made by using 1 ounce (approx. 28g) of vanilla beans per 1 cup (8 fluid ounces or 240 ml) of alcohol. This concentration provides a balanced and robust vanilla flavor suitable for most baking and cooking needs.
- Double-Fold Extract: Often referred to as “vanilla essence” or “extra-strength,” double-fold extract is significantly more concentrated. It’s prepared using 2 ounces (approx. 56g) of vanilla beans per 1 cup (8 fluid ounces or 240 ml) of alcohol. This yields a much more intense vanilla flavor, meaning you’ll need less of it in your recipes to achieve the same impact, making it ideal for recipes where vanilla is the star or for professional applications.
Optimizing Storage for Your Homemade Vanilla Extract
Proper storage is key to maintaining the quality and extending the lifespan of your homemade vanilla extract. Fortunately, it’s quite simple:
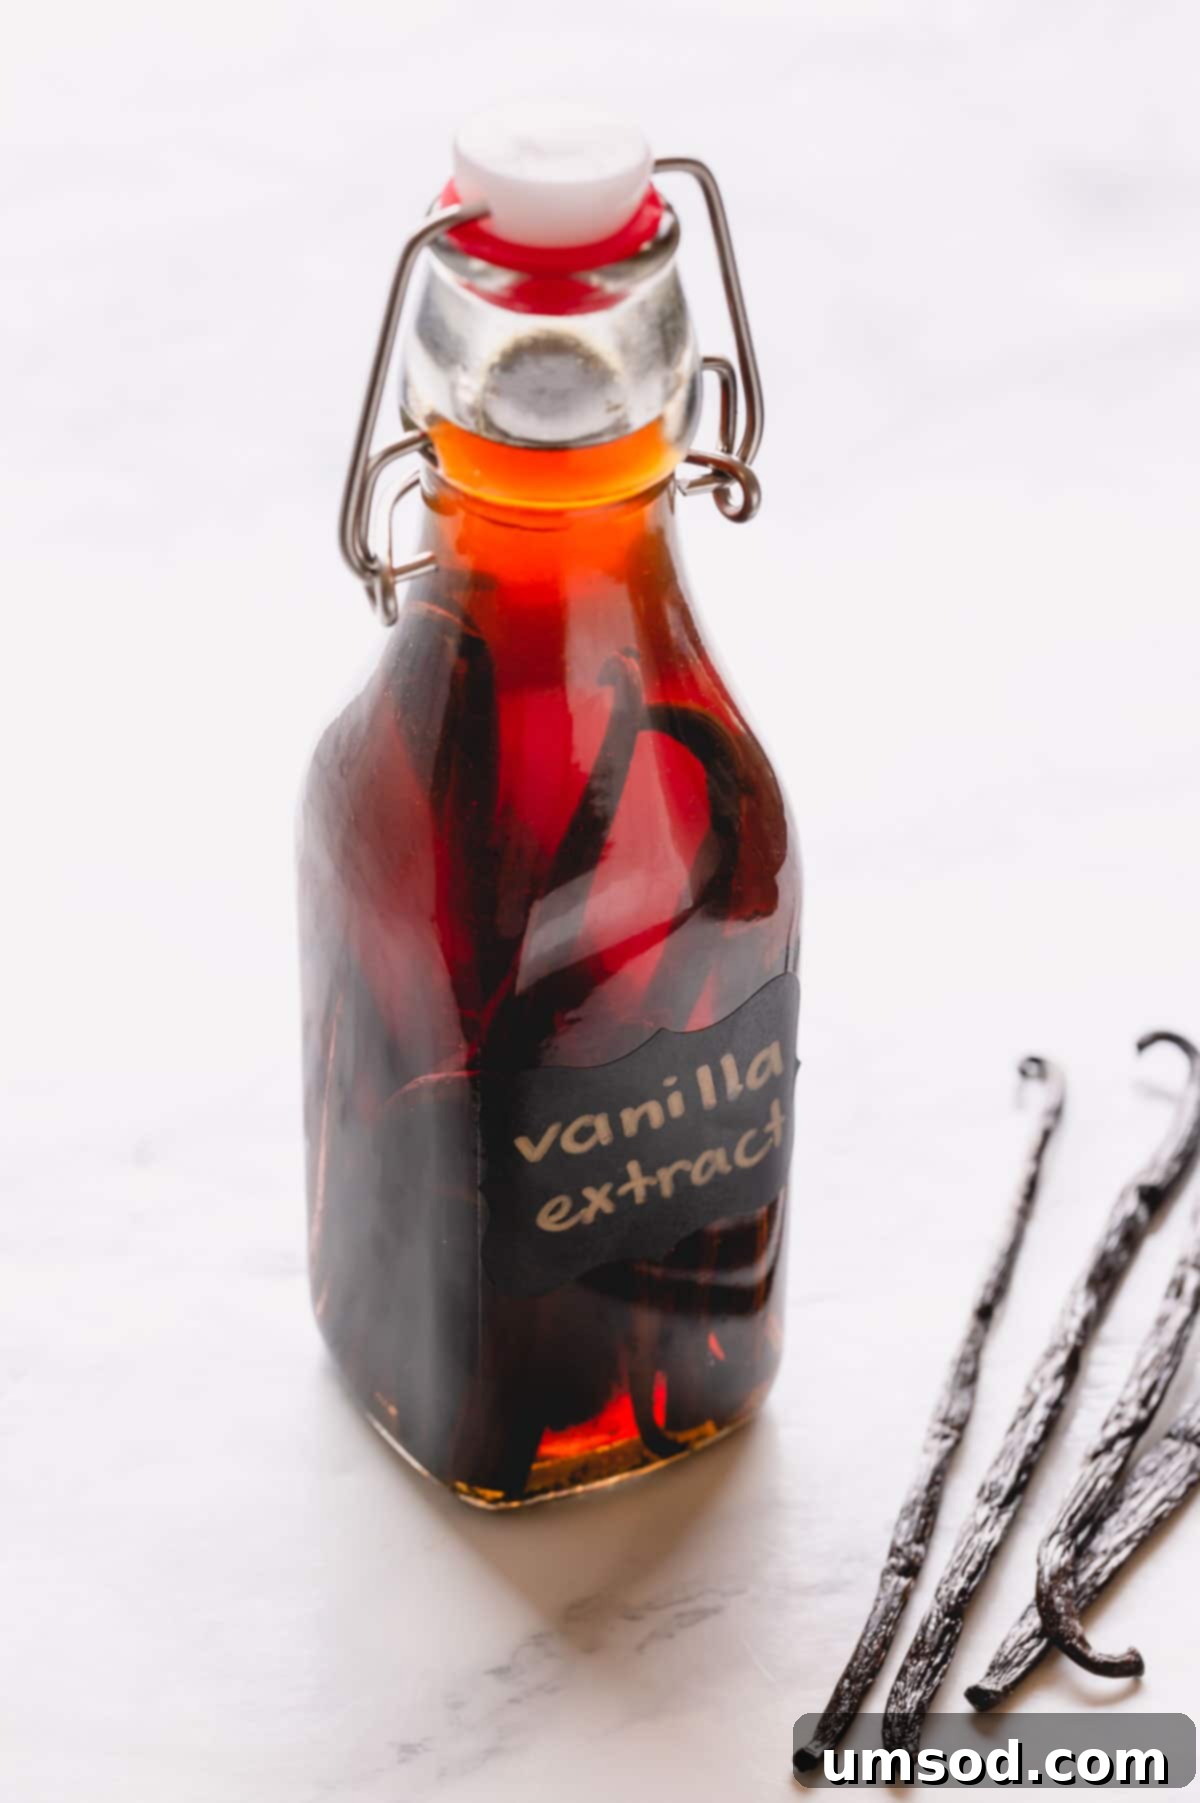
Always store your vanilla extract in a cool, dark place, away from direct light. A pantry, cupboard, or basement is ideal. Prolonged exposure to light, especially sunlight, can cause the extract to become cloudy or diminish its flavor over time. There’s no need to refrigerate or freeze vanilla extract; in fact, the cold temperatures can actually hinder the ongoing flavor development.
One of the remarkable benefits of homemade vanilla is its ability to be replenished. As you use your extract, periodically add more vodka (or your chosen alcohol) to the bottle to keep the vanilla beans fully submerged. This practice ensures continuous extraction and allows your extract to last for many years, essentially creating an ongoing supply. When you notice the flavor becoming less potent after extensive use and replenishment, it’s a good sign to replace the old vanilla beans with fresh ones to revitalize your batch.
Frequently Asked Questions About Homemade Vanilla Extract
Due to variations in size, quality, grade, and variety, individual vanilla beans differ significantly. Therefore, it’s best to measure your vanilla beans by weight rather than by count. A good guideline is 1 ounce (approximately 28 grams) of vanilla beans per 8 ounces (1 cup) of 80-proof alcohol for a standard single-fold extract.
While you don’t need a top-shelf vodka, opting for a mid-level brand is recommended. These tend to be more highly filtered, resulting in a cleaner, more neutral flavor that allows the vanilla notes to shine through. My personal choice for consistent quality, though not sponsored, is Absolute Vodka.
Cloudiness can occur if your steeping extract has been exposed to light for extended periods. It’s generally still safe to use as long as there are no other signs of spoilage. A slimy texture might be due to natural oils being released from the beans. Regular shaking of the bottle will help the alcohol break down these oils, allowing the extract to return to a smoother consistency over time.
Yes, it is possible to make non-alcoholic vanilla extract by using food-grade glycerine as the base instead of alcohol. While I haven’t personally tried this method, many recipes are available. For example, The Spruce Eats offers a recipe for non-alcoholic extract.
Absolutely. The amount of vanilla extract used in recipes is typically very small. Furthermore, the alcohol in both homemade and store-bought extracts largely evaporates during the baking process, making it perfectly safe for consumption by children. Many store-bought extracts are also alcohol-based, so homemade versions are no different in this regard.
When stored correctly in a cool, dark place and replenished with fresh alcohol as needed, homemade vanilla extract can last for many, many years, continually developing more complex and desirable flavors over time. Refer to the “Optimizing Storage” section above for detailed tips.
Homemade Vanilla Extract
Shinee Davaakhuu
5 minutes
5 minutes
1 cup
Saved Recipe
Pin Recipe
Comment
Print Recipe
Ingredients
-
1 (8oz)
glass jar (clear glass with tight-fitting lid recommended) -
1 oz
vanilla beans (Grade A Madagascar or Grade B extract beans) -
1 cup
(240 ml)
80 proof alcohol (vodka, rum, bourbon, or brandy; mid-level vodka preferred)
Instructions
- 1. Prepare Jars: Optionally, sterilize your glass jars by submerging them in boiling water for 5 minutes or using a dishwasher’s sterilize cycle. Ensure they are completely dry before use.
- 2. Slice Beans: Carefully slice the vanilla beans lengthwise to expose their inner seeds (caviar). You don’t need to cut them all the way through. If your jar is too tall, cut the beans into smaller pieces so they are fully submerged. Place the prepared beans into the jar.
- 3. Add Alcohol: Pour the 80-proof alcohol into the jar, ensuring all vanilla beans are completely covered. Seal the jar tightly with its lid.
- 4. Steep and Store: Store the sealed jar in a cool, dark place for at least 2 months. For the best flavor development, aim for 6-12 months. Gently shake the jar once a week or whenever you remember.
- 5. Maintain and Replenish: As you use the extract, periodically add more alcohol to the bottle to keep the vanilla beans fully submerged. This will allow your extract to last for years. If the extract’s potency diminishes over time, consider replacing the old beans with fresh ones.
⭐️ Did you make this recipe?
Please leave a review and let us know how you liked it!
Tips & Notes
Nutrition
67kcal
19g
4g
Condiments, Baking Basics
American
Did you make this?Leave a rating and your feedback. Thank you!
