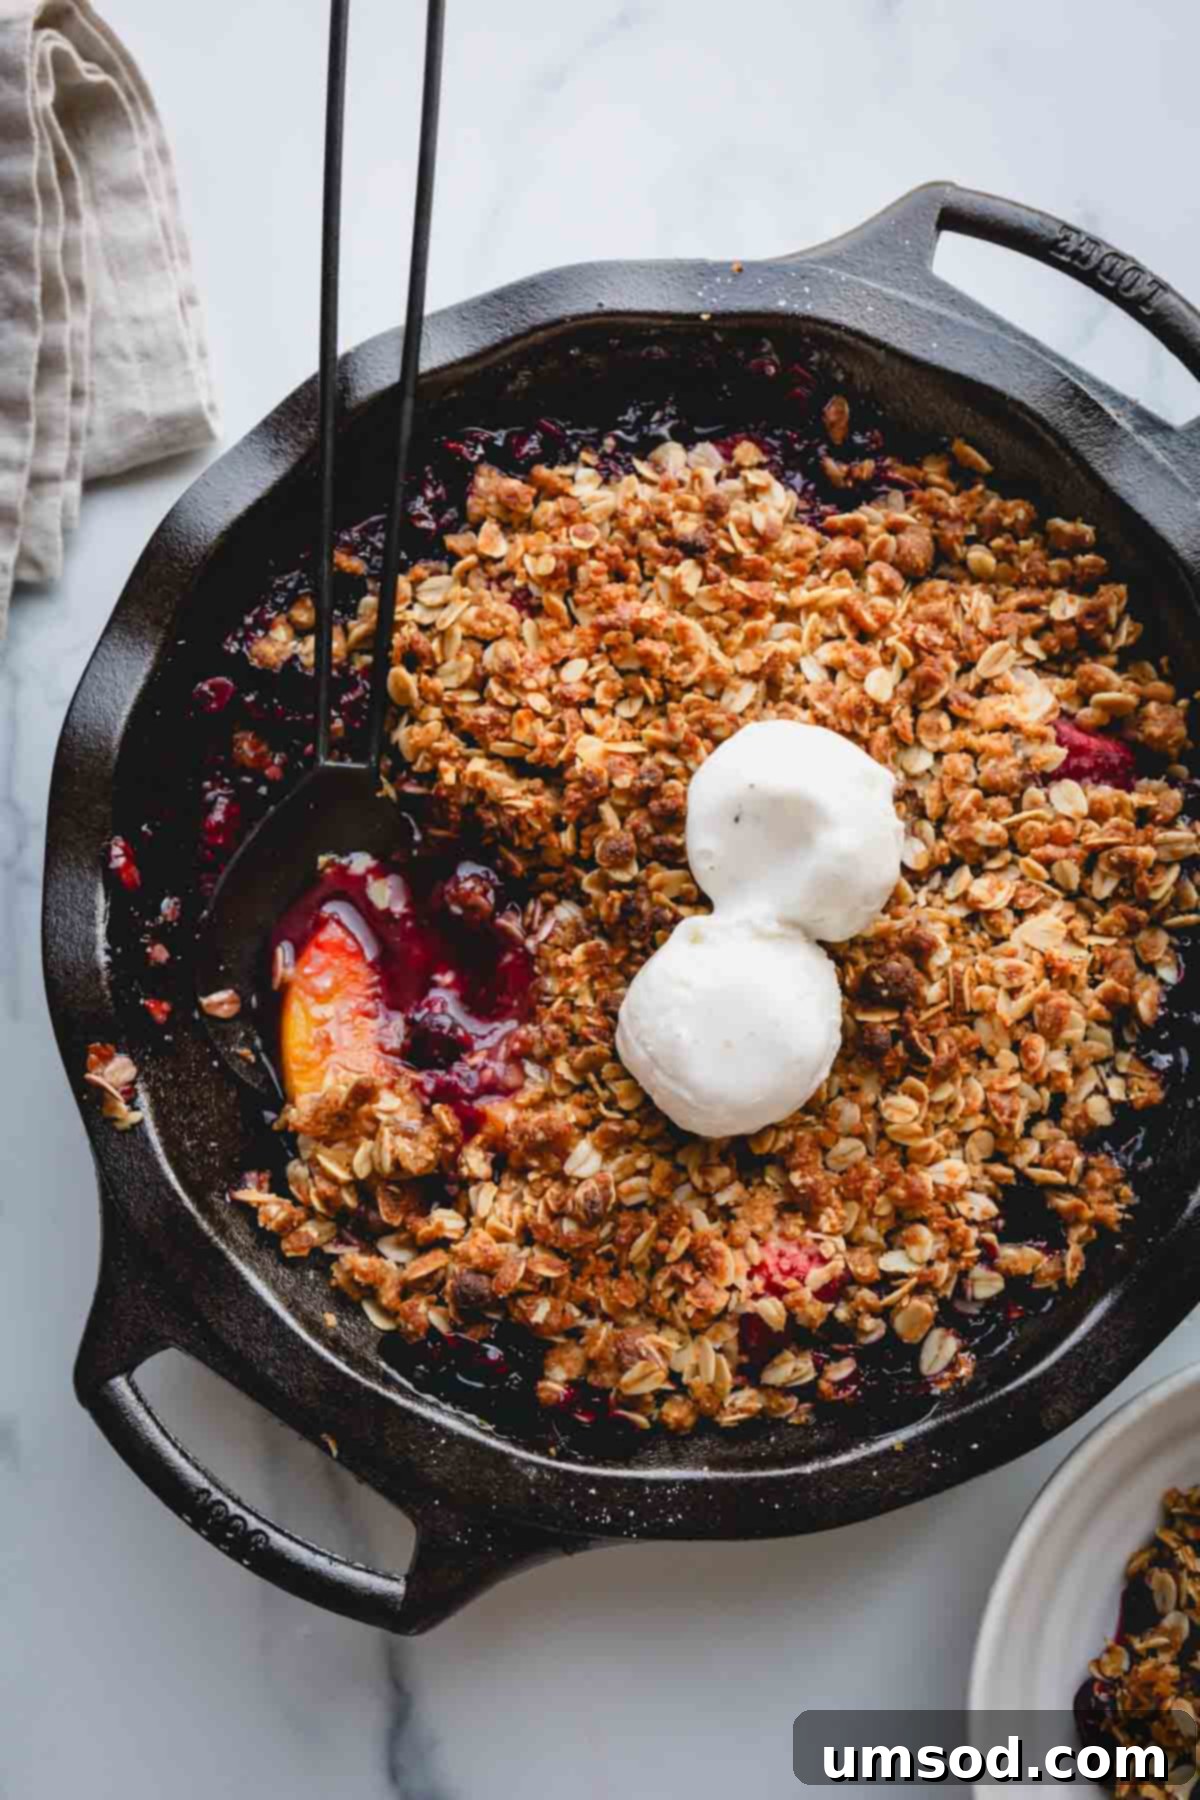
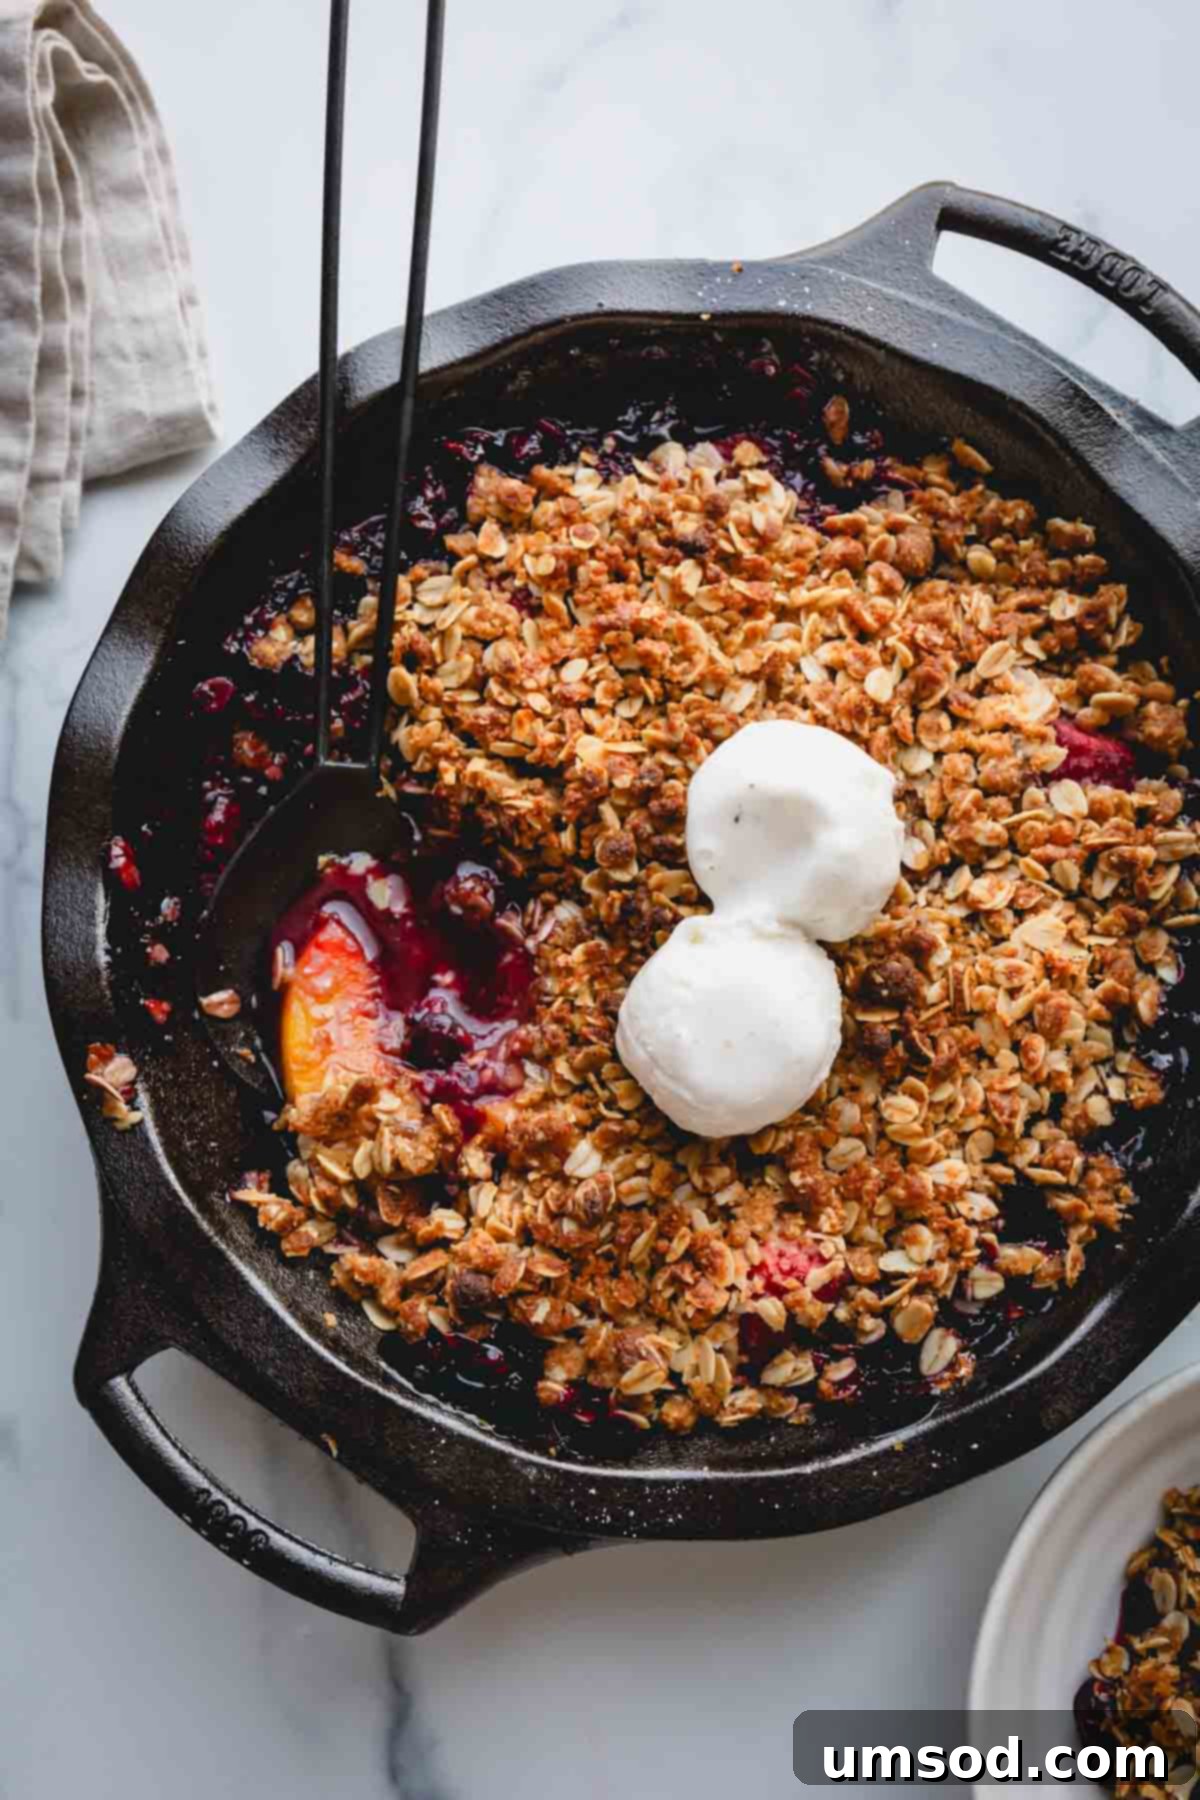
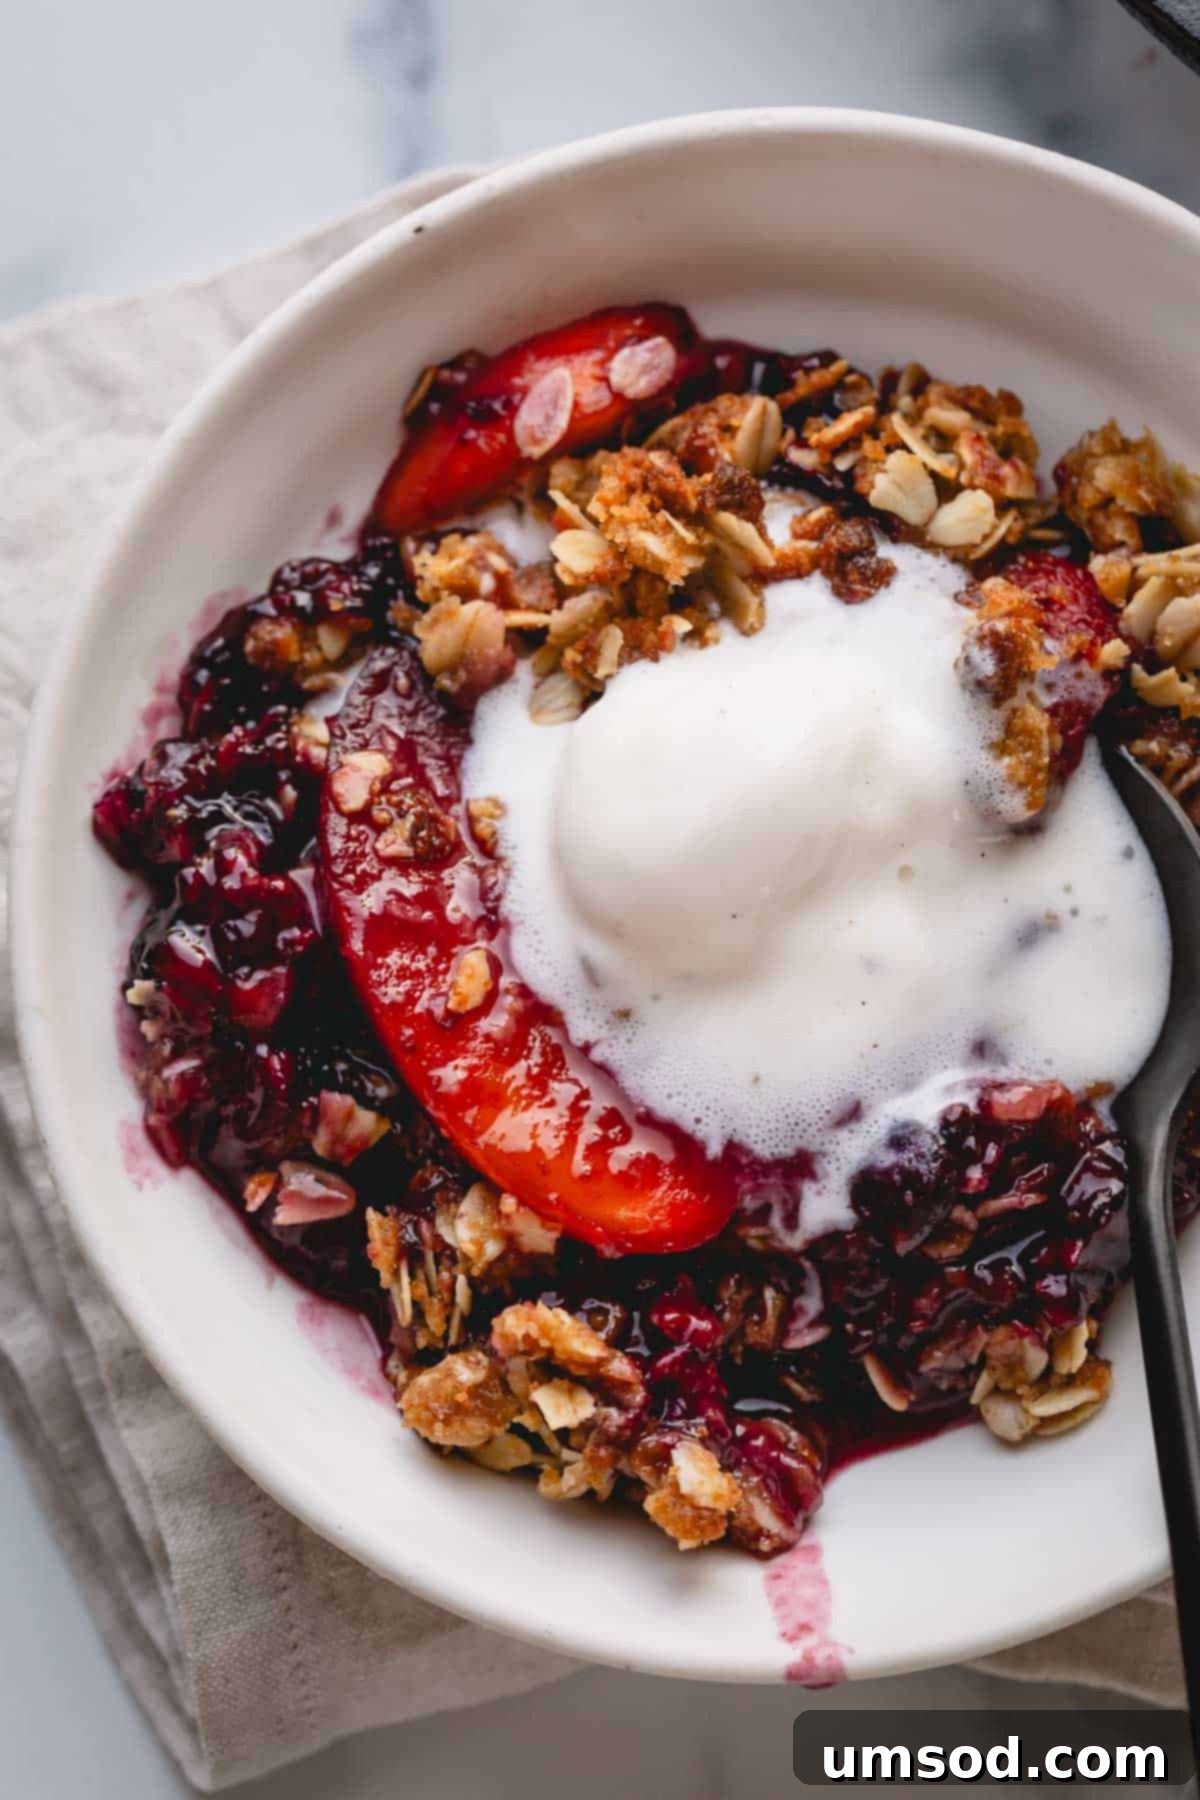
There’s nothing quite as comforting and delightful as a warm fruit crisp, fresh from the oven. This incredibly **easy fruit crisp recipe** delivers a soft, sweet, and juicy fruit filling crowned with a perfectly crisp, golden-brown, and crumbly oat topping. Whether you serve it with a generous scoop of creamy vanilla bean ice cream or a dollop of light homemade whipped cream, it’s a dessert that consistently brings smiles and satisfaction, making it the perfect treat for any time of year.
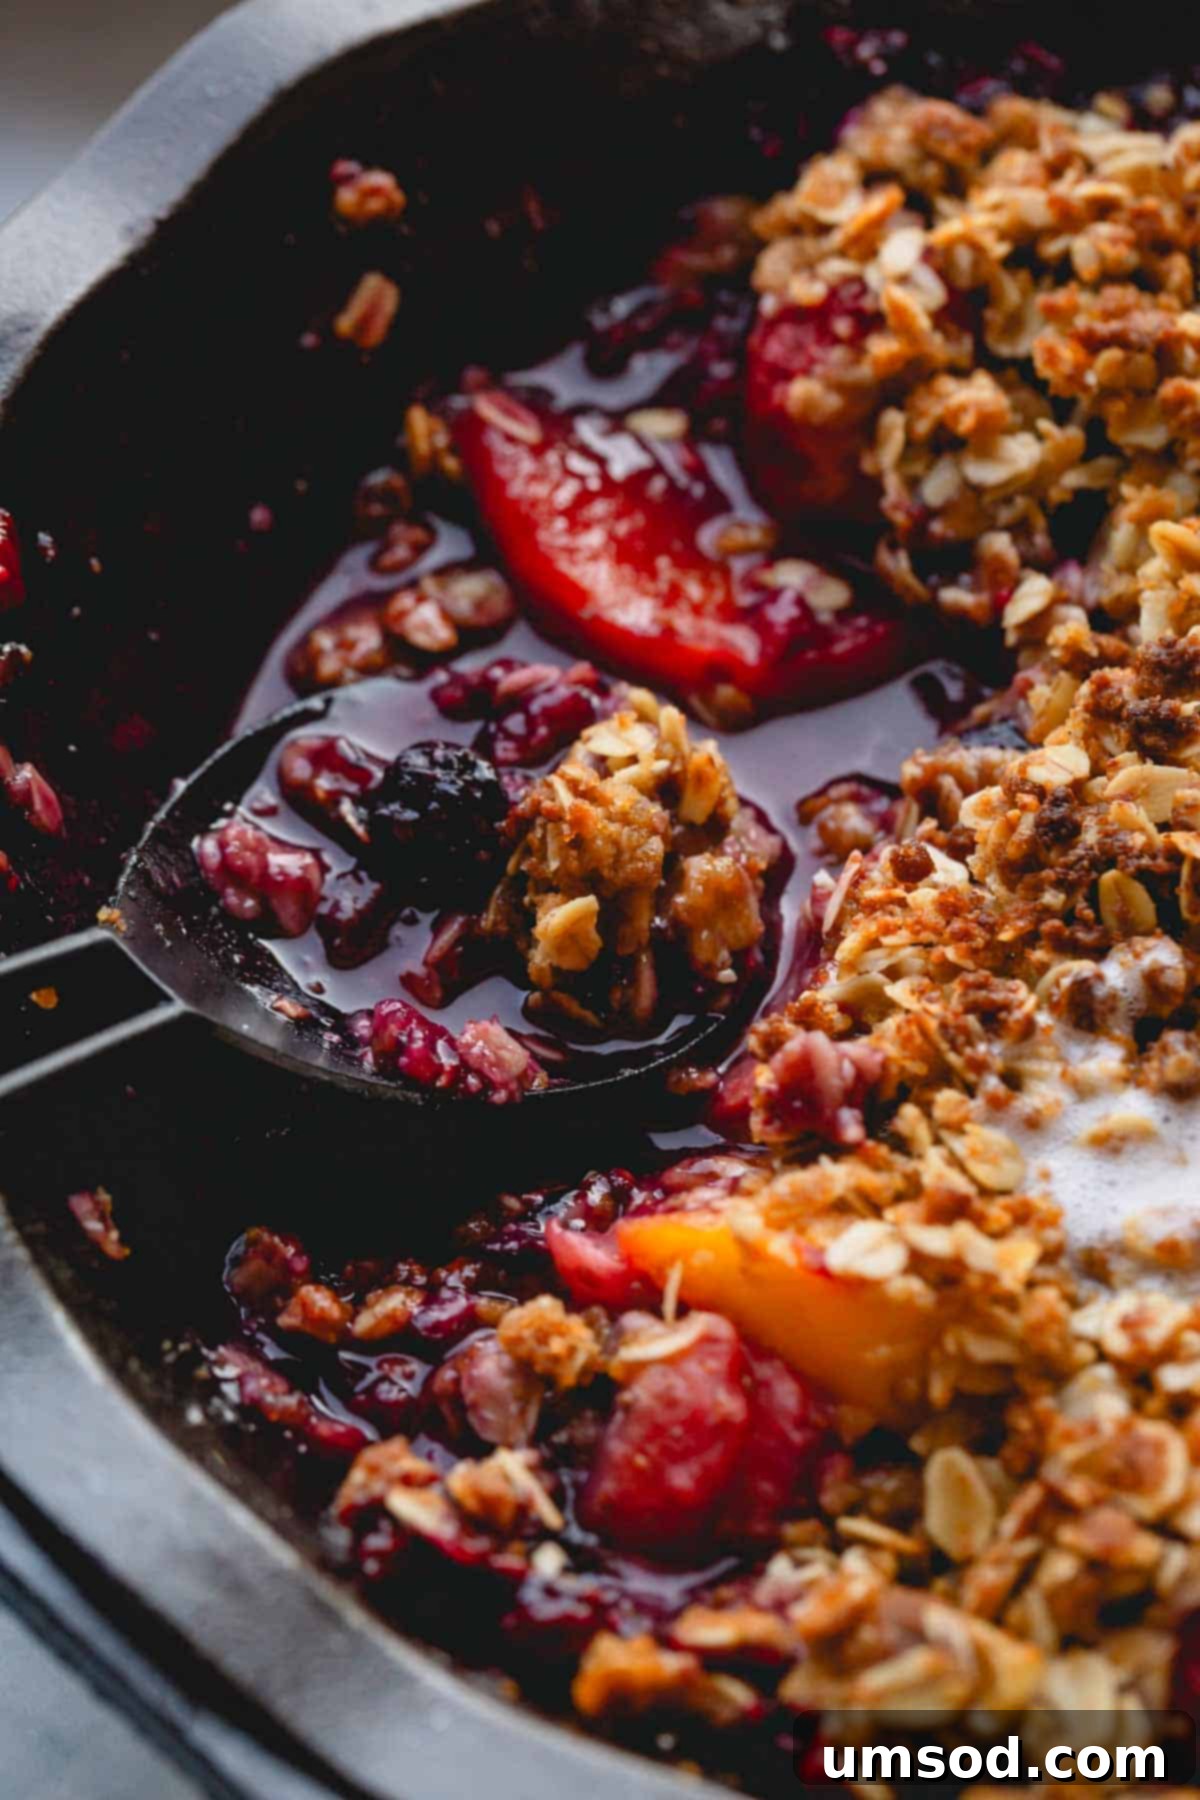
Summer often brings an abundance of fresh, sweet berries and stone fruits, making it a prime season for delicious fruit-filled desserts. While I adore using seasonal produce in recipes like my strawberry cheesecake tart, mini strawberry pies, and blueberry lemon cake, this particular fruit crisp recipe transcends seasons. It’s wonderfully versatile, allowing you to create a magnificent dessert with either fresh, vibrant fruits during peak season or conveniently with frozen fruits anytime you crave a taste of summer warmth. This adaptability makes it a truly year-round favorite in my kitchen and an essential addition to your dessert repertoire.
Why You’ll Adore This Easy Fruit Crisp Recipe
This dessert isn’t just delicious; it’s a dream to make and a joy to share. Here’s why this quick and easy fruit crisp will become your new go-to:
- Effortless for Every Baker: Whether you’re a complete novice or a seasoned pro, this recipe is designed for success. It demands only about 15 minutes of hands-on preparation, with just a few straightforward steps. Once assembled, your oven handles all the hard work, leaving you with a perfect dessert every time. No complex techniques or advanced baking skills are required, just simple mixing and baking!
- The Epitome of Comfort Food: Imagine a bowl of warm, bubbling fruit filling, rich with natural sweetness, covered by a crispy, golden-brown oat topping. This harmonious blend of textures and temperatures creates the ultimate comforting dessert experience. It’s like a hug in a bowl, perfect for chilly evenings or any moment you need a little warmth and sweetness.
- Incredibly Versatile & Customizable: This recipe is a fantastic canvas for creativity. You can easily adapt it based on what fruits are in season or what you have on hand in your freezer. Mix and match different berries, stone fruits, or apples to create unique flavor combinations every time you bake it. It’s endlessly adaptable, ensuring you never get bored!
Baked to golden perfection in under an hour, this fruit crisp is an absolute treat that’s always worth turning on the oven for. Its irresistible aroma will fill your home, drawing everyone to the kitchen in anticipation. Prepare for rave reviews and empty serving dishes!
Pin this now to find it later
Pin It
Essential Ingredients for the Perfect Fruit Crisp
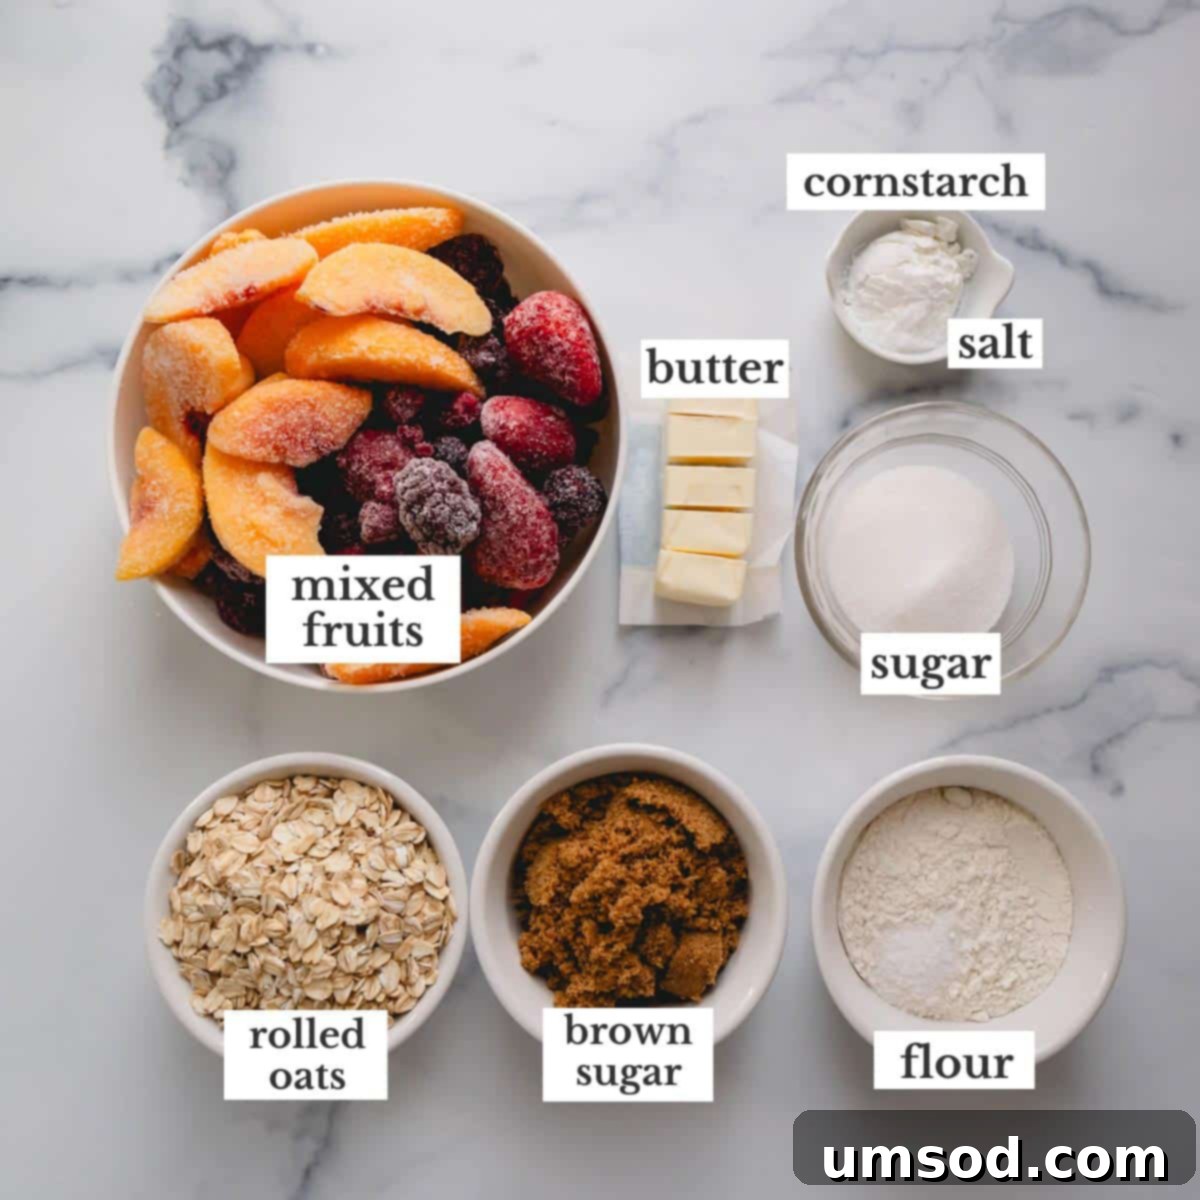
Creating an outstanding fruit crisp relies on a few simple, yet crucial ingredients. Understanding their role ensures your dessert turns out perfectly every time:
- Mixed Fruits: While I often gravitate towards a vibrant blend of blueberries, cherries, strawberries, and peaches for a fantastic balance of flavors, the beauty of this recipe lies in its flexibility. Feel free to use any fresh or frozen fruit you prefer. Just remember, frozen fruits can be used directly from the freezer; there’s no need to thaw them first!
- Granulated Sugar (for filling): This sugar primarily enhances the natural sweetness of your chosen fruits, ensuring a well-balanced flavor profile. The amount can be adjusted slightly based on the sweetness of your fruit.
- Cornstarch: This is a critical thickening agent for the fruit filling. Without it, the juices released by the fruit during baking would create a watery, runny center. Cornstarch works its magic by creating a luscious, spoonable consistency that beautifully holds its shape.
- Old-Fashioned Rolled Oats: For that signature crisp and crumbly topping, old-fashioned rolled oats are non-negotiable. Their hearty texture provides the perfect chewiness and structural integrity. Avoid steel-cut oats (which are too tough) or quick oats (which can turn mushy), as they won’t yield the desired golden, crisp texture.
- Brown Sugar: Reserved specifically for the crumble topping, brown sugar not only sweetens the mixture but also contributes a wonderful depth of flavor and a subtle caramel-like note, enhancing the golden hue and rich taste of the topping.
- All-Purpose Flour: Working in conjunction with the oats, flour provides the necessary structure to the topping. It helps bind the ingredients together, creating that irresistibly crumbly and delicious texture that defines a classic fruit crisp.
- Unsalted Butter: Melted butter is key to bringing the topping together. It moistens the dry ingredients, allowing them to form delicious crumbles that bake into a rich, golden, and crispy layer over the fruit.
- Coarse Kosher Salt: A pinch of salt in both the filling and the topping might seem minor, but it plays a significant role in enhancing all the other flavors, balancing the sweetness, and bringing out the best in both the fruit and the oat crumble.
Crafting Your Easy Fruit Crisp: Step-by-Step Guide
Preparing this homemade fruit crisp is incredibly simple, making it a perfect dessert for any occasion. Before you begin, preheat your oven to 350 degrees Fahrenheit (177°C). Gather all your ingredients close by, as this recipe comes together quickly and efficiently!
1. Prepare the Luscious Fruit Filling
The heart of your crisp lies in its vibrant fruit filling. Here’s how to prepare it:
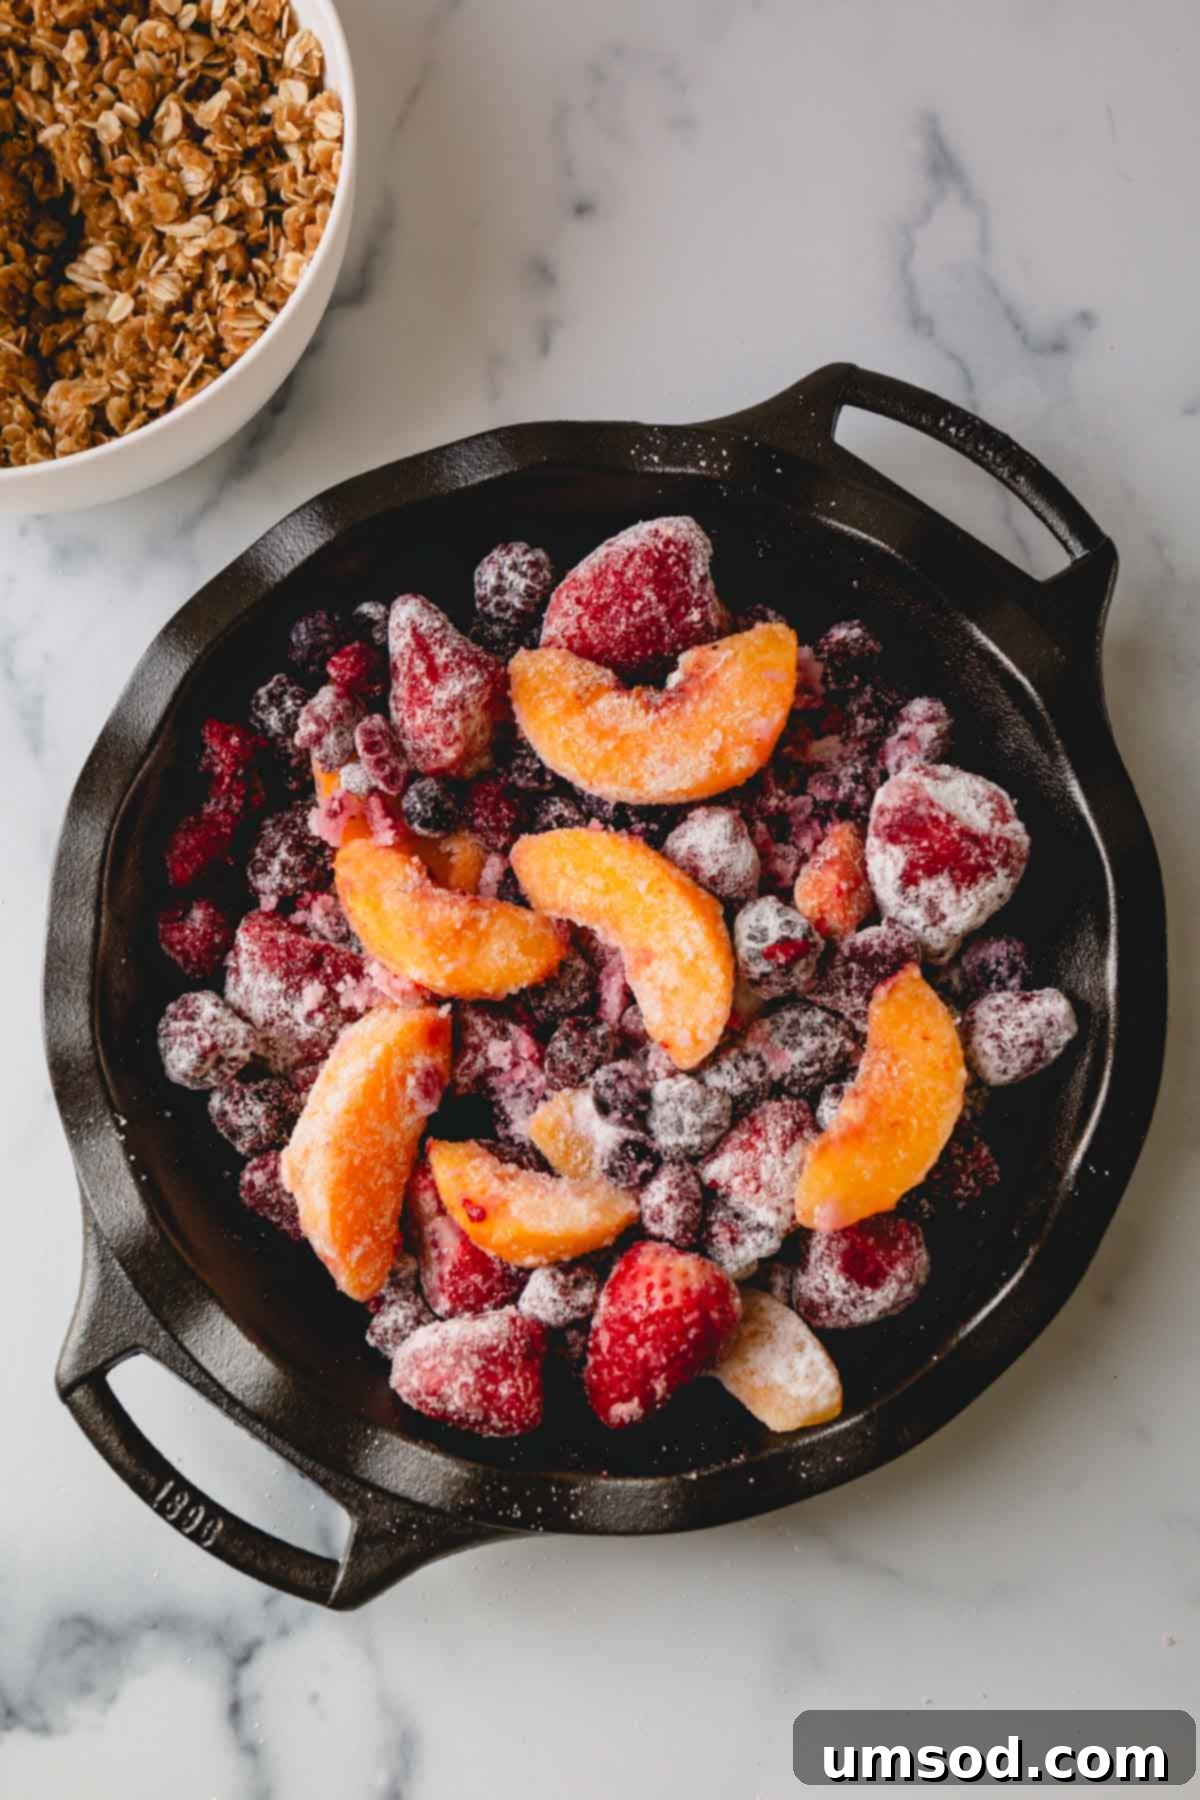
- Combine Dry Ingredients: In a small bowl, whisk together the granulated sugar, cornstarch, and a pinch of salt until well combined. This ensures the thickening agents and seasoning are evenly distributed throughout the fruit.
- Arrange Fruit: Place your chosen fruits – whether fresh or straight from the freezer – into a 9-inch baking dish. You don’t need to thaw frozen fruits; they’ll bake beautifully.
- Mix Filling: Sprinkle the prepared sugar mixture evenly over the fruit in the baking dish. Gently toss everything together until the fruits are lightly coated. This step ensures every piece of fruit is sweetened and the juices will thicken perfectly during baking.
2. Create the Irresistible Crisp Topping
The crunchy oat topping is what gives this dessert its signature “crisp” texture. It’s surprisingly easy to assemble:
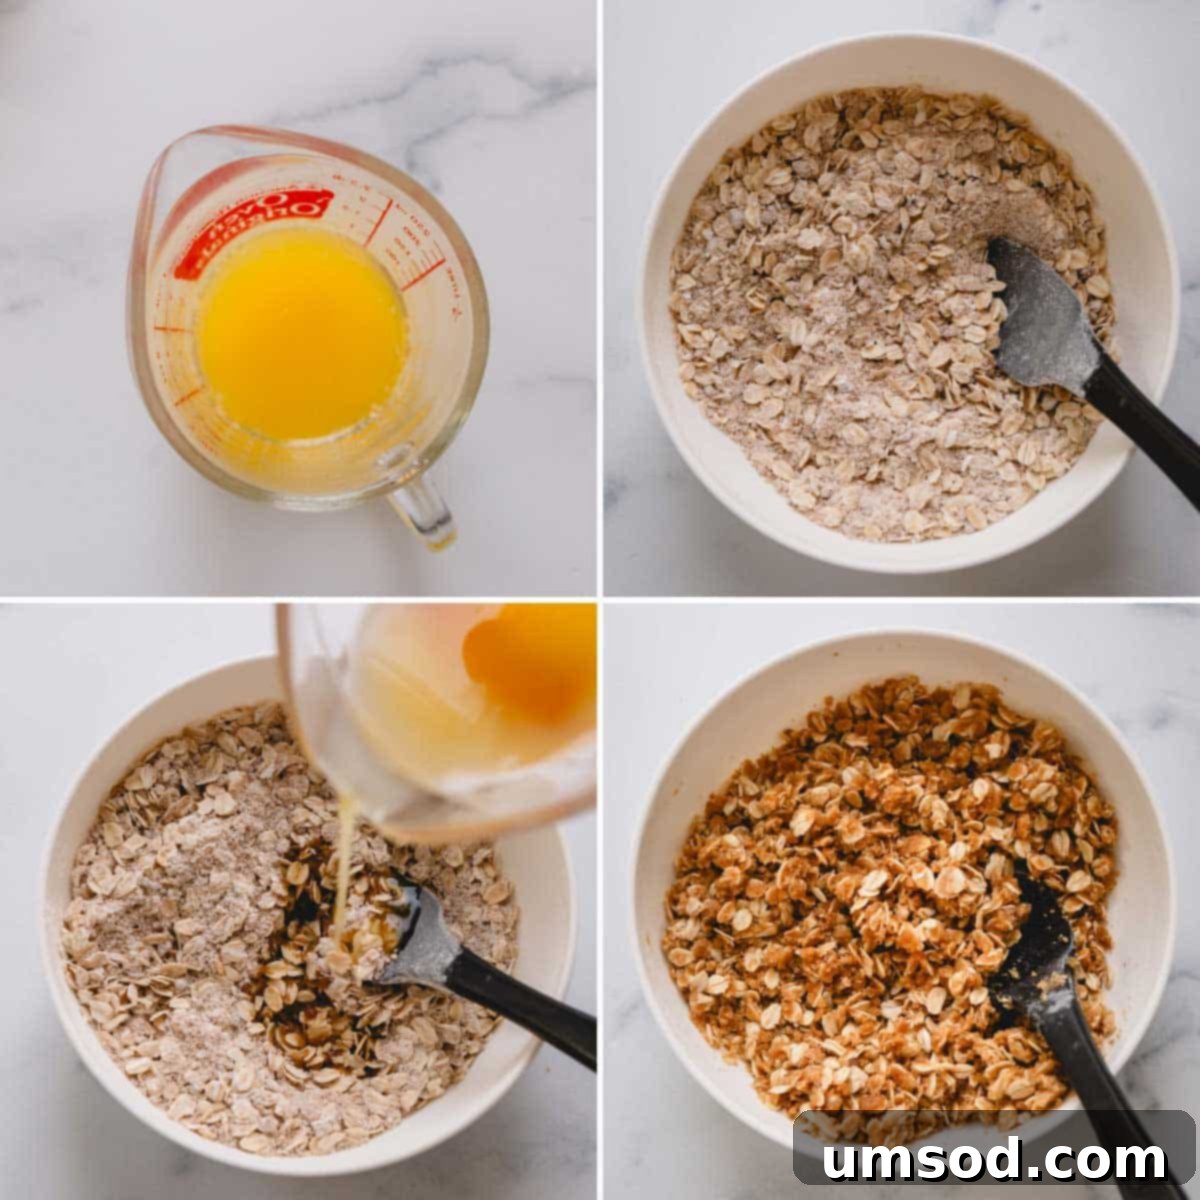
- Combine Dry Ingredients: In a medium bowl, add the old-fashioned rolled oats, packed brown sugar, all-purpose flour, and a pinch of salt. Whisk these dry ingredients together thoroughly to ensure they are evenly distributed. This forms the base of your crumbly topping.
- Add Butter: Pour the melted unsalted butter over the dry topping ingredients.
- Mix Until Moist: Using a fork or your fingertips, mix the butter into the dry ingredients until all the oats and flour are evenly moistened and the mixture resembles coarse crumbs. Avoid overmixing; some small clumps are desirable for that perfect crumbly texture.
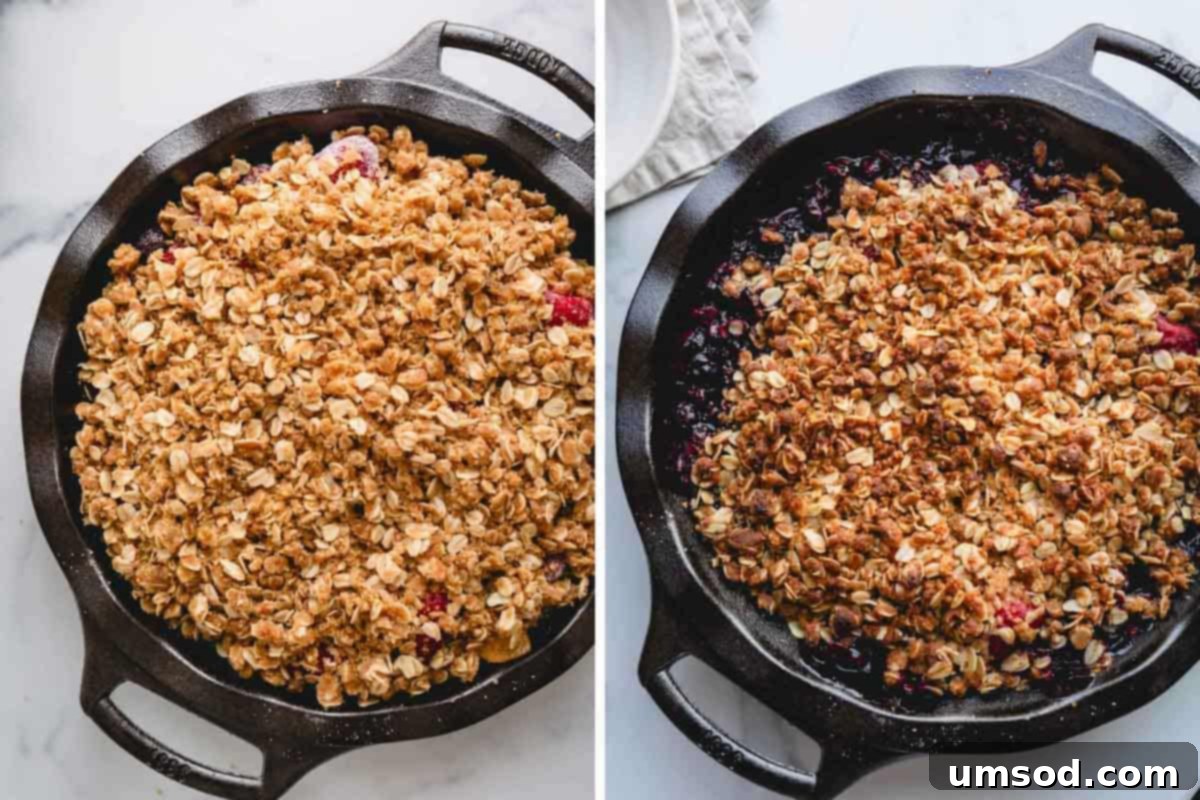
- Spread Over Fruit: Evenly spread the prepared crisp topping over the fruit filling in the baking dish. Make sure the fruit is completely covered to ensure a golden, crunchy crust.
3. Bake to Golden Perfection
The final step is to bake your crisp until the fruits are tender and the topping is beautifully golden:
- Bake: Carefully transfer your baking dish to the preheated oven.
- Monitor & Bake: Allow it to bake for 40-45 minutes, or until the fruit filling is bubbly and the oat topping turns a gorgeous golden brown. The aroma filling your kitchen will be a good indicator that it’s nearly ready!
- Serve & Enjoy: Remove from the oven and let it cool slightly for a few minutes before serving. This allows the filling to set a bit. Enjoy your warm fruit crisp immediately for the best experience!
How to Serve Your Delicious Fruit Crisp
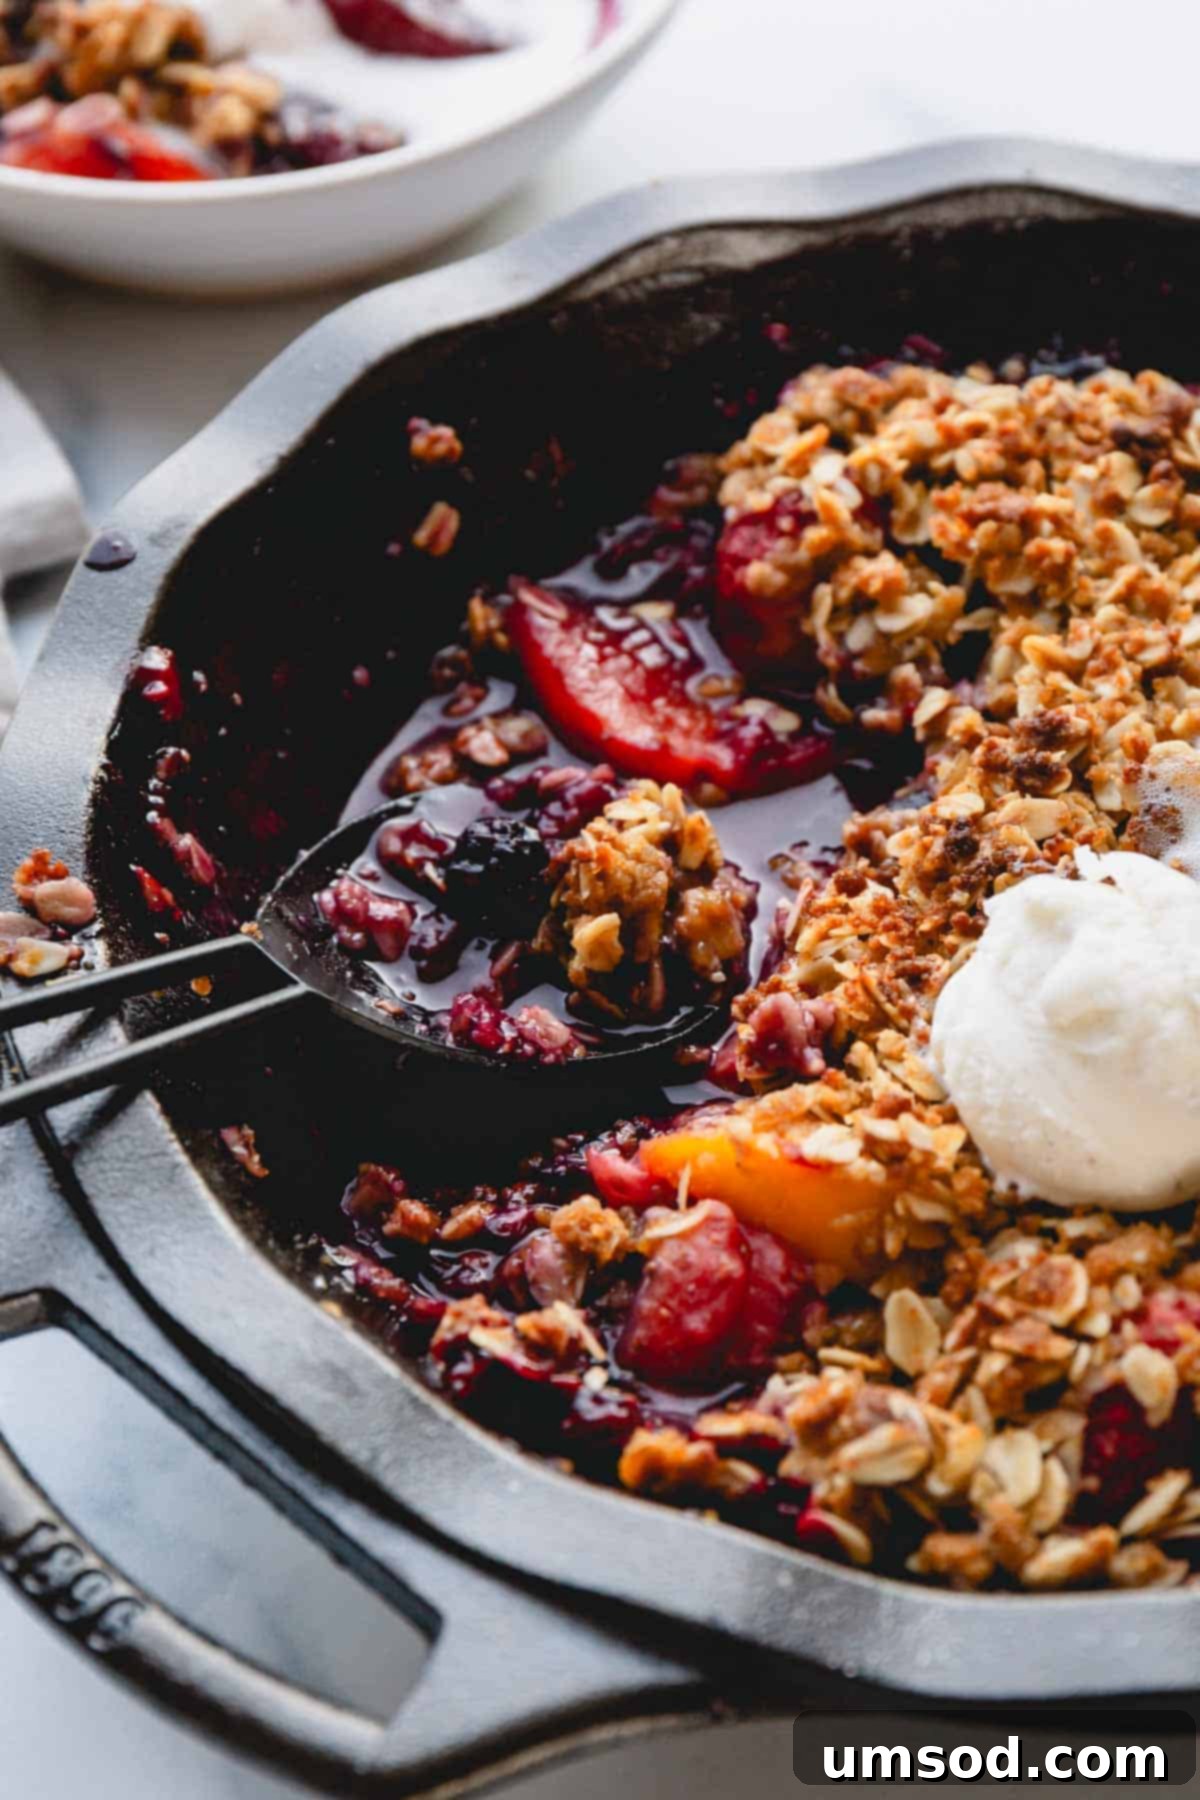
This easy fruit crisp recipe is truly delightful on its own, but its magic is amplified with the right accompaniments. I absolutely love topping it off with a big dollop of cold homemade vanilla bean ice cream, a swirl of light and airy whipped cream, or a tangy spoonful of crème fraîche. The perfect interplay of hot and cold temperatures, combined with the soft, tender fruit filling and the crisp, crumbly topping, creates a sensory experience that no one can resist. Consider a drizzle of caramel sauce or a sprinkle of toasted nuts for an extra touch of indulgence!
Exciting Flavor Variations to Try
One of the best aspects of this fruit crisp recipe is its incredible adaptability. Feel free to experiment and customize it to your heart’s content. Here are a few suggestions to inspire your culinary creativity:
- Bright Citrus Notes with Lemon: For a refreshing twist, add a teaspoon of fresh lemon juice and a tablespoon of lemon zest to your fruit filling. The bright, tangy citrus perfectly balances the sweetness of the sugar and enhances the fruit’s natural flavors, adding a vibrant zing.
- Endless Fruit Combinations: Don’t limit yourself to one type of fruit! Peaches, plums, blackberries, raspberries, cherries, and classic apples all taste fantastic in a crisp. Try a combination of apples and pears with a hint of cinnamon for a fall-inspired treat, or a vibrant mix of all your favorite summer berries.
- A Touch of Vanilla: To add an extra layer of warmth and depth to your fruit filling, stir in a teaspoon of pure vanilla extract. Its aromatic notes complement most fruits beautifully.
- Sophisticated Liqueur Infusion: For an adult-friendly version, include a small amount (1-2 tablespoons) of your favorite fruit-friendly liqueur in the filling. Amaretto pairs wonderfully with peaches or cherries, while Chambord enhances berries. The alcohol will cook off, leaving behind a richer, more complex fruit flavor.
- Warm Spices for Depth: A small dash of warm spices like cinnamon, nutmeg, allspice, or a pumpkin pie spice blend can transform the flavor profile, adding comforting depth. These spices pair exceptionally well with apples, pears, and peaches, making it perfect for cooler weather.
- Crunchy Nut Additions: If you love extra crunch, consider incorporating chopped nuts into your oat topping. Almonds, pecans, or walnuts are excellent choices that add texture and a rich, nutty flavor. You can lightly toast them beforehand for even more depth.
Expert Tips for a Flawless Fruit Crisp
Achieve fruit crisp perfection every time with these helpful tips:
- Mix Ingredients Thoroughly: Ensuring that both the fruit filling and the oat topping ingredients are thoroughly and evenly combined is the secret to a consistently delicious crisp. For the fruit, this means every piece is coated with sugar and cornstarch, guaranteeing a sweet flavor and a perfectly thickened sauce. For the topping, even moistening ensures a uniform crisp, golden texture.
- Choose the Right Baking Dish: I highly recommend using a 9-inch baking dish for this fruit crisp, such as a pie plate or an 8×8-inch square dish. This size allows for an ideal fruit-to-topping ratio and proper heat distribution. If your baking dish is shallower or significantly larger, the fruit may bubble over or the crisp may bake too quickly. If you must use a shallow dish, place a baking sheet underneath to catch any potential overflow.
- Avoid Overbaking: Keep a close eye on your crisp towards the end of the baking time. You’ll want to remove the baking dish from the oven as soon as the top turns a beautiful golden brown and the fruit filling is visibly bubbling around the edges. Remember, the crisp will continue to bake slightly from residual heat as it cools. It’s perfectly okay if the center still looks a tiny bit soft; it will set up as it cools, preventing a dry or over-browned topping.
- Use Ripe Fruit: While frozen fruit works wonderfully, if using fresh, opt for ripe fruit. Ripe fruit has more natural sweetness, reducing the need for excessive added sugar and yielding a more flavorful filling.
- Don’t Pack the Topping: When spreading the crumble topping over the fruit, avoid pressing it down too firmly. A light, loose application allows for better air circulation, resulting in a crispier texture.
Make-Ahead Fruit Crisp for Easy Entertaining
Planning ahead for a party or simply want to save time? This fruit crisp can be prepared in advance, making your life much easier:
- Prepare the Filling: Mix your fruit filling as directed, then cover the baking dish tightly with plastic wrap or aluminum foil. Store it in the refrigerator for up to 2 days.
- Prepare the Topping: Make the crisp topping mixture, then transfer it to an airtight freezer-safe bag or container. It can be stored in the freezer for up to 3 months.
- Bake When Ready: When you’re ready to bake, combine the chilled fruit filling and the frozen topping in your baking dish. Bake as normal, but you might need to add an extra 5-10 minutes to the baking time to ensure the fruit is bubbly and the top is golden brown and crisp, as the ingredients will be starting from a colder temperature.
Storing Leftover Fruit Crisp
While this fruit crisp is undeniably best served warm and fresh, leftovers are still incredibly delicious! Here’s how to store them properly:
- Cool First: Allow the crisp to cool completely to room temperature before storing. This prevents condensation from making the topping soggy.
- Cover Tightly: Once cooled, cover the baking dish tightly with aluminum foil or plastic wrap.
- Refrigerate: Store your crisp in the refrigerator for up to 3 days.
- Reheating Options: Enjoy leftovers cold straight from the fridge for a delightful chilled treat. Alternatively, to warm them, place the covered dish in an oven preheated to 350 degrees Fahrenheit (177°C) for about 20 minutes, or until warmed through. If the topping starts to brown too much, loosely cover it with foil and continue baking until warm. Reheating in a microwave is possible, but it may compromise the crispness of the topping.
Frequently Asked Questions About Fruit Crisps
While often used interchangeably, a fruit crumble technically differs from a crisp in its topping. A crumble topping typically consists of butter, flour, and sugar, resulting in a denser, sometimes clumpier, and slightly softer texture. A crisp, on the other hand, always includes oats in its topping, which contributes to a distinctly crispier and more textural, golden-brown finish.
The main distinction between a fruit cobbler and a fruit crisp lies in their toppings. Cobblers are characterized by a biscuit-like dough topping, often dropped in dollops over the fruit, creating a “cobbled” appearance after baking. Crisps, as discussed, feature a streusel-like topping made with oats, flour, and sugar, resulting in a crunchy, crumbly layer.
Traditional pie recipes, such as a classic cherry pie, feature a buttery pastry crust that fully encases the filling, both on the bottom and often with a lattice or solid crust on top. Crisps, however, are made with a streusel-like crumbly topping that only covers the top of the fruit filling, leaving the sides exposed and focusing on the contrast between the soft fruit and crunchy topping.
Yes, absolutely! To make this fruit crisp gluten-free, simply ensure you use certified gluten-free old-fashioned rolled oats and substitute the all-purpose flour in the topping with a 1:1 gluten-free baking flour blend. The cornstarch in the filling is already gluten-free.
More Easy Dessert Recipes to Explore
If you loved this easy fruit crisp, you’ll surely enjoy these other delightful and simple dessert recipes:
- Raspberry Lemon Tartlets
- Triple Raspberry Mini Pavlova
- Raspberry Lemon Meringue Tartlets
- Lemon Raspberry Cheesecake Bars
Easy Fruit Crisp
Shinee Davaakhuu
15 minutes
45 minutes
1 hour
6 servings
Comment
Print Recipe
Ingredients
For filling:
- 4 cups (560 g) mixed fruits fresh or frozen, Note 1
- ¼ cup (50 g) granulated sugar
- 1 tablespoon (8 g) cornstarch
- ¼ teaspoon coarse kosher salt
For topping:
- 1 cup (90 g) old-fashioned rolled oats
- ½ cup (100 g) packed brown sugar
- ½ cup (65 g) all-purpose flour
- ¼ teaspoon coarse kosher salt Note 2
- 1/3 cup (75 g) unsalted butter melted
Equipment
- 1 (9-inch) baking dish
Instructions
- Preheat the oven to 350°F (177°C).
- To prepare the filling, whisk together sugar, cornstarch and salt in a small bowl.¼ cup granulated sugar,
1 tablespoon cornstarch,
¼ teaspoon coarse kosher salt - Place the fruits in 9-inch baking dish.4 cups mixed fruits
- Add sugar mixture over fruits and mix everything until evenly coated.
- To prepare the topping, combine the dry ingredients (oats, brown sugar, flour, and salt) in a medium bowl.1 cup old-fashioned rolled oats,
½ cup packed brown sugar,
¼ teaspoon coarse kosher salt,
½ cup all-purpose flour - Add the melted butter and mix until all the dry ingredients are evenly moistened and form coarse crumbs.1/3 cup unsalted butter
- Spread the topping evenly over the fruits in the baking dish.
- Bake the crisp for 40-45 minutes, or until the fruit filling is bubbly and the crust is nice and golden brown.
- Serve warm or at room temperature with a scoop of vanilla ice cream or a dollop of whipped cream, if desired.
⭐️ Did you make this recipe?
Please leave a review and let us know how you liked it!
Tips & Notes
Storing Tips:
– To prepare in advance, form the fruit filling and oat topping separately. Store the fruit filling covered in the fridge for up to 2 days, and keep the topping in a sealable bag in the freezer for up to 3 months. To bake, combine the chilled/frozen ingredients in your baking dish, and bake as normal, adding a few extra minutes as needed until the topping is golden and crisp.
– Once completely cooled, cooked fruit crisp can be covered tightly and stored in the fridge for up to 3 days.
– Enjoy cold, or warm leftovers in the oven at 350 degrees Fahrenheit (177°C) for about 20 minutes. If the topping begins to brown too much, cover it loosely with foil and continue to bake until thoroughly warmed.
Nutrition
1 serving
376kcal
68g
4g
11g
44g
209mg
Dessert
American
Did you make this?
Leave a rating and your feedback. Thank you!
This recipe was originally published on July 21, 2014, and has been updated for clarity, comprehensiveness, and improved SEO.
