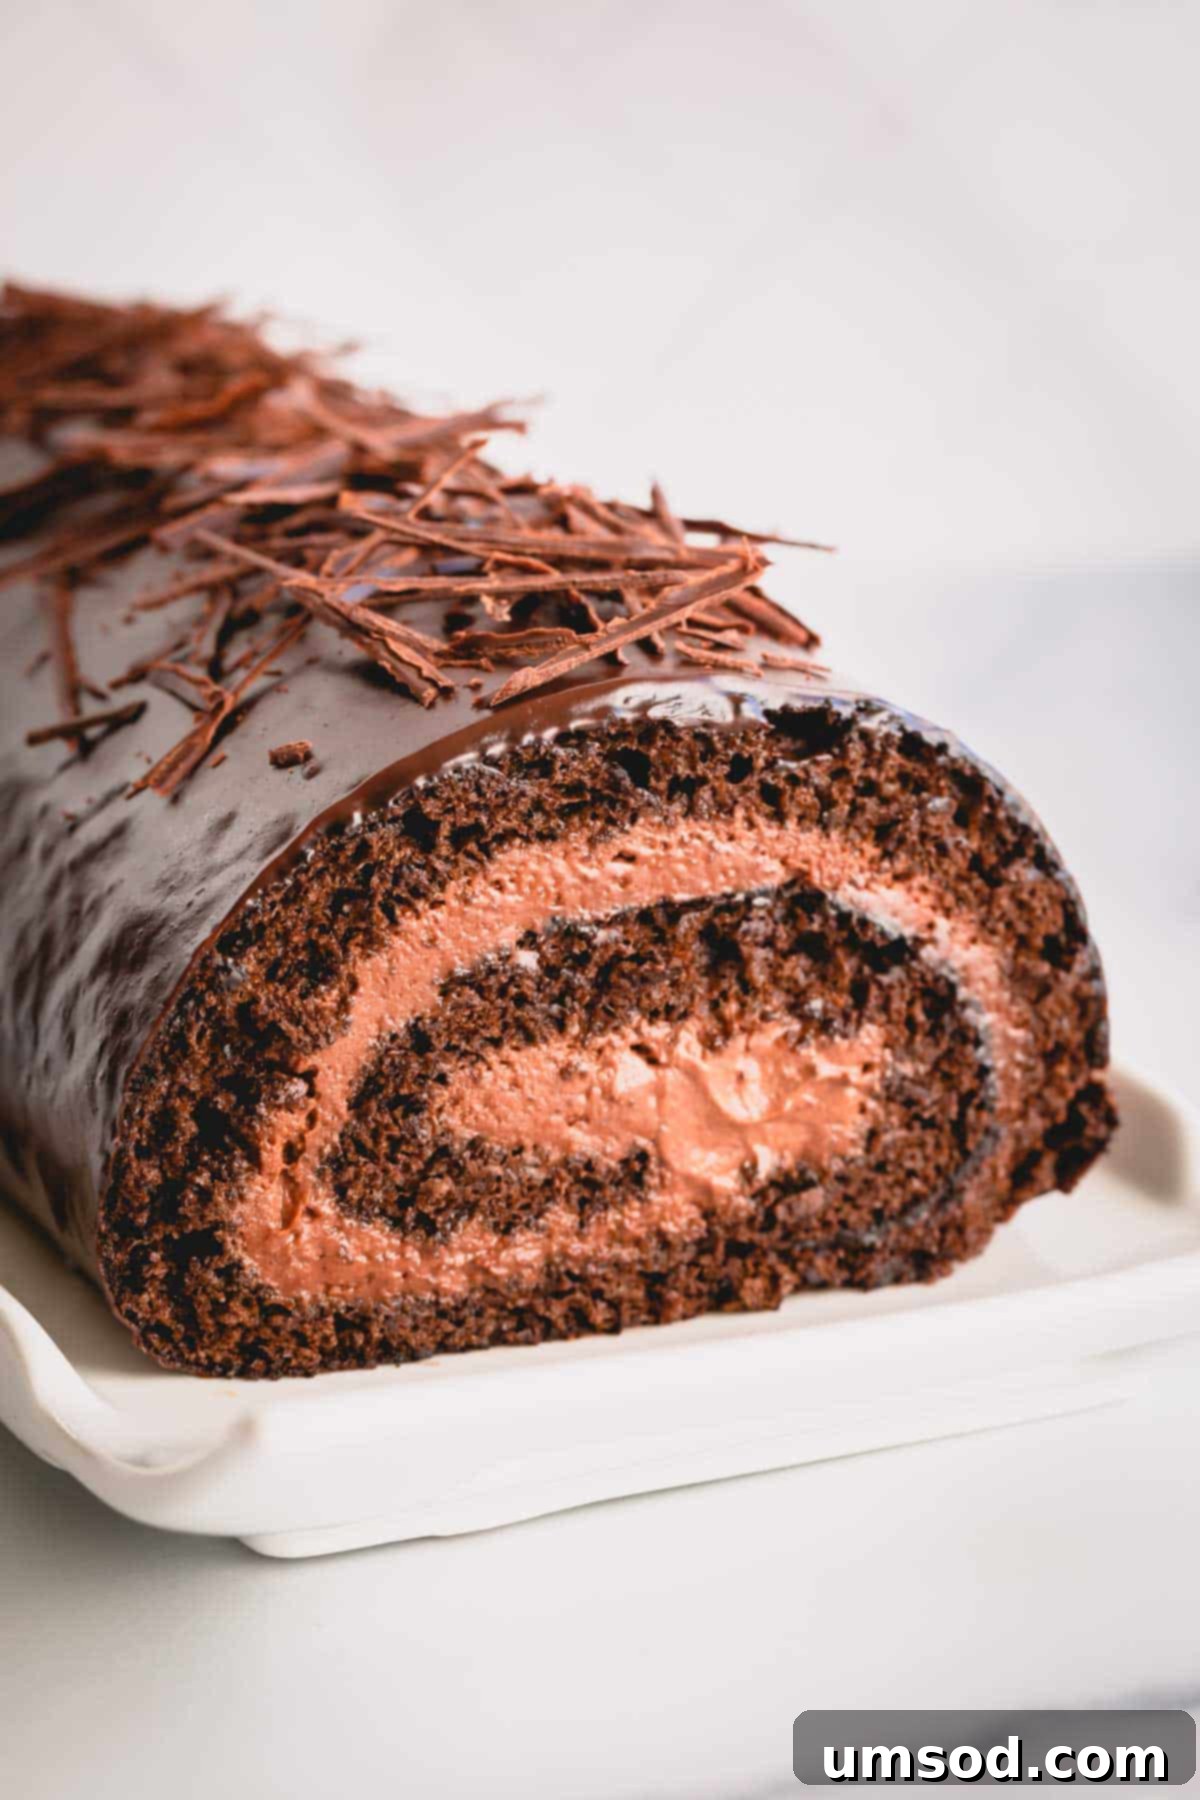
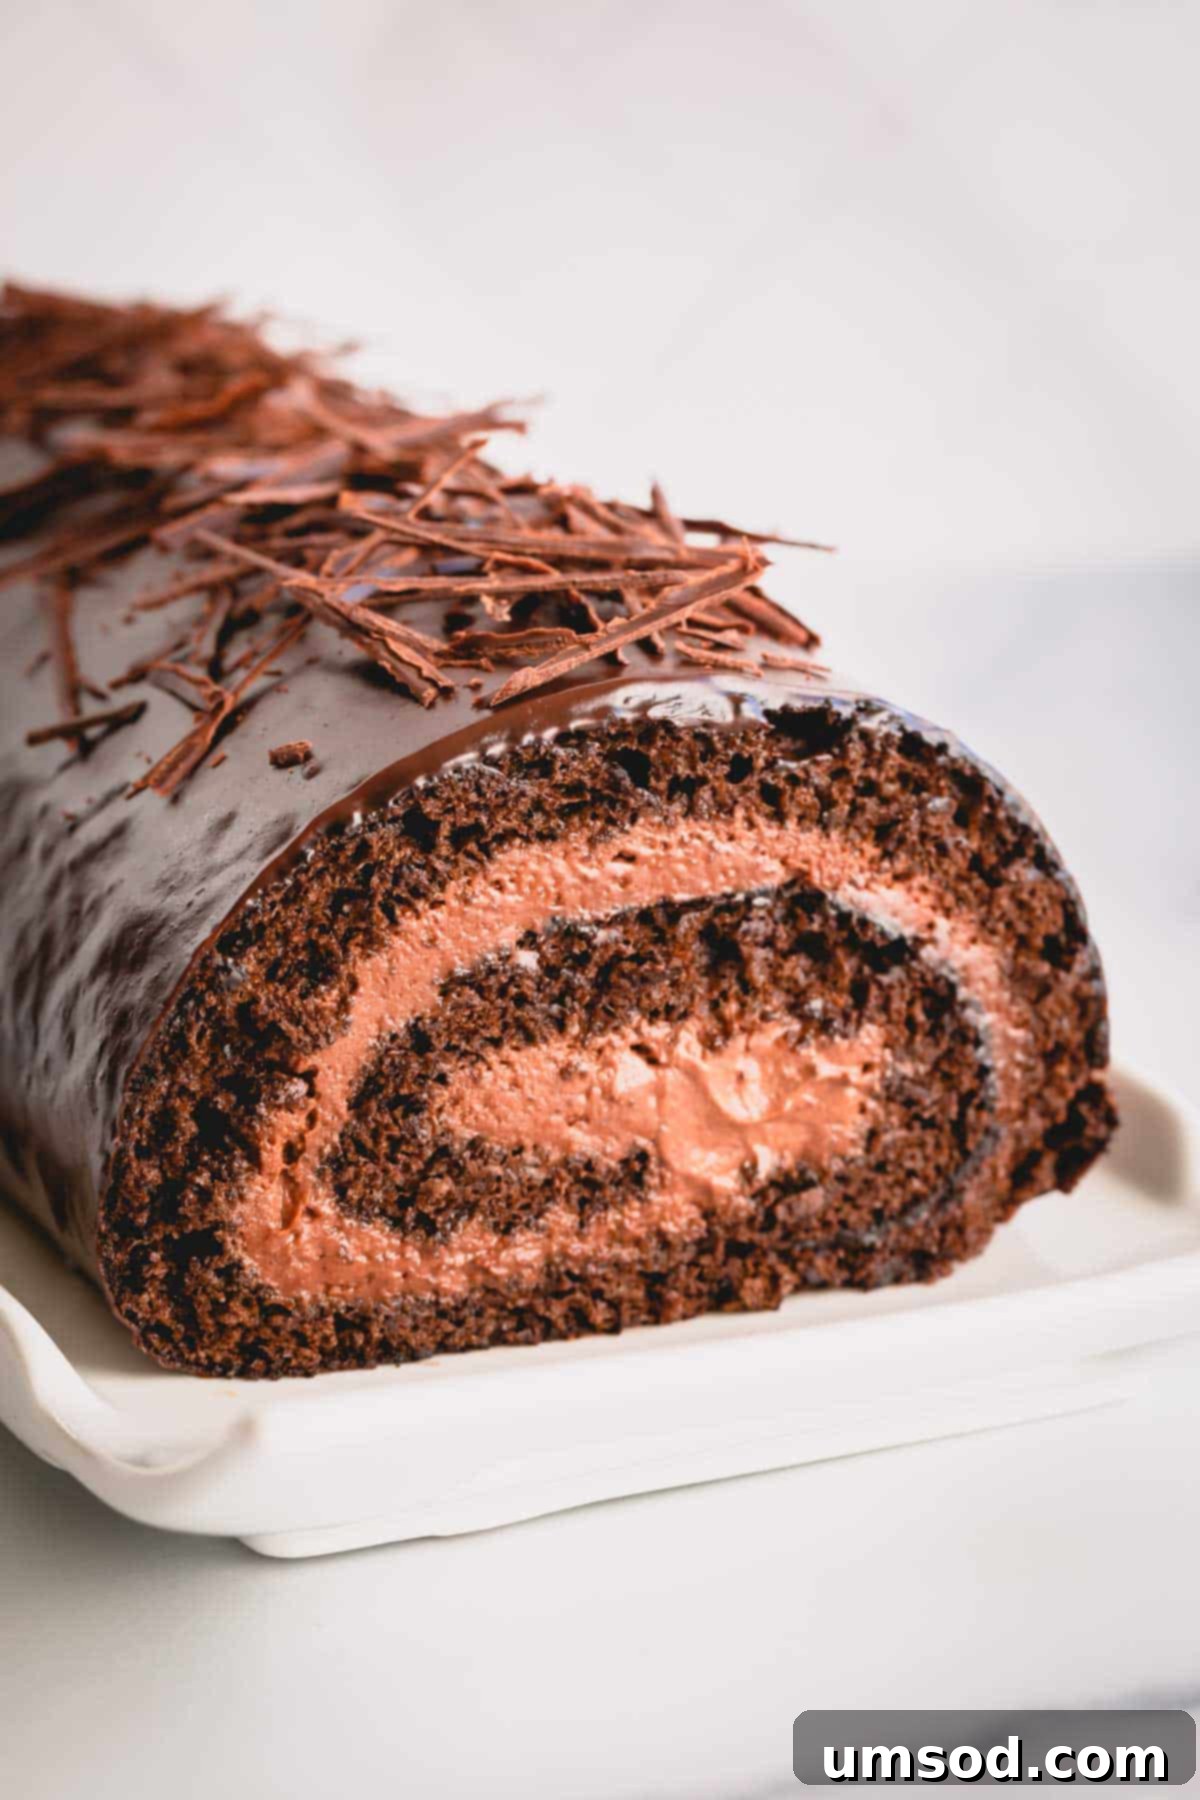
Prepare to create a truly unforgettable dessert with this exquisite chocolate roll cake. This recipe features an incredibly light and airy chocolate sponge, generously filled with a silky-smooth chocolate mousse, and elegantly drizzled with a rich, glossy ganache. It’s not just a cake; it’s a celebration in every slice, making it the perfect showstopper for holidays, birthdays, or any special occasion that calls for something extraordinary.
Why This Chocolate Roll Cake Will Captivate Everyone
This chocolate roll cake recipe perfectly harmonizes lightness with rich indulgence, offering a dessert that feels both sophisticated and comforting. Unlike many dense or overly sweet cakes, this creation provides a balanced and intensely satisfying chocolate experience. Its elegant presentation ensures it will be the star of any dessert table, garnering admiration from all your guests.
The foundation of this masterpiece is a delicate yet robust chocolate sponge cake. Crafted with precision using carefully whipped egg whites and superior cake flour, it achieves a moist, pillowy-soft texture that is remarkably pliable. This allows for effortless rolling without the worry of cracks, a common challenge in roll cake baking.
The interior boasts a luxuriously smooth chocolate mousse, a creamy cloud of chocolate bliss that melts in your mouth and perfectly complements the light sponge. Finally, a rich, homemade chocolate ganache coats the exterior, adding an irresistible sheen and a final layer of deep chocolate flavor. This combination is a dream come true for chocolate enthusiasts!
- Balanced Flavor and Texture: Enjoy a cake that is wonderfully light and not excessively sweet, allowing the authentic, deep chocolate flavor to shine.
- Stunning Visual Appeal: Its elegant rolled shape and glossy finish make it a truly impressive centerpiece, guaranteed to draw compliments.
- Achievable for Home Bakers: Despite its sophisticated appearance, this cake roll recipe is designed with clear, detailed instructions, making it an enjoyable and manageable project for bakers of all skill levels.
Move over, store-bought treats! This homemade chocolate Swiss roll transcends ordinary desserts. While the luxurious chocolate mousse filling is highly recommended for an unparalleled taste experience, this versatile sponge cake can also be filled with your favorite fruit jams, classic buttercreams, or a simple, freshly whipped cream, offering endless possibilities for customization.
Key Ingredients for an Impeccable Chocolate Sponge Cake
Achieving the signature light, airy, and pliable texture of this chocolate sponge cake relies on a few specific ingredients, each contributing vital characteristics. Understanding their roles is key to your baking success:
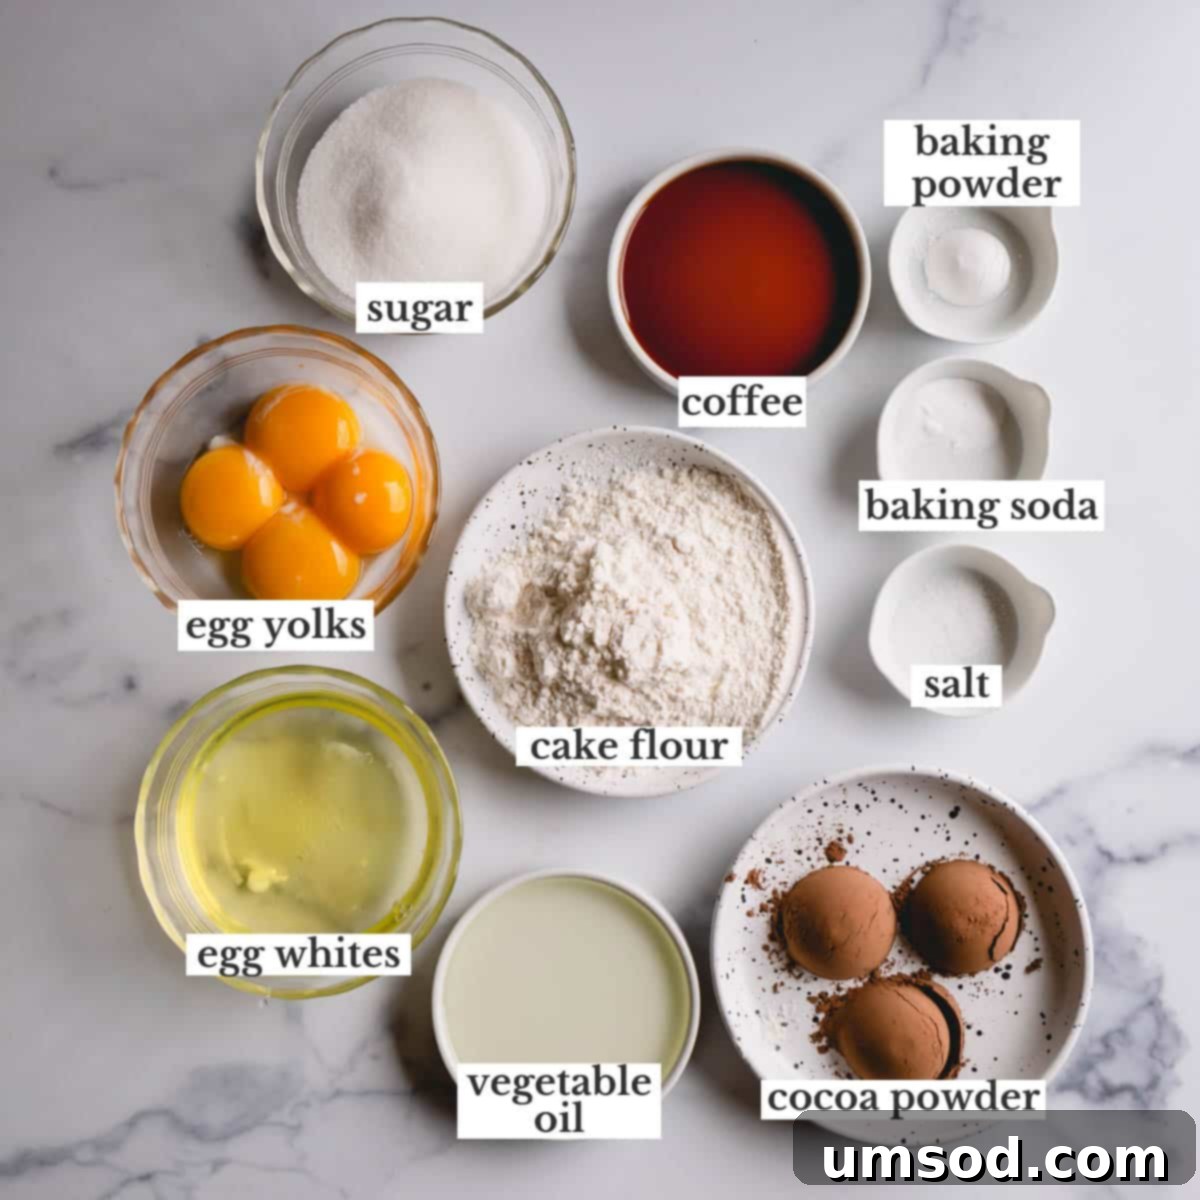
- Dutch-Processed Cocoa Powder: This is a critical ingredient for the sponge cake. Dutch-processed cocoa powder has been treated to neutralize its acidity, resulting in a deeper, darker chocolate color and a smoother, less bitter flavor compared to natural cocoa. Its reduced acidity also affects how it interacts with leavening agents, which is essential for the cake’s desired rise and tender crumb.
- Strong Brewed Coffee: A secret ingredient for enhancing chocolate, strong coffee doesn’t make your cake taste like coffee; instead, it profoundly amplifies and deepens the natural cocoa notes, making the chocolate flavor more robust and nuanced.
- Separated Eggs (Yolks and Whites): The separation of eggs is fundamental for creating the unique texture of this sponge. Egg yolks add richness, moisture, and emulsification, while vigorously whipped egg whites are folded into the batter to provide the cake’s incredibly light and airy structure, crucial for its rollability without cracking.
- Cake Flour: Essential for an ultra-light and tender crumb, cake flour has a lower protein content than all-purpose flour. This reduced protein translates to less gluten development during mixing, preventing the cake from becoming tough and ensuring it remains delicate and pliable, perfect for rolling.
- Fresh Leavening Agents (Baking Powder & Baking Soda): Always verify the freshness of your baking powder and baking soda. If these leavening agents are old, they lose their potency, which can lead to a flat, dense cake rather than the desired fluffy, light sponge. Properly active leaveners ensure your cake rises beautifully.
Mastering the Art: Step-by-Step Chocolate Roll Cake Instructions
While a Swiss roll cake might seem more intricate than a standard layer cake, breaking it down into manageable steps makes the process enjoyable and ensures a stunning outcome. Follow these detailed instructions carefully to achieve a perfect, crack-free chocolate roll cake every time.
1. Crafting the Silky Chocolate Mousse Filling
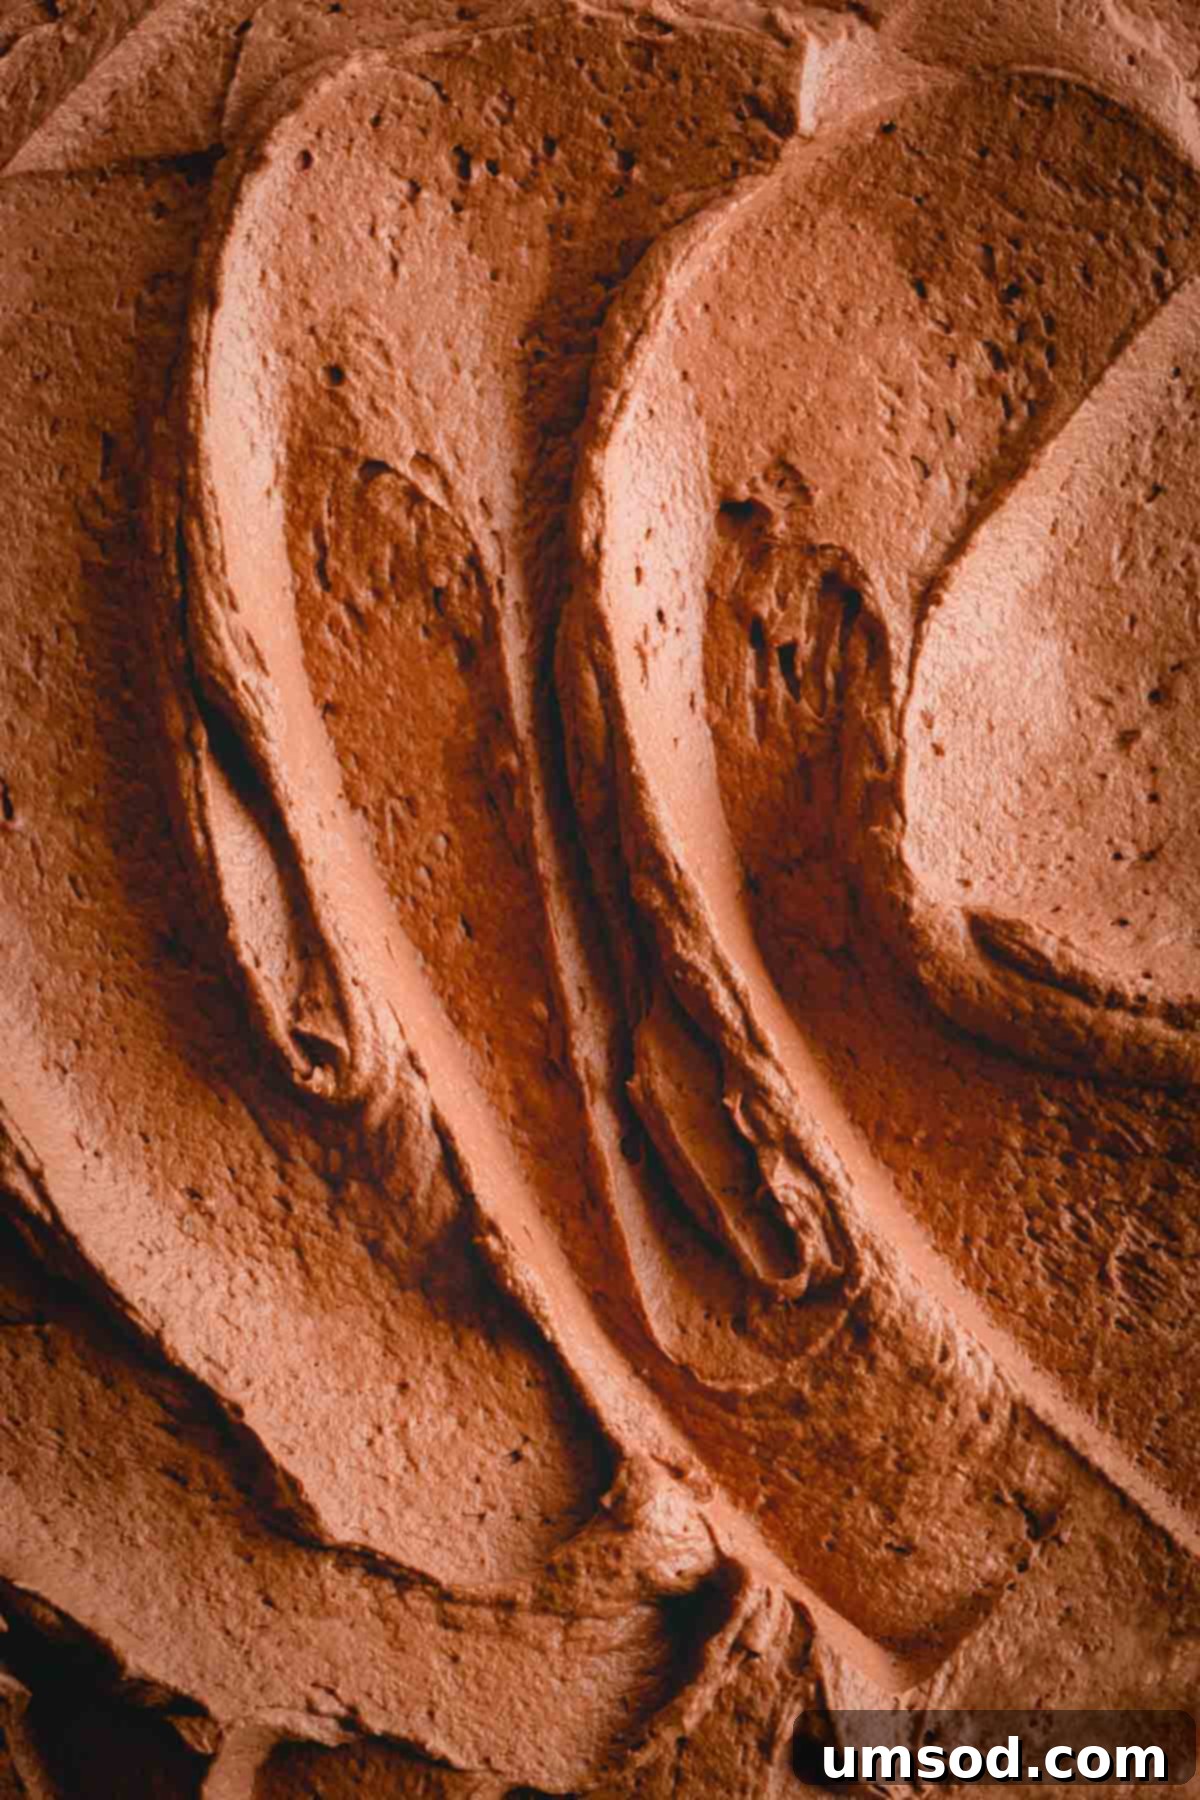
The chocolate mousse serves as the luxurious heart of this cake, providing a cool, creamy contrast to the warm, light sponge. For an in-depth, visual guide complete with photos and expert tips, please refer to our dedicated chocolate mousse filling tutorial. It is advisable to prepare the mousse first, allowing it ample time to chill and firm up in the refrigerator while you focus on baking the cake.
2. Baking the Impeccable Chocolate Sponge
- Preparation is Key: Begin by carefully separating your egg yolks from the egg whites. Cold eggs are generally easier to separate as the yolks are firmer and less likely to break. Once separated, allow the egg whites to come to room temperature (approximately 30 minutes) before whipping, as they will achieve maximum volume and stability.
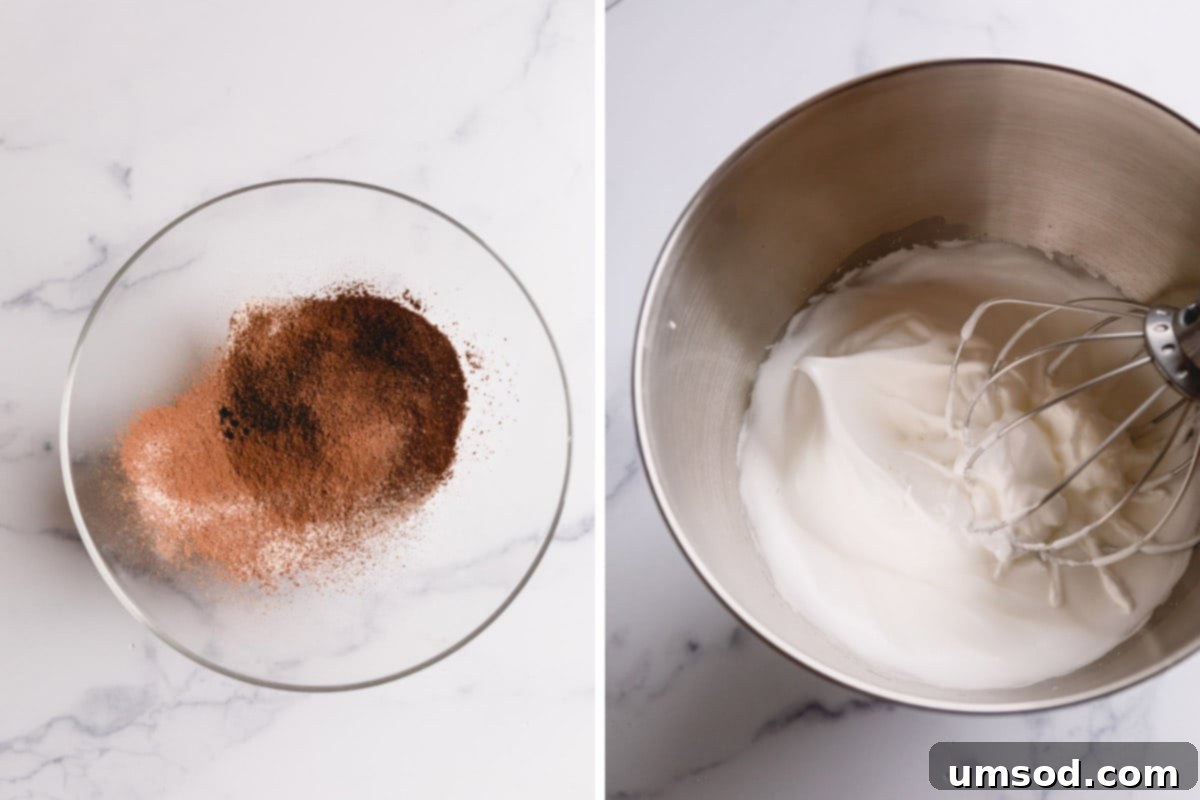
- Sift Dry Ingredients: In a medium-sized bowl, combine and thoroughly sift the cake flour, Dutch-processed cocoa powder, baking powder, baking soda, and salt. Sifting removes any lumps, aerates the flour, and ensures all dry ingredients are perfectly blended, leading to a smoother batter and a more tender cake crumb.
- Whip Egg Whites: In a large, impeccably clean mixing bowl equipped with a whisk attachment (it’s crucial that the bowl and whisk are free of any fat residue), begin beating the egg whites on a medium speed until they become frothy. Gradually add 1/4 cup of granulated sugar, incorporating it one tablespoon at a time as you continue to whip. Increase the mixer speed to medium-high and continue beating until stiff, glossy peaks form when you lift the whisk.
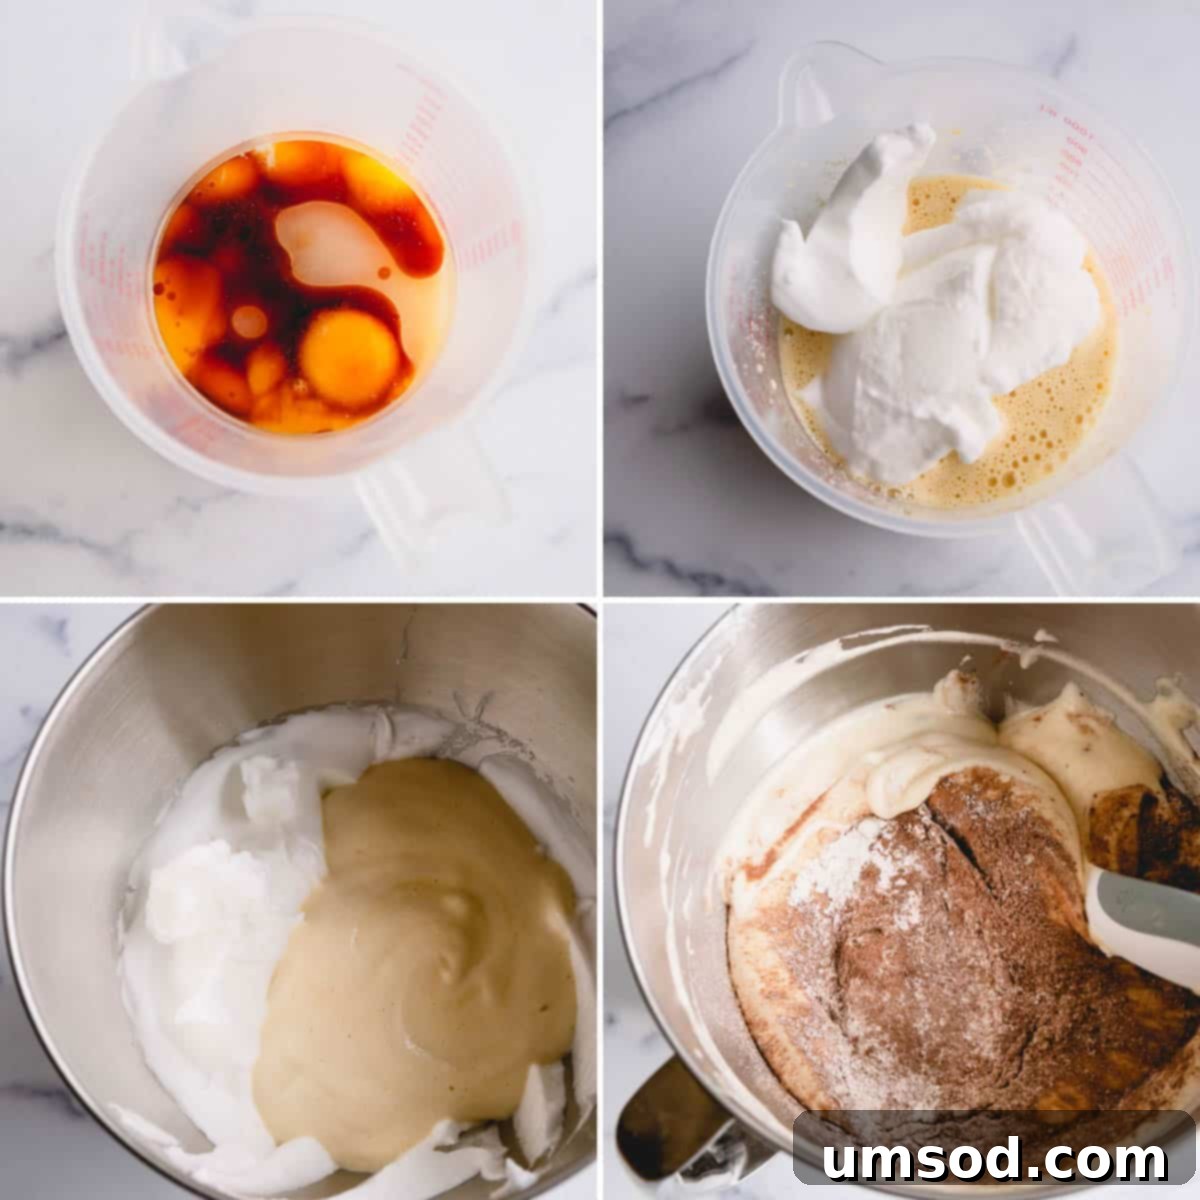
- Whip Egg Yolks: In a separate, clean mixing bowl with a whisk attachment, beat the egg yolks together with the remaining 1/4 cup of granulated sugar, vegetable oil, and strong coffee. Continue to beat this mixture until it has tripled in volume and appears significantly lighter in color, becoming pale yellow and airy. This emulsification step adds vital moisture and tenderness to the cake.
- Gently Combine Mixtures: To create the light and airy cake batter, carefully fold about half of the whipped egg whites into the whipped egg yolk mixture using a spatula. Mix gently until just combined. Then, incorporate the remaining whipped egg whites, folding them in delicately. It is paramount to fold lightly to preserve the air trapped in the egg whites, which gives the sponge its characteristic lightness.
- Incorporate Dry Ingredients: With the utmost care, gradually fold the sifted dry flour mixture into the combined wet batter. Mix only until no streaks of dry flour are visible. Overmixing at this stage will overdevelop gluten, resulting in a tough cake.
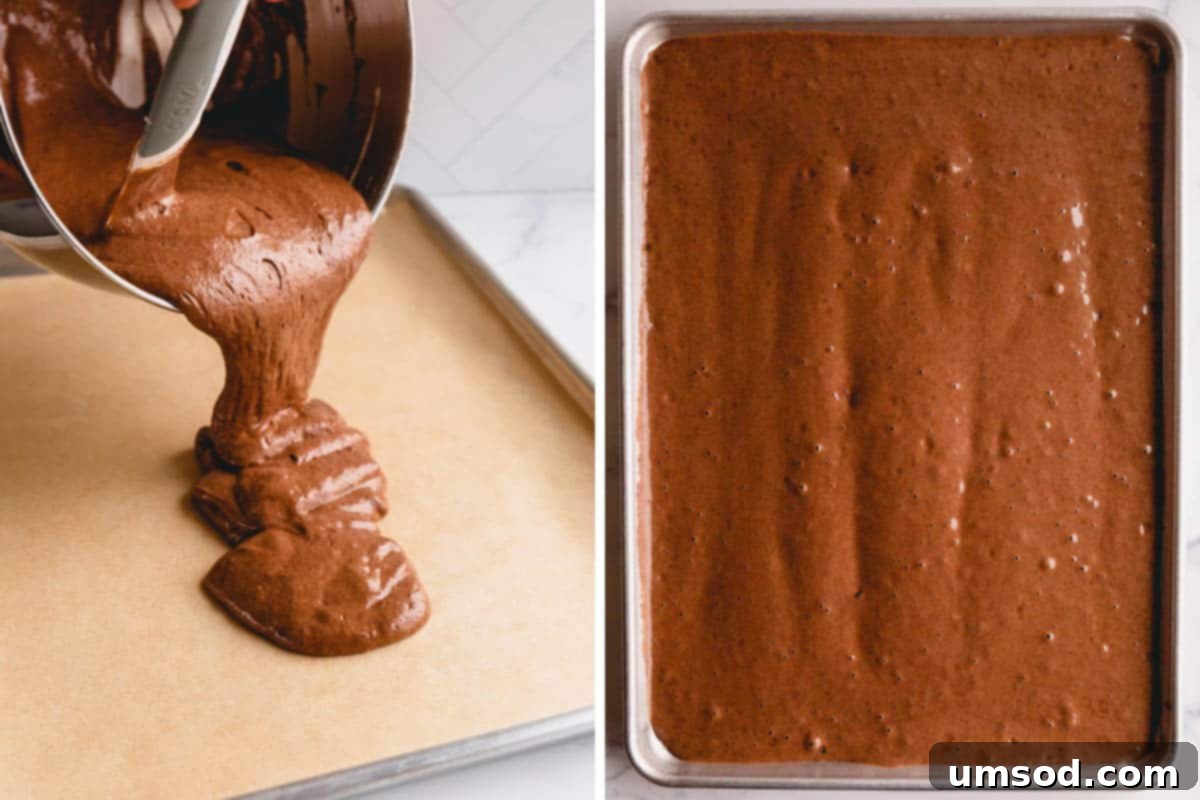
- Prepare for Baking: Preheat your oven to 350°F (175°C). Line a 10×15-inch (half-sheet) baking sheet with parchment paper, allowing the paper to extend slightly over the edges for easier handling later. Pour the carefully prepared cake batter onto the parchment-lined baking sheet. Use a spatula or a bench scraper to spread the batter evenly into a thin layer across the entire pan.
- Bake the Cake: Bake for approximately 10 to 12 minutes. The sponge cake is thin and bakes very quickly, so vigilance is key. It’s done when a toothpick inserted into the center comes out clean, and the cake lightly springs back when gently touched. Avoid overbaking at all costs, as an overbaked sponge will be dry, brittle, and highly prone to cracking when rolled.
- Cooling and Prepping for Rolling: After baking, remove the cake from the oven and let it cool on a wire rack for 5 to 10 minutes. This allows the cake to firm up slightly. Run a thin butter knife along the edges of the cake to ensure it’s loosened from the pan. Using a fine-mesh sieve, gently dust the entire surface of the cake with a light, even layer of cocoa powder. This dusting prevents sticking and adds a subtle extra layer of chocolate flavor. Carefully place a fresh piece of parchment paper directly on top of the cocoa-dusted cake.
- The Perfect Flip: This step requires a confident hand. Place a large, flat cutting board or another baking sheet upside down directly on top of the parchment paper (which is now covering the cake). With a swift, smooth, and confident motion, carefully invert the entire assembly. This flips the cake onto the new clean surface. Gently peel off the original parchment paper from what is now the bottom of the cake. Allow the cake to cool completely to room temperature before proceeding to fill and roll.
Pro Tip: Easy Cake Flipping Technique
For a flawless and tear-free cake flip, always place a large, sturdy cutting board or another flat baking sheet squarely on top of your cake (with the new parchment layer) before inverting the pan. This provides crucial support and ensures the delicate sponge transfers smoothly without falling or tearing.
3. Rolling Your Cake with Confidence
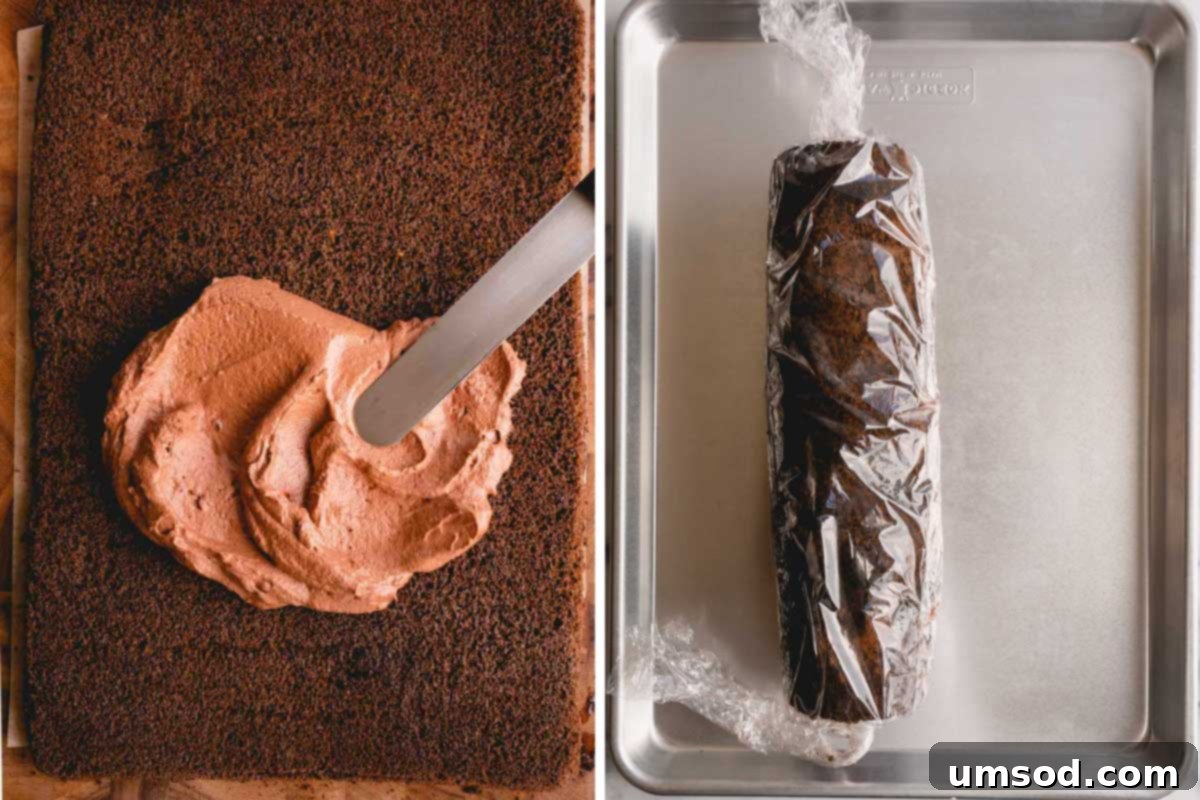
- Fill the Cooled Cake: Once your chocolate sponge cake is completely cool to the touch (this is absolutely essential!), spread an even, generous layer of your chilled chocolate mousse filling over the entire surface. Ensure the mousse is well-chilled and firm; applying it to a warm cake or with soft mousse will cause it to melt and create a messy situation, making rolling difficult. Leave a small border around the edges of the cake for a clean finish.
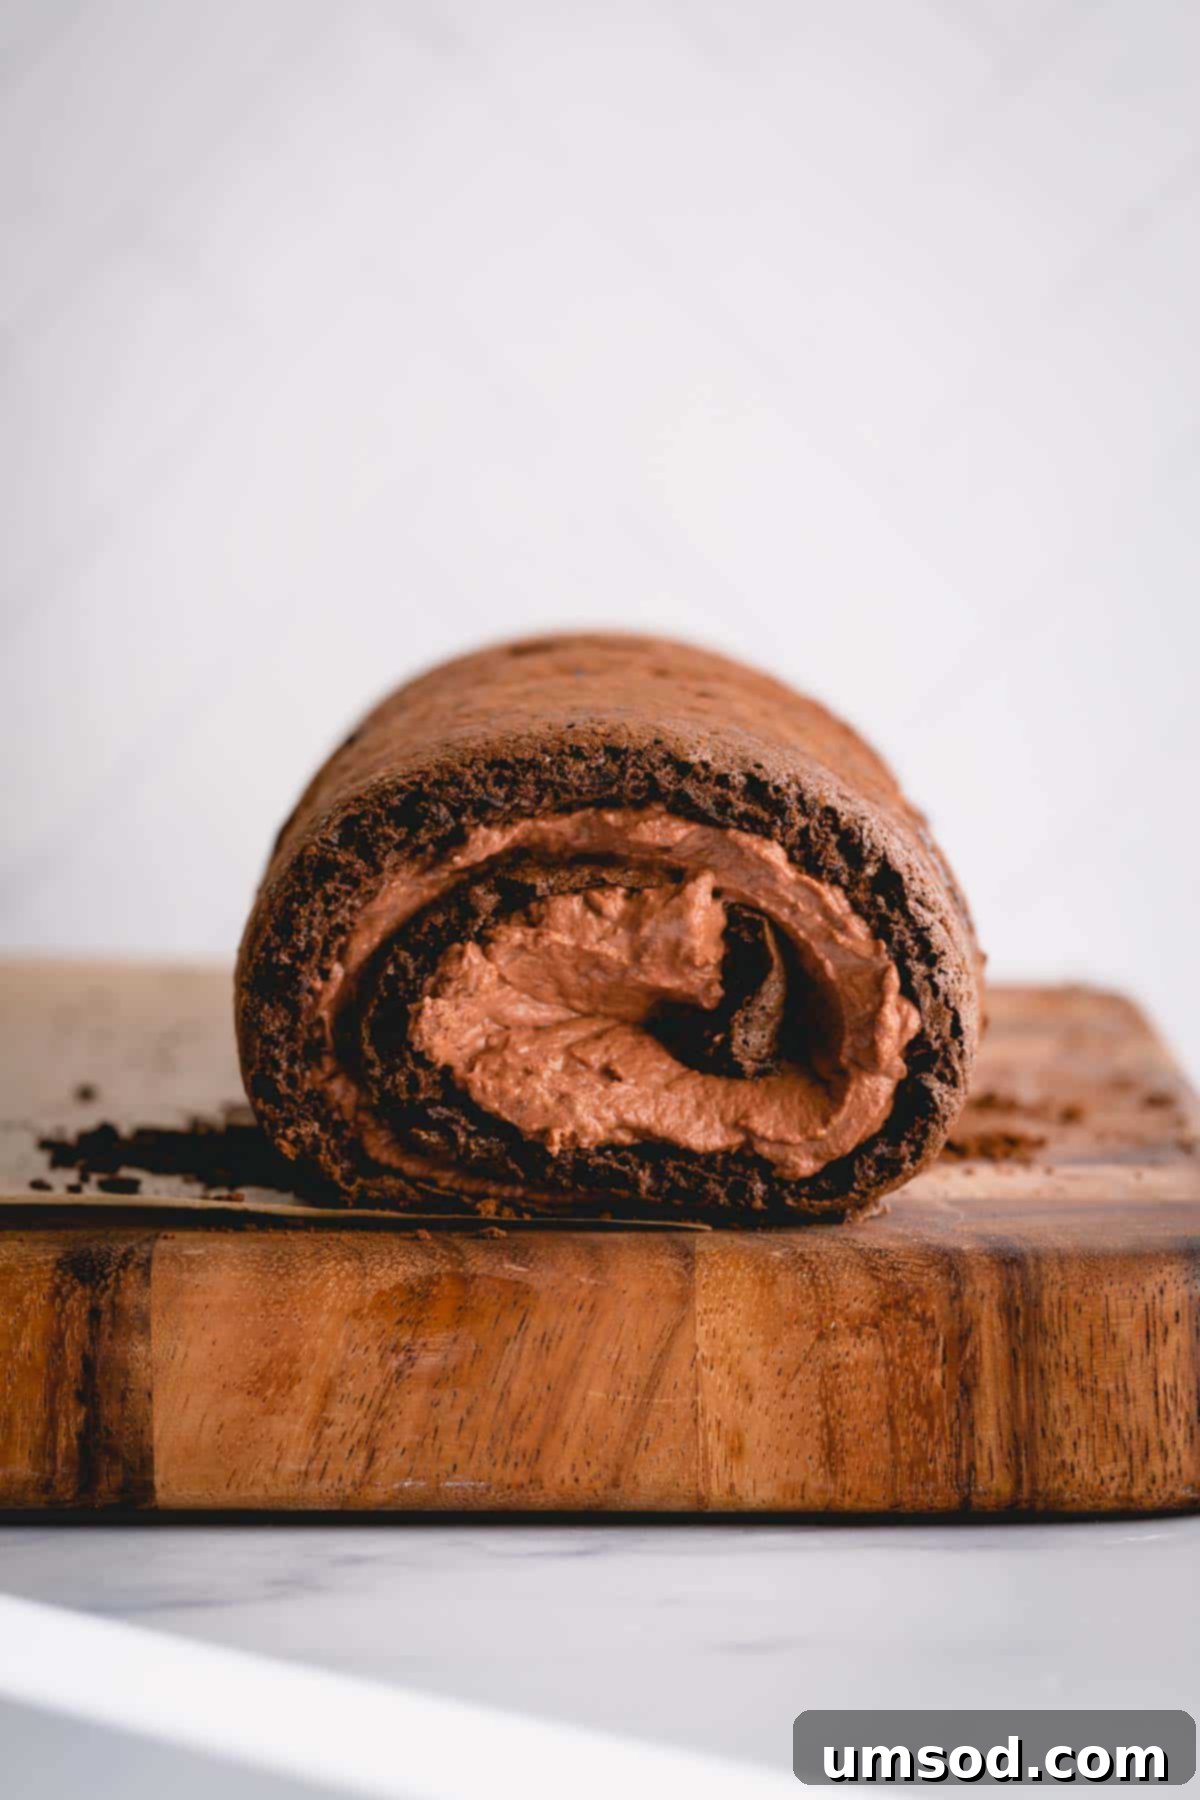
- Begin the Roll: Starting from one of the shorter ends of the cake, begin to carefully and tightly roll the cake into a log. Use the parchment paper beneath the cake to assist you in rolling, gently guiding it while maintaining a firm grip, but without applying excessive pressure that could cause the cake to crack. Aim for a tight, even spiral.
- Chill and Set: Once fully rolled, carefully wrap the entire chocolate Swiss roll snugly in plastic wrap. This step is important for helping the cake maintain its beautiful shape and prevents it from drying out in the refrigerator. Transfer the wrapped cake to the refrigerator and chill for at least one hour, or ideally two, to allow the mousse filling to set firmly and the cake to stabilize its rolled form.
4. Drizzling with Luxurious Chocolate Ganache
- Heat the Heavy Cream: In a microwave-safe bowl, heat the heavy cream until it is steaming hot and just simmering, but be careful not to let it boil over. This typically takes about 1 minute in a microwave, but adjust based on your appliance. Sufficiently hot cream is crucial for properly melting the chocolate chips.
- Create the Ganache: Pour the hot heavy cream directly over your semi-sweet chocolate chips. Let the mixture sit undisturbed for 2 minutes; this allows the heat from the cream to gently melt the chocolate. After 2 minutes, gently stir the mixture with a whisk or spatula until it transforms into a completely silky-smooth and glossy ganache. If any stubborn chocolate chunks remain, microwave the mixture in short 15-second intervals, stirring thoroughly after each, until perfectly smooth. Allow the ganache to cool for a few minutes until it thickens slightly but is still pourable, ensuring it coats the cake beautifully without running off too quickly.
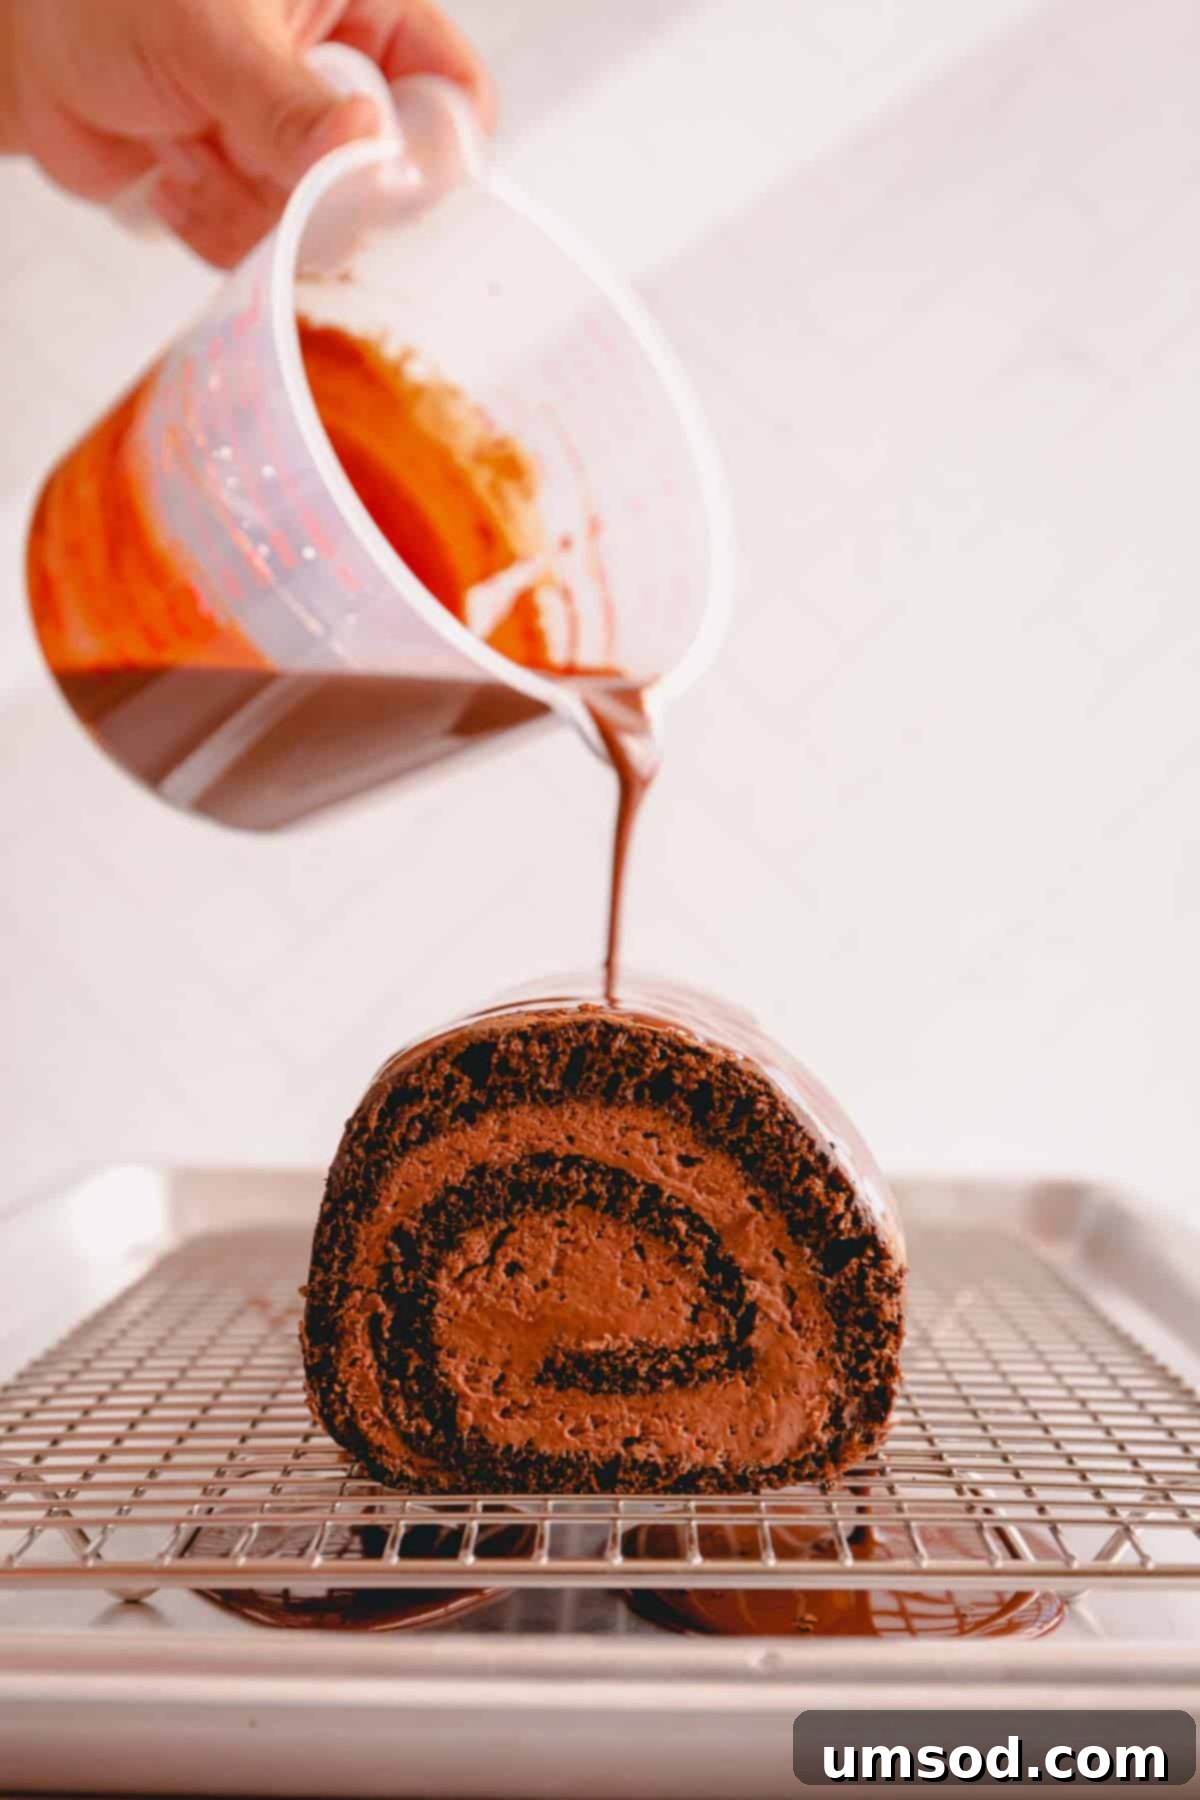
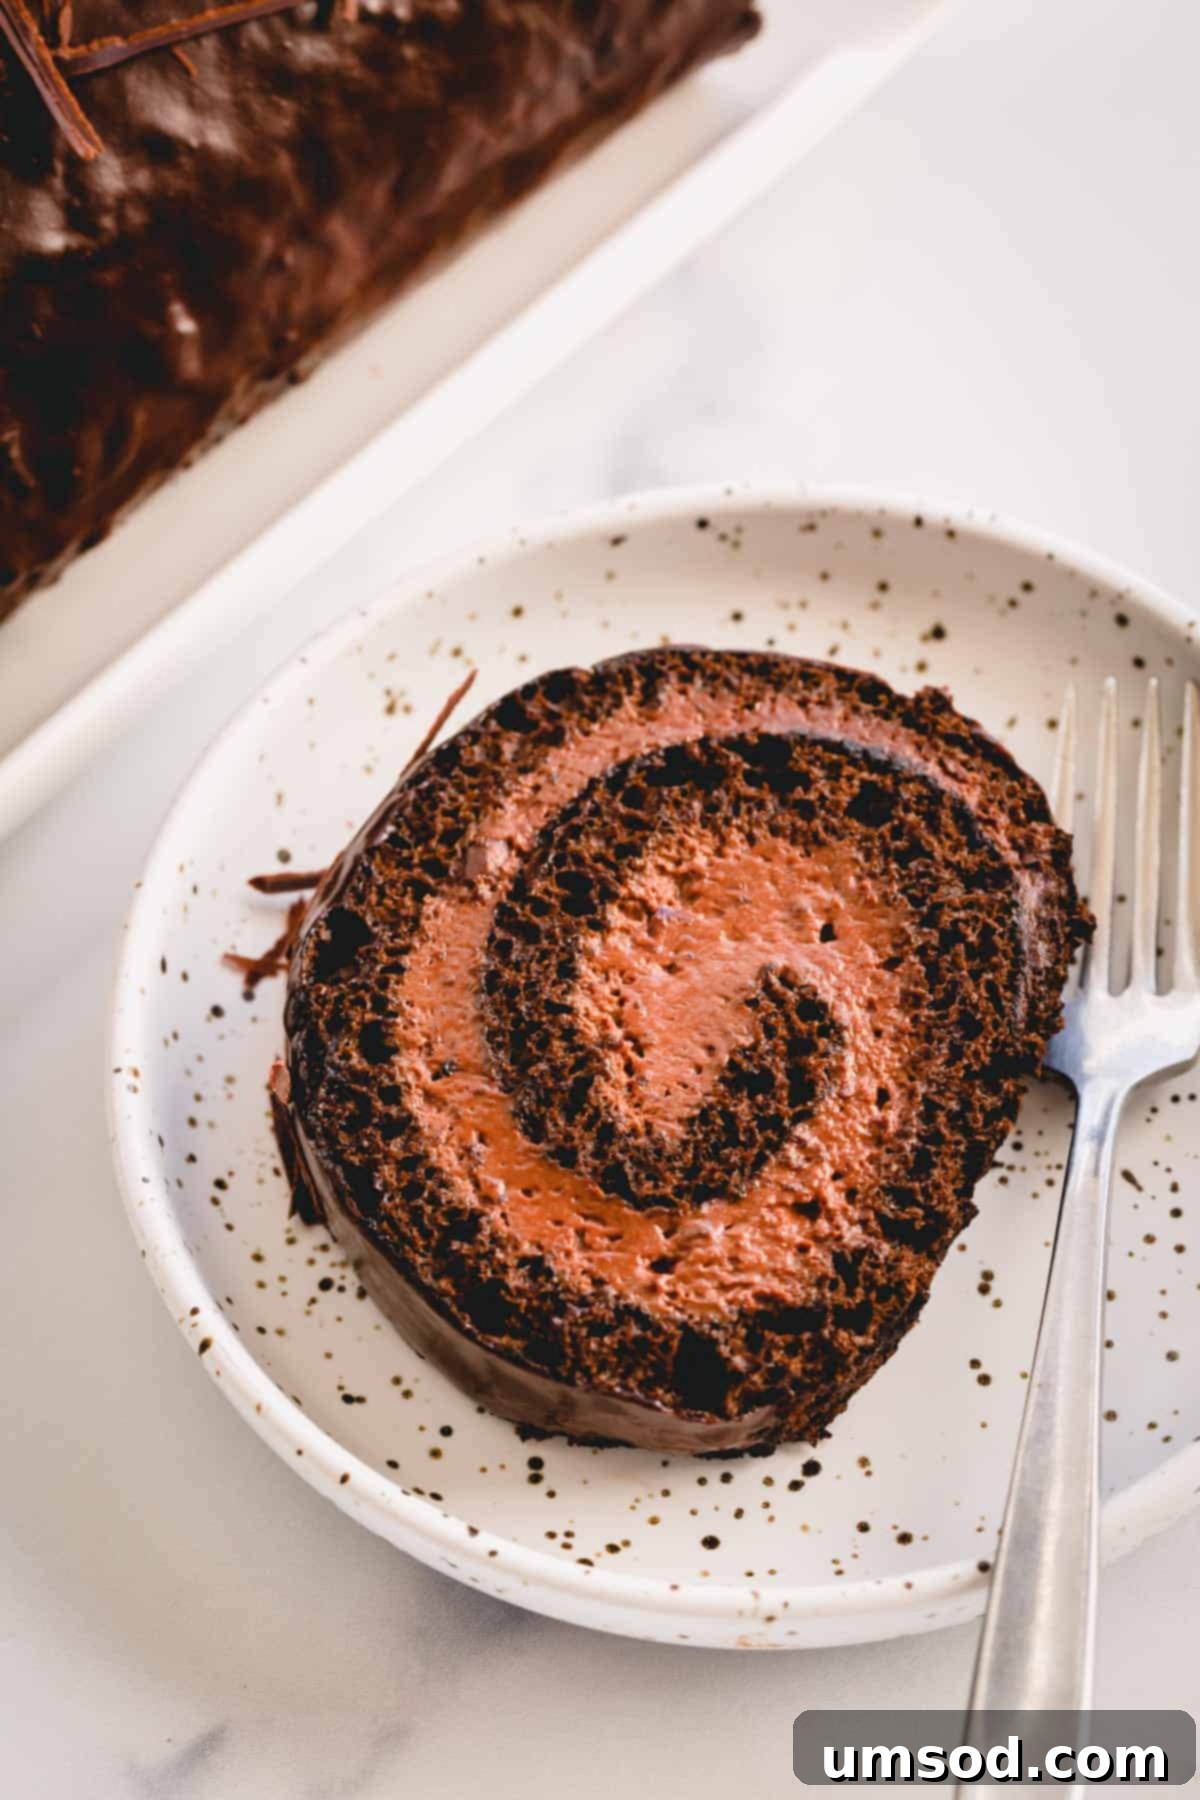
- Apply the Ganache: Carefully unwrap your chilled chocolate cake roll. For a professional and neat presentation, use a sharp, warm knife to trim off both ends of the cake. This reveals the exquisite spiral of cake and mousse. Place the cake on a wire rack, positioning it over a baking sheet or tray to catch any excess ganache. Generously pour the slightly cooled ganache over the entire top and sides of the cake, allowing the luxurious excess to drip down.
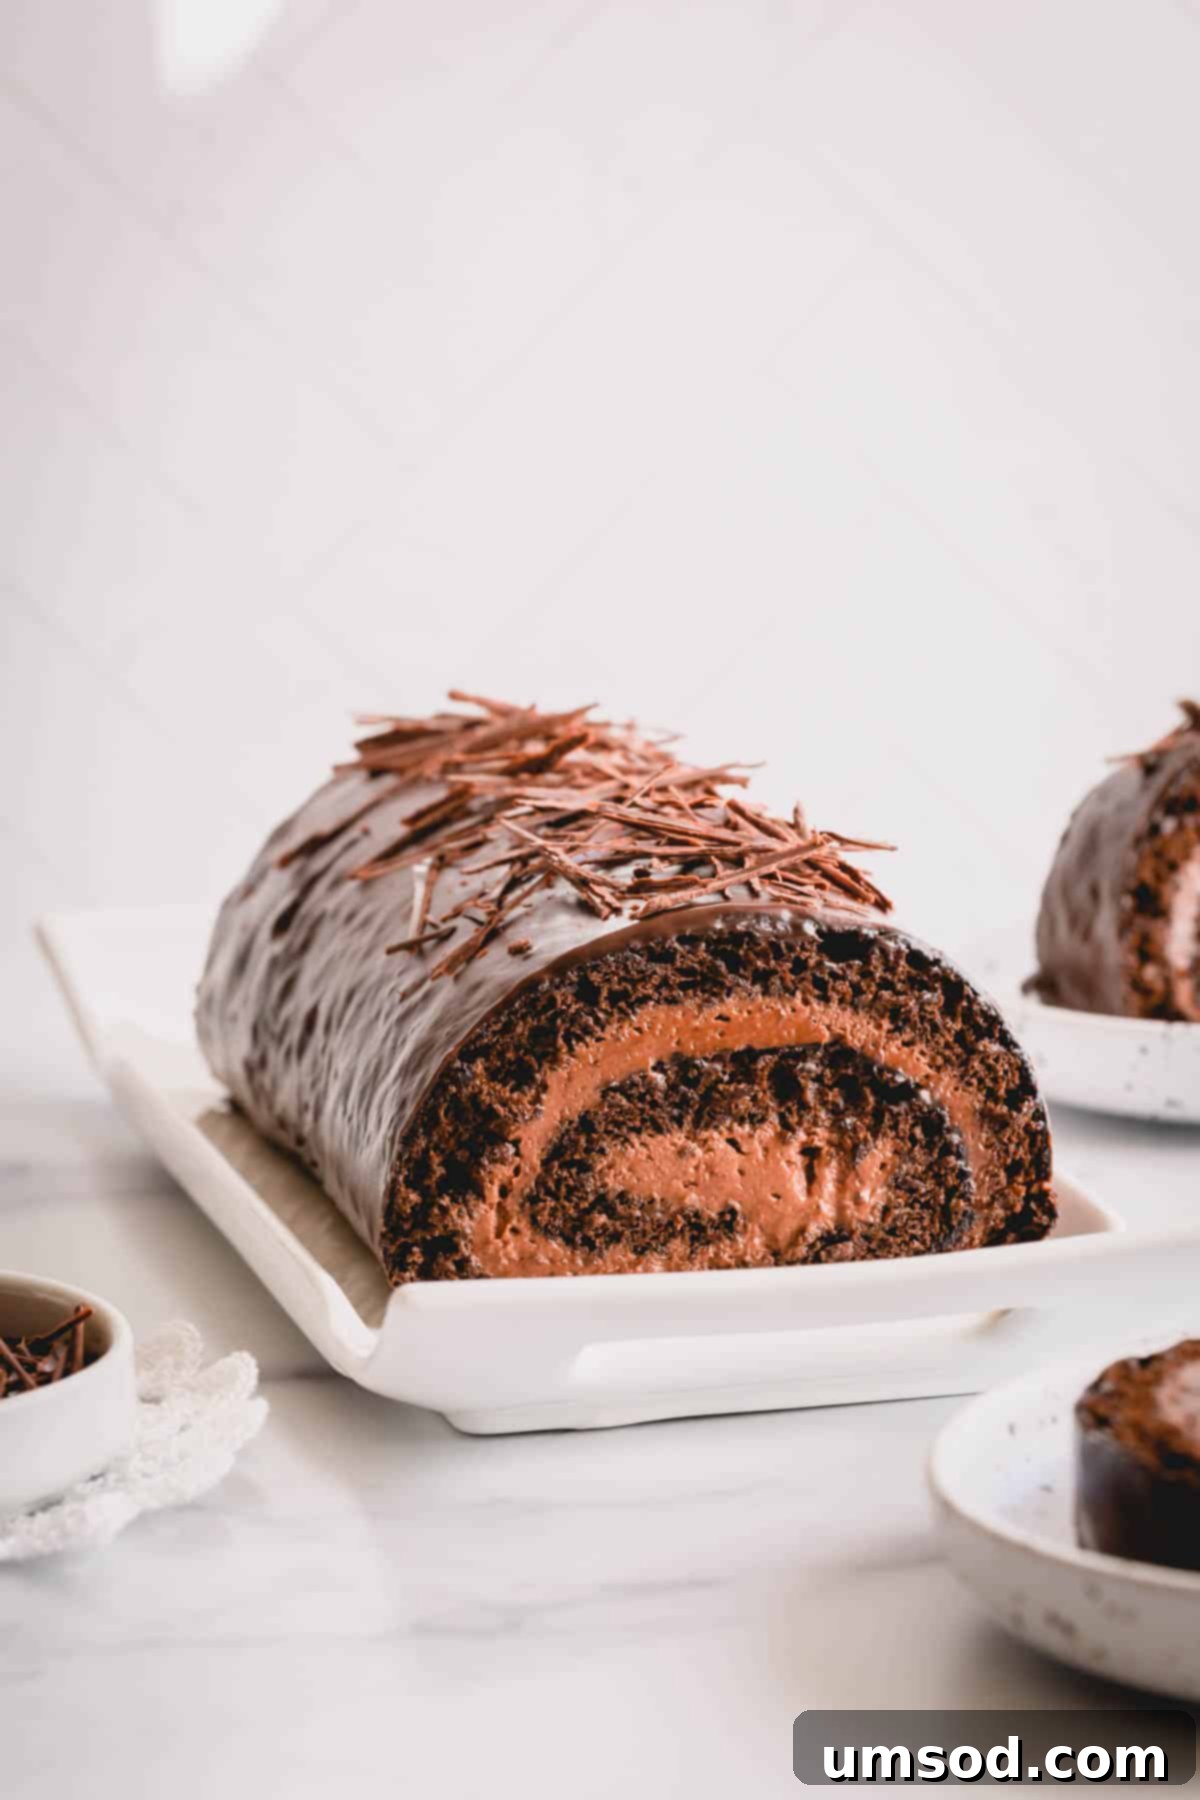
- Decorate and Serve: While the ganache is still slightly wet, add your desired final decorative touches. This could include elegant chocolate shavings, delicate chocolate curls, or festive sprinkles. Allow the ganache to fully set at room temperature or in the refrigerator before carefully transferring, slicing, and serving your magnificent creation.
Expert Tips for a Flawless Chocolate Roll Cake Every Time
- Optimal Egg Temperature: For the easiest separation, separate your eggs when they are cold. However, for maximum volume and stability when whipping, allow the egg whites to come to room temperature (about 30 minutes) before beating. This dual-temperature approach ensures both ease of preparation and superior results.
- Maintain Grease-Free Egg Whites: Any trace of fat—be it a speck of egg yolk, oil, or grease—will prevent egg whites from whipping into stiff peaks. Be extremely careful when separating eggs to avoid yolk contamination. Always use impeccably clean, grease-free mixing bowls and whisk attachments. Glass or stainless steel bowls are preferred over plastic, as plastic can sometimes retain a greasy residue even after washing.
- The Importance of Sifting Flour: Cake flour, due to its fine texture, tends to clump easily. Thoroughly sifting your cake flour and other dry ingredients is crucial. This not only removes lumps but also aerates the flour, ensuring a smooth batter and a consistently tender, lump-free cake crumb.
- Avoid Overbaking at All Costs: This is perhaps the most critical advice for baking a successful roll cake. Sponge cakes are thin and bake very quickly. Overbaking dries out the cake, making it stiff, brittle, and highly susceptible to cracking when you attempt to roll it. Bake only until a toothpick inserted into the center comes out clean and the cake springs back lightly when touched, then remove it promptly from the oven.
- Ensure Heavy Cream is Cold: For perfect, voluminous whipped cream (which forms the base of your chocolate mousse), your heavy cream must be thoroughly chilled. Warm cream simply will not whip properly, no matter how long you try. Chilling your mixing bowl and whisk in the freezer for 10-15 minutes before whipping can also significantly aid in achieving the best results.
- Cool Cake Completely Before Filling: Patience is key before spreading the mousse. Ensure your baked chocolate sponge cake is entirely cool to the touch. Applying the chocolate mousse to a warm cake will cause the whipped cream base of the mousse to melt instantly, turning your beautiful filling into a runny mess and compromising both the structure and presentation of your roll cake.
Storing Your Chocolate Roll Cake for Lingering Freshness
To preserve the exquisite taste and delightful texture of your homemade chocolate roll cake, proper storage is paramount. Follow these guidelines for optimal freshness and even long-term freezing:
- Refrigeration is Essential: Given that the luscious chocolate mousse filling is made with whipped cream, this chocolate jelly roll cake must be stored in the refrigerator. To prevent it from drying out or absorbing unwanted odors from other foods, wrap the cake tightly in plastic wrap or place it inside an airtight container. When stored correctly, it will maintain its delicious flavor and texture for up to 3 days.
- Excellent for Freezing: If you’re planning ahead or wish to enjoy your creation over an extended period, chocolate roll cakes are wonderfully freezer-friendly. To freeze, first place the unwrapped cake in the freezer for approximately 30-60 minutes, or until the chocolate ganache and mousse filling have fully solidified. This initial chill prevents any smudging or damage to the decoration. Once firm, wrap the cake securely in several layers of plastic wrap, followed by a layer of heavy-duty aluminum foil. This double protection helps guard against freezer burn. The cake can be frozen for up to two months. When you’re ready to enjoy it, simply transfer the wrapped cake to the refrigerator and allow it to thaw overnight before unwrapping and serving.
Frequently Asked Questions (FAQs) About Chocolate Roll Cakes
What are other names for a rolled cake?
A roll cake is a versatile and popular dessert known by various names across different cultures and regions. It is commonly referred to as a Swiss roll, a jelly roll (even without jelly filling), a cream roll, a roulade, or occasionally a Swiss log. Regardless of the specific name, it typically describes a thin, flexible sheet of sponge cake that is baked, filled with a sweet spread (such as whipped cream, chocolate mousse, or fruit preserves), and then carefully rolled into a cylindrical shape.
Why do cake rolls sometimes crack when I try to roll them?
Cracking is a very common issue encountered when baking roll cakes, but it’s often preventable. The primary cause is almost always overbaking the sponge cake. If the cake is baked for too long, it dries out excessively and loses its natural elasticity, becoming brittle and rigid. This dryness makes it highly prone to cracking when it’s bent and rolled. Another contributing factor can be the type of fat used in the recipe; cakes made with vegetable oil tend to be more pliable and less likely to crack than those made with butter, as butter solidifies and stiffens the cake as it cools. Additionally, ensuring the cake is still slightly warm (but not hot) when you initiate the first roll can help maintain its flexibility and prevent cracks.
More Decadent Roll Cake Recipes to Explore
If you’ve enjoyed the delightful experience of baking this chocolate roll cake and are keen to explore more variations of this charming dessert, here are additional recipes to inspire your culinary journey:
- Strawberry Matcha Roll Cake
- Snow White Roll Cake with White Chocolate Mousse
- Berrylicious Roll Cake: A Step-by-Step Guide
- Chocolate Roll Cake with Raspberry Mousse Filling
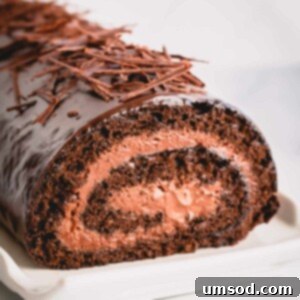
Death by Chocolate Roll Cake
This chocolate roll cake is a perfect blend of lightness and intense chocolate flavor. It features a tender, airy sponge cake, generously filled with creamy chocolate mousse, and elegantly finished with a rich ganache. An ideal dessert for holidays or any special occasion.
Comment
Print Recipe
Ingredients
For chocolate mousse filling:
- ¼ cup (60 ml) hot water
- 2 tablespoons (15 g) unsweetened cocoa powder (Natural or Dutched)
- ¼ teaspoon instant espresso coffee
- ¾ cup (130 g) semi-sweet chocolate chips
- 1 cup (240 ml) heavy cream, cold
- 1 tablespoon (15 g) granulated sugar
For sponge cake:
- 4 large eggs (Note 1)
- ½ cup (100 g) granulated sugar, divided
- 3 tablespoons (50 g) vegetable oil
- 2 tablespoons (30 ml) strong coffee (Note 2)
- ½ cup (60 g) cake flour (Note 3)
- 3 tablespoons (30 g) Dutch processed cocoa powder (Note 4)
- 1 teaspoon baking powder
- ½ teaspoon baking soda
- ¼ teaspoon salt
For chocolate ganache:
- ½ cup (120 ml) heavy cream
- 4 ounces (120 g) semi-sweet chocolate chips
Equipment
- Electric hand mixer or stand mixer with whisk attachment
- Baker’s half baking sheet
Instructions
To make the chocolate mousse filling:
- In a small bowl, dissolve cocoa powder and instant espresso powder in hot water.
- In a double boiler, melt chocolate chips until smooth. Remove from heat and cool slightly.
- Stir the cocoa mixture into the melted chocolate.
- In a mixing bowl with the whisk attachment, whip the cold heavy cream and sugar until stiff peaks form.
- Add 1/3 of the whipped cream to the chocolate mixture and fold until mostly combined. Then combine this mixture with the remaining whipped cream and mix well until no white streaks remain. Cover and refrigerate while you bake the cake.
To make the cake:
- Prepare batter: Separate egg yolks from whites. (TIP: Cold eggs separate easily, but room temp whites whip better. Separate cold, then let whites warm for 30 mins).
- Preheat oven to 350°F (175°C). Line a baker’s half baking sheet with parchment paper.
- In a small bowl, sift together flour, cocoa powder, baking powder, baking soda, and salt.
- In a mixing bowl, whisk egg yolks, ¼ cup sugar, vegetable oil, and coffee until tripled in size and lightened in color.
- In another mixing bowl, beat egg whites on medium speed until frothy.
- Gradually add remaining ¼ cup sugar, one tablespoon at a time. Increase speed to medium-high and beat until soft peaks form.
- Spoon half of the whipped egg whites into the egg yolk mixture. Mix until smooth, then gently fold in the remaining whipped egg whites. Fold carefully to prevent deflating the batter.
- Add the sifted flour mixture into the batter and gently fold until no dry flour is visible.
- Bake: Pour batter into the prepared baking sheet and smooth evenly with a bench scraper.
- Bake for about 10 minutes, or until a toothpick comes out clean. Do not overbake to avoid a dry cake.
- Cool the cake on a wire rack for 5-10 minutes. Run a flat spatula or butter knife along the edges. Dust cocoa powder on top, place a piece of parchment paper on top, then carefully flip the cake onto a clean surface (e.g., a large cutting board). Peel off the original parchment paper and cool completely.
To roll the cake:
- Spread the chocolate mousse evenly over the completely cooled cake layer. Tightly roll the cake from the short side, using the parchment paper to assist. Carefully wrap in plastic wrap and refrigerate for about an hour to set.
To make chocolate ganache:
- Heat the heavy cream in the microwave until hot (about 1 minute).
- Pour hot cream over chocolate chips and let sit for 2 minutes to melt. Stir until silky smooth. If any chunks remain, microwave in 15-second increments, stirring after each, until smooth. Cool slightly.
- Carefully unwrap the cake roll, trim both ends, and place on a wire rack over a baking sheet.
- Pour the ganache evenly over the cake, allowing excess to drip off.
- Decorate with shaved chocolate, chocolate curls, or sprinkles before serving.
⭐️ Did you make this recipe?
Please leave a review and let us know how you liked it!
Tips & Notes
Note 1a: Egg Temperature for Separation & Whipping: Separate eggs while they are cold for easier separation of yolks from whites. However, allow the egg whites to reach room temperature (about 30 minutes) before whipping, as this will yield significantly more volume and stable peaks.
Note 1b: Keep Egg Whites Grease-Free: Any trace of egg yolk or fat will prevent egg whites from whipping properly. Ensure your mixing bowl and whisk attachment are perfectly clean and grease-free. Glass or stainless steel bowls are recommended over plastic, which can sometimes retain a greasy residue.
Note 2: The Role of Coffee: Coffee is used in this recipe not to flavor the cake with coffee, but to intensely enhance and deepen the natural chocolate flavor. If you prefer, you may substitute strong brewed coffee with any type of milk.
Note 3a: Sift Cake Flour: Cake flour tends to clump easily. Sifting it thoroughly before incorporating it into the batter is crucial to ensure a smooth, lump-free mixture and a tender cake crumb.
Note 3b: DIY Cake Flour Substitute: If you don’t have cake flour on hand, you can easily make your own. For every 1 cup of all-purpose flour required, measure out 1 cup, then remove 2 tablespoons of flour. Replace those 2 tablespoons with 2 tablespoons of cornstarch. Sift this mixture together multiple times to ensure it’s well combined.
Note 4: Dutch-Processed Cocoa is Key: It is important not to substitute natural cocoa powder for Dutch-processed cocoa powder in this recipe. The different acidity levels will affect the chemical reactions with the leavening agents and alter the cake’s texture and color.
Storing Tips:
- Store the chocolate jelly roll cake wrapped tightly in plastic wrap or an airtight container in the refrigerator for up to 3 days. The chocolate mousse filling mandates refrigeration.
- Chocolate roll cakes are freezer-friendly! To freeze, place the unwrapped cake in the freezer until the ganache and mousse are solid. Then, wrap it securely in plastic wrap followed by aluminum foil. Freeze for up to two months. Thaw slowly in the refrigerator before serving.
Nutrition
Did you make this? Leave a rating and your feedback. Thank you!
