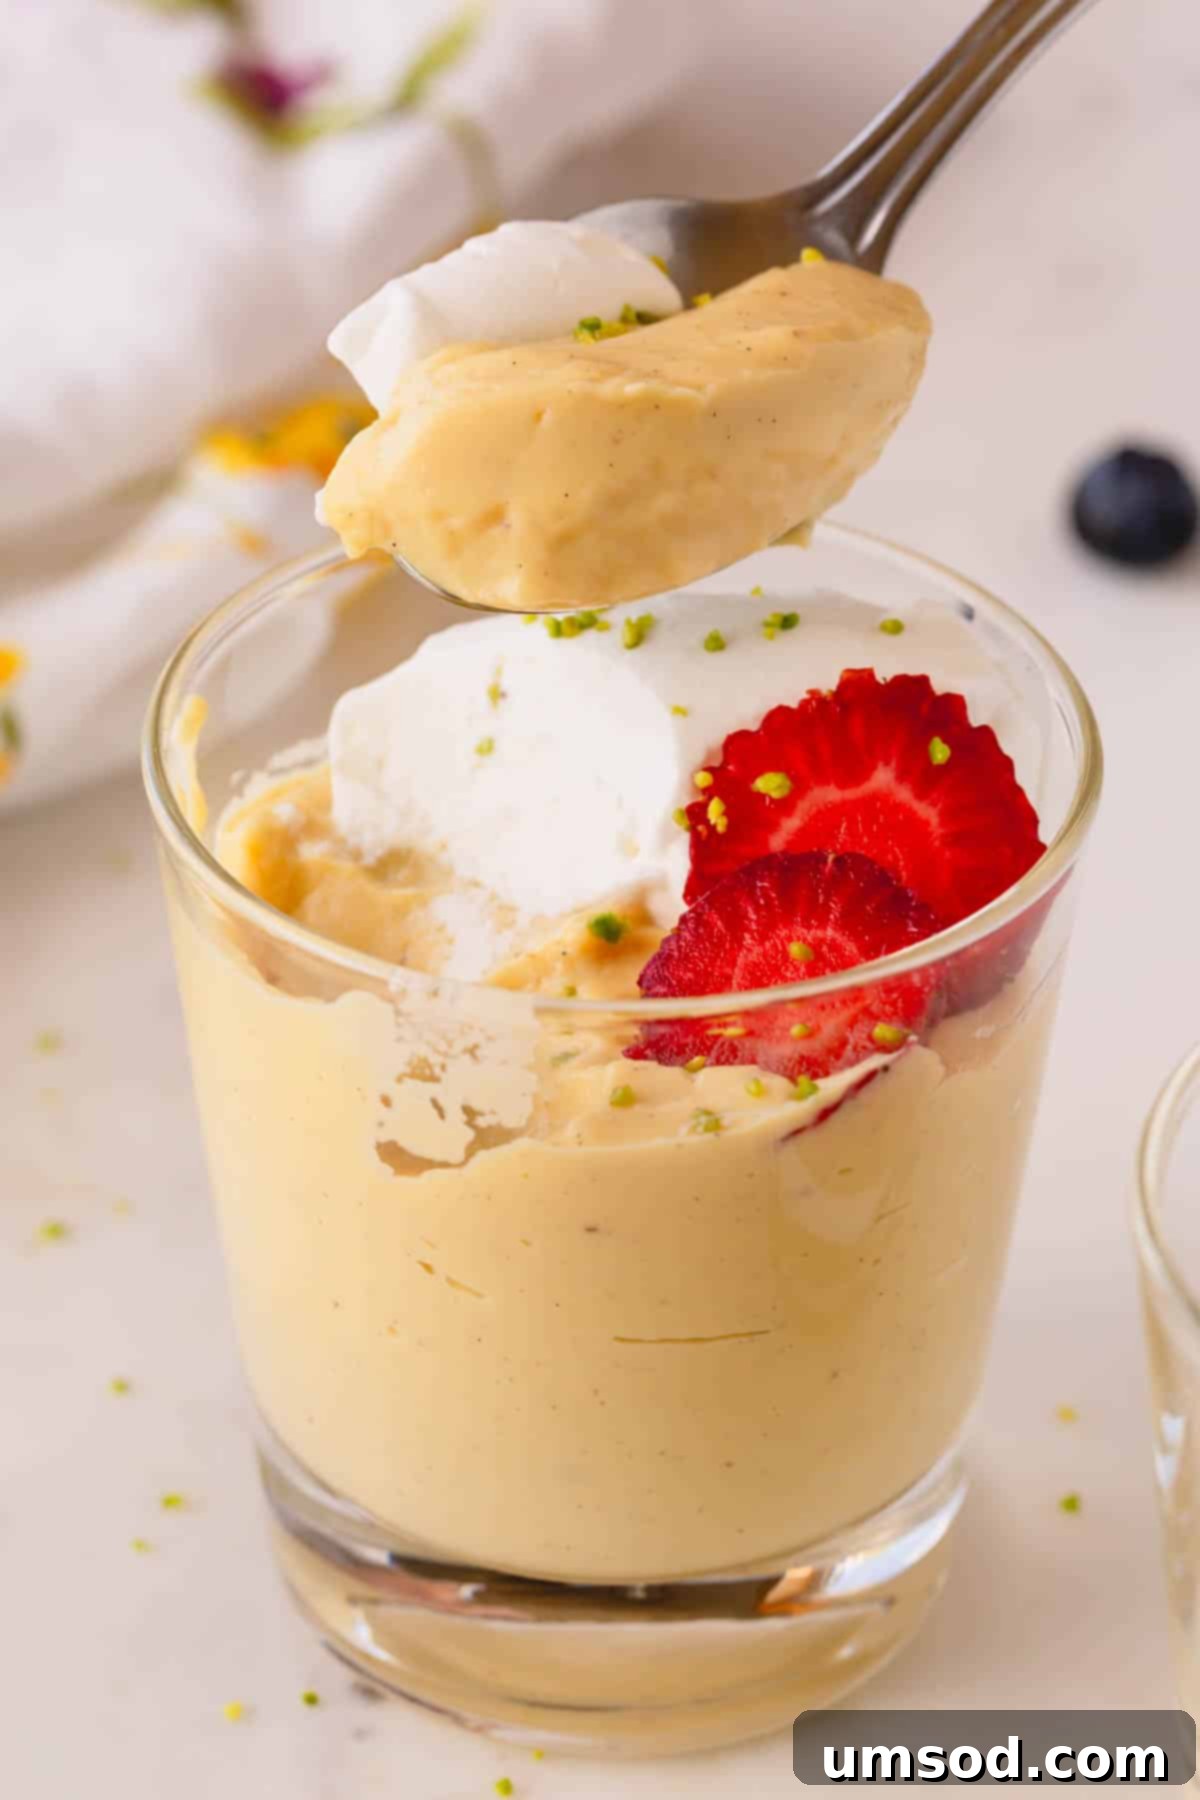
Forget bland, powdery instant mixes. Prepare to elevate your dessert experience with this truly exquisite homemade vanilla pudding. Silky smooth, irresistibly rich, and bursting with genuine vanilla flavor, this recipe is a testament to the fact that some of life’s greatest pleasures are the simplest. Crafted entirely from scratch in less than 20 minutes of active cooking time, this isn’t just a dessert; it’s a comforting indulgence that will transport you back to childhood memories, but with a sophisticated, gourmet twist. Its creamy, custard-like mouthfeel and deep, aromatic vanilla notes make it anything but boring – it’s a delightful revelation.
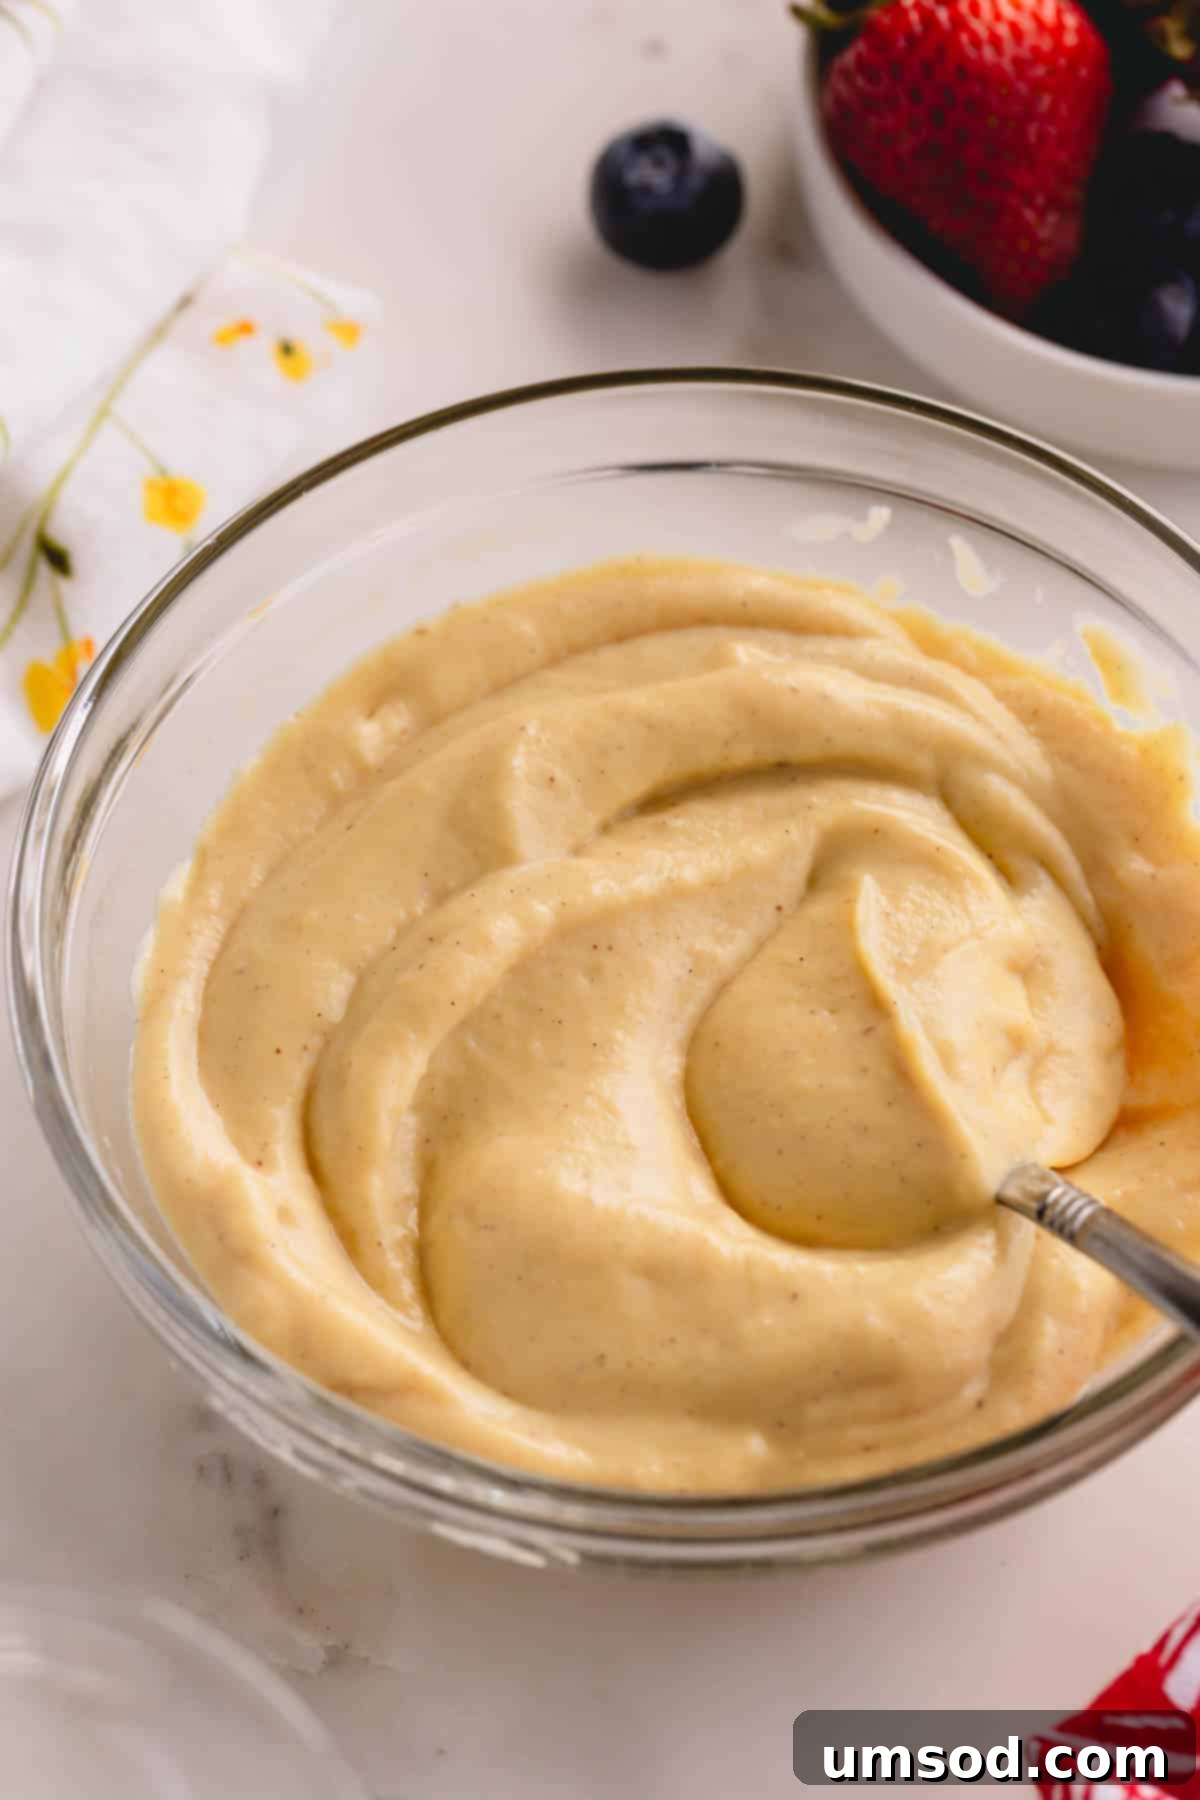
Pin this now to find it later
Pin It
Why You’ll Fall in Love with This Vanilla Pudding:
You might be tempted to reach for that familiar box of instant vanilla pudding, but I urge you to think twice. Homemade vanilla pudding is surprisingly simple to prepare, often requiring ingredients you already have in your pantry. While I appreciate the convenience of certain pre-packaged staples, when it comes to vanilla pudding, the homemade version stands in a league of its own. The difference in flavor and texture is simply unparalleled, transforming a humble dessert into a truly luxurious treat.
- Effortlessly Easy – Don’t let the “from scratch” label intimidate you. This recipe comes together with minimal fuss in just about 20 minutes of hands-on time. The rest is simply cooling, which is optional if you prefer your pudding warm! It’s a perfect last-minute dessert or a project for a relaxed afternoon.
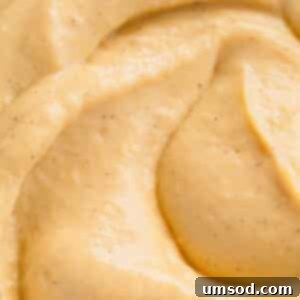
- Unrivaled Flavor Depth – What truly sets this recipe apart is its ingenious use of both pure vanilla extract and fragrant vanilla bean paste. This dynamic duo creates a multi-layered vanilla experience that is deep, intense, and wonderfully aromatic. The paste adds those beautiful, tell-tale speckles of real vanilla bean, signaling a premium quality dessert.
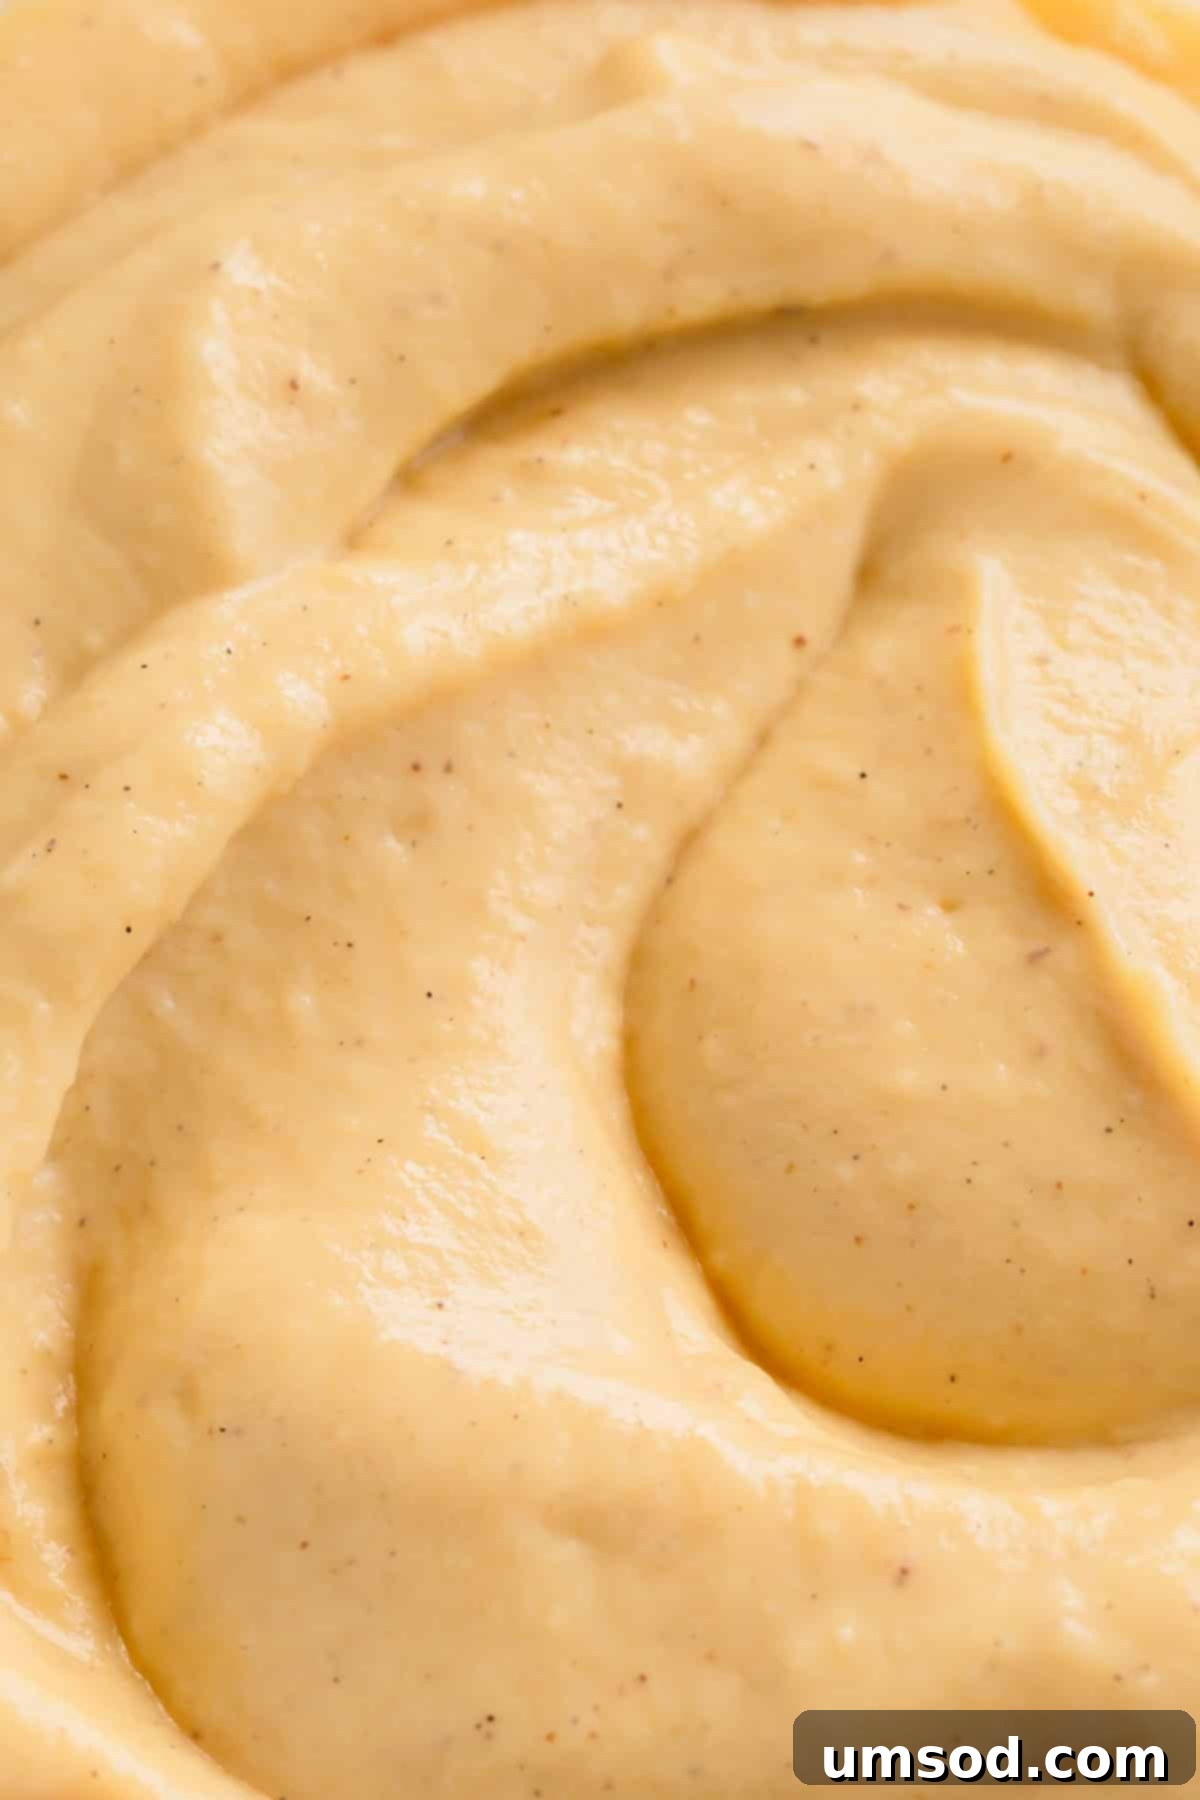
- Luxurious Texture – Thanks to the inclusion of rich heavy whipping cream and a trio of egg yolks, this pudding achieves a luxuriously smooth, velvety, and incredibly rich consistency. It’s thick enough to hold its shape beautifully, yet soft enough to melt in your mouth, leaving a wonderfully creamy finish.
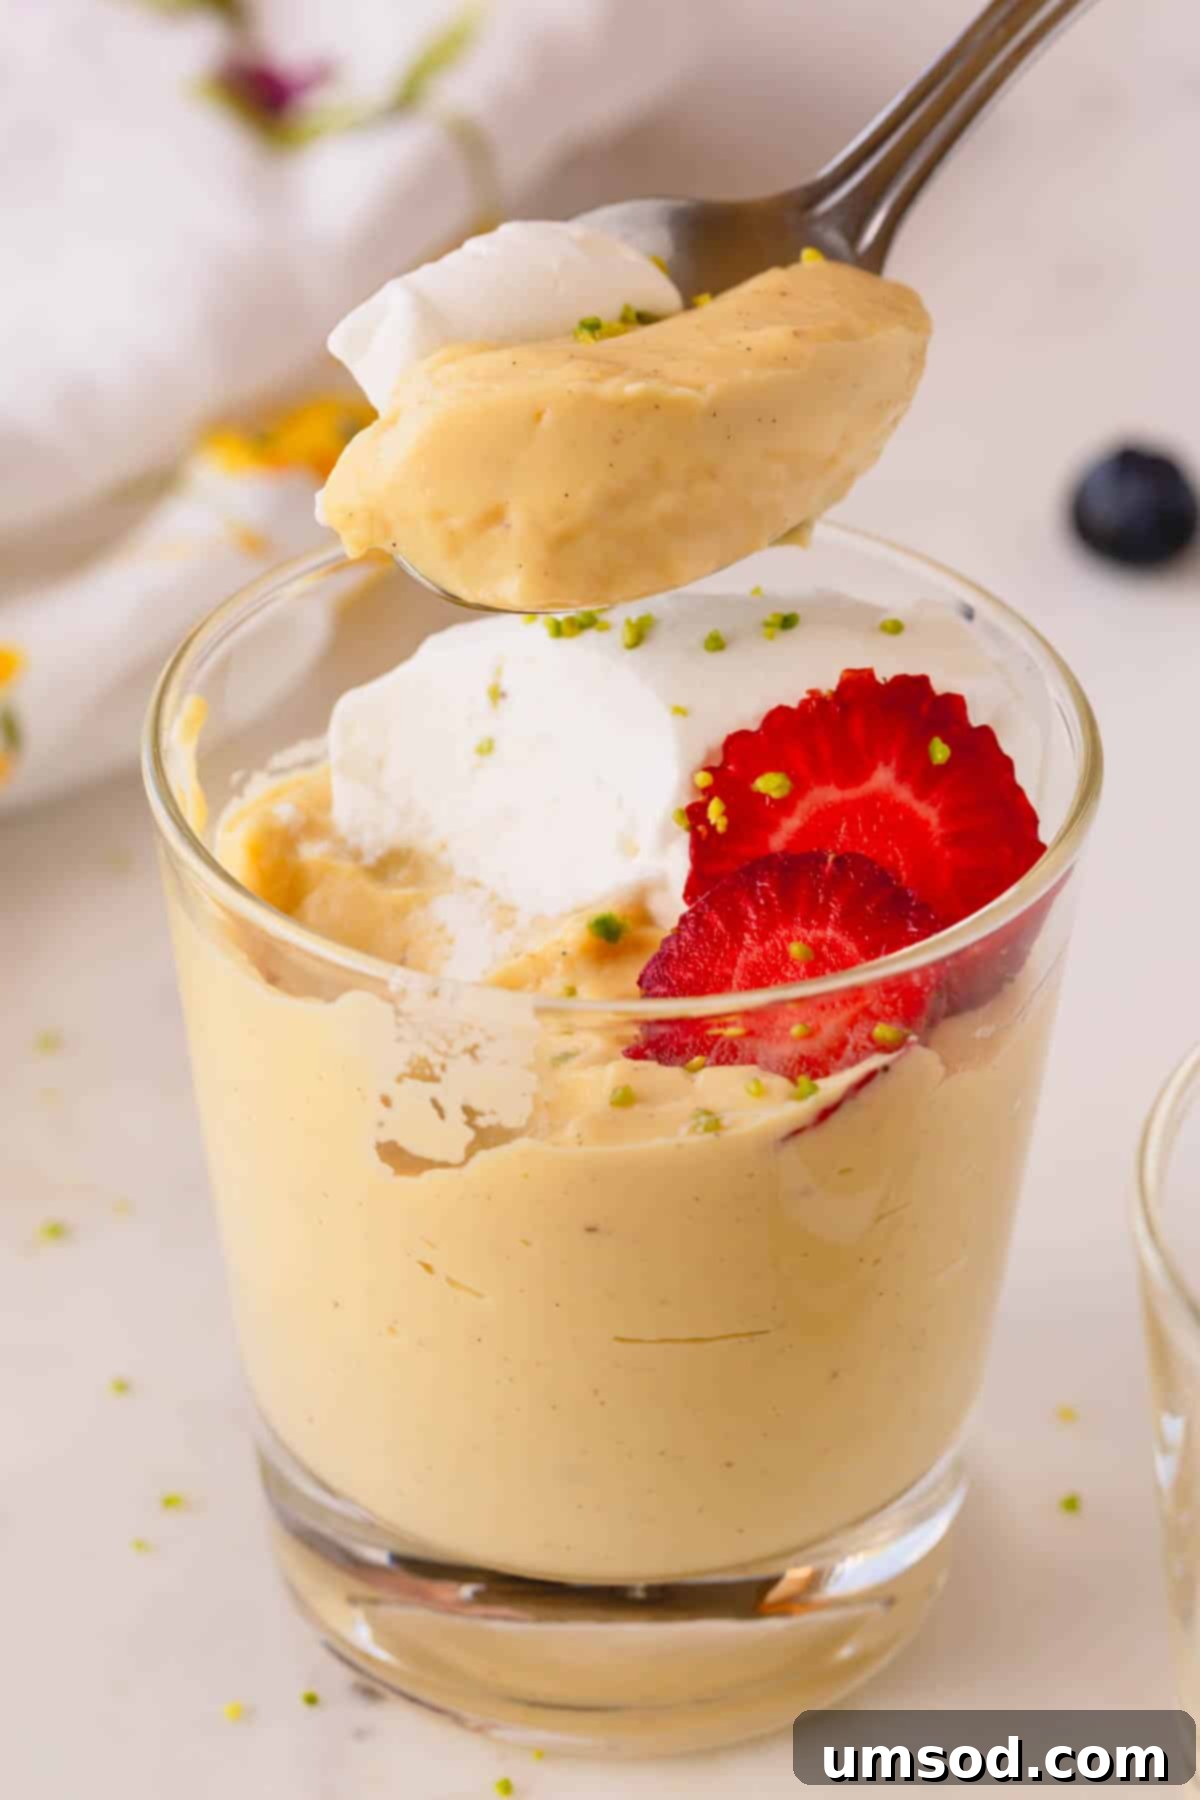
Whether you prefer to enjoy your homemade vanilla pudding warm, fresh off the stove, or chilled to perfection, it’s a versatile delight. Top it with fresh berries, toasted nuts, a dollop of whipped cream, or a sprinkle of cinnamon. It also serves as an exceptional base for other desserts. In fact, this recipe yields the perfect amount to fill a 9-inch banana cream pie, adding a layer of sublime creaminess that elevates the entire dish.
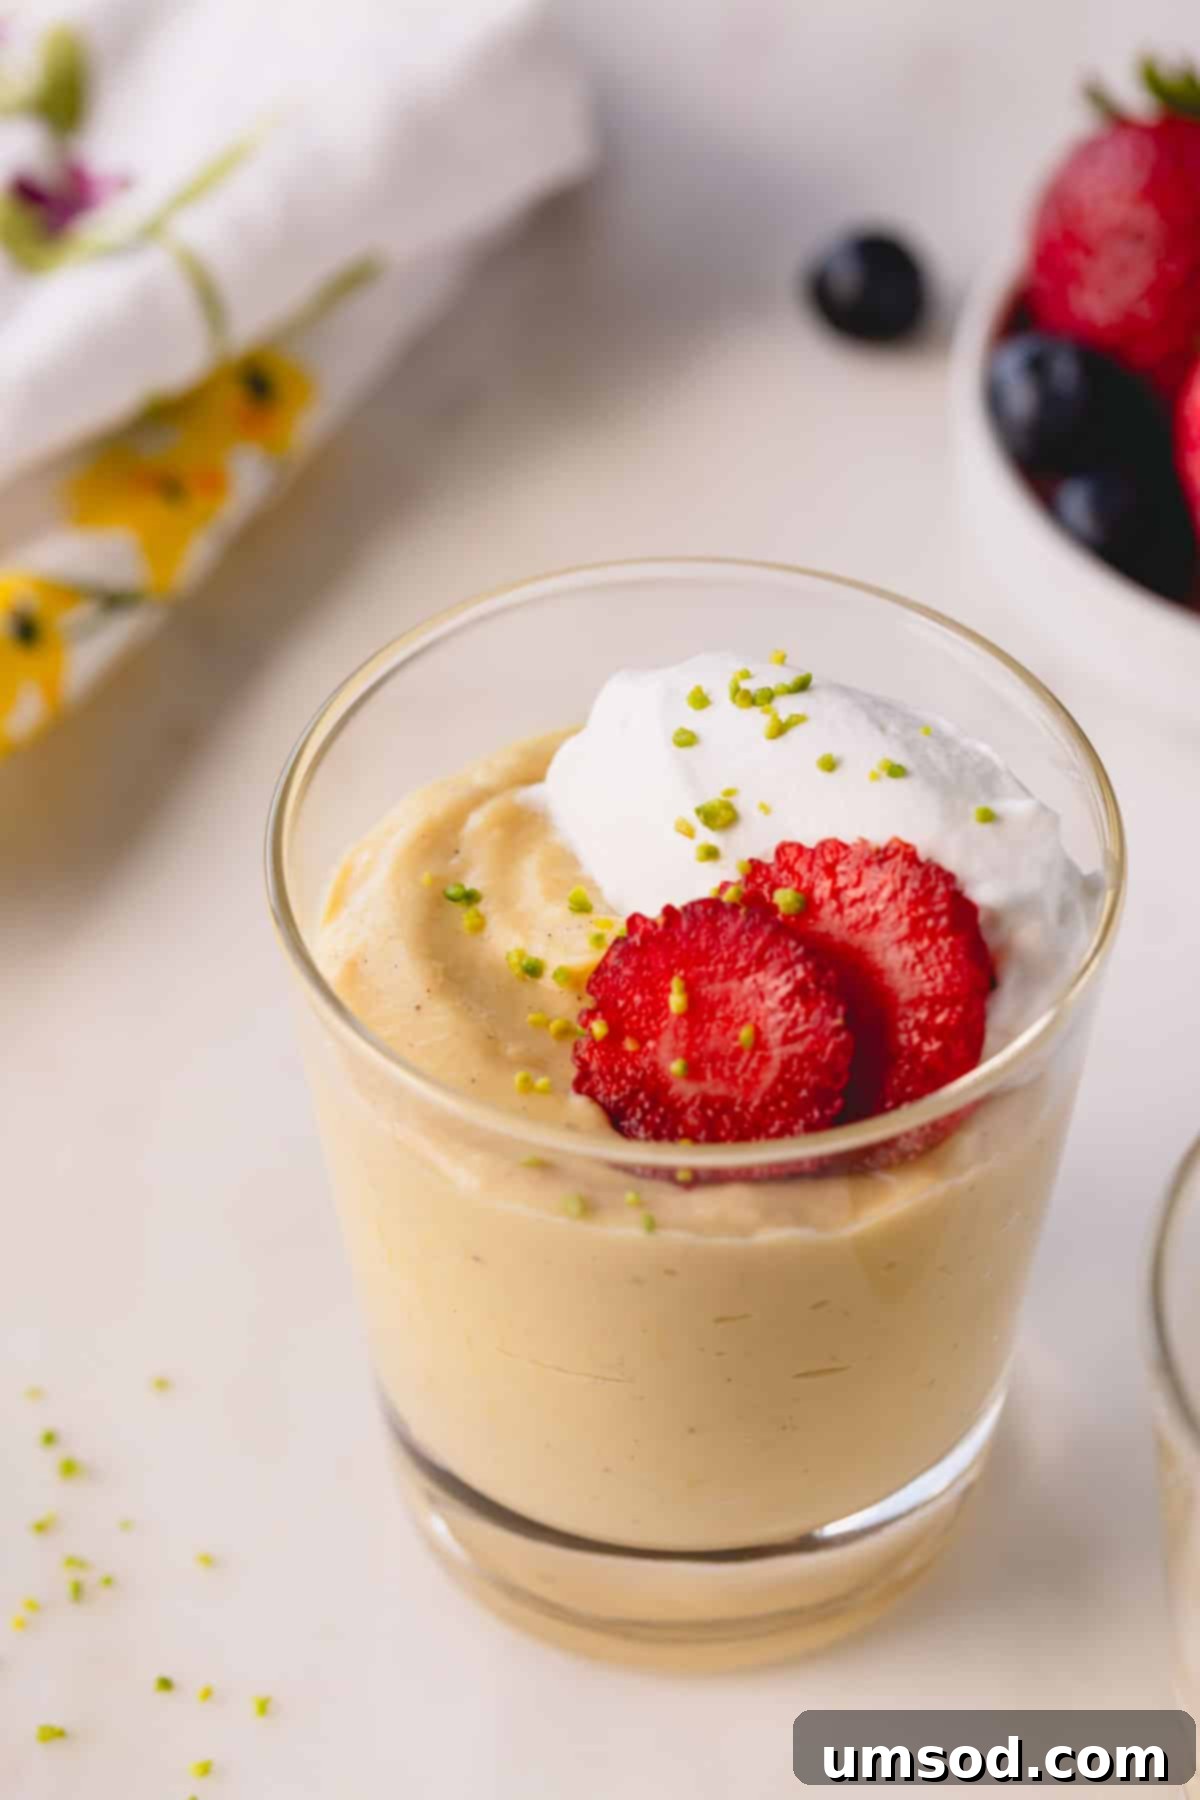
Essential Ingredients for the Perfect Pudding:
This remarkable homemade vanilla pudding relies on just a handful of straightforward ingredients, each playing a crucial role in achieving its signature taste and texture. High-quality ingredients are always recommended for the best results.
- Whole Milk: The foundation of our creamy pudding. While 2% milk can be used in a pinch, whole milk’s higher fat content is vital for that incredibly rich and smooth consistency we’re aiming for. It provides a luscious base that truly makes the pudding shine.
- Heavy Whipping Cream: This is your secret weapon for an unbelievably rich, silky-smooth, and decadent mouthfeel. It boosts the creaminess significantly, ensuring every spoonful is pure indulgence. Do not substitute with lighter creams if you want the ultimate texture.
- Granulated Sugar: Just the right amount (about ⅓ cup) to sweeten the pudding without making it cloyingly sweet or overshadowing the exquisite vanilla flavor. It perfectly balances the richness of the dairy and eggs.
- Egg Yolks: These are indispensable for thickening the pudding and imparting a beautiful golden hue and unparalleled richness. They contribute to the custard-like quality, making the pudding more substantial and satisfying. Mastering the shell-to-shell technique is a handy skill for clean separation.
- Cornstarch: Alongside the egg yolks, cornstarch acts as a key thickening agent, ensuring your pudding cooks down to that perfect, spoonable consistency. It helps create a stable, smooth texture that won’t separate.
- Pure Vanilla Extract: Provides a consistent, classic vanilla aroma and taste throughout the pudding. Always opt for pure extract over artificial vanilla flavoring for a superior flavor profile. You can even make your own DIY vanilla extract for an even more personal touch.
- Vanilla Bean Paste: This is where the magic truly happens for an intense vanilla burst! Vanilla bean paste not only deepens the vanilla flavor significantly but also scatters those iconic, beautiful black specks of vanilla bean throughout the pudding, indicating its authentic quality.
- Kosher Salt: A small pinch of salt is a culinary secret weapon. It doesn’t make the pudding salty, but rather enhances and amplifies the sweetness of the sugar and brightens the overall vanilla flavor, bringing all the elements into perfect harmony.
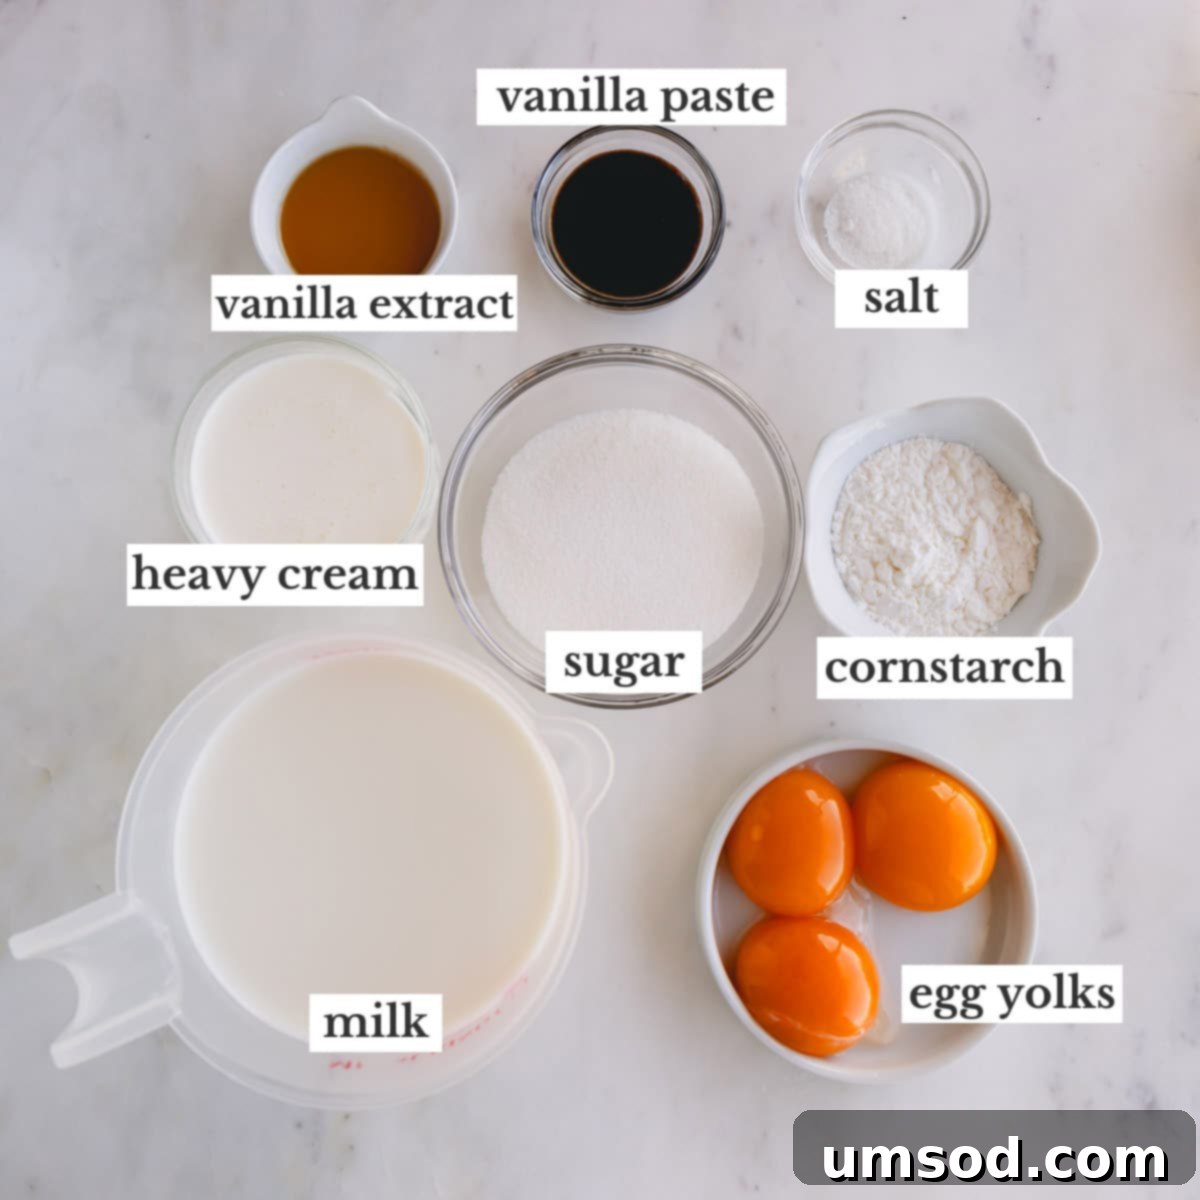
Crafting Your Homemade Vanilla Pudding: A Step-by-Step Guide:
1. Scald the Milk for a Smooth Base
- Combine: Pour the whole milk and heavy cream into a heavy-bottomed saucepan. The heavy bottom is important as it helps distribute heat evenly and prevents scorching.
- Simmer Gently: Place the saucepan over medium heat and slowly bring the mixture to a simmer, stirring frequently. Continuous stirring ensures the milk heats evenly and prevents a skin from forming or sticking to the bottom.
- Remove from Heat: As soon as you observe small bubbles forming around the edges of the saucepan, indicating it’s just about to boil, immediately remove it from the heat. It is crucial not to let the milk come to a full boil, as excessive heat can cause the proteins in the milk to burn or later scramble your egg yolks during tempering.
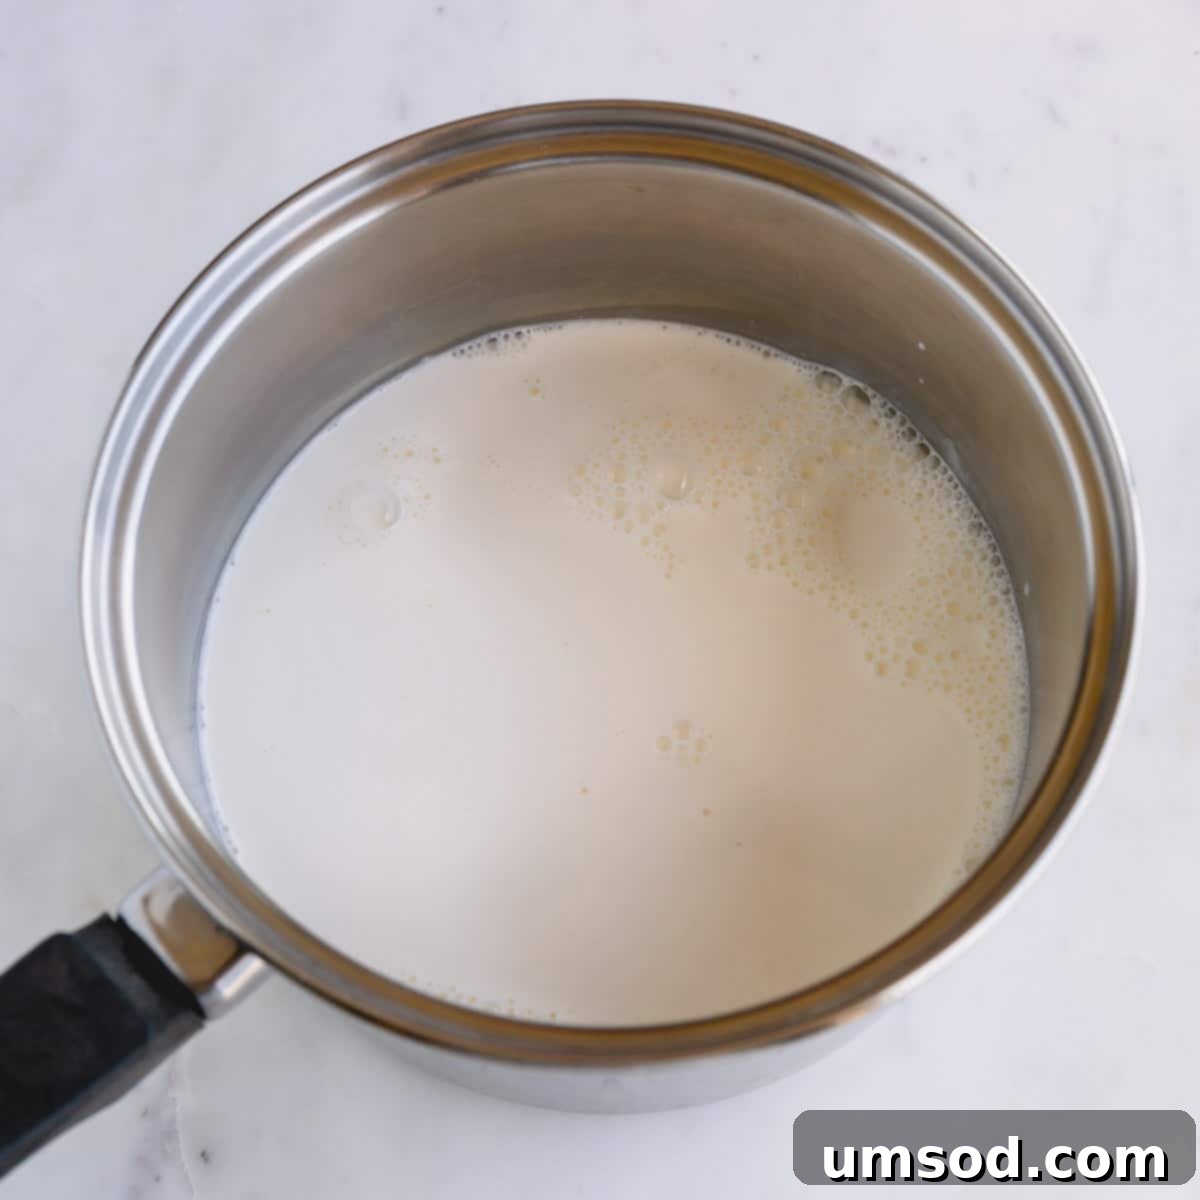
Pro Tip: Avoid Boiling the Milk
Scalding involves gently heating the milk to a simmer without ever letting it reach a rolling boil. If the milk boils vigorously, it can scald and burn onto the bottom of your saucepan, imparting an unpleasant burnt flavor to your entire pudding. Patience here ensures a clean, pure base for your vanilla masterpiece.
2. Temper the Egg Yolk Mixture with Care
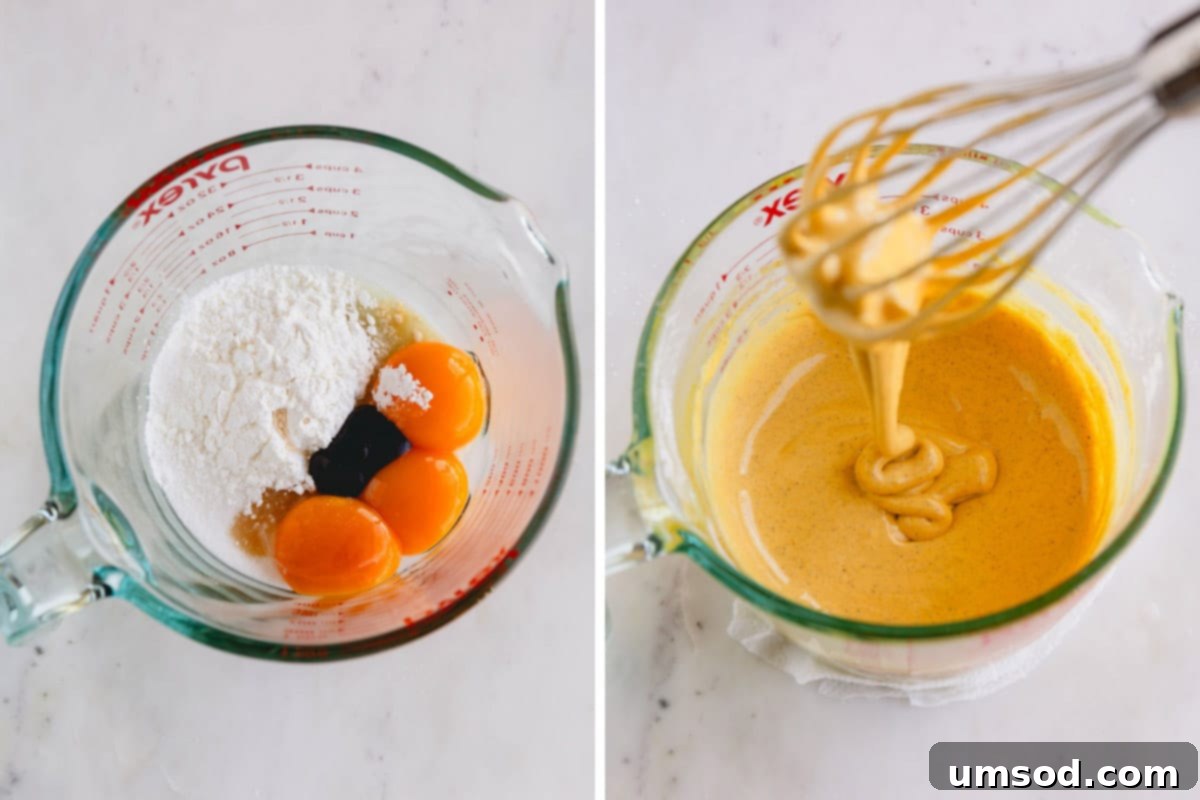
- Prepare the Yolk Mixture: In a medium-sized mixing bowl, combine the egg yolks, granulated sugar, cornstarch, pure vanilla extract, vanilla bean paste, and kosher salt.
- Whisk Until Creamy: Vigorously whisk this mixture until it becomes light in color, creamy, and appears to have doubled slightly in volume. This aeration is important for a smooth final product.
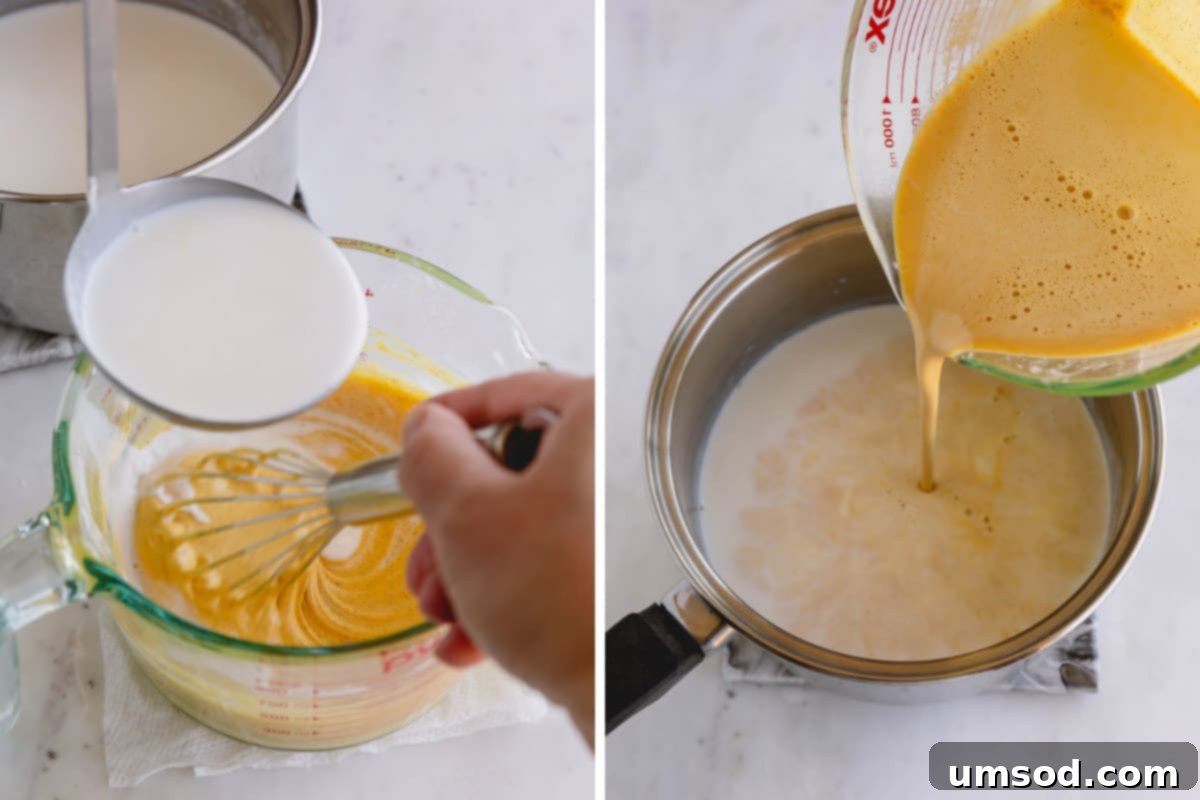
- The Tempering Process: This is a critical step to prevent the eggs from scrambling. Slowly, gradually, and in a thin stream, pour about 1 cup of the warm, scalded milk into the egg yolk mixture while continuously whisking the yolks. This process slowly raises the temperature of the egg mixture, acclimating it to the heat before it’s fully combined with the rest of the hot milk.
- Combine Mixtures: Once tempered, pour this warmed egg mixture back into the saucepan with the remaining scalded milk.
3. Cook the Homemade Vanilla Pudding to Perfection
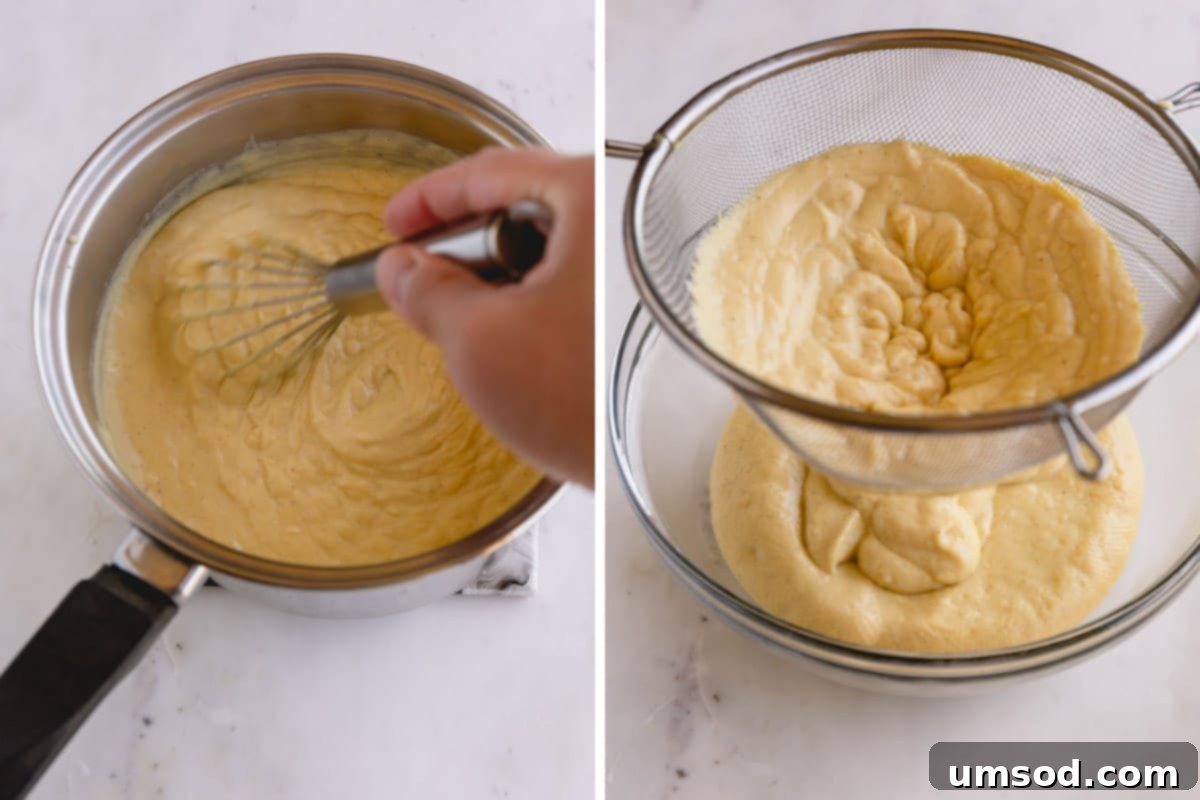
- Gentle Cooking: Return the saucepan with the combined mixture to medium heat. Continue to cook, stirring constantly and diligently, for approximately 8-10 minutes. The pudding will gradually thicken as it cooks. You’ll know it’s ready when it coats the back of a spoon thickly and leaves a clear path when you run your finger across the spoon.
- Strain for Smoothness: For the ultimate silky-smooth texture, immediately pour the cooked vanilla pudding through a fine-mesh sieve into a clean bowl. This step is essential for catching any tiny lumps of cornstarch or minuscule bits of scrambled egg that might have formed, ensuring an absolutely flawless consistency.
4. Chill and Serve (or Enjoy Warm!)
- Immediate Indulgence: One of the best perks of homemade pudding is enjoying it warm, right after it’s cooked. The aroma is incredible!
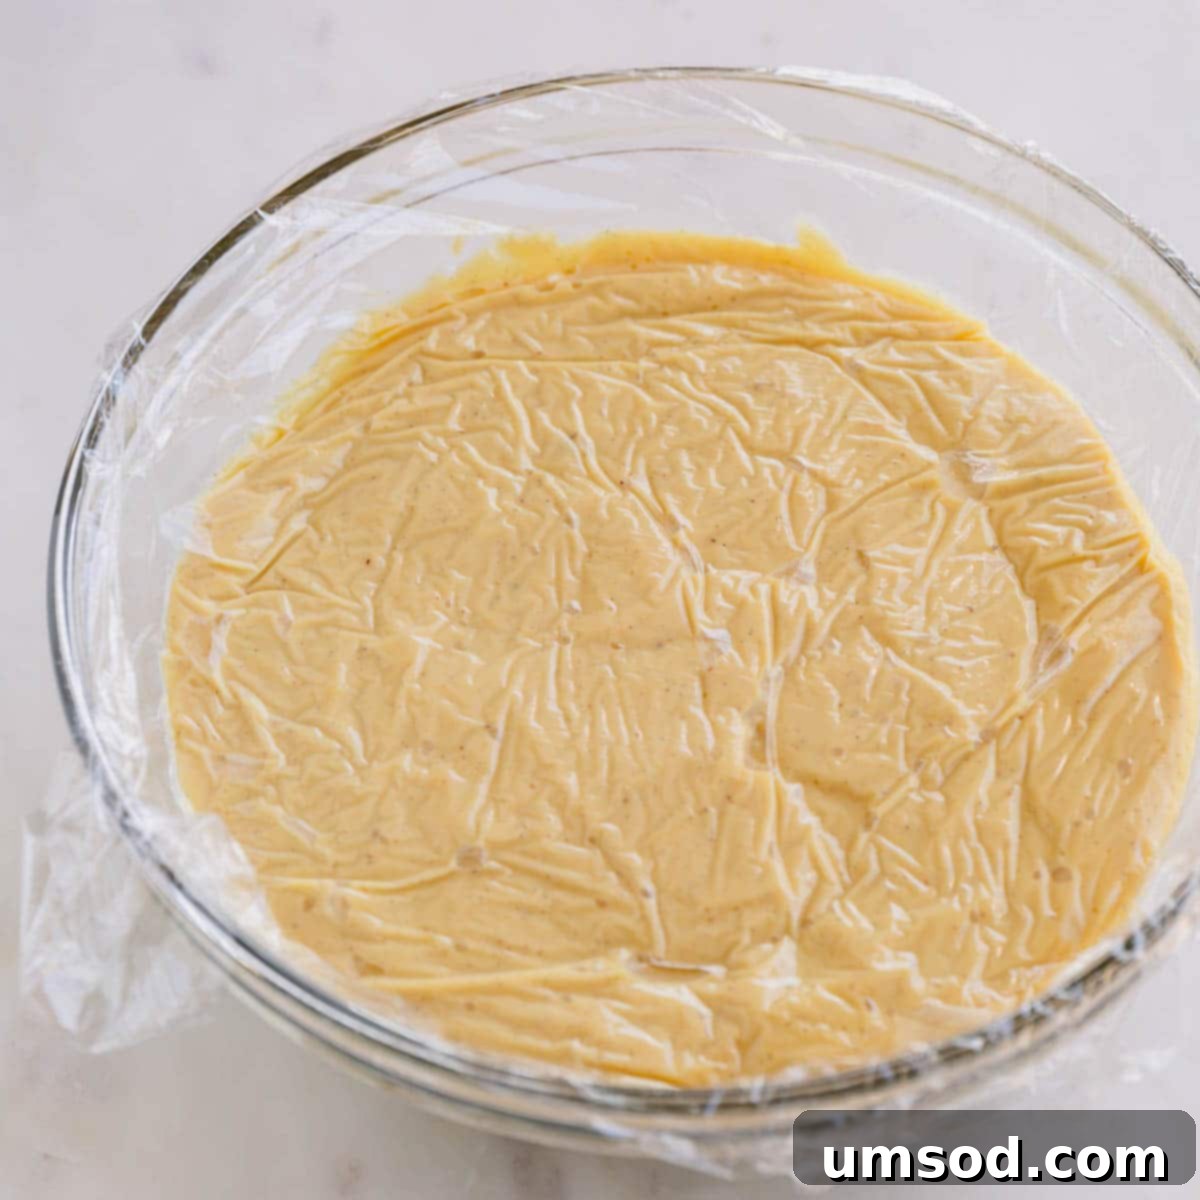
- To Chill: If you prefer a chilled pudding or plan to serve it later, cover the surface of the pudding with plastic wrap. Ensure the plastic wrap directly touches the entire surface of the pudding. This crucial step prevents a “skin” or film from forming on top as it cools.
- Refrigerate: Allow the pudding to cool in the refrigerator for at least 1 hour, or until thoroughly chilled and set, before serving.
Expert Tips for Pudding Perfection:
- Patience is Key! When it comes to making pudding from scratch, “low and slow” is the golden rule. Take your time scalding the milk, ensuring it simmers gently without boiling. Similarly, when tempering the egg yolks, add the warm milk very gradually while continuously whisking. Rushing these steps can lead to undesirable results, like scorched milk or scrambled eggs.
- Continuous Whisking: This cannot be stressed enough, especially during the tempering phase and when cooking the pudding. Constant whisking ensures that the egg yolks are evenly heated and prevents them from coagulating into lumps. It also helps distribute heat evenly and prevents the pudding from sticking to the bottom of the pan.
- The Fine-Mesh Sieve is Your Friend: For an ultra-smooth, professional-quality pudding, straining the cooked mixture through a fine-mesh sieve is non-negotiable. This simple step eliminates any potential cooked egg bits or cornstarch lumps, guaranteeing a truly velvety texture.
- Embrace Creative Toppings: While delicious on its own, vanilla pudding truly shines with thoughtful garnishes. Consider a cloud of homemade whipped cream, fresh berries (strawberries, raspberries, blueberries), a dusting of cinnamon or cocoa powder, delicate shaved chocolate, or crunchy crumbled cookies. For an extra touch of decadence, a drizzle of homemade caramel sauce or a vibrant raspberry sauce would be absolutely divine.
- Chill for Optimal Thickness: Don’t panic if your pudding seems a little thin immediately after cooking. Homemade vanilla pudding continues to thicken considerably as it cools. If you desire a firmer, more set pudding, ensure it spends ample time chilling in the refrigerator.
- Preventing the Dreaded Skin: Always remember to cover the pudding with plastic wrap directly touching its entire surface as it cools. This creates a barrier that prevents air exposure and the formation of an unappetizing film on top. This small step makes a huge difference in presentation and texture.
Smart Make-Ahead & Storage Solutions:
This homemade vanilla pudding is fantastic for meal prepping or entertaining, as it can be prepared in advance.
- Make-Ahead Mastery: You can easily prepare this delightful dessert ahead of time. Allow it to chill in the refrigerator until you are ready to serve. For best results, it needs at least 1 hour to properly set and cool. If you’re hosting guests, feel free to prepare it up to 24 hours in advance.
- Serving Prep: Always add any desired toppings or sauces right before serving to maintain their freshness and texture. Whipped cream can deflate, and fruit can become soggy if added too early.
Storing Your Leftover Pudding:
- Refrigeration: Store any leftover homemade vanilla pudding in an airtight container in the refrigerator for up to 3-4 days.
- Preventing the Film (Again!): The golden rule for proper storage is to cover the entire surface of the pudding with plastic wrap, pressing it down evenly so it directly touches the pudding. This prevents any air exposure, which is the primary cause of that undesirable film forming on top.
- Freezing for Later: Yes, you can freeze vanilla pudding! Transfer cooled pudding to a freezer-safe bag or an airtight container, leaving a little headspace for expansion. It can be frozen for up to 3 months. When you’re ready to enjoy it, thaw the pudding in the refrigerator overnight. Alternatively, for a unique treat, enjoy it directly from the freezer as a delightful icy dessert!
Frequently Asked Questions (FAQs):
What is the difference between custard and pudding?
While vanilla custard and homemade vanilla pudding share many similarities in texture, flavor, and ingredients, and their names are often used interchangeably, there are subtle distinctions. Traditional custard typically does not contain cornstarch and often boasts a slightly thicker, more gelatinous consistency. Furthermore, custard is traditionally baked in a water bath in the oven at a low temperature, allowing for a gentle, slow set. Pudding, on the other hand, is characteristically cooked on the stovetop over medium heat, relying on egg yolks and cornstarch for its creamy, spoonable texture.
Is mousse just whipped pudding?
Pudding and mousse, while both creamy and delightful, are distinct desserts with different preparation methods and resulting textures. Pudding is renowned for its rich, smooth, and creamy density, primarily thickened by cornstarch and egg yolks. Mousse, conversely, is celebrated for its light, airy, and ethereal texture. This difference comes from its primary thickening agents: whipped cream or whipped egg whites, which incorporate air to create its signature frothy consistency.
How can I prevent lumpy pudding?
The secret to achieving a perfectly smooth, lump-free pudding lies in two critical techniques. First, always cook your pudding slowly over medium-low heat, stirring continuously throughout the entire cooking process. This constant motion prevents lumps from forming and ensures even cooking. Second, once the pudding has thickened to your desired consistency, immediately pass it through a fine-mesh sieve. This step will catch any small lumps of cornstarch or minuscule cooked egg bits, guaranteeing an impeccably smooth finish.
Can I make this pudding dairy-free?
While this recipe relies heavily on whole milk and heavy cream for its signature richness, you can experiment with dairy-free alternatives. Full-fat coconut milk (from a can) or a high-quality unsweetened oat milk blended with a bit of cashew cream could offer a similar creamy texture. However, the flavor profile will change, and you may need to adjust the thickening agents slightly. Results may vary, but it’s worth a try for those with dietary restrictions!
Why did my pudding turn out too thin?
Several factors can lead to thin pudding. The most common reasons include not cooking it long enough, or not maintaining a consistent simmer. Ensure you’re stirring constantly over medium heat until the pudding visibly thickens and coats the back of a spoon. If it’s still thin after cooling, it might not have been cooked enough to activate the cornstarch and egg yolks fully. Next time, allow it to cook for a minute or two longer, ensuring constant stirring.
More Creamy Indulgences:
- Vanilla Rice Pudding
- Classic Pastry Cream (Crème Pâtissière)
- Classic Crème Brûlée
- Avocado Chocolate Mousse
Homemade Vanilla Pudding
Silky smooth and irresistibly rich, this homemade vanilla pudding is completely from scratch and takes less than 20 minutes of active cooking. There’s nothing bland about this simple vanilla pudding!
Ingredients
- 2 cups (480 ml) whole milk Note 1
- ½ cup (120 ml) heavy (whipping) cream
- 3 egg yolks
- 1/3 cup (65 g) sugar
- 3 ½ tablespoons (28 g) cornstarch
- 1 tablespoon pure vanilla extract
- 1 tablespoon vanilla bean paste
- ¼ teaspoon kosher salt
Instructions
- In a heavy bottomed saucepan, combine milk and heavy cream. Slowly bring it to a simmer over medium heat, stirring frequently. (TIP: This is called scalding the milk. Once you see small bubbles appearing on the surface, remove it from heat. Be careful not to boil it though, or it’ll scramble the eggs in step 3.)
- In a medium bowl, combine egg yolks, sugar, cornstarch, vanilla extract, vanilla bean paste, and salt. Whisk the mixture until creamy and doubled in size.
- To temper the egg mixture, slowly add 1 cup of scalded milk into the egg yolk mixture, while constantly whisking the mixture. (TIP: To prevent the eggs from scrambling, whisk, whisk, whisk when tempering the egg yolks!)
- Transfer the tempered egg mixture into the remaining scalded milk.
- Cook the mixture over medium heat, stirring constantly for 8-10 minutes, or until the mixture is nice and thick.
- Run the custard through a sieve for extra smooth texture.
- Cover the pudding with a plastic wrap so that it touches the entire surface of the pudding. This will prevent a layer of film from forming on top.
- Chill the pudding for at least an hour before serving. But if you’re like me and prefer your pudding warm, by all means dig in!
⭐️ Did you make this recipe?
Please leave a review and let us know how you liked it!
Tips & Notes
STORING TIP:
– Store leftover homemade vanilla pudding in the refrigerator for 3-4 days.
– Cover the entire surface of the pudding with plastic wrap. This prevents air exposure, which can cause a film to form on top. The plastic wrap needs to be pressed evenly down onto the pudding.
Nutrition
This post was originally published on August 17th, 2013, and has been updated for clarity and comprehensiveness.
