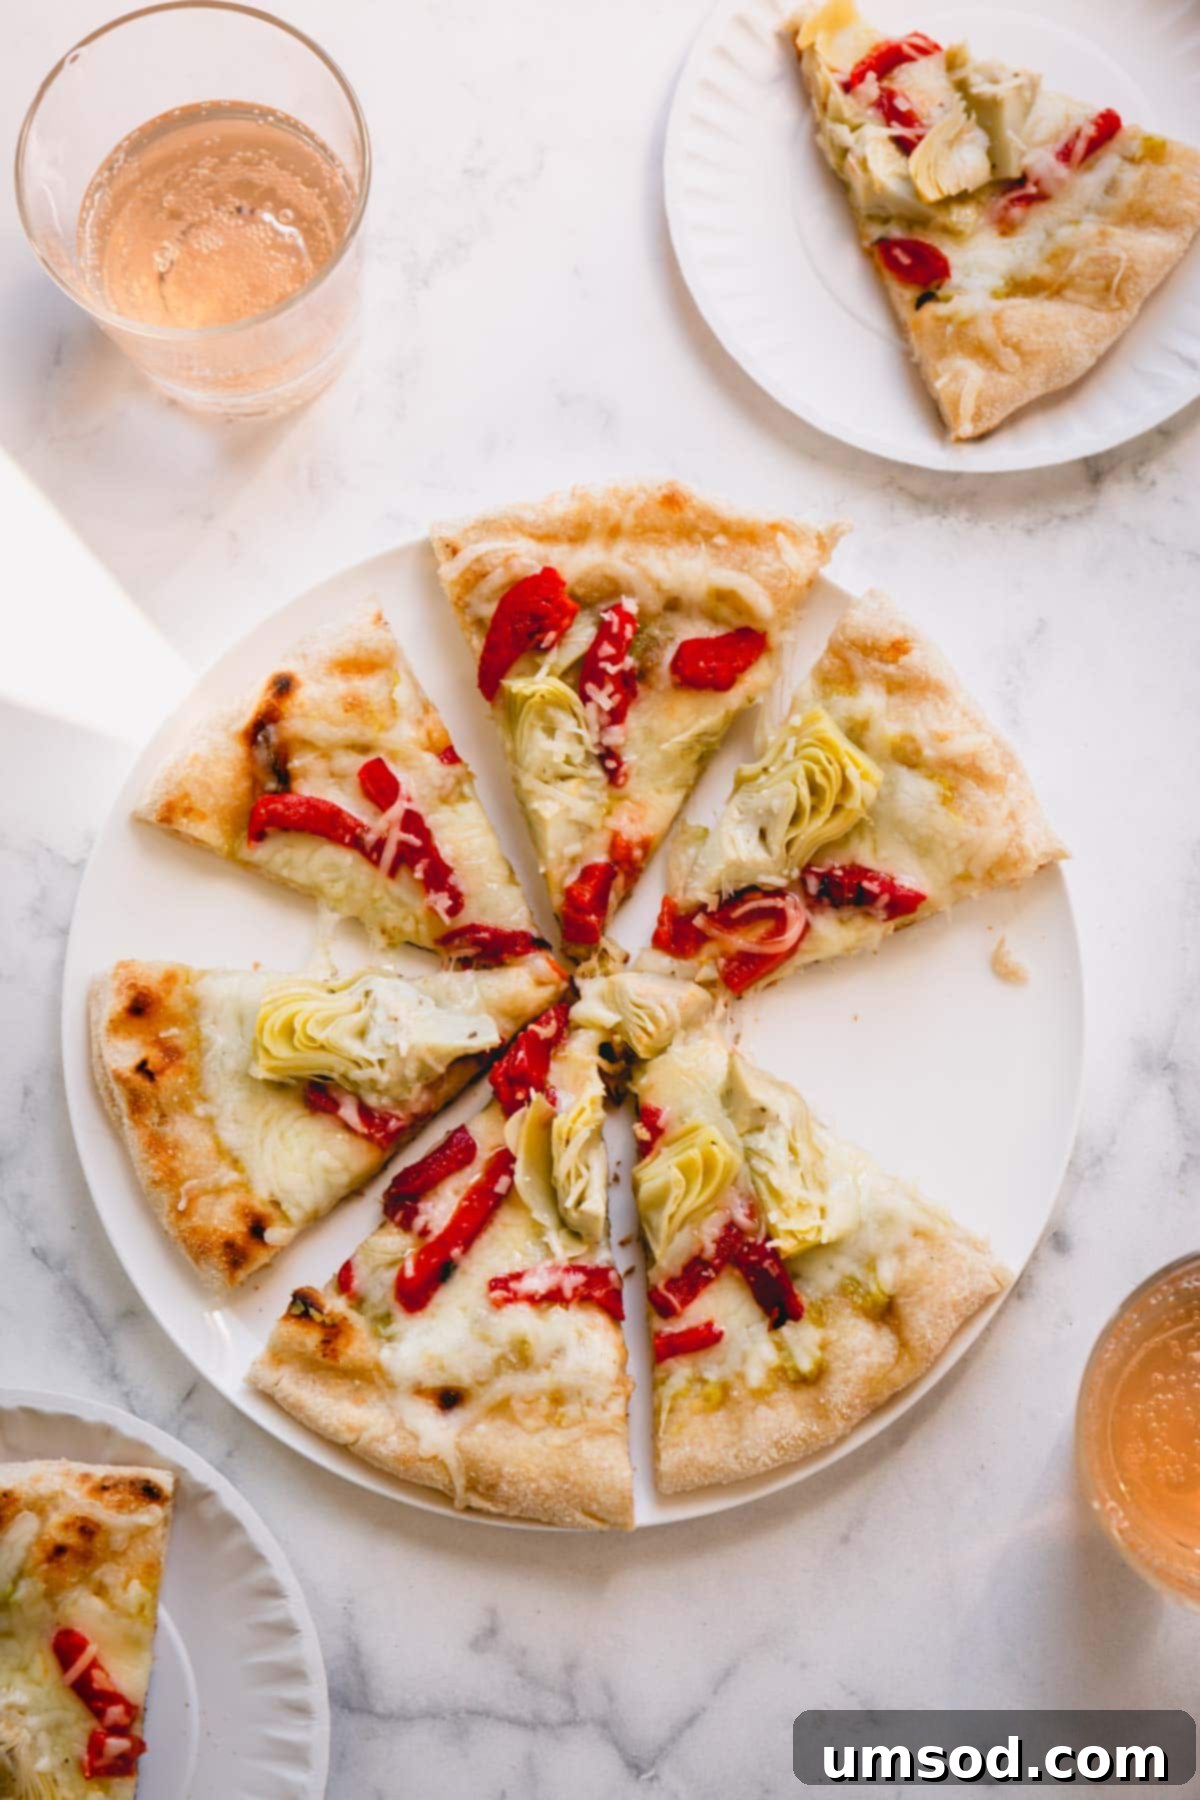
Unlock the secret to the ultimate summer meal with this incredible recipe for a **perfect grilled artichoke pizza**! Bursting with vibrant flavors and incredibly easy to make, this dish will quickly become your absolute favorite for warm-weather gatherings. Forget heating up your kitchen with a hot oven – we’re taking pizza night outdoors for a truly unforgettable culinary experience.
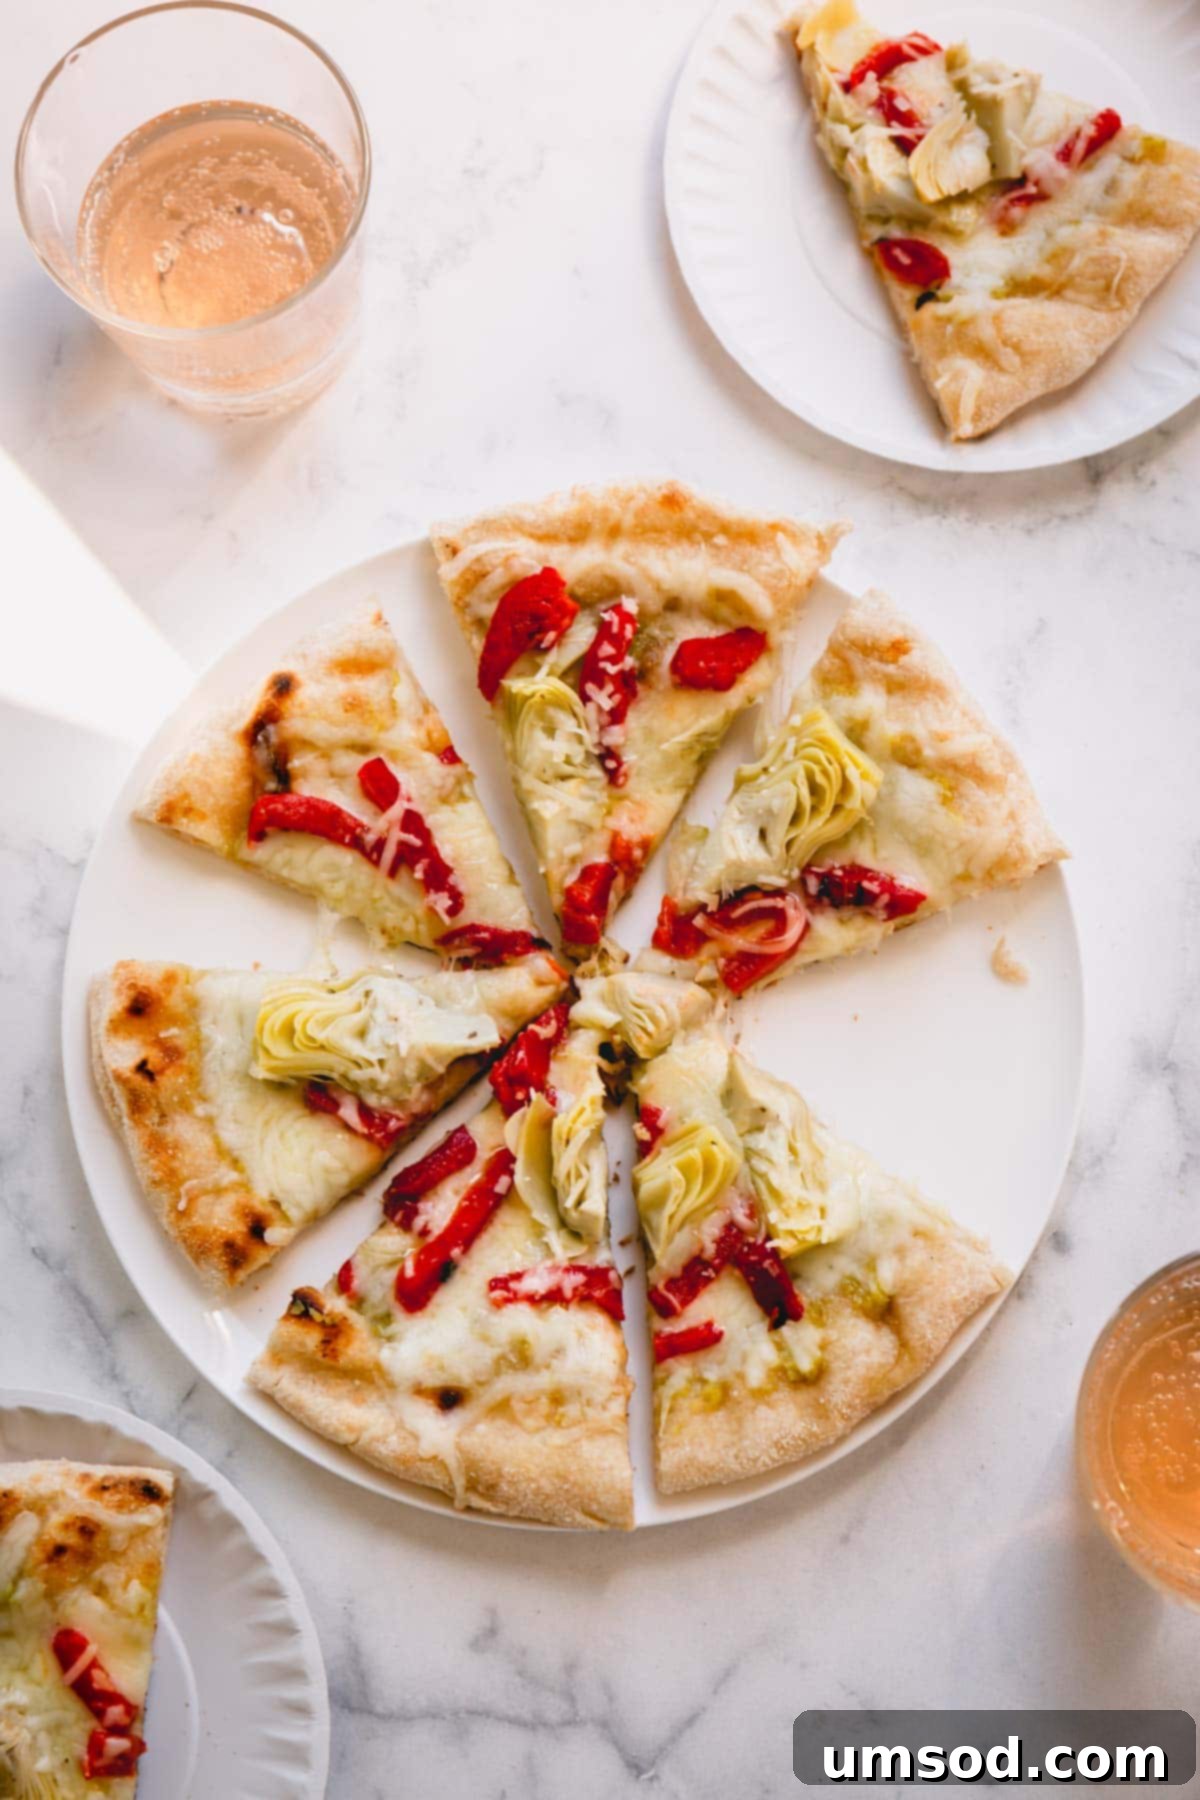
For many, the idea of grilling pizza might seem a little intimidating. I remember my initial hesitation, thinking, “What if the dough falls through the grates, or worse, sticks and burns to a crisp?” These were real concerns when I first ventured into the world of outdoor pizza making.
But here’s the good news: I’ve been successfully grilling pizzas since 2017, and none of those grilling mishaps have ever occurred! With a few simple techniques and the right approach, grilling pizza is not only safe but also incredibly rewarding, producing a crust that’s delightfully crispy on the outside and wonderfully chewy on the inside. Let me share my tried-and-true methods to help you grill a flawless pizza every single time.
Why This Grilled Artichoke Pizza Will Become Your Go-To Recipe:
If you’ve never experienced the joy of grilling pizza, prepare for a culinary revelation! This method truly transforms pizza night, especially during the warmer months. Once you try it, you’ll understand why it’s the only way to cook pizza during summer – and why you’ll absolutely adore it!
- Effortlessly Quick and Easy – Ditch the traditional oven and avoid heating up your entire house. Grilling pizza is incredibly fast, allowing you to go from raw dough to a gourmet meal in minutes.
- Minimum Ingredients, Maximum Flavor – You only need a handful of high-quality ingredients – just 6 main components – to create a flavor-packed pizza that tastes like it came from a high-end pizzeria. This recipe proves that simplicity can lead to extraordinary results.
- Homemade Excellence – While store-bought dough works beautifully for convenience, my homemade pizza dough recipe offers an exceptional foundation, allowing you to keep your meal 100% scratch-made and fully customizable to your preferences.
- Uniquely Delicious Crust – Grilling imparts a distinct smoky flavor and a perfect char that a conventional oven simply can’t replicate. The intense, direct heat creates an airy, bubbly crust with a delightful chew and crisp exterior.
- Perfect for Entertaining – Grilling pizzas is a fun, interactive activity for parties. Set up a topping bar and let everyone customize their own pie for a memorable gathering.
Ready to ignite your grill and elevate your pizza night to a whole new level? Let’s dive into making this incredible grilled artichoke pizza!
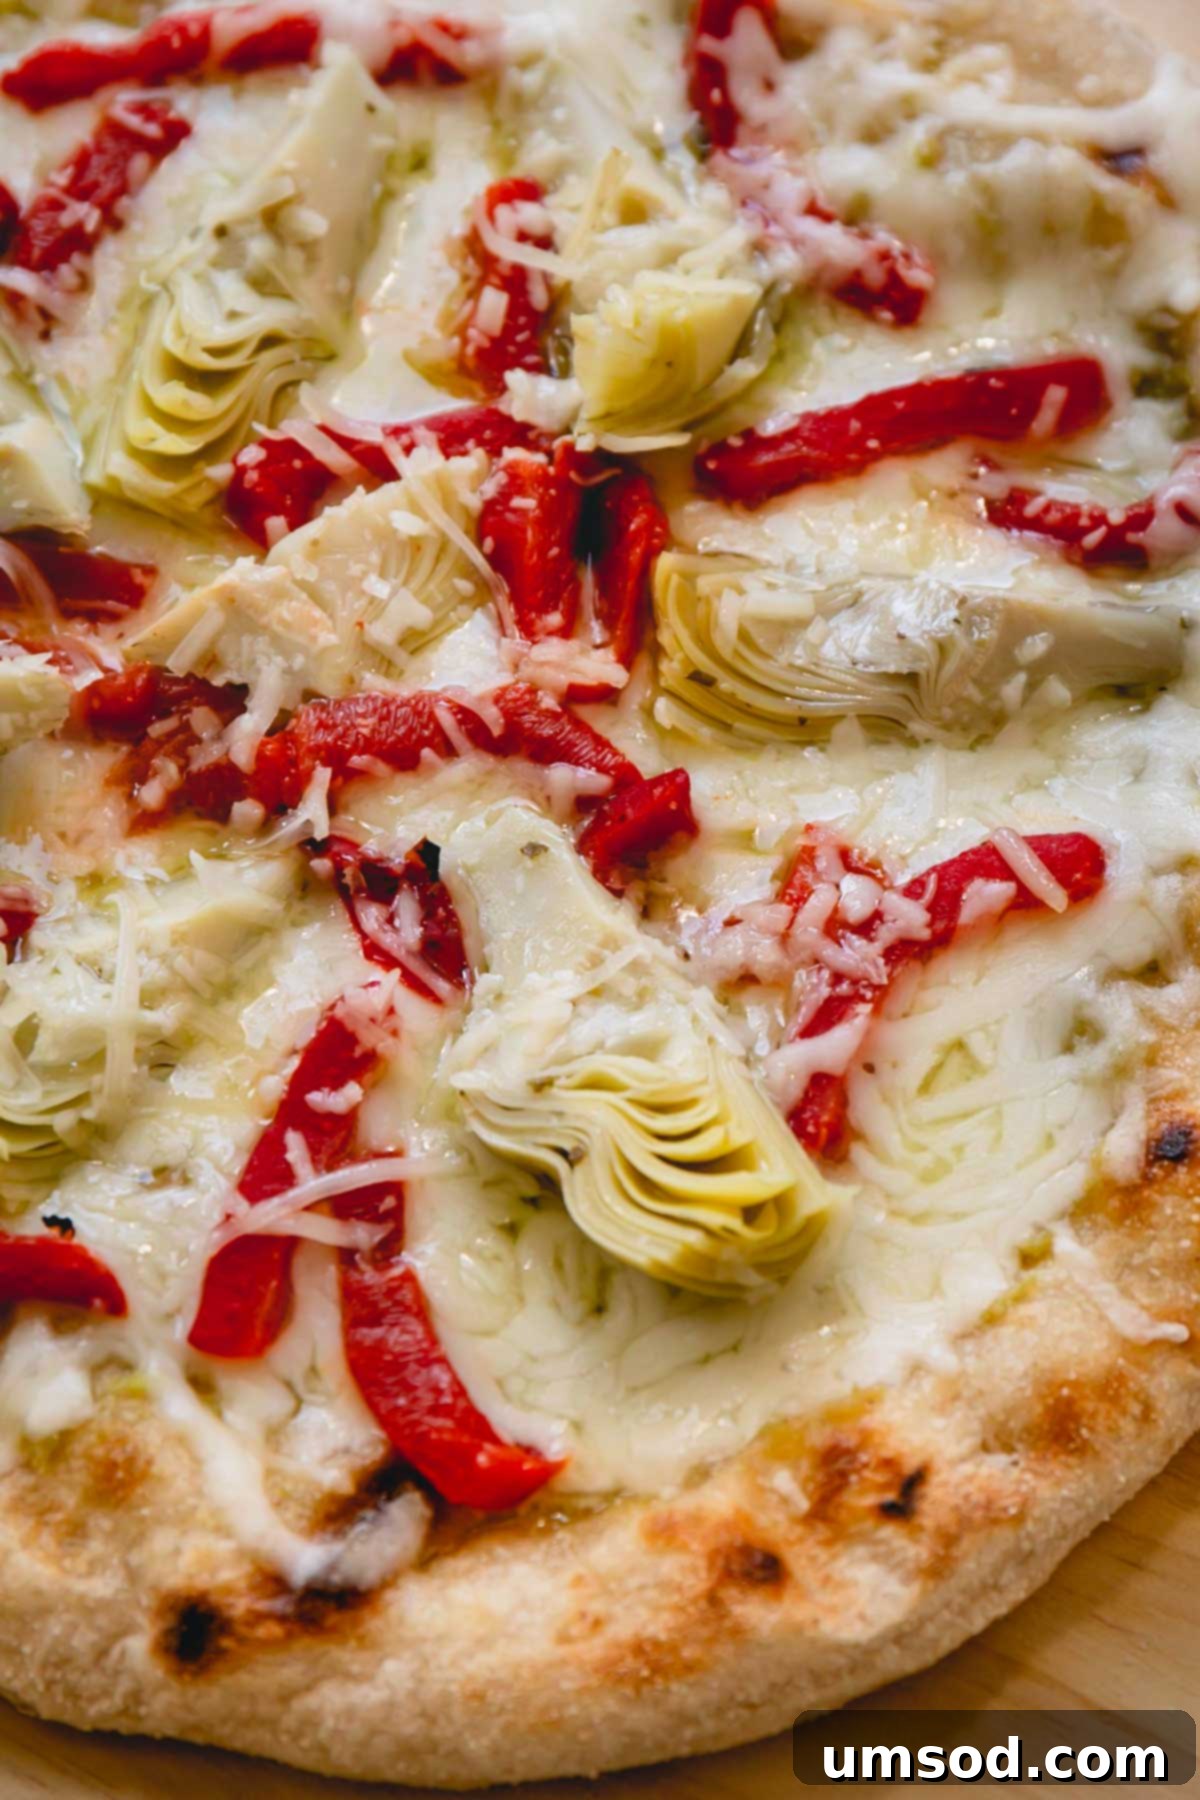
Essential Ingredients for Your Grilled Artichoke Pizza:
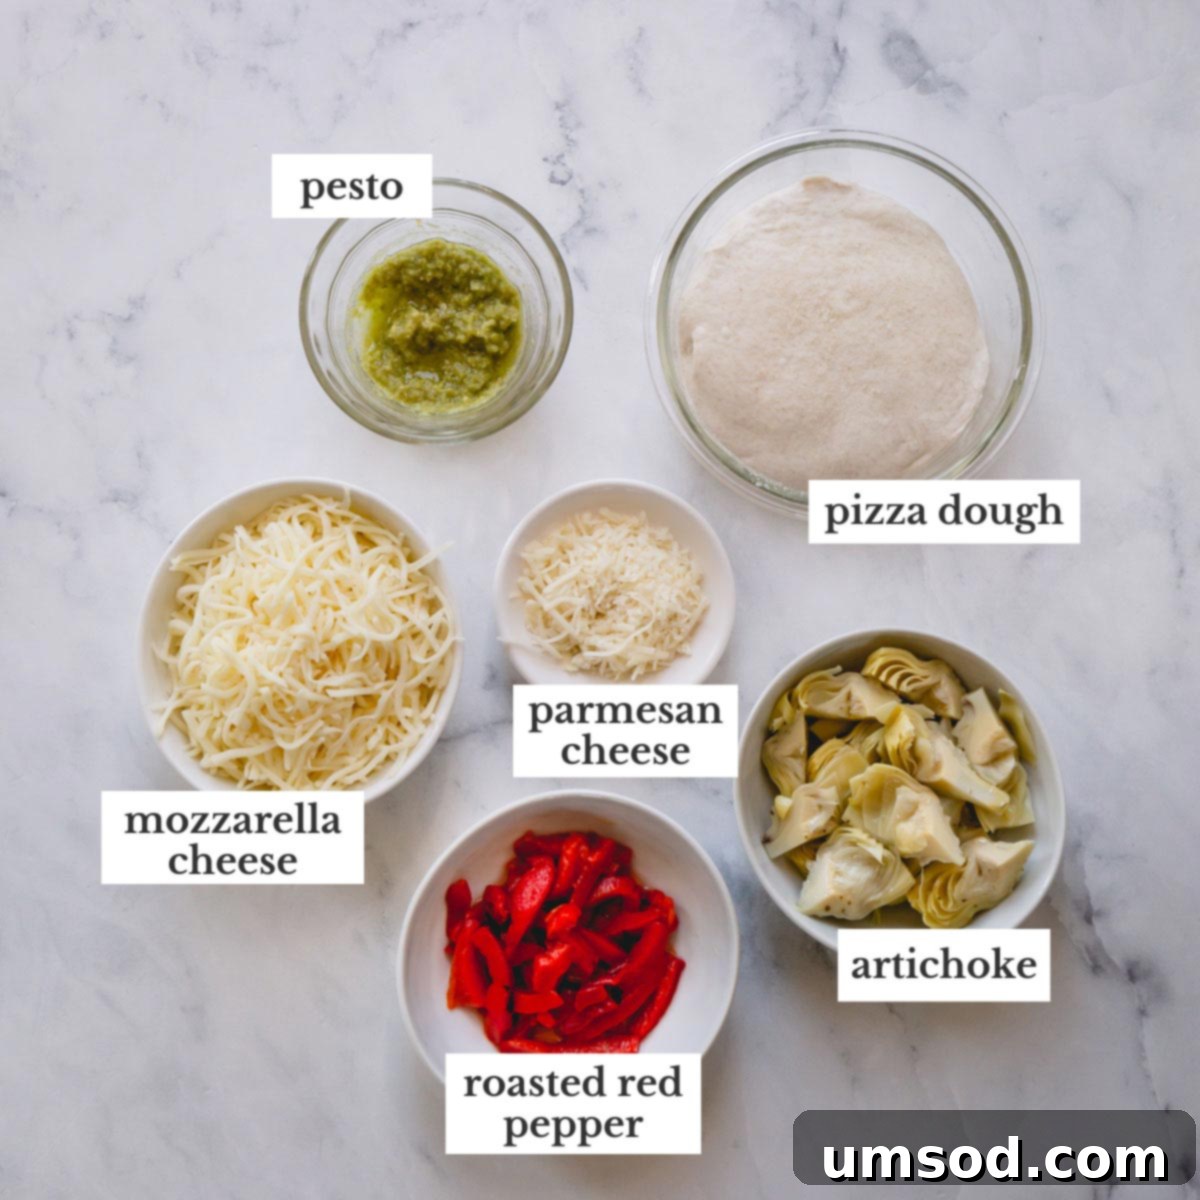
Crafting a truly spectacular pizza starts with selecting the best ingredients. For this grilled artichoke pizza, we focus on a few key components that deliver maximum flavor and texture with minimal fuss. Here’s what you’ll need:
- Pizza Dough – The foundation of your pizza! You have the flexibility to use either a good quality store-bought pizza dough (fresh, not frozen) for convenience, or you can elevate your pizza game by making it from scratch. My detailed guide on how to make pizza dough from scratch will yield a wonderfully chewy and flavorful crust that’s perfect for grilling. Remember to bring your dough to room temperature before stretching for the best results.
- Artichoke Hearts – For this recipe, I highly recommend using a jar of quartered marinated artichoke hearts. The marinade infuses the artichokes with a tangy, herbaceous flavor that perfectly complements the other toppings. Simply drain them before use. You can also lightly pat them dry to prevent excess moisture from making your pizza soggy.
- Roasted Red Peppers – These add a beautiful sweetness, a hint of smokiness, and a lovely pop of color. My personal favorite brand for roasted red peppers is Mezzetta (a loyal fan, not sponsored!). Opt for deli-sliced roasted red pepper strips if you can find them – it saves you a step of slicing and makes assembly even quicker. If using whole roasted peppers, simply slice them into thin strips.
- Mozzarella Cheese – The quintessential pizza cheese! For optimal melt and less water release, I prefer using low-moisture shredded mozzarella. While pre-shredded cheese is convenient, shredding a block of low-moisture mozzarella cheese yourself will often result in a superior melt and creamier texture. Avoid fresh mozzarella balls as they contain too much water for grilling, which can make your crust soggy.
- Pesto – This vibrant green sauce provides a burst of fresh, garlicky, and herbaceous flavor that ties all the ingredients together. Feel free to use your favorite brand of basil pesto, or experiment with other varieties. I’ve personally tried this recipe with both classic basil pesto and a more unique garlic scapes pesto, and both were absolutely delicious, offering slightly different but equally fantastic flavor profiles.
- Parmesan Cheese – A sprinkle of grated Parmesan cheese adds a wonderful nutty, salty depth that elevates the overall flavor. For the best taste and texture, be sure to choose refrigerated Parmesan cheese and grate it fresh, rather than using the shelf-stable, powdered variety. The difference in flavor is remarkable!
These ingredients, while few, are carefully chosen to create a harmonious and intensely flavorful grilled artichoke pizza. Each component plays a crucial role in delivering a memorable dining experience.
Step-by-Step Guide: How to Master Grilled Artichoke Pizza:
Grilling pizza might sound complex, but it’s surprisingly straightforward and incredibly rewarding. Follow these steps for a perfectly cooked pizza with that signature smoky, crispy crust.
1. Prepare and Grill the Pizza Crust:
The key to a successful grilled pizza lies in preparing your dough and grill properly. Whether you’re using a charcoal or gas grill, the principles remain similar: consistent heat and careful handling.
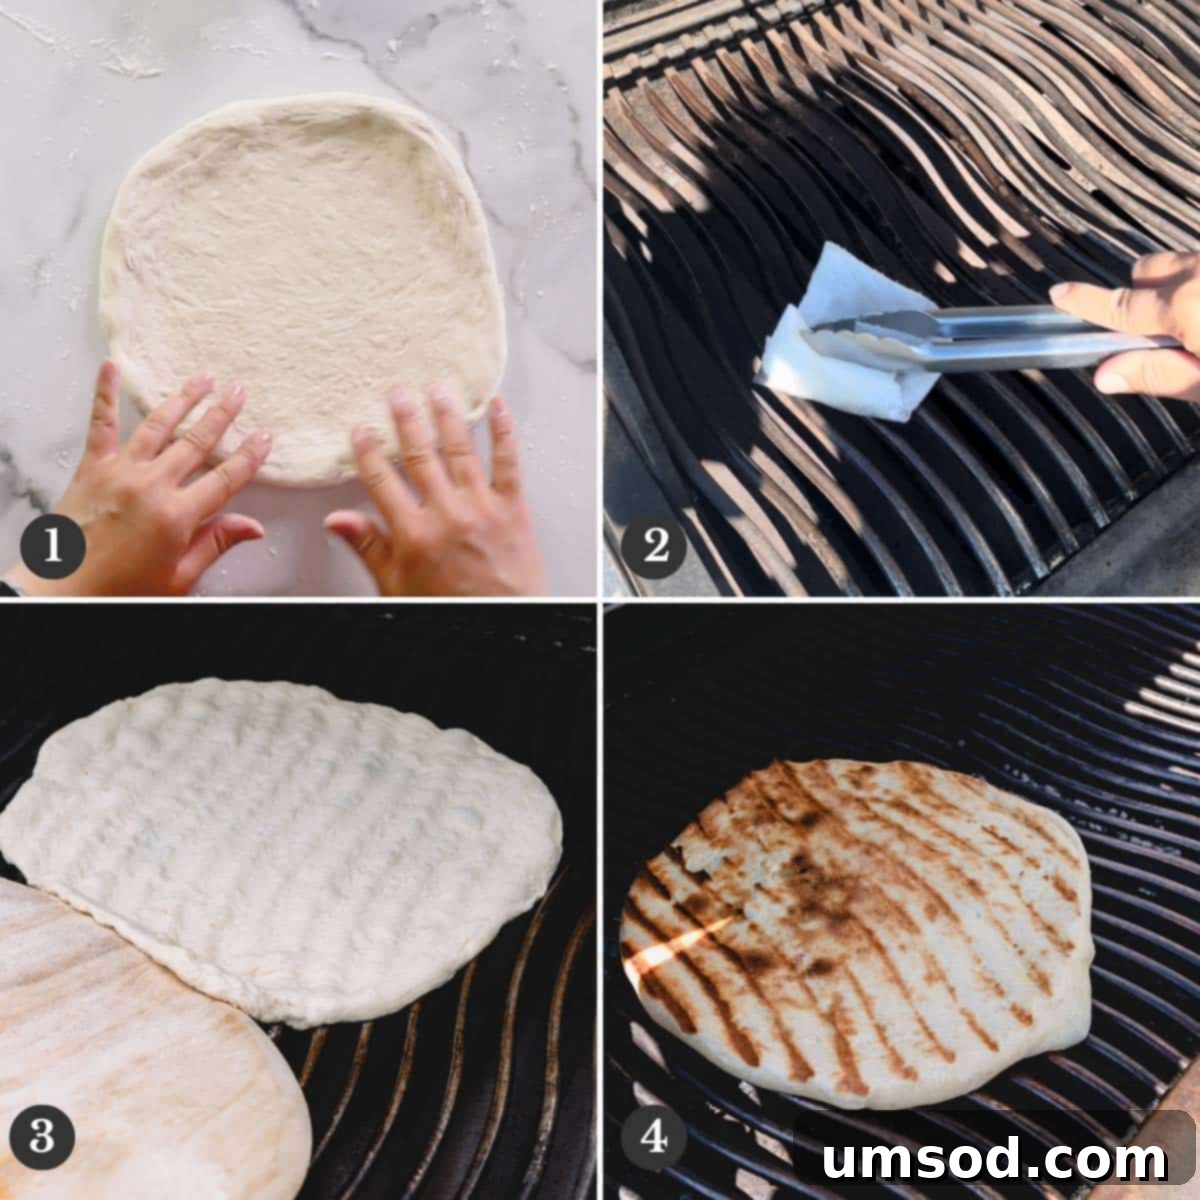
- First, ensure your pizza dough is at room temperature. This makes it much easier to stretch and prevents it from snapping back. If using homemade dough, take it out of the fridge at least 2 hours before you plan to grill.
- Stretch each pound of pizza dough into two roughly 10-inch circles. Aim for an even thickness. If your dough resists stretching or shrinks back, let it rest on the counter for another 5-10 minutes. The gluten needs to relax, and it will be much more pliable afterward.
- Preheat your grill to a medium-high heat. I’ve had great success with both charcoal and gas grills. For a charcoal grill, arrange your coals for indirect heat (piling them on one side) to prevent the crust from burning too quickly. For a gas grill, heat all burners and then reduce to medium-high. Let it heat for at least 10 minutes to get the grates thoroughly hot.
- Before placing the dough, clean and oil the grates. This is a crucial step to prevent sticking. A simple method is to soak a paper towel in a high-smoke-point oil (like vegetable or canola oil) and, using a pair of kitchen tongs, carefully run it all over the hot grates. Repeat this a couple of times to ensure a non-stick surface.
- Carefully place one of your stretched pizza doughs directly onto the hot, oiled grates. Close the lid and cook for approximately 2 minutes over medium indirect heat (if using charcoal) or medium-high direct heat (if using gas, but be vigilant).
- After about 2 minutes, the crust should have puffed up slightly and developed golden grill marks. Using your tongs, flip the dough to cook the other side for another 1-2 minutes. Keep a close eye on it, checking frequently to ensure it doesn’t burn. You’re aiming for a beautifully cooked, slightly charred crust, not burnt.
Chef’s Tip
Grilling pizza crust happens very quickly due to the intense heat. It really doesn’t take long to cook the crust, so staying attentive is key. I strongly suggest keeping a pair of tongs handy and sneaking a peek under the crust after just a minute or so. You are looking for those appealing, golden-brown grill marks, not an unfortunately charred, blackened surface. Adjust your grill heat as needed to achieve that perfect balance.
Another pro-tip: consider using a pizza peel dusted with semolina flour or cornmeal to easily transfer your raw dough to the grill and then the partially cooked crust back off. This prevents sticking and makes the process much smoother.
2. Assemble and Finish Grilling with Toppings:
Once your crust is perfectly pre-grilled, it’s time for the fun part – adding those delicious toppings and letting the flavors meld under the grill’s gentle heat.
- Once the pizza dough is cooked on both sides and has developed a nice char, carefully transfer the crust from the grill. A pizza peel or a large spatula works best here. Place it on a baking sheet or a clean cutting board for easy topping.
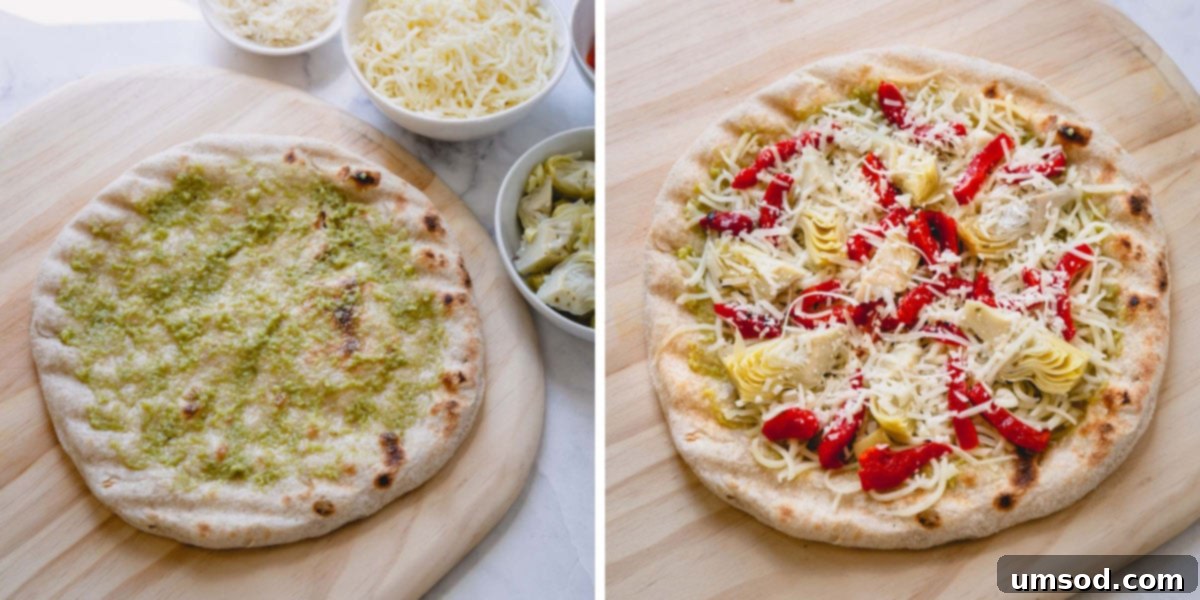
- Working quickly, spread a generous layer of pesto sauce all over the grilled crust, leaving a small border for the crust. The vibrant green of the pesto will immediately awaken your senses.
- Evenly arrange the rest of your prepared toppings: first, a layer of shredded mozzarella cheese, followed by the drained marinated artichoke hearts and strips of roasted red peppers. Finally, sprinkle with grated Parmesan cheese. Distribute the toppings so each slice gets a bit of everything.
- Carefully slide the assembled pizza back onto the grill. Close the lid and cook for just another 1-2 minutes, or until the cheese is beautifully melted and bubbly. The goal here is to melt the cheese and warm the toppings without burning the bottom of the crust. If your grill has an upper rack, you can use that to help melt the cheese more gently.
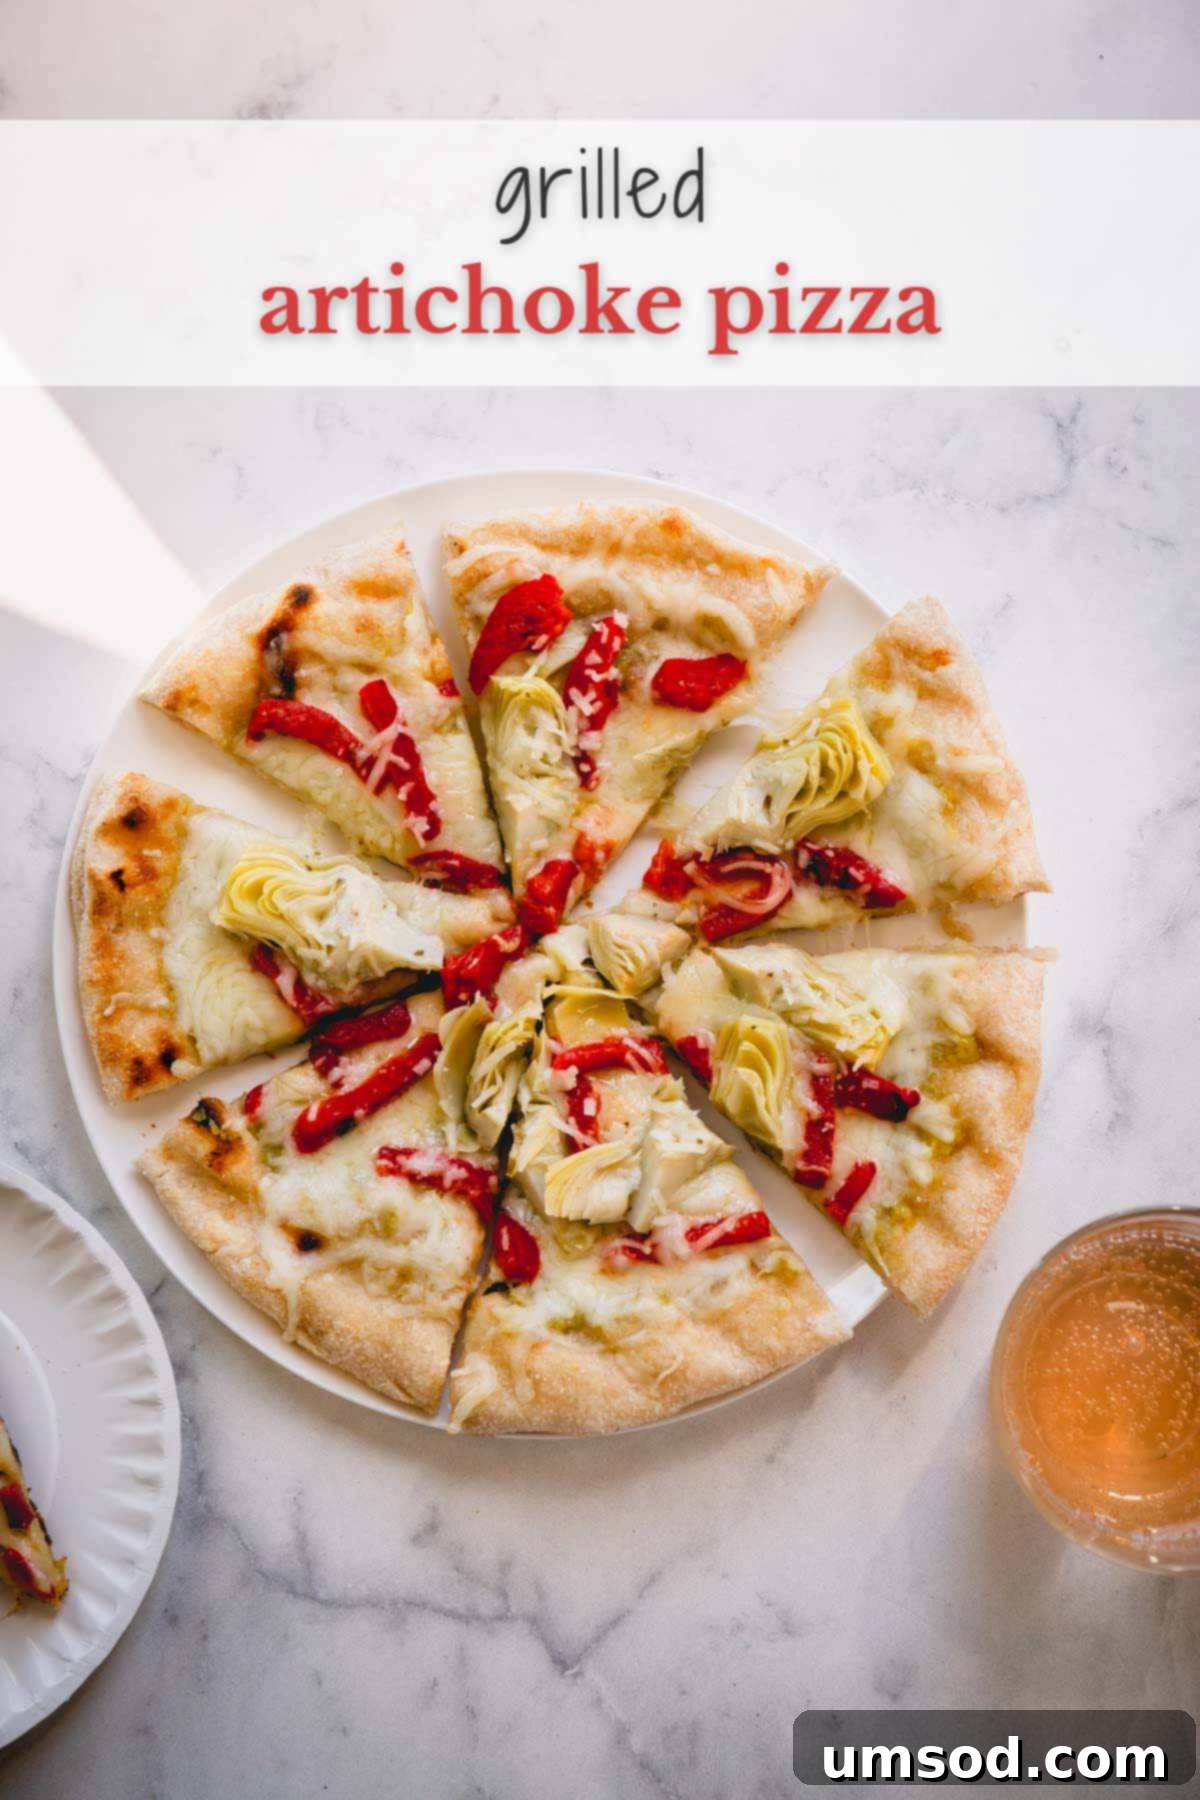
- Once the cheese is melted and golden, remove the pizza from the grill, slice, and serve immediately. Enjoy the incredible aroma and taste of your homemade grilled artichoke pizza!
Advanced Tips for Grilled Pizza Perfection:
Achieving consistently amazing grilled pizza comes down to understanding a few key principles and practices. Here are some expanded tips to ensure your grilling experience is always a triumph:
- Dough Temperature is Paramount: Always bring your pizza dough to room temperature before attempting to stretch it. Cold dough is stiff, elastic, and prone to tearing or shrinking back immediately. Ideally, remove it from the refrigerator at least 2 hours prior to making your pizza. This relaxation allows the gluten to become pliable and easy to work with.
- Patience with Stretching: If your dough starts to shrink back when you’re stretching it, don’t force it. This is a sign that the gluten needs to relax further. Simply cover it loosely with a clean kitchen towel and let it rest for another 5-10 minutes. When you return, it will be much more cooperative.
- Grill Heat Consistency: Both gas and charcoal grills are excellent for pizza, but proper preheating is crucial. For gas grills, preheat all burners on high for 10-15 minutes, then reduce to medium-high. For charcoal, aim for a medium-hot fire, distributing coals to create both a direct and indirect heat zone. The grill needs to be hot enough to instantly crisp the dough but not so hot that it burns before cooking.
- Preventing Stickage: A well-cleaned and thoroughly oiled grill grate is your best defense against sticky dough. Clean off any residual food particles with a wire brush, then use tongs to wipe the grates with an oil-soaked paper towel. Repeat this step a couple of times. A well-seasoned cast-iron grate can also help.
- The Pizza Peel Advantage: A wooden or metal pizza peel is indispensable for transferring raw dough to the grill and then removing the par-baked crust. Dusting your peel generously with semolina flour or brown rice flour creates tiny ball bearings that allow the dough to slide off effortlessly, preventing frustrating sticking moments.
- Don’t Overload: While it’s tempting to pile on the toppings, less is often more with grilled pizza. Too many toppings can make the crust soggy, prevent even cooking, and make it difficult to transfer. Stick to a moderate amount for the best results.
- Indirect Heat for Toppings: When adding toppings and melting the cheese, move the pizza to an indirect heat zone (if using charcoal) or lower the heat on your gas grill. This allows the cheese to melt and the toppings to warm without burning the crust underneath.
Smart Make-Ahead and Storage Solutions:
One of the best things about grilled pizza is its versatility, even beyond immediate consumption. You can easily prepare components in advance, making weeknight dinners or impromptu gatherings a breeze. This make-ahead strategy saves time and stress without sacrificing flavor.
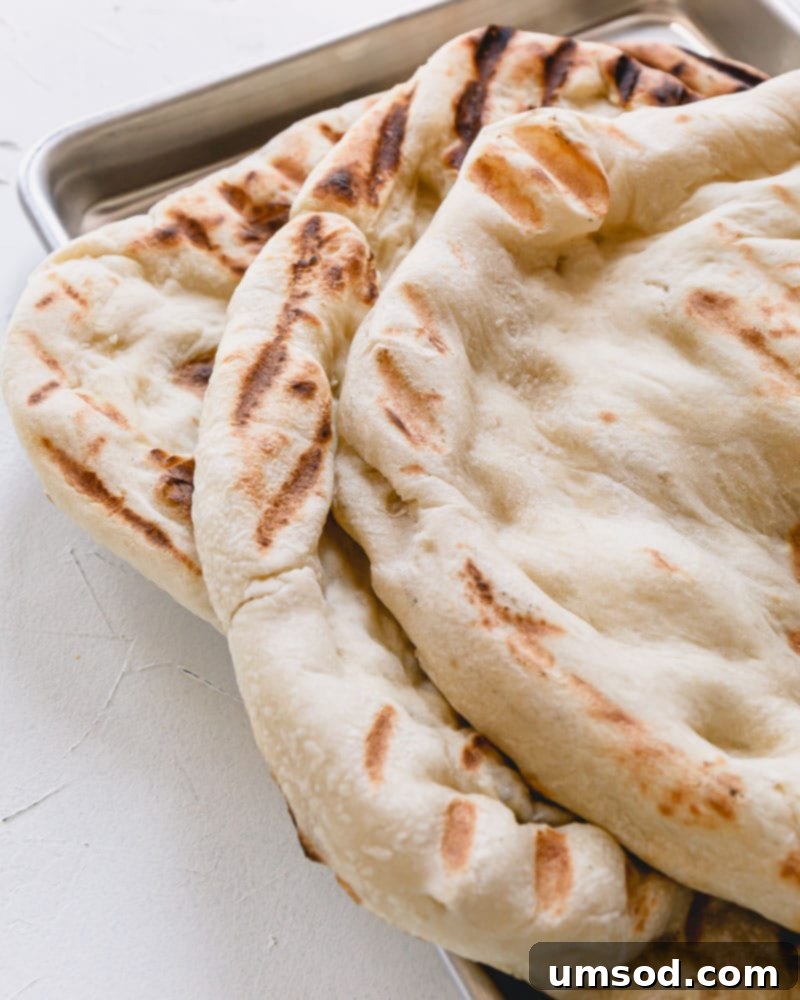
- Pre-Grill and Freeze Crusts: You can absolutely grill a few pizza crusts at once and save them for later! Simply grill the dough on both sides until it’s cooked through and has nice grill marks, but don’t add any toppings yet.
- Cool and Store: Allow the grilled crusts to cool completely on a wire rack. Once cool, tightly cover each crust with plastic wrap, then an additional layer of aluminum foil, or place them in freezer-safe bags. They can be frozen for up to 3 months. This is perfect for quick dinners – just pull one out when you’re craving pizza!
- Ready to Use: When you’re ready to enjoy a frozen grilled crust, simply remove it from the freezer. You can top it with your favorite ingredients directly from frozen or allow it to thaw for a few minutes. Then, bake it in a preheated oven (or even back on the grill over indirect heat) as usual until the toppings are cooked and the cheese is melted and bubbly.
And what about leftovers? Don’t let delicious pizza go to waste! For the very best results when reheating leftover pizza, skip the microwave. Instead, I recommend checking out my roasted tomato pizza post, where I share my absolute favorite way to bring leftover slices back to life with a crispy crust and perfectly melted cheese, almost like it was fresh from the grill.
Additionally, storing leftover slices properly ensures they stay fresh. Place any remaining pizza in an airtight container or wrap it tightly in plastic wrap and aluminum foil. Refrigerate for up to 3 days. Reheating methods like a hot oven, a toaster oven, or even an air fryer will yield far superior results than a soggy microwave.
We truly hope you enjoy this vibrant and incredibly delicious grilled artichoke pizza. It’s a recipe designed to bring joy to your taste buds and ease to your summer cooking. If you give it a try and fall in love with it as much as we have, please consider sharing a photo of your creation on Instagram and leaving a review below. Your feedback and beautiful food photos inspire us!
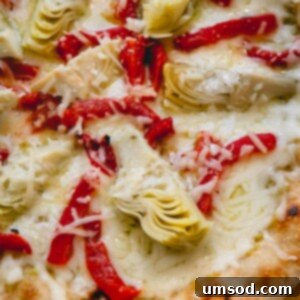
Grilled Artichoke Pizza
Comment
Print Recipe
Ingredients
- 1 lb pizza dough divided Note 1
- 1 jar (12oz/340g) artichoke hearts drained Note 2
- ¼ cup pesto
- 8 oz (225g) Mozzarella cheese grated Note 3
- 1 jar (8oz/226g) roasted bell pepper strips
- ¼ cup grated Parmesan cheese
Instructions
- Bring the pizza dough to room temperature, approximately 2 hours on the counter, before stretching.
- Stretch out both pizza dough balls into 10-inch circles on a lightly floured counter. (You can find a video on how to stretch pizza dough for guidance.)
- Heat the grill over high heat for at least 10 minutes to ensure the grates are thoroughly hot.
- When ready to grill, clean and oil the grates. Use a paper towel soaked in vegetable oil, held with kitchen tongs, and run it all over the hot grates.
- Reduce the grill heat to medium-high. Carefully place each crust directly on the grill, cover, and cook for about 2 minutes. Using kitchen tongs, flip it and grill for another 1-2 minutes, until the crust is nicely cooked with visible grill marks.
- Transfer the partially grilled pizza crusts onto a baking sheet or a clean surface for topping.
- Spread pesto evenly on both pizza crusts. Generously sprinkle a cup of mozzarella cheese on each pizza. Then, arrange the artichoke pieces and roasted bell pepper strips. Finally, sprinkle Parmesan cheese on top.
- Slide the assembled pizzas back onto the grill (preferably over indirect heat if using charcoal, or reduced heat if gas) and cook until the cheese is melted and bubbly, approximately 1-2 minutes. Serve immediately.
⭐️ Did you make this recipe?
Please leave a review and let us know how you liked it!
Tips & Notes
Note 1: While store-bought pizza dough is convenient, our homemade pizza dough recipe offers an unparalleled flavor and texture. Our recipe yields about 1.5 lbs of dough, enough for three pizzas. You can freeze one dough ball for future use or increase topping ingredients to make three pizzas.
Note 2: For an appealing presentation, I recommend slicing a few artichoke hearts into thin slices and chopping the remainder into smaller, bite-sized pieces. Different cuts and sizes add visual interest and textural variety.
Note 3: I highly recommend grating a block of low-moisture mozzarella cheese yourself. It melts more smoothly and evenly compared to pre-shredded cheese, which often contains anti-caking agents that can hinder melting.
Make-Ahead Tip:
· To save time, grill the pizza crust on both sides until cooked through, then let it cool completely.
· Tightly wrap each crust in plastic wrap and then aluminum foil, and freeze for up to 3 months.
· When ready to use, top the frozen or thawed crust with your favorite ingredients and bake in the oven or finish on the grill until heated through and cheese is melted.
Storing Tip: Store any leftover grilled artichoke pizza in an airtight container in the refrigerator for up to 3 days. For the best reheating results, use an oven, toaster oven, or air fryer to restore its crispness, rather than a microwave.
Nutrition

This recipe was originally published on June 13, 2017, and has been updated and expanded for clarity, additional tips, and improved SEO.
