Spooky & Sweet: How to Make Adorable Meringue Ghost Cookies for Halloween
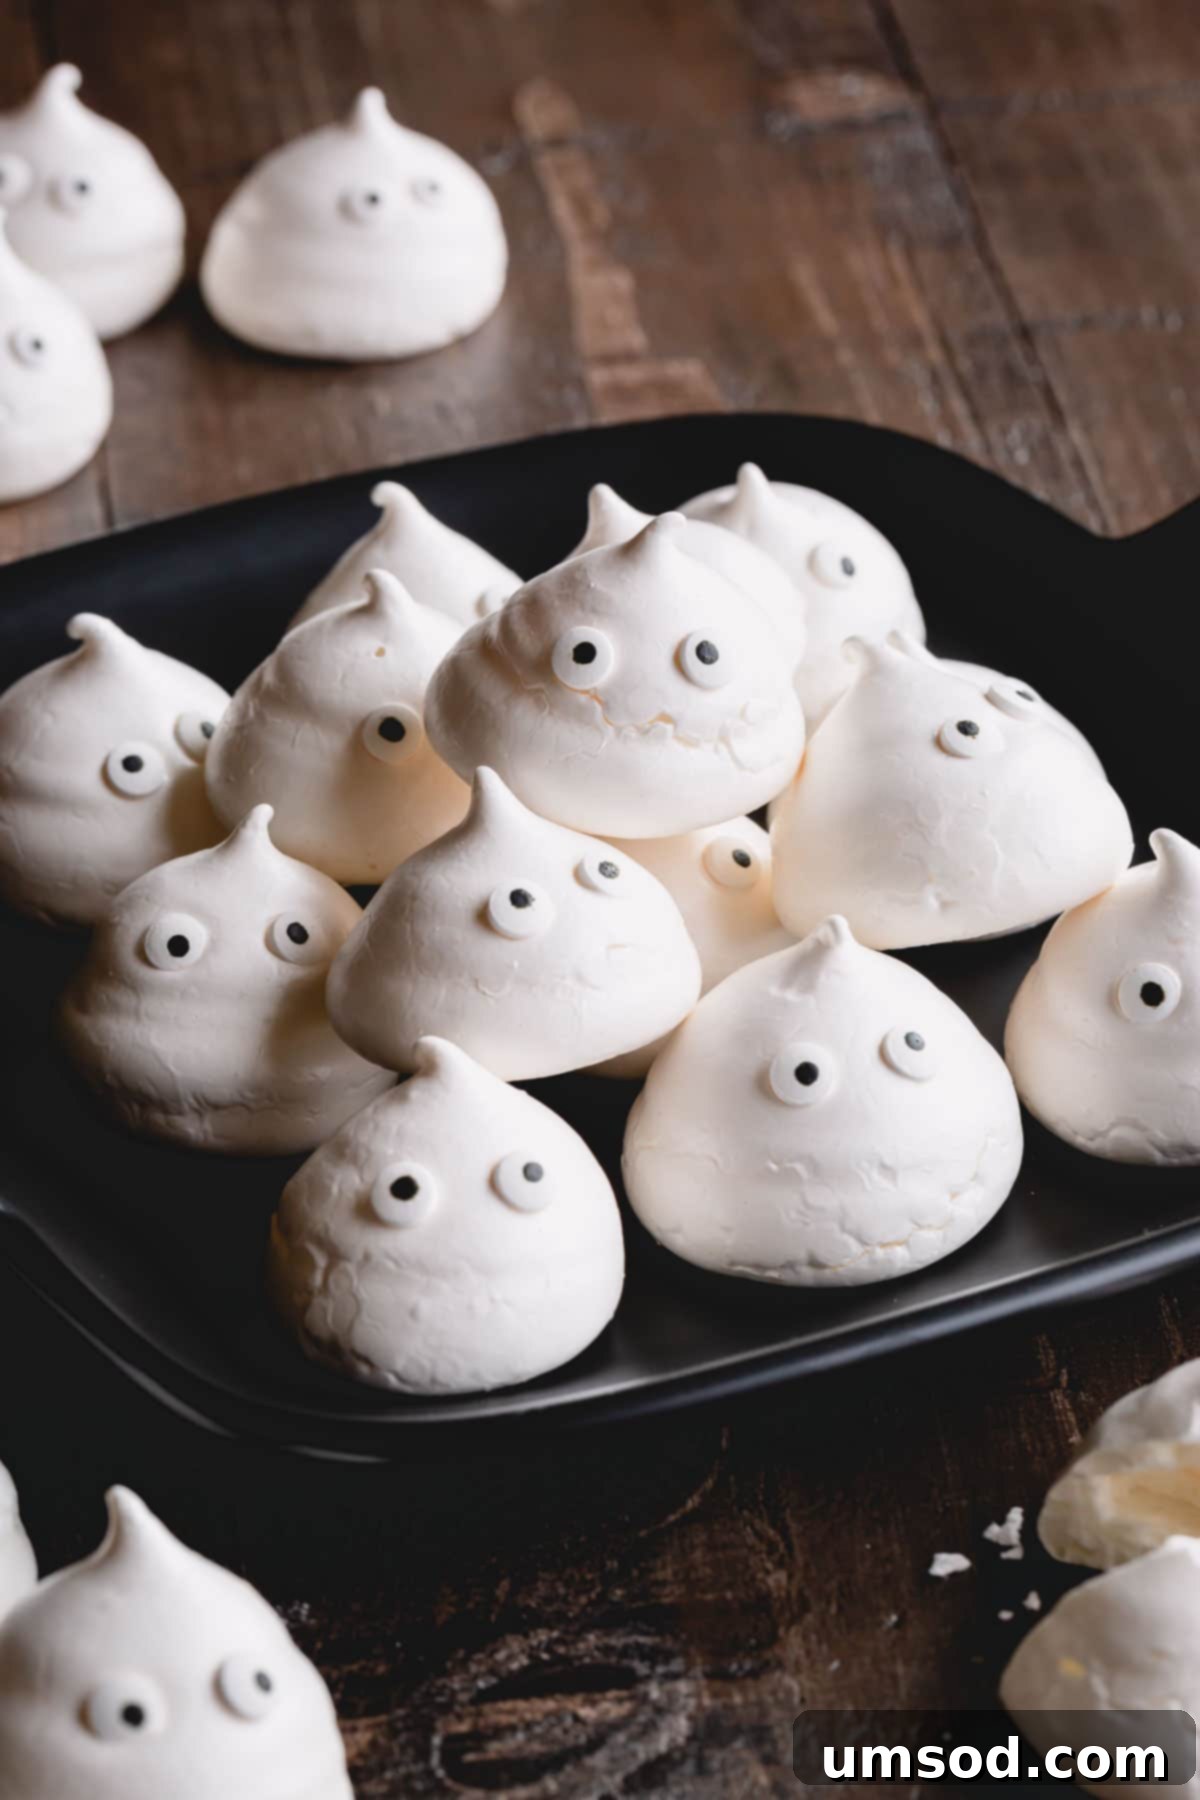
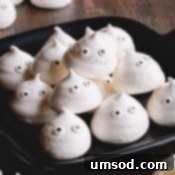
Get ready to conjure up some magic in your kitchen this Halloween with these irresistibly crisp and feather-light meringue ghosts! These adorable treats are not only a delight for the eyes but also incredibly simple to make, making them the perfect addition to any spooky celebration or a fun baking project with the kids. Forget complicated Halloween desserts; these sweet specters are here to steal the show!
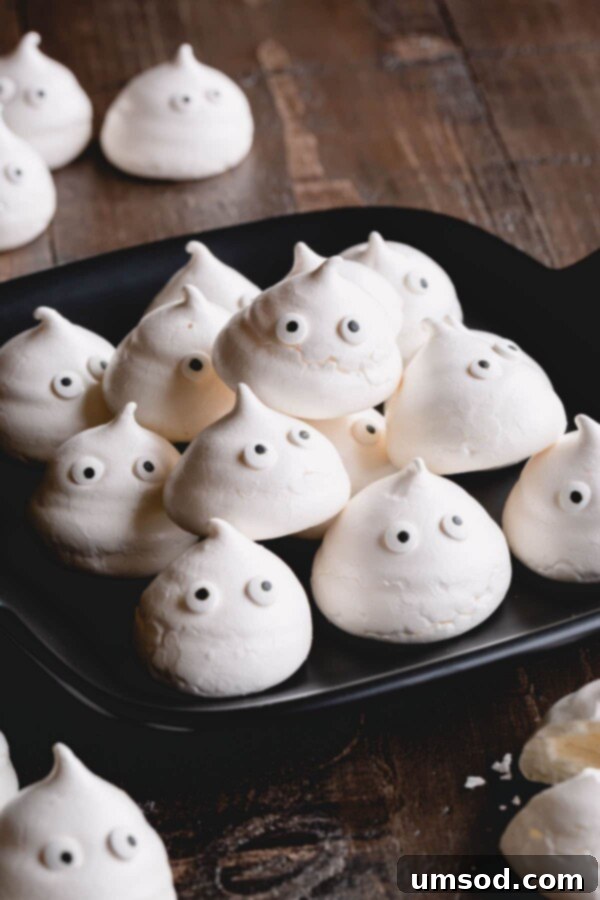
Halloween has always held a special place in our family, particularly for my sons. My oldest, now five, developed an uncanny fascination with ghosts around the age of two, and it seems his younger brother has enthusiastically followed suit! For them, Halloween isn’t just a holiday; it’s a year-round obsession. Seeing their boundless excitement for all things spooky, I decided to surprise them with a batch of homemade meringue ghosts. The result? An absolute triumph that brought endless smiles and giggles!
This recipe transforms simple ingredients into enchanting, melt-in-your-mouth confections that are guaranteed to be a hit with both children and adults. Whether you’re planning a Halloween party, looking for a unique trick-or-treat offering, or simply want to add a touch of playful spookiness to your dessert table, these meringue ghosts are your go-to recipe.
Why These Meringue Ghosts Will Be Your New Favorite Halloween Bake
Still need a little convincing? Here are four compelling reasons why this meringue cookie recipe will quickly become a cherished part of your Halloween traditions:
- Effortlessly Simple: Don’t let the delicate appearance fool you; these meringue ghosts are surprisingly easy to whip up. With straightforward steps and minimal fuss, even novice bakers can achieve impressive results.
- Pantry Staple Ingredients: You likely already have most of the ingredients required for this recipe in your kitchen. Egg whites, sugar, and a few optional additions are all it takes to create these delightful treats.
- Incredibly Adorable: Let’s face it, these ghost meringues are impossibly cute! Their whimsical appearance makes them perfect for Halloween-themed desserts, adding a playful touch to any spread.
- Light & Crispy Texture: Each bite offers a delightful crunch, followed by a sweet, airy melt-in-your-mouth sensation. They’re a refreshing alternative to heavier Halloween candies and baked goods.
Master Meringue: Essential Tips for Flawless Ghost Cookies
Working with meringue might seem daunting at first, evoking images of collapsed peaks or sticky disasters. However, with a few crucial insights, you’ll discover it’s a remarkably forgiving and rewarding baking experience. Just follow these expert tips, and you’ll be piping perfect, airy meringue cookies every single time!
- Ensure a Fat-Free Environment: The absolute golden rule of meringue making is to prevent any contact between your egg whites and fat or egg yolk. Even a tiny speck of yolk or grease can prevent the egg whites from whipping up properly. This means your mixing bowl and whisk must be impeccably clean—squeaky clean! Metal or glass bowls are superior choices, as plastic bowls tend to retain traces of grease. For a deeper dive into this crucial principle, watch my meringue 101 video.
- Embrace Room Temperature Egg Whites: While it’s easier to separate eggs when they’re cold (as the yolks are firmer and less likely to break), egg whites achieve significantly greater volume when whipped at room temperature. Simply separate your egg whites immediately after taking them from the fridge, then let them sit on your kitchen counter for at least 30 minutes, or even an hour, before you begin whipping. This allows the proteins to relax, creating a more stable foam.
- Dissolve Sugar Gradually and Completely: Adding sugar slowly and ensuring it’s fully dissolved is paramount for crispy, stable meringues. If sugar granules remain undissolved, they will melt during baking, causing your meringues to “weep” or become sticky rather than beautifully crisp. Add the sugar one tablespoon at a time, allowing each addition to dissolve before adding the next. You can test for dissolved sugar by rubbing a tiny bit of the meringue between your fingers; it should feel smooth, not gritty.
- Low and Slow Baking: Meringues don’t bake; they dry out. A low oven temperature for an extended period ensures they become crisp without browning. Crucially, once baking is complete, turn off the oven and allow the meringues to cool completely inside. This slow cooling prevents cracking and helps maintain their delicate structure. Avoid opening the oven door too soon!
Gather Your Ingredients: The Simple Staples for Meringue Ghosts
Creating these delightful ghost meringues requires only a handful of common ingredients. Here’s a closer look at what you’ll need and why each component is important:
- Egg Whites: These are the foundation of your meringue. As mentioned, separating cold eggs is easier to avoid yolk breakage. Once separated, let them come to room temperature for optimal volume. If you prefer convenience, carton egg whites can be used, but always check the label to ensure they are suitable for meringue making, as some are treated differently and may not whip correctly.
- Sugar: Sugar provides sweetness and, crucially, stabilizes the whipped egg whites, giving meringue its structure and crispness. Both granulated sugar and powdered sugar work well for meringue cookies. For granulated sugar, I highly recommend using a fine granulated variety, as it dissolves much faster and more easily into the egg whites, reducing the risk of gritty meringues. If opting for powdered sugar, you’ll typically need a bit more volume due to its lighter density.
- Cream of Tartar: This is an acidic ingredient that acts as a stabilizer for egg whites, helping them whip up faster, achieve greater volume, and hold their stiff peaks. While it’s an optional ingredient, especially if your egg whites are perfectly clean and at room temperature, it provides an extra layer of insurance for a robust and stable meringue. You can omit it if you don’t have it on hand, but it does contribute to a more foolproof result.
- Salt: A tiny pinch of salt balances the sweetness and enhances the overall flavor of your meringues.
- Vanilla Extract: Pure vanilla extract adds a lovely aromatic depth to your meringues, complementing their sweetness.
- Candy Eyes: These are for decoration, transforming simple meringue mounds into adorable, expressive ghosts.
Step-by-Step Guide: Crafting Your Spooky Meringue Specters
Follow these detailed instructions to create your perfect batch of meringue ghosts. Precision and patience are your best friends here!
- Prepare Your Oven and Baking Sheets: Preheat your oven to a low 200°F (95°C). Line two large baking sheets with parchment paper. This prevents sticking and makes cleanup a breeze.
- Begin Whipping Egg Whites: In a meticulously clean mixing bowl (preferably metal or glass) fitted with a whisk attachment, begin beating your room temperature egg whites on medium-low speed. Continue to beat until the egg whites become foamy, resembling a thick, white bubble bath.
- Add Stabilizers: Once foamy, add the cream of tartar and a pinch of salt to the egg whites. Continue whisking on medium speed to incorporate them thoroughly.
- Gradually Incorporate Sugar: This is a critical step. While the mixer is still running on medium speed, slowly add the sugar, one tablespoon at a time. After each addition, allow ample time (about 30 seconds) for the sugar granules to completely dissolve into the egg whites before adding the next. This ensures a stable and crisp meringue.
- Achieve Stiff Peaks: Gradually increase the mixer speed to medium-high. Continue beating the egg whites until soft peaks form, then stir in the vanilla extract. Keep beating until stiff, glossy peaks form. When you lift the whisk, the meringue should hold its shape firmly without collapsing. The meringue should look smooth and shiny, and when rubbed between your fingers, it should feel silky with no grittiness from undissolved sugar.
- Prepare for Piping: Carefully transfer the meringue mixture into a piping bag fitted with a large round tip (such as a Wilton 1A tip or similar).
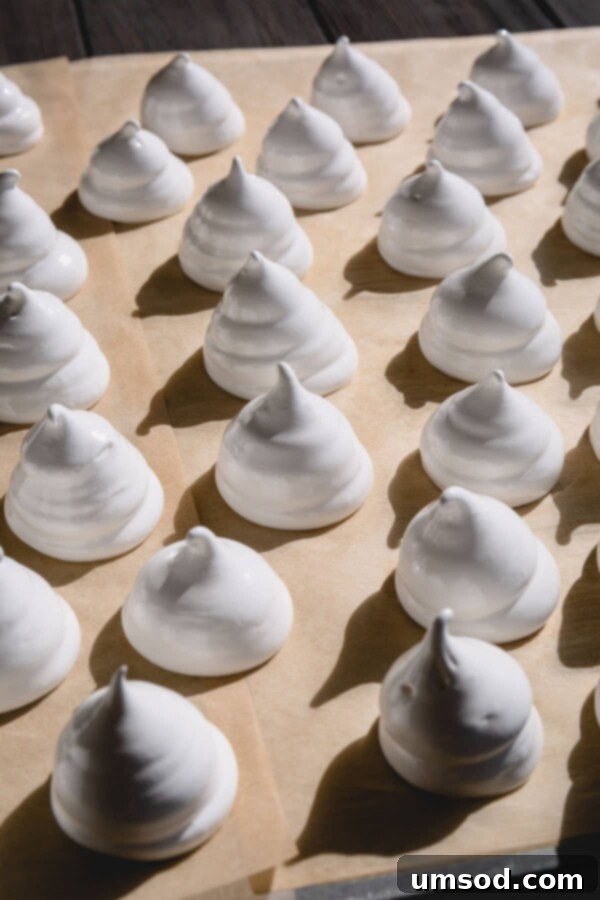
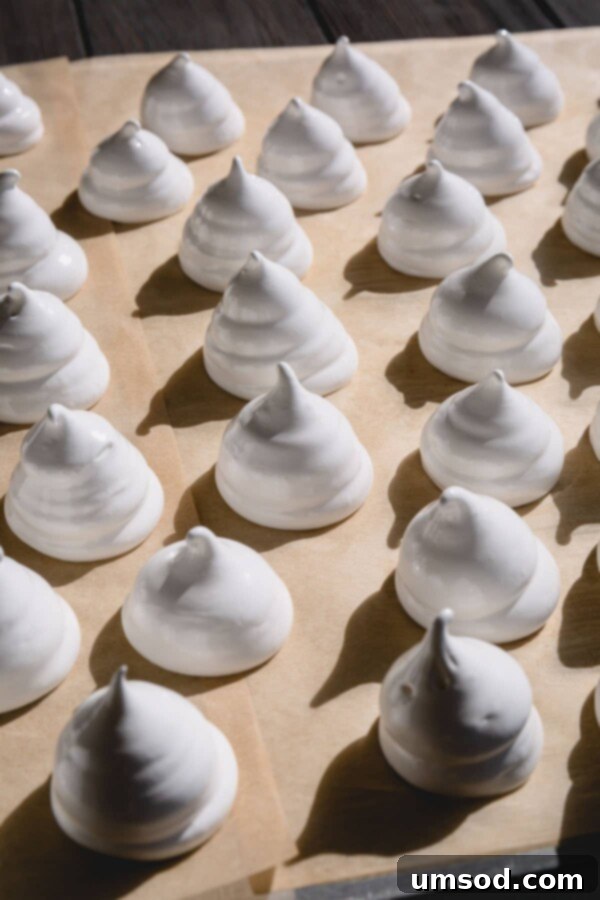
- Pipe Your Ghosts: On the prepared baking sheets, pipe 1.5-inch tall mounds of meringue. To create the ghost shape, start with a round base and then gently lift the piping bag to create a tapered peak. If you’re using candy eyes, carefully place two candy eyes on each piped meringue ghost immediately after piping.
- Bake and Cool (The Meringue Way): Bake the meringue cookies in your preheated oven for approximately 2 hours. After the baking time, turn off the oven completely. Critically, leave the meringue cookies inside the closed oven to cool completely for several hours, or ideally, overnight. This slow cooling process prevents cracking and ensures a perfectly crisp, dry texture throughout. Do not open the oven door during this cooling phase.
- Store for Freshness: Once your meringue ghosts are thoroughly cooled and feel firm and crisp to the touch, gently transfer them into an airtight container. Store them at room temperature, away from humidity, for up to 2 weeks to maintain their delightful crispness.
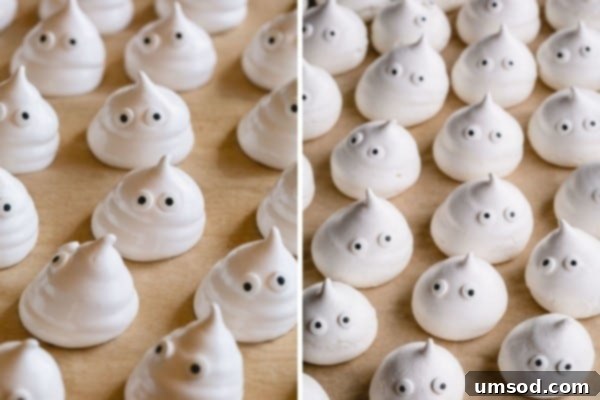
Creative Decoration Ideas for Your Meringue Ghosts
Even if you don’t have candy eyes on hand, there are plenty of fun and easy ways to bring your meringue ghosts to life. Here are three creative decoration methods:
- Gel Food Coloring: Using a fine brush or a toothpick dipped in black gel food coloring, carefully draw on eyes and a small mouth for your spooky specters after they have completely cooled. This allows for precise and expressive facial features.
- Edible Markers: An edible black marker is a fantastic, mess-free alternative. Simply draw the eyes and mouth directly onto your baked and cooled meringue cookies. This is especially kid-friendly!
- Melted Chocolate: Melt a small amount of dark chocolate in a microwave-safe bowl or over a double boiler. Transfer the melted chocolate to a small piping bag with a tiny hole (or a Ziploc bag with the corner snipped off) and pipe on eyes and mouths. Allow the chocolate to set completely before handling.
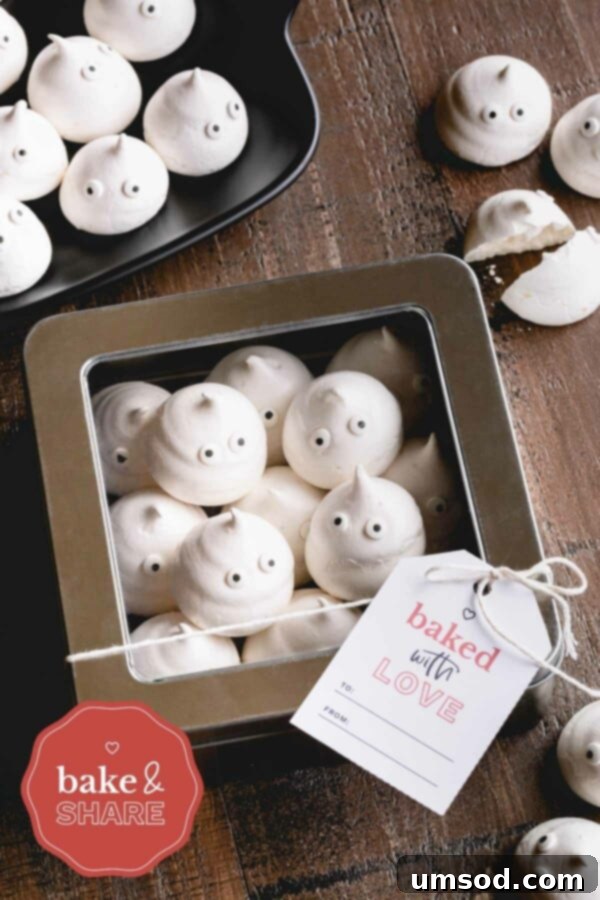
FREE Printable Gift Tags
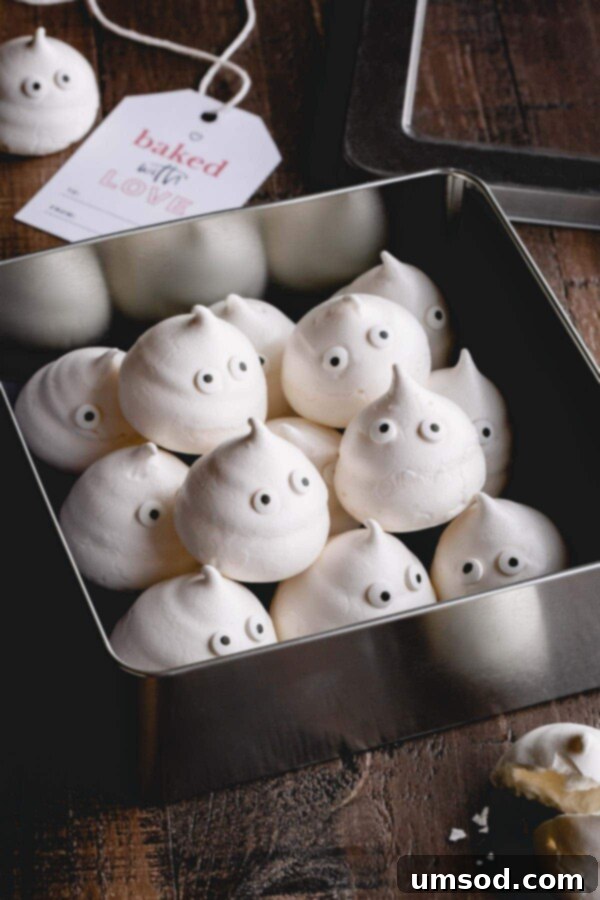
Planning to share your delightful meringue ghosts with friends and family? Make them extra special with these charming, printable gift tags!
Click Here To Download My Free Printable Gift Tags
Storage Secrets: Keeping Your Meringue Ghosts Crisp and Fresh
The hallmark of a perfect meringue cookie is its delightful crisp texture. To ensure your meringue ghosts retain this desired quality, proper storage is absolutely essential. Meringues are highly susceptible to moisture, which can quickly turn them from crisp to chewy or sticky.
- Ensure Complete Cooling: This cannot be stressed enough. Meringue cookies must be completely cooled before storage. While a quicker cool-down might be tempting, I strongly recommend cooling your meringue cookies inside the turned-off oven overnight. This slow, gradual cooling in a dry environment is the best way to prevent any moisture from compromising their crispness.
- Airtight is Key: Once your meringue ghosts are entirely cool and dry, transfer them into an airtight container. Plastic or glass containers with tight-fitting lids work best.
- Room Temperature Storage: Store the airtight container at room temperature. Avoid refrigerating meringues, as the humid environment of a fridge can make them sticky and soft. When stored correctly, your meringue ghosts will remain perfectly dry and crisp for up to 2 weeks.
Pro Tip for Meringue Perfection
Meringue cookies are famously sensitive to humidity. In particularly damp weather, they can absorb moisture from the air and become sticky. However, by always storing them in a truly airtight container, you create a barrier against ambient moisture, helping them stay wonderfully dry and crisp for an extended period!
Meringue Ghosts Recipe
By Shinee Davaakhuu
Rated 5 out of 5 stars by 1 voter.
Delightfully crisp and light, these meringue ghosts are the most adorable Halloween treats! And they couldn’t be easier to make.
Cook: 2 hrs
Cooling: 3 hrs
Total: 6 hrs
Servings: 36 cookies
Comment
Print Recipe
Ingredients
- 4 (140g) egg whites at room temperature (Note 1)
- ¾ cup (150g) fine granulated sugar (Note 2)
- ½ teaspoon cream of tartar (Note 3)
- ¼ teaspoon coarse kosher salt
- 2 teaspoons pure vanilla extract
- Candy eyes (Note 4)
Instructions
- Preheat the oven to 200°F (95°C). Line 2 baking sheets with parchment paper.
- In a clean mixing bowl with a whisk attachment, beat the egg whites on medium-low speed until foamy.
- When egg whites are foamy, add cream of tartar and salt and continue to whisk.
- Then slowly add sugar one tablespoon at a time, while mixer is still running. Allow the sugar to dissolve after each addition.
- Gradually increase the speed to medium-high and continue beating the egg whites until soft peaks form.
- Stir in vanilla extract and continue beating the egg whites until stiff peaks form.
- Transfer the meringue into a piping bag with a round tip. (I use Wilton 1A tip.)
- Pipe 1.5-inch tall mounds on prepared baking sheets. If using candy eyes, place the candy eyes on each meringue.
- Bake the meringue cookies for about 2 hours at 200°F. Then turn off the oven and cool the cookies completely in the oven, for a few hours or overnight.
- Once completely cooled, transfer the cookies into an airtight container. Store at room temperature for up to 2 weeks.
⭐️ Did you make this recipe?
Please leave a review and let us know how you liked it!
Tips & Notes
Note 1: It’s easier to separate cold eggs as yolks are firmer and don’t break easily. So separate the eggs as soon as you take them out of the fridge. You can also use carton egg whites, but be sure to read the labels on the carton, as some egg whites are not meant for making meringue.
Note 2: I’ve made meringue cookies with both granulated sugar and powdered sugar. Both work great for meringue cookies! For granulated sugar, I highly recommend fine granulated sugar, so they dissolve faster. If using powdered sugar, use 1 ¼ cups (170g) of powdered sugar.
Note 3: Cream of tartar is an acid used to stabilize egg whites. It’s an optional ingredient and can be omitted, though it aids in achieving a stable meringue.
Note 4: In place of candy eyes, you can use black gel food coloring, a black edible marker, or melted dark chocolate to draw eyes on baked and cooled meringue cookies.
Nutrition Information
Calories: 19 kcal
Carbohydrates: 4g
Protein: 1g
Fat: 1g
Sugar: 4g
Sodium: 22mg
Cuisine: American
Leave a rating and your feedback. Thank you!
Unleash Your Inner Ghoul: Happy Halloween Baking!
These meringue ghost cookies are more than just a treat; they’re an experience. They embody the whimsical and slightly spooky spirit of Halloween, bringing joy and a touch of homemade charm to your festivities. Whether you’re an experienced baker or just starting your culinary adventures, this recipe offers a rewarding journey into the art of meringue. The process is simple, the ingredients are few, and the result is utterly enchanting.
So, gather your ingredients, enlist your little monsters (or ghouls!) for some decorating fun, and prepare to create a batch of delightful meringue ghosts that will leave everyone howling for more. Happy baking, and have a wonderfully spooky Halloween!
