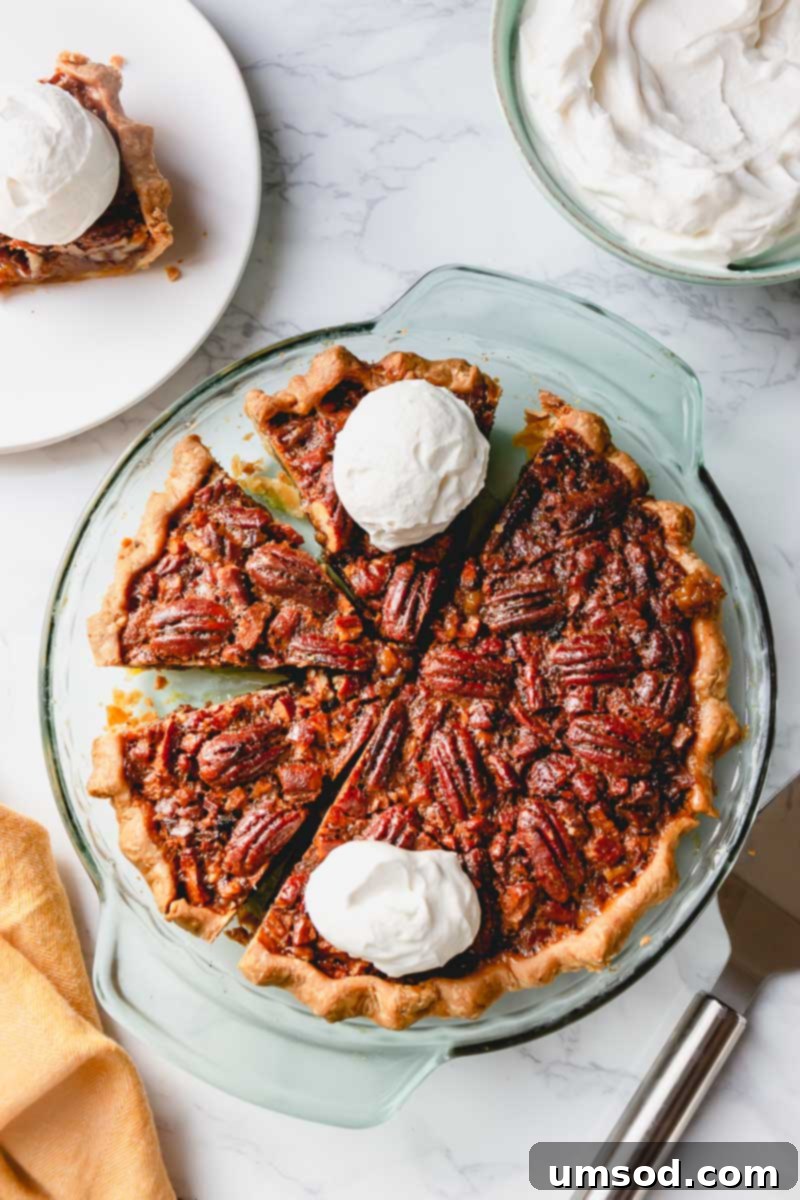
The Ultimate Easy Pecan Pie Recipe: Rich, Gooey, and Nutty Perfection
Prepare to fall in love with a dessert that embodies the very essence of comfort and indulgence: the perfect pecan pie. Rich, deeply nutty, exquisitely gooey, and wonderfully sweet – this recipe delivers everything you could ever desire in a classic pecan pie, and with surprising ease. Whether you’re a seasoned baker or just starting your culinary journey, this foolproof recipe promises a show-stopping dessert with minimal effort.
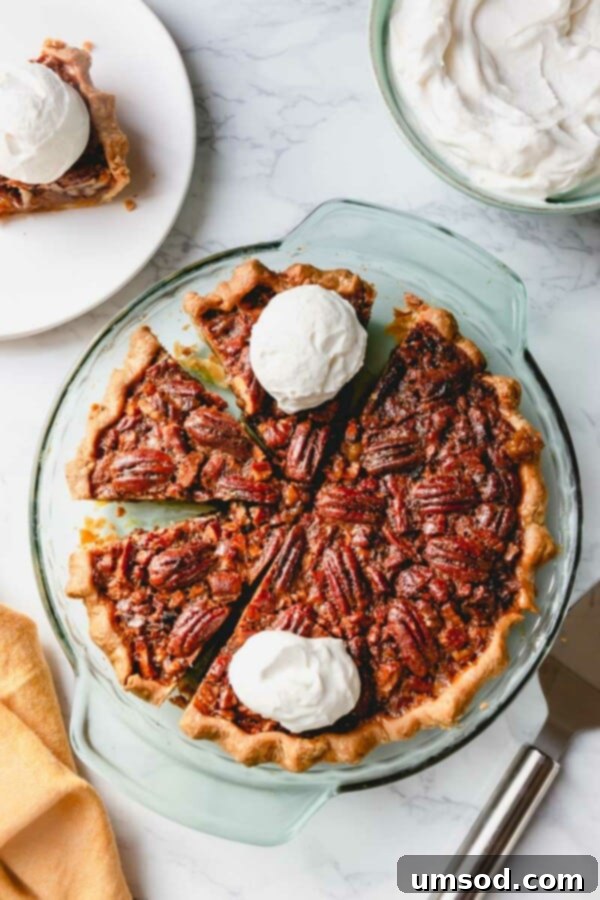
You’re gazing at what I confidently declare to be the absolute best pecan pie you’ll ever taste. Yes, I might be a little biased – after all, this delightful creation emerges from my own kitchen, and I have a profound affection for it! It’s so utterly delicious that I can easily enjoy two generous slices in one sitting, and my family shares the same enthusiasm.
For the past seven years, this recipe has been a staple in our home, especially during the holidays. Its popularity is undeniable; a freshly baked pie rarely lasts more than a day before every last crumb is savored.
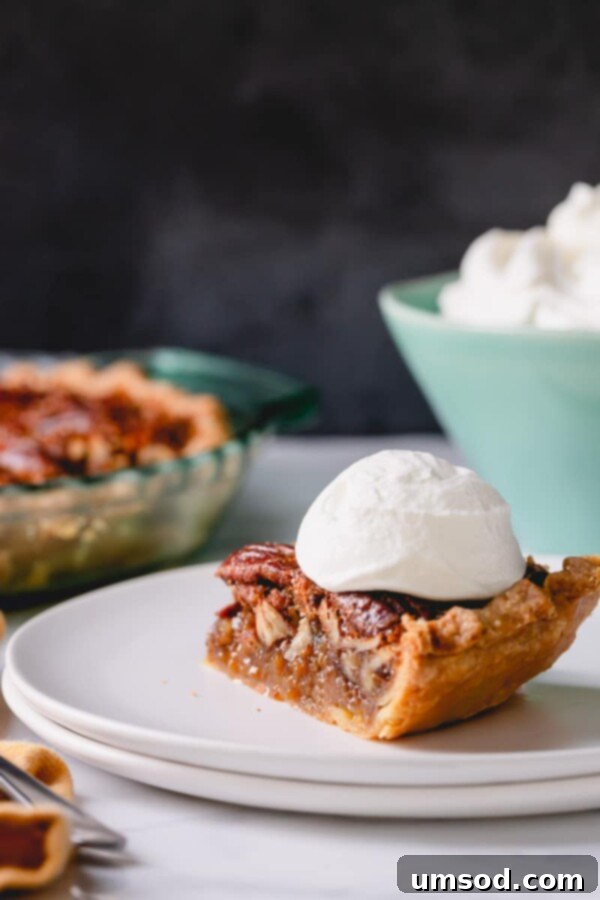
I have no doubt that once you try this recipe, it will quickly become your favorite too. My love for this pie isn’t just about eating it; it’s also about the joy of making it, precisely because it is so incredibly simple and straightforward to prepare.
How to Craft Your Perfect Pecan Pie: A Step-by-Step Guide
Creating a pecan pie that tastes this good doesn’t require complex techniques or specialized equipment. We’ll break it down into three easy-to-follow steps, ensuring every component contributes to that mouth-watering final result.
1. The Foundation: A Flaky Pie Crust
A truly exceptional pecan pie begins with an outstanding crust. While a store-bought crust can be convenient, crafting your own homemade pie crust, such as my acclaimed all-butter pie crust, is highly recommended. Here’s why it makes all the difference:
- Effortless Preparation: Don’t be intimidated; homemade crusts are simpler than you think and incredibly rewarding.
- Wholesome Ingredients: Made with just a few basic pantry staples, you control what goes into your pie.
- Unrivaled Texture and Flavor: Achieve an incredibly flaky, buttery crust that beautifully complements the rich filling, offering a delightful contrast in every bite.
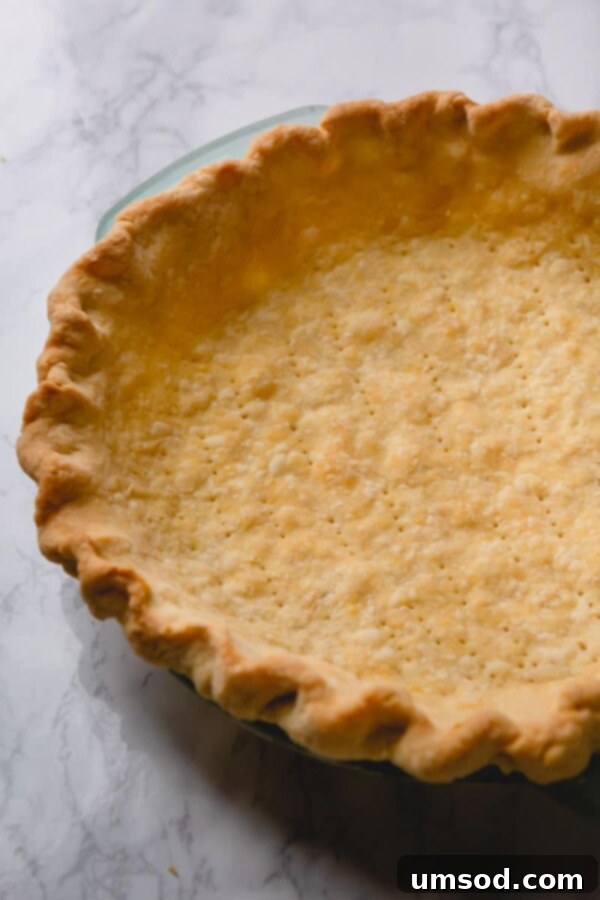
Given the wonderfully wet and luscious nature of the pecan filling, it’s essential to blind bake the pie crust first. This crucial step prevents the crust from becoming soggy, ensuring it remains perfectly crisp and golden throughout. I’ve detailed the entire blind baking process thoroughly in my dedicated pie crust post, so you can refer to that for an in-depth guide on achieving a perfectly pre-baked shell.
2. The Heart of the Pie: The Irresistible Pecan Filling
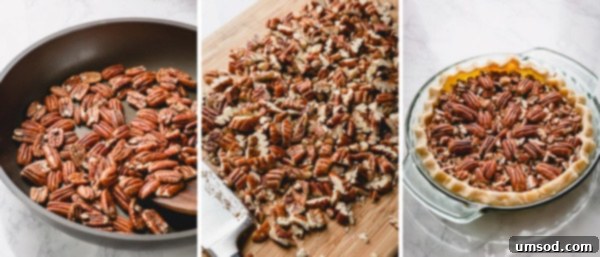
The secret to an intensely flavorful pecan pie lies in one simple, yet often overlooked, step: toasting the pecans. While it might seem like an extra minute or two, this small effort yields immense flavor dividends, transforming ordinary pecans into wonderfully fragrant, deeply nutty gems. This crucial step extracts their natural oils, intensifying their aroma and taste, making every bite of your pie truly memorable. Please, do not skip this!
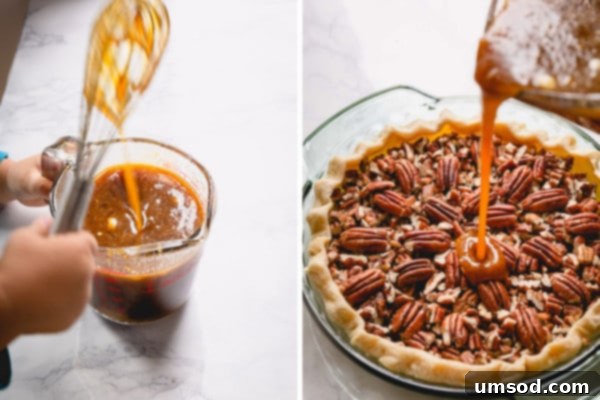
Now, we move on to the truly effortless part – crafting the rich, gooey filling! This recipe features a classic pecan pie filling, but with a delightful subtle twist: a hint of Kahlua. The coffee-flavored liqueur introduces an barely noticeable depth and sophistication, complementing the sweetness and nutty notes beautifully. If Kahlua isn’t available or preferred, fret not; pure vanilla extract is an excellent substitute, providing its own warm and inviting aroma. The goal is a perfectly balanced, luscious filling that holds its shape beautifully while remaining delightfully soft and chewy.
3. Assembly and Baking: Bringing it All Together
Once your crust is blind-baked and your pecans are perfectly toasted, assembly is a breeze. Begin by evenly layering the toasted pecan halves (and any coarsely chopped pecans) into the prepared pie crust. Next, gently pour the rich, smooth filling over the nuts, ensuring they are well-coated. The pie is then ready for its transformation in the oven, baking for approximately an hour until golden brown and perfectly set.
Baking Tip
To ensure a mess-free baking experience and peace of mind, I always recommend placing your pecan pie on a baking sheet before transferring it to the oven. While an overflow has never happened to me with this recipe (I tend to be a little paranoid!), this simple precaution protects your oven from any potential drips or spills, making cleanup effortless.
How to Know When Your Pecan Pie is Perfectly Done?
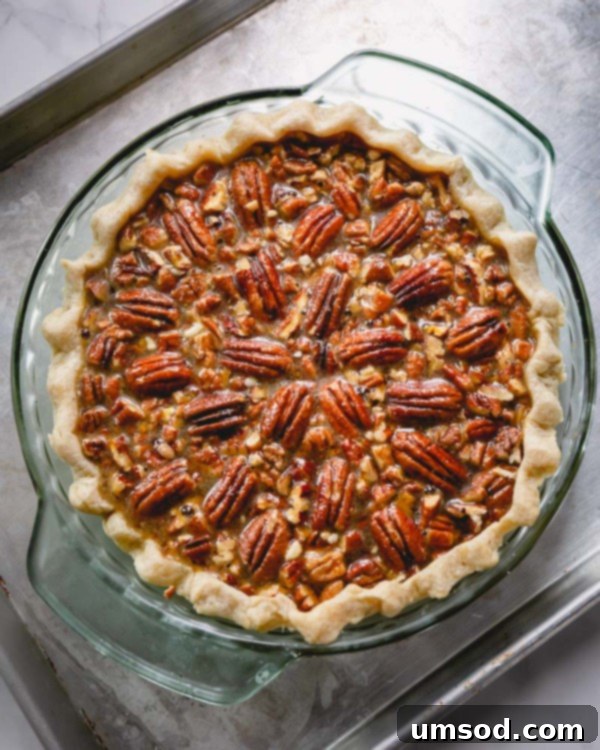
Achieving the perfect set is key to a great pecan pie. Around the 50-minute mark, gently shake the pie. If the edges appear set and slightly firm while the very center has a subtle, delicate jiggle, your pie is likely done. For absolute precision, an instant-read thermometer is your best friend. Insert it into the center of the filling; once it reads 200°F (93°C), your pie is ready to be removed from the oven.
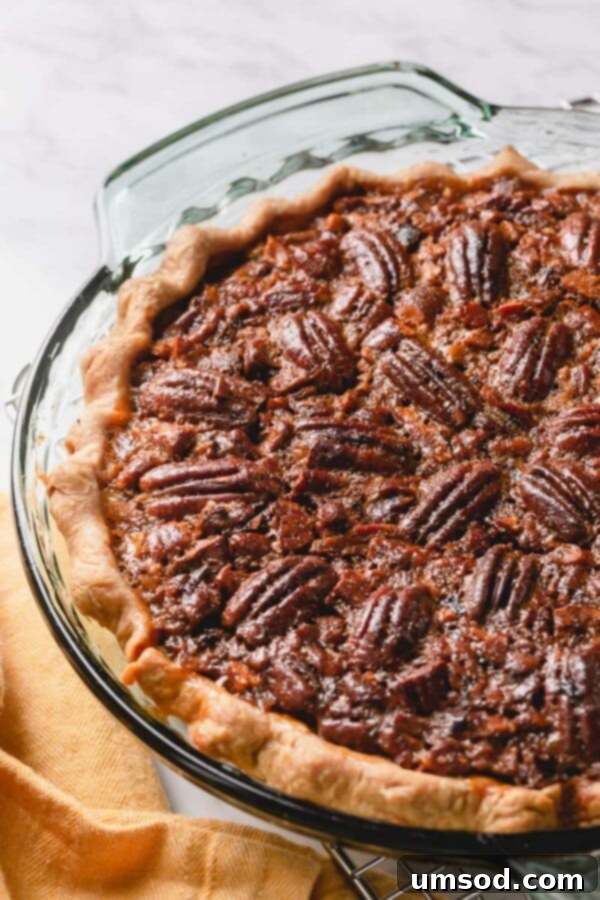
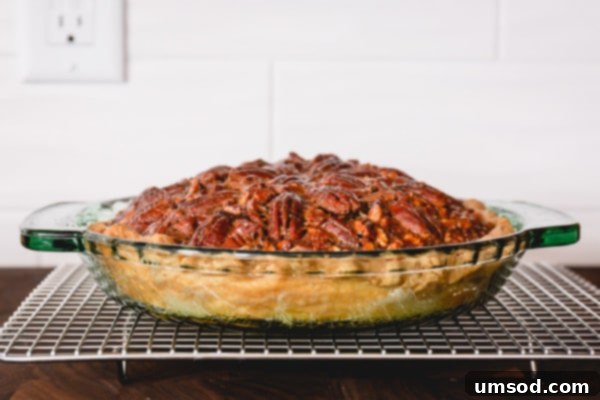
Don’t be alarmed if the top of your pecan pie appears slightly domed or puffed up when it first comes out of the oven. This is completely normal! As the pie cools and sets, it will gracefully deflate, settling into that classic, flat-topped pecan pie perfection.
Can I Make Pecan Pie Without Corn Syrup? Understanding Its Role
This is a common question, and the answer is a nuanced “yes and no.” While it is technically possible to make a pecan pie without corn syrup, the resulting texture and consistency of the filling will be significantly different from the classic version.
Corn syrup plays a crucial role in traditional pecan pie: it prevents sugar crystallization, contributing to the signature gooey, smooth, and beautifully set texture. Without it, the filling is highly likely to remain runny or become grainy as it cools, failing to achieve that desirable, sliceable firmness. I’ve personally experimented with various alternatives like maple syrup and raw honey, only to find that they don’t yield the same satisfying results. Maple syrup often leads to a less stable set, and honey, while providing sweetness, can easily overpower the delicate pecan flavor with its distinct profile. For that authentic, perfectly set, rich, and gooey pecan pie experience, corn syrup truly is the star ingredient.
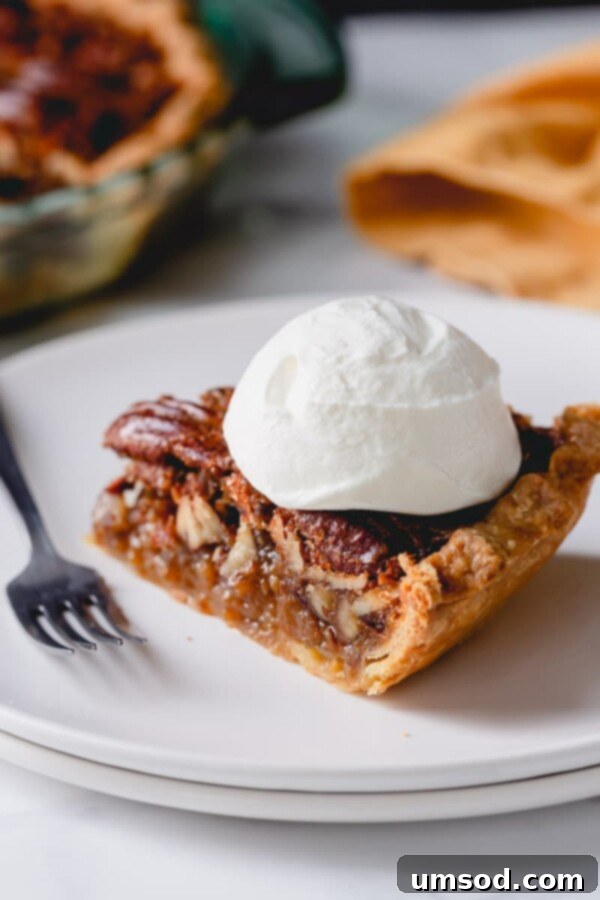
Oh, the sheer joy this pie brings! Every element – the gooey sweetness, the chewy pecans, the rich butteriness, and the robust nuttiness – converges into an symphony of perfection. This truly is the BEST Pecan Pie. Go on, roll your eyes all you want, but I genuinely hope you’ll embrace the simple magic of this recipe and give it a try. Your taste buds will thank you! 😉
And as always, thank you immensely for visiting and sharing in my passion for delicious, homemade treats!
⭐⭐⭐⭐⭐
The Best Pecan Pie
Shinee Davaakhuu
Rich and nutty, gooey and sweet, just how the best pecan pie should be! And bonus, it’s the easiest pie you could make.
45 mins
60-75 mins
4+ hours
~5 hours 30 mins
12 servings
Comment
Print Recipe
Ingredients
- 1 (9-inch) pie crust (or this homemade pie dough)
- 2 cups (250g) pecan halves
- 3 large eggs
- 1 cup (240ml) light corn syrup
- ½ cup (100g) light brown sugar
- 1 tablespoon molasses
- 4 tablespoons (55g) unsalted butter, melted
- 1 tablespoon Kahlua (or any other coffee-flavored liqueur, or pure vanilla extract)
- ½ teaspoon coarse kosher salt
For serving:
- Whipped cream or vanilla ice cream
Instructions
To prepare pie crust:
- Roll the chilled pie dough into a 10 to 11-inch circle on a lightly floured surface. Gently wrap the dough around your rolling pin and carefully transfer it onto a 9-inch baking dish. Fold the edges out and roll until it meets the pie pan. Crimp the edges decoratively as you like, then refrigerate for at least 30 minutes. This chilling step is vital to prevent the crust from shrinking during baking.
- Preheat your oven to 350°F (177°C).
- Line the chilled crust with aluminum foil, pressing it gently against the sides and bottom. Fill the foil-lined crust with pie weights or raw beans to prevent bubbling.
- Bake the crust for 15 minutes. Carefully remove the foil and pie weights.
- Using a fork, generously pierce holes all over the bottom and sides of the crust. This helps prevent steam from creating bubbles and air pockets. Bake for another 10-15 minutes, or until the crust is beautifully golden brown.
- Reduce the oven temperature to 300°F (150°C) for baking the pie with its filling.
To toast pecans:
- In a large, dry skillet, toast the pecan halves over medium heat for approximately 5 minutes. Stir them frequently to prevent burning, ensuring an even toast. The pecans should become wonderfully fragrant and lightly browned.
- Allow the toasted pecans to cool completely. Once cool, coarsely chop most of them, reserving about ½ cup of whole pecan halves for decorating the top of the pie, if desired.
To make the filling:
- In a medium bowl, whisk together the eggs, light corn syrup, light brown sugar, molasses, melted butter, Kahlua (or vanilla extract), and coarse kosher salt until the mixture is completely smooth and well combined.
- Distribute the chopped pecans evenly over the bottom of the prepared (blind-baked) pie shell. If you reserved whole pecan halves, arrange them artfully on top of the chopped pecans in your desired pattern.
- Gently and slowly pour the prepared filling over the pecans in the pie shell, ensuring an even distribution.
To bake:
- Bake the pie in the preheated 300°F (150°C) oven for 60-75 minutes. The pie is done when the center is set but still slightly soft and jiggly. If the pie crust edges begin to brown too quickly, loosely cover them with aluminum foil to prevent burning.
- Once baked, remove the pie from the oven and cool it completely on a wire rack. This critical cooling period should last at least 4 hours, or ideally, overnight. Cooling allows the filling to fully set and achieve its perfect gooey consistency.
- Serve your magnificent pecan pie with a generous dollop of freshly whipped cream. For an extraordinary treat, try my homemade yogurt whipped cream – it’s simply outrageous!
⭐️ Did you make this recipe?
Please leave a review and let us know how you liked it!
Tips & Notes
Make-Ahead Tip: This delicious pecan pie can be prepared up to 1 day in advance. Simply cover it loosely with plastic wrap and refrigerate. Before serving, allow it to come to room temperature for the best flavor and texture.
Freezing Instructions: The baked pecan pie freezes beautifully! Once completely cooled, wrap the pie tightly in several layers of plastic wrap, followed by aluminum foil. It can be frozen for up to 3 months. To thaw, simply place it in the refrigerator overnight. You can briefly warm individual slices in the oven if preferred.
Nutrition
1 slice
352 kcal
42 g
4 g
20 g
33 g
235 mg
Dessert
American
Leave a rating and your feedback. Thank you!
This recipe was originally published on October 10th, 2017.
