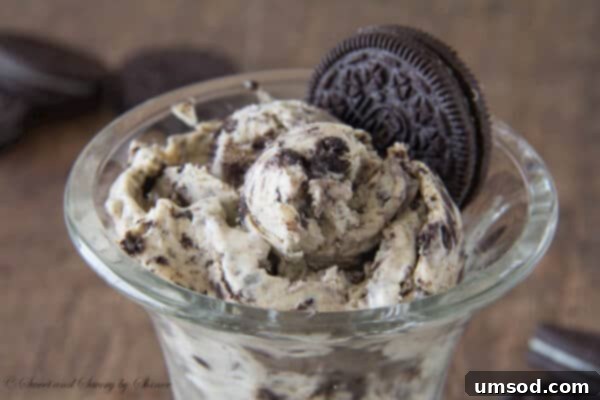
Indulge in Homemade Oreo Ice Cream: The Ultimate Cookies and Cream Delight
Who can resist the allure of America’s favorite cookie? Oreos have a special place in our hearts, whether enjoyed straight from the pack, twisted apart, or dunked in milk. But what if we told you there’s an even more decadent way to experience their classic chocolatey goodness? Enter homemade Oreo Ice Cream – a velvety smooth, incredibly sweet, and utterly irresistible dessert featuring generous chunks of crushed Oreos. It’s a treat that promises to delight taste buds of all ages, turning a simple cookie into an extraordinary frozen confection.
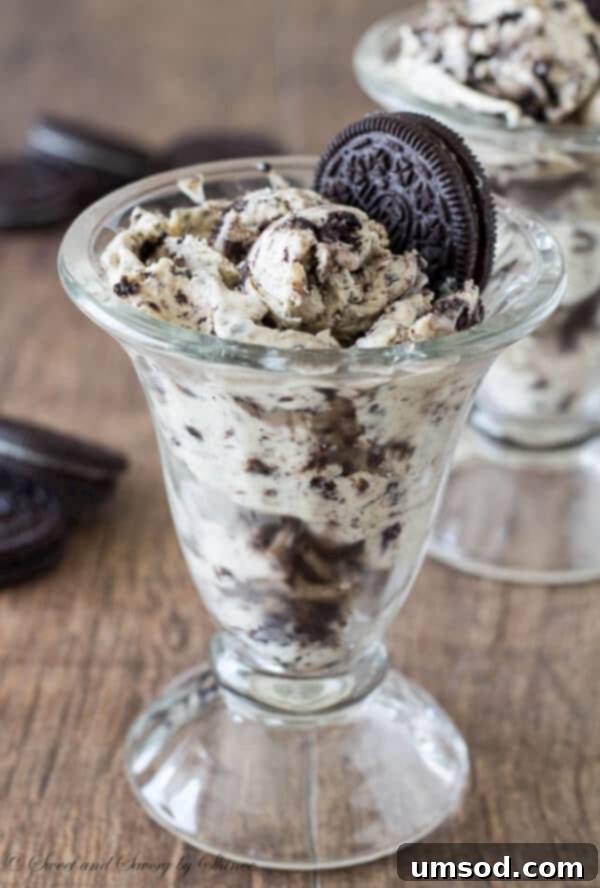
Why Homemade Oreo Ice Cream is a Must-Try
While store-bought ice cream offers convenience, crafting your own homemade version elevates the experience to a whole new level. When you make ice cream at home, you have complete control over the quality of ingredients, ensuring a fresh and pure flavor that simply can’t be matched. This homemade Oreo ice cream isn’t just a dessert; it’s an experience. It’s incredibly creamy, thanks to a rich custard base, and each spoonful delivers that delightful textural contrast of smooth ice cream against crunchy, sweet Oreo pieces. It’s a nostalgic treat that brings joy and a sense of accomplishment to the kitchen. Plus, it’s a fantastic activity to share with family, creating delicious memories together.
Imagine a hot summer day, or simply a craving for something sweet and comforting. This recipe is your answer. It’s a fun and rewarding project that culminates in a dessert so spectacular, your family and friends will be begging for more. The process, while involving an ice cream machine, is straightforward, allowing even novice dessert makers to achieve professional-level results.
The Magic of Oreo Cookies in Ice Cream
Oreos are not just cookies; they are an icon. Their distinct dark chocolate flavor and sweet cream filling provide the perfect counterpoint to the rich, vanilla-infused ice cream base. When crushed and folded into the churning mixture, they transform into tiny pockets of joy, offering a satisfying crunch and an explosion of flavor with every bite. The beauty of using Oreos in ice cream lies in their ability to maintain their texture, preventing them from becoming soggy. This ensures that every scoop is a perfect blend of creamy and crunchy, making this dessert truly unforgettable.
Essential Ingredients for Your Decadent Treat
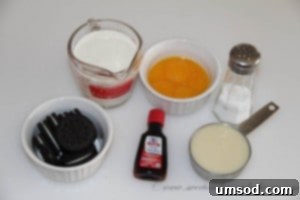
Creating this irresistible homemade Oreo ice cream requires a handful of simple, high-quality ingredients. Each component plays a vital role in achieving that perfect creamy texture and balanced sweetness. Here’s a closer look at what you’ll need:
- Heavy Cream: This is the star of any rich ice cream. Heavy cream provides the luxurious fat content that gives homemade ice cream its signature creamy texture and prevents ice crystals from forming. For the best results, opt for a good quality heavy cream with at least 36% milk fat.
- Sweetened Condensed Milk: A wonderful shortcut to sweetness and body. Sweetened condensed milk not only adds sugar but also contributes to the smooth, dense consistency of the ice cream without requiring extensive cooking of a sugar syrup. It also helps to lower the freezing point, resulting in a softer scoop.
- Pure Vanilla Extract: Vanilla is more than just a flavor; it enhances and rounds out all the other sweet notes in the ice cream. Use pure vanilla extract for the best aroma and taste; imitation vanilla won’t yield the same depth of flavor.
- A Pinch of Salt: A small amount of salt is crucial for balancing the sweetness. It highlights the chocolate notes of the Oreos and prevents the ice cream from tasting overly sugary, bringing out the complexity of all the flavors.
- Egg Yolks: These are the secret to an authentic, old-fashioned custard-style ice cream. Egg yolks create a rich, silky base (known as crème anglaise) that results in an incredibly smooth and velvety texture. They also add a beautiful pale yellow hue to the ice cream.
- Oreo Cookies: The guest of honor! You’ll need about 7 Oreo cookies, crushed into delightful bits. These cookies provide the iconic flavor and essential crunch that makes this cookies and cream ice cream so special. Feel free to adjust the quantity based on how many cookie chunks you desire.
Gathering these ingredients is the first step towards creating a truly extraordinary dessert that everyone will adore. The quality of your ingredients directly impacts the final taste and texture, so choose wisely!
Step-by-Step Guide to Perfect Homemade Oreo Ice Cream
Making your own ice cream might seem daunting, but with this detailed guide, you’ll find it incredibly straightforward and rewarding. Follow these steps carefully to achieve a wonderfully creamy and flavorful Oreo ice cream.
Preparation Stage
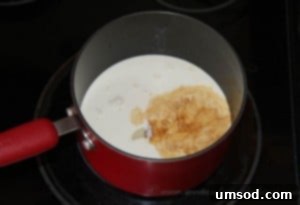
Step 1: Create the Cream Base. In a medium-sized saucepan, combine half a cup of heavy cream, half of the sweetened condensed milk, one teaspoon of pure vanilla extract, and a pinch of salt. Place the saucepan over medium heat and bring the mixture to a gentle simmer. Be careful not to boil it vigorously; you just want it hot enough to release the flavors and warm the ingredients thoroughly. Stir occasionally to prevent scorching the bottom.
Step 2: Prepare the Egg Yolk Mixture. While the cream mixture is heating, take a separate medium bowl. Add the four egg yolks and the remaining half of the sweetened condensed milk. Using a whisk or an electric mixer, beat this mixture until it becomes pale in color and thickens slightly. This aeration helps create a light and fluffy texture in your custard.
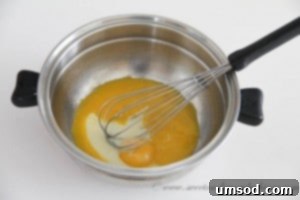
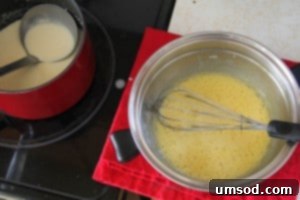
Step 3: Temper the Egg Yolks. This step is crucial for preventing the eggs from scrambling. Slowly pour about half of the hot cream mixture into the beaten egg yolks, whisking vigorously and continuously as you pour. This gradually raises the temperature of the egg yolks without cooking them. Once combined, pour this tempered egg yolk mixture back into the saucepan with the remaining simmering cream. Continue to cook over medium-low heat for 10-15 minutes, stirring constantly with a spatula or spoon, until the custard thickens enough to coat the back of the spoon. Do not let it boil.
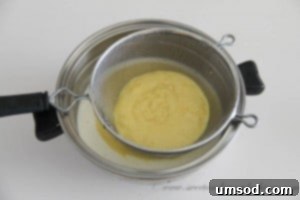
Step 4: Combine and Chill the Custard. In a large, clean bowl, pour the remaining one cup of heavy cream. Place a fine-mesh sieve over this bowl. Carefully pour the hot custard mixture through the sieve into the heavy cream. This step ensures an incredibly smooth ice cream base, catching any small bits of cooked egg yolk or vanilla bean (if using). Mix well to combine. Cover the bowl with plastic wrap, pressing the plastic directly onto the surface of the custard to prevent a skin from forming. Transfer the bowl to the refrigerator and cool completely, preferably for at least 4 hours, or even better, overnight. A well-chilled custard base is essential for successful churning.
Churning and Finishing
Step 5: Crush the Oreo Cookies. While your custard is chilling, prepare your Oreos. Place about 7 Oreo cookies in a Ziploc bag and gently crush them using a rolling pin or the bottom of a heavy pan. You want a mix of fine crumbs and small chunks for varied texture. Alternatively, pulse them briefly in a food processor, being careful not to turn them into a fine powder.
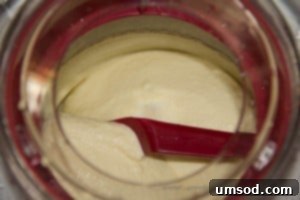
Step 6: Churn and Add Oreos. Once your custard is completely chilled, pour it into your ice cream maker. Churn according to your specific ice cream machine’s manual. This usually takes about 20-25 minutes, depending on the model. The ice cream should be the consistency of soft-serve. Approximately 5 minutes before the churning process is complete, add the crushed Oreos to the machine. This allows them to be evenly distributed throughout the ice cream without getting overly broken down. Once churned, transfer the soft ice cream into an airtight container and place it in the freezer to harden for at least 4 hours, or preferably overnight.
Pro Tips for Success
- Chill Thoroughly: The colder your custard base is before churning, the creamier your ice cream will be. Don’t rush this step!
- Don’t Over-Churn: Churn until the ice cream reaches a soft-serve consistency. Over-churning can lead to a grainy texture.
- Quality Ingredients Matter: Use good quality heavy cream and pure vanilla extract for the best flavor.
- Storage: Store homemade ice cream in an airtight container to prevent freezer burn and keep it fresh for longer.
- Pre-freeze Your Ice Cream Maker Bowl: If your machine requires a pre-frozen bowl, ensure it’s frozen solid (usually 15-24 hours) for optimal results.
Variations and Customizations
This homemade Oreo ice cream recipe is a fantastic base for experimentation! Here are a few ideas to get you started:
- Double Chocolate: Swirl in some melted chocolate fudge or mini chocolate chips along with the Oreos.
- Mint Oreo: Use mint-flavored Oreos for a refreshing twist.
- Coffee Kick: Add a tablespoon of instant espresso powder to your cream base for a subtle coffee flavor that pairs beautifully with chocolate.
- Nutty Crunch: Add a handful of chopped toasted nuts (like pecans or walnuts) for an extra layer of crunch and flavor.
- Kids’ Delight: Mix in colorful sprinkles or gummy bears during the last few minutes of churning for a fun, vibrant treat.
Serving Suggestions
The anticipation is half the fun! Once your homemade Oreo ice cream is perfectly frozen, allow it to sit on the counter for about 5-10 minutes before serving. This brief rest time allows it to soften slightly, making it easier to scoop and giving it that ideal creamy texture. Serve it in:
- Classic Cones: A timeless way to enjoy ice cream.
- Elegant Bowls: Perfect for a more relaxed setting, perhaps with an extra sprinkle of crushed Oreos on top.
- Ice Cream Sandwiches: Sandwich a scoop between two large cookies (maybe even more Oreos!).
- Sundaes: Drizzle with chocolate syrup, whipped cream, and a cherry for an ultimate indulgence.
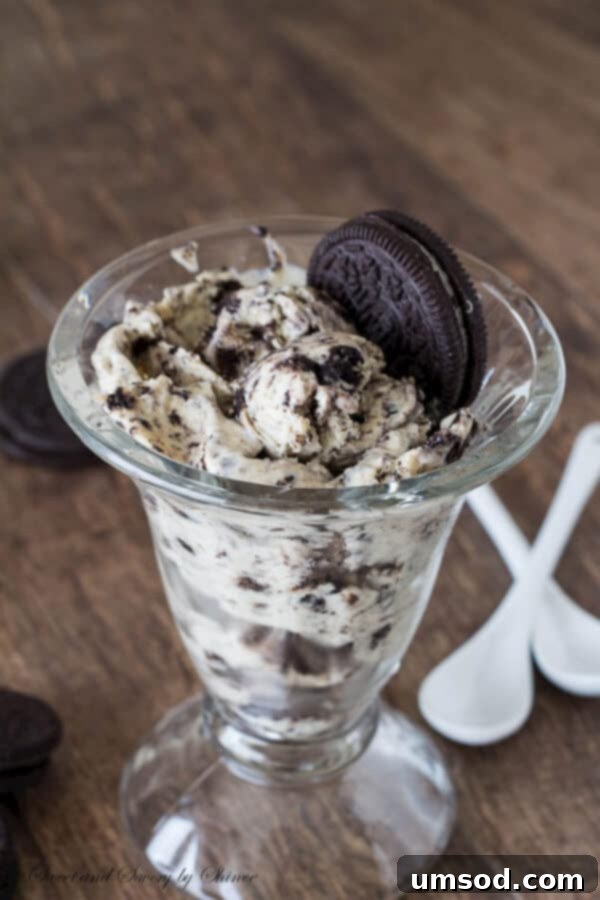
This incredible Oreo ice cream would be an absolute sensation at any gathering, from a casual family dinner to a lively kid’s birthday party. It’s a dessert that consistently earns rave reviews!
Homemade Oreo Ice Cream
Ingredients
Instructions
- In a medium saucepan, combine ½ cup of heavy cream, half of the condensed milk, vanilla extract and salt and bring it to a gentle simmer over medium heat. Do not boil vigorously.
- In a medium bowl, beat the egg yolks and the remaining condensed milk until the mixture turns pale and slightly thick.
- To temper the egg yolk mixture, slowly pour about half of the hot cream into the beaten egg yolks while whisking vigorously. Then, pour this tempered mixture back into the remaining simmering cream in the saucepan and continue to cook for 10-15 minutes, stirring continuously, until the custard thickens enough to coat the back of a spoon.
- Pour the remaining 1 cup of heavy cream into a large bowl. Place a fine-mesh sieve over it. Pour the hot custard mixture through the sieve into the heavy cream and mix well. Cover with plastic wrap, pressing it directly onto the surface of the custard, and cool completely in the refrigerator for at least 4 hours, or preferably overnight.
- Crush the Oreo cookies into a mix of crumbs and small chunks.
- Once the custard is thoroughly cooled, pour it into your prepared ice cream maker and churn according to its specific manual. About 5 minutes before it’s fully churned (to a soft-serve consistency), add the crushed Oreos. Transfer the ice cream into an airtight container and freeze for at least 4 hours to firm up.
⭐️ Did you make this recipe?
Please leave a review and let us know how you liked it!
Tips & Notes
Nutrition
Your Feedback Matters!
We love hearing from you! If you’ve tried this homemade Oreo Ice Cream recipe, please share your thoughts and experiences in the comments below. Your feedback helps other home cooks, and we’re always eager to see how your delicious creations turn out. Did you try a fun variation? Do you have a special serving tip? Let us know!
Happy churning and happy eating!
