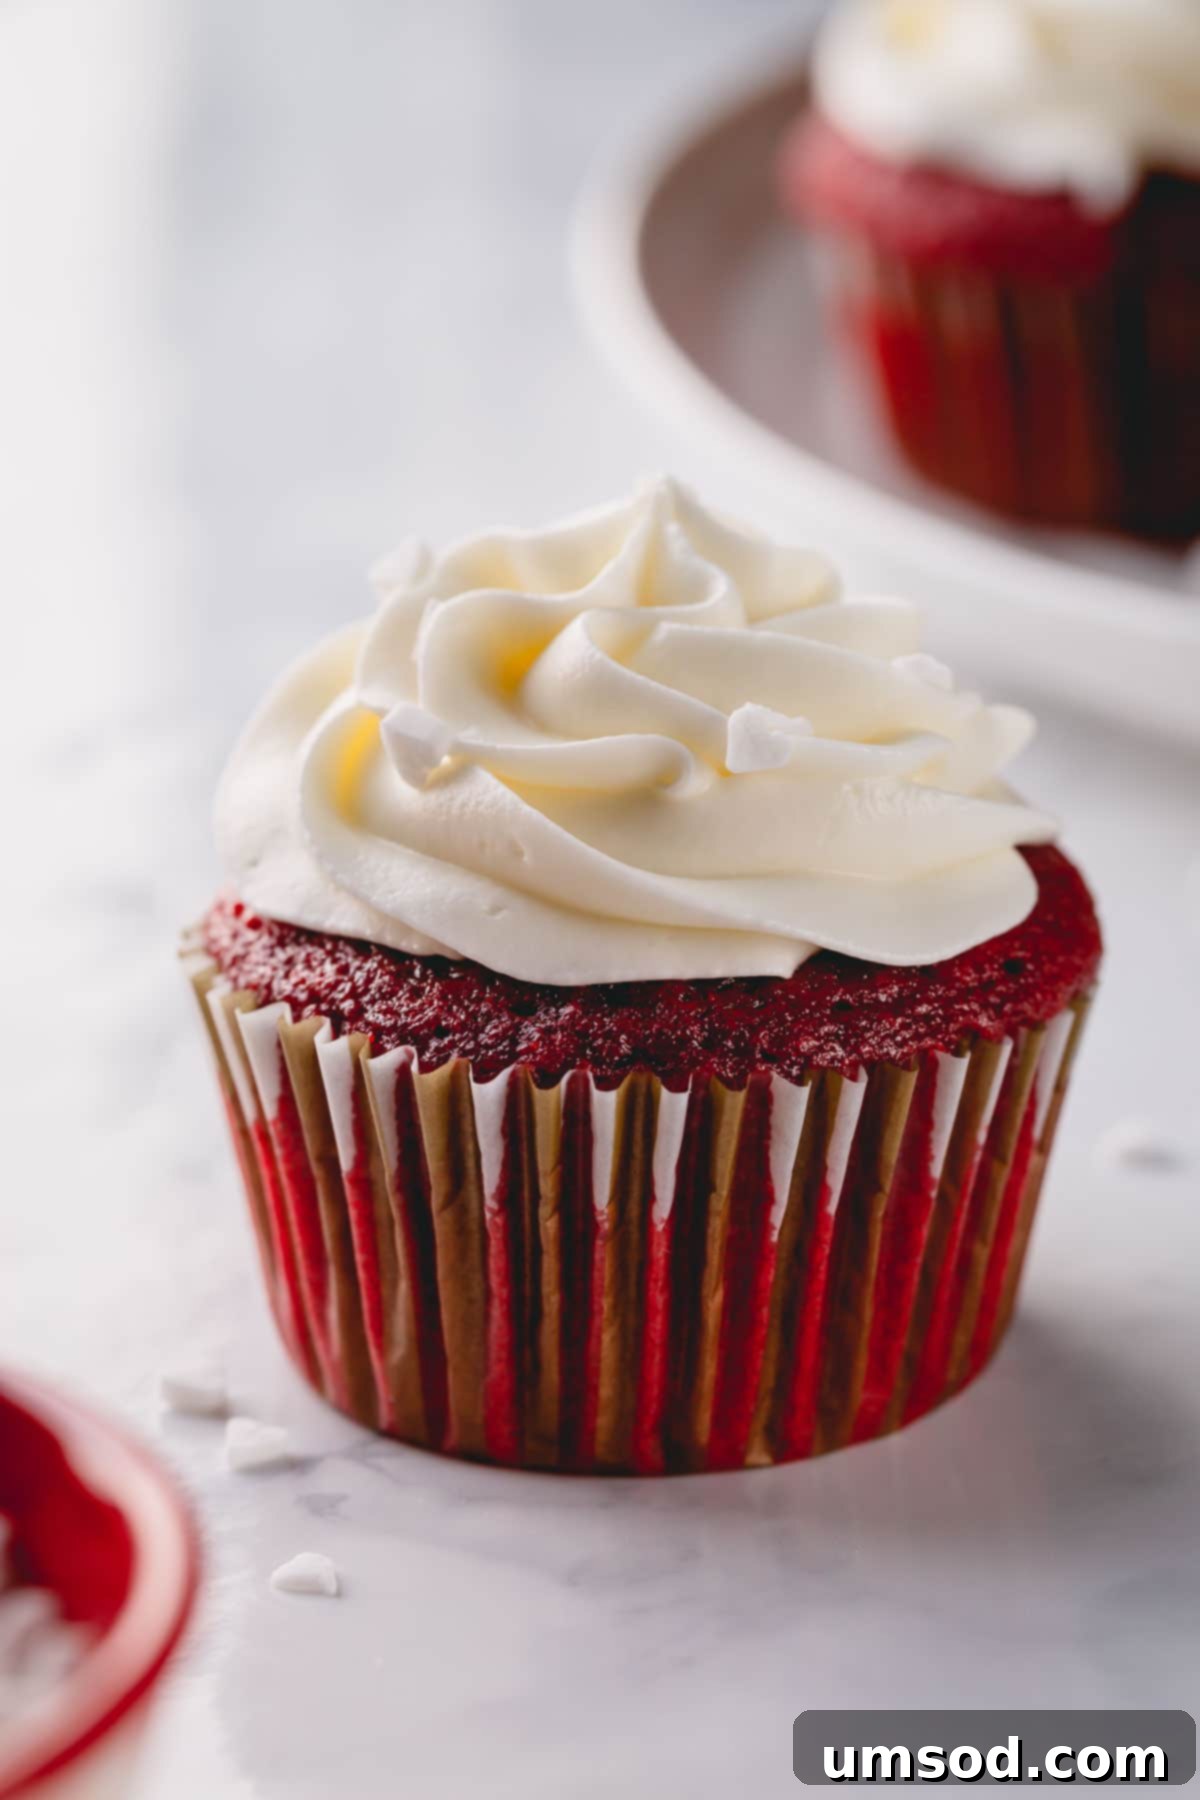
Indulge in the ultimate classic red velvet cupcakes, renowned for their irresistibly velvety texture and tender, buttery crumbs. This ridiculously easy-to-make recipe promises a delightful baking experience, culminating in moist, perfectly red cupcakes crowned with a luscious, tangy cream cheese frosting. Prepare to be enchanted by every bite!
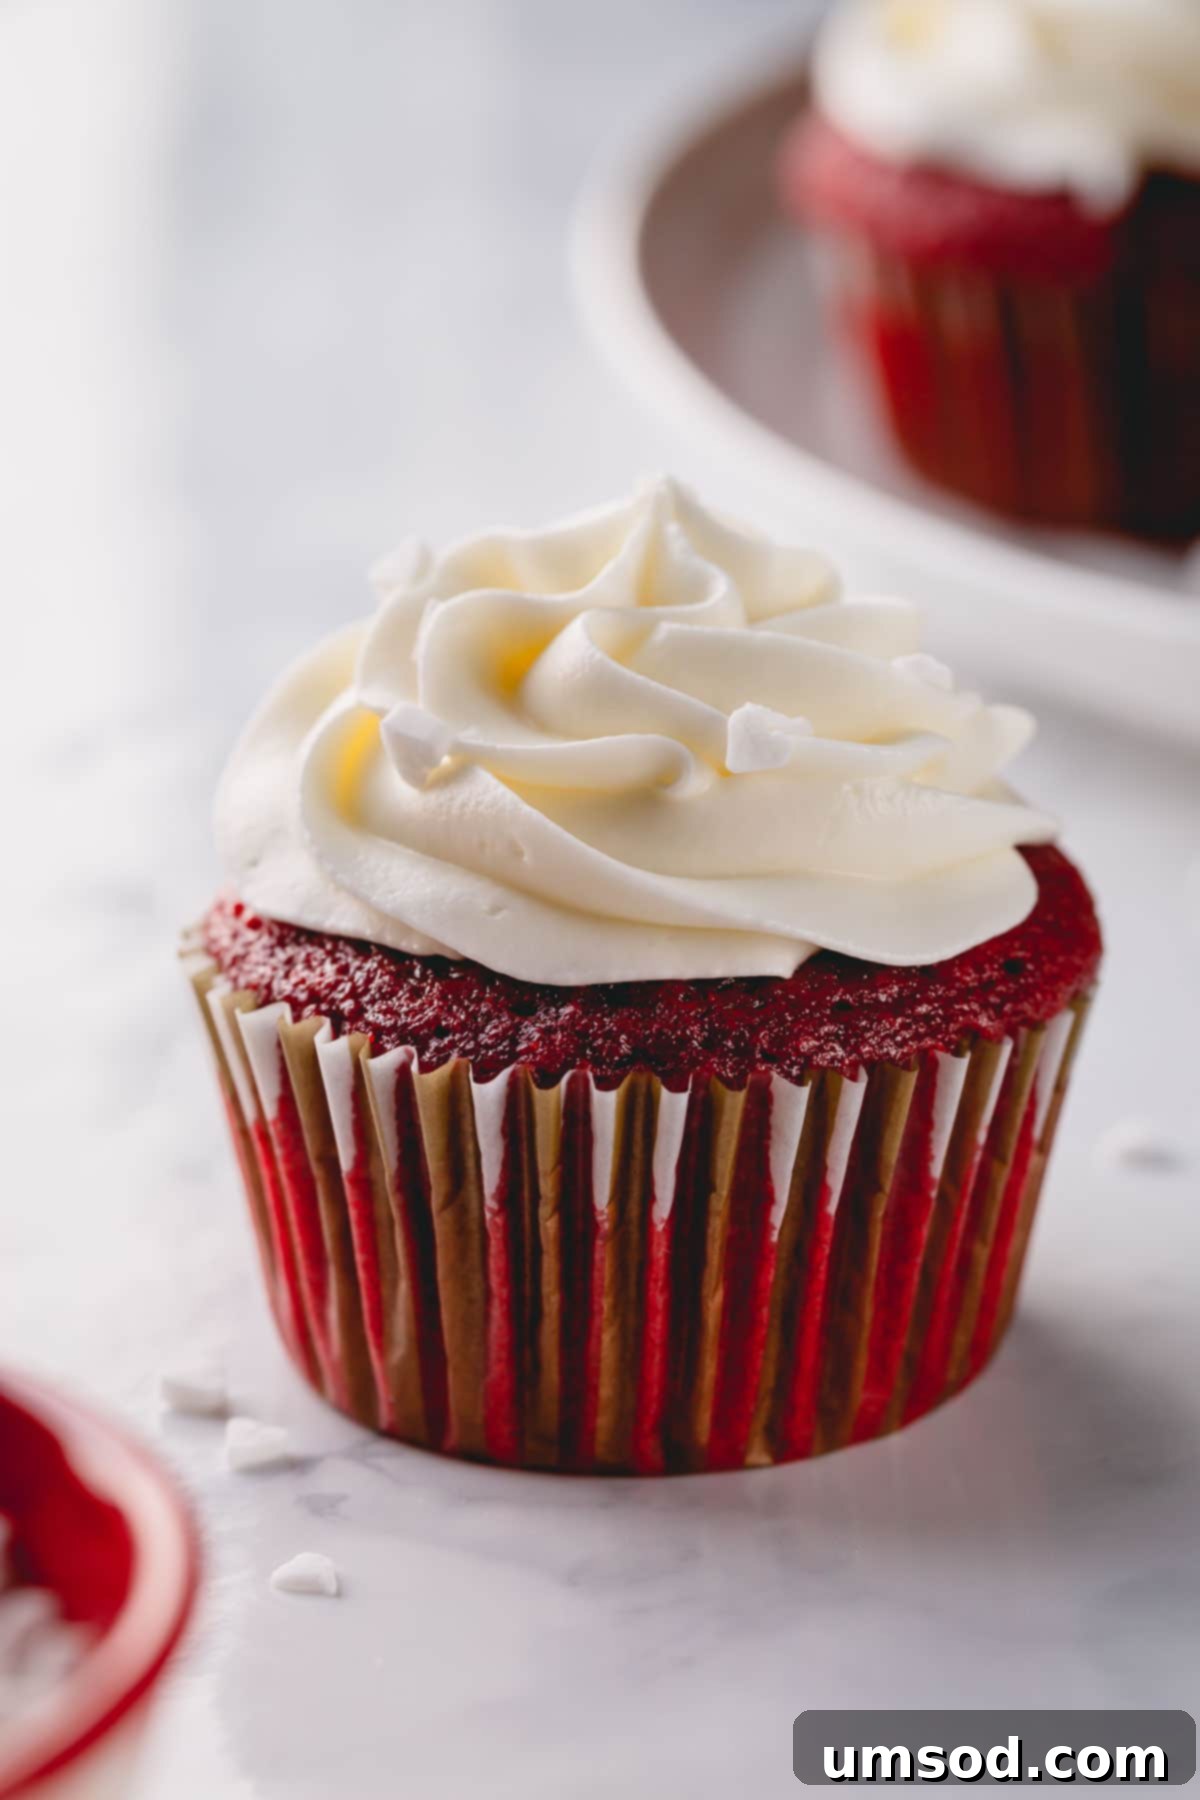
Why These Red Velvet Cupcakes Will Become Your Go-To Recipe
Red velvet isn’t just a cake; it’s an experience. For anyone with a passion for baking or simply enjoying a decadent treat, these homemade red velvet cupcakes are a true masterpiece. While the striking crimson hue is certainly part of their charm, there’s so much more to love about this beloved classic than just its vibrant appearance.
Contrary to a common misconception, red velvet cake is not merely a chocolate cake dyed red. It boasts a distinct flavor profile and an inimitable texture that sets it apart. When prepared correctly, an authentic red velvet treat offers a smooth, almost melt-in-your-mouth texture, coupled with incredibly soft and buttery crumbs that practically dissolve on your tongue. The cocoa presence is subtle, providing a gentle hint of chocolate without overwhelming the palate, allowing other delicate flavors to shine through.
The magic truly happens when these exquisite cupcakes are paired with their quintessential companion: a rich, tangy, and cloud-like cream cheese frosting. The slight tartness of the frosting beautifully complements the mild cocoa notes and moist crumb of the cupcake, creating a harmonious balance of flavors that is utterly irresistible. This recipe ensures you achieve that perfect balance, making these homemade red velvet cupcakes an absolute showstopper for any occasion.
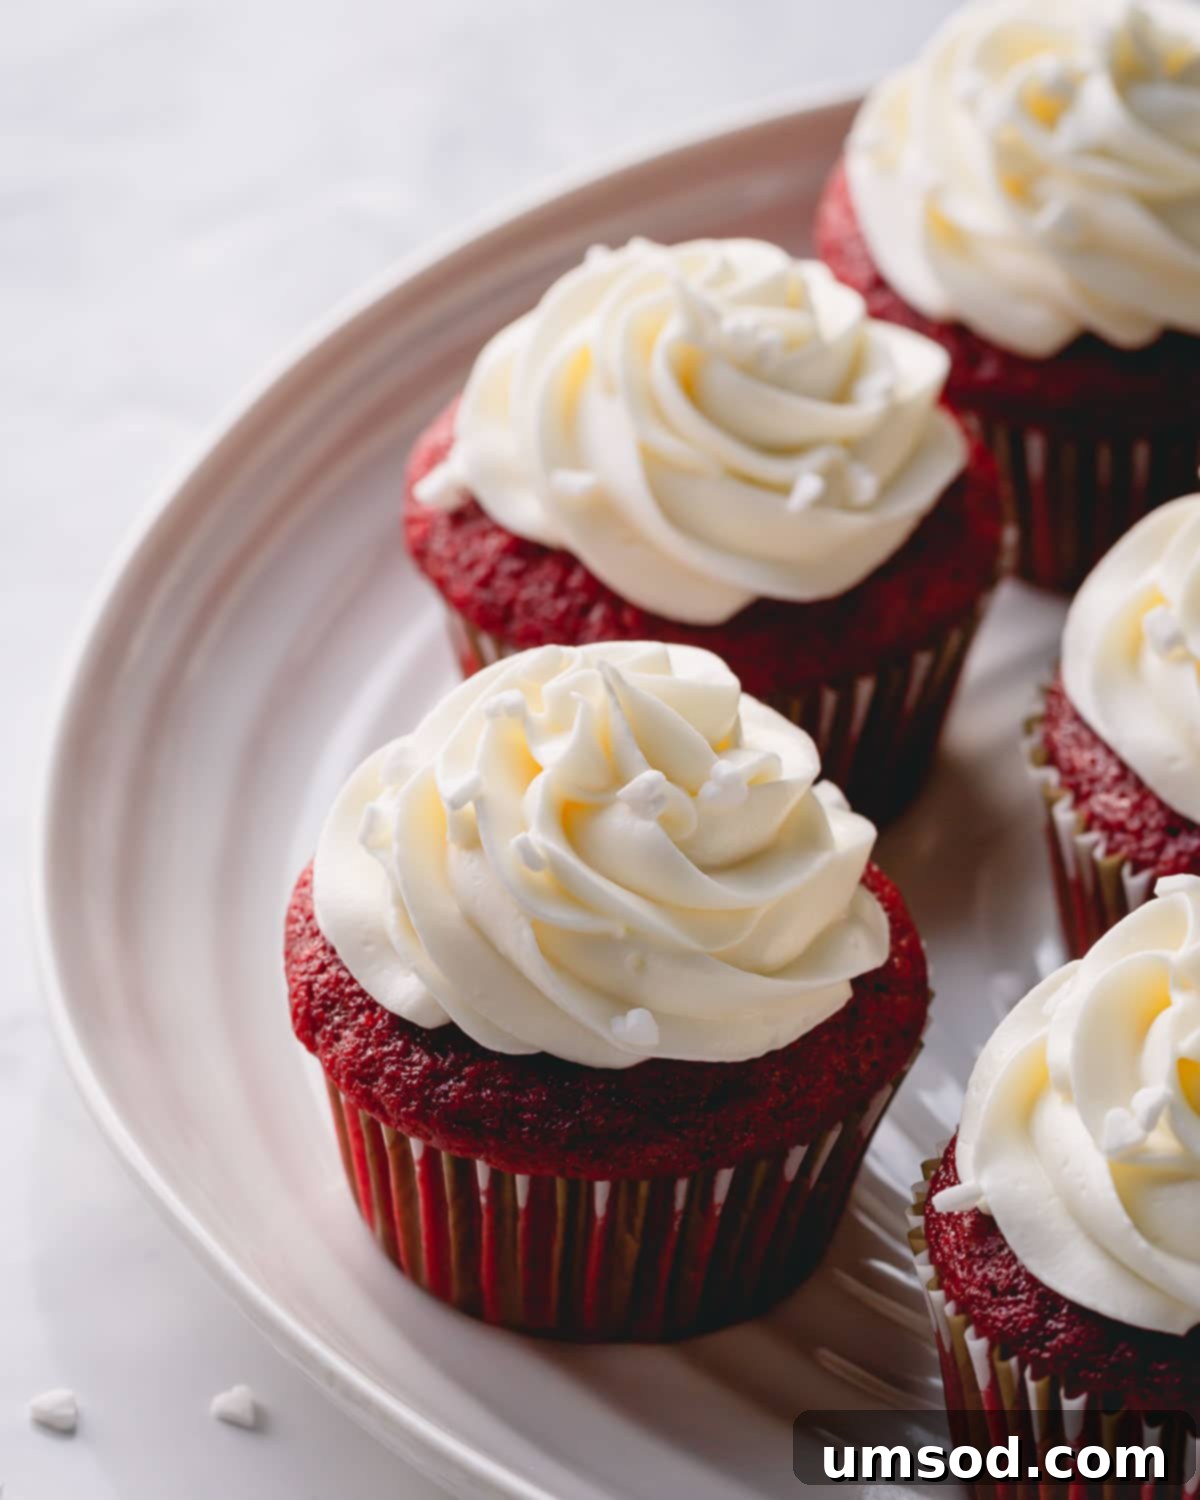
The Science Behind the Shade: Why Red Velvet is Red
The iconic red color of red velvet cakes and cupcakes has a fascinating history rooted in kitchen chemistry. Traditionally, achieving that characteristic crimson wasn’t dependent on artificial food coloring but was, in fact, a natural reaction that occurred during the baking process.
Cocoa powder, along with various fruits and vegetables like purple cabbage, plums, blueberries, and raspberries, naturally contains compounds called anthocyanins. These pigments are unique because their color can change dramatically based on the pH level of their environment. In the past, when natural, non-Dutched cocoa powder was combined with acidic ingredients such as vinegar and buttermilk, the anthocyanins in the cocoa would react. This chemical interaction would cause the cake batter to naturally develop a reddish-brown hue, deepening to a more pronounced red once baked.
However, modern food processing has altered this natural phenomenon. Today, most cocoa powders available in stores are “Dutch-processed,” meaning they’ve been treated with an acid-neutralizing agent. This process makes the cocoa less acidic and gives it a darker, milder flavor, but it also inhibits the natural red reaction with acidic ingredients. Consequently, to achieve the vibrant, unmistakable red associated with red velvet cakes today, bakers typically add food coloring.
In this recipe, we embrace modern techniques to ensure a consistently beautiful and striking red color, while still honoring the traditional flavor profile. We’ll guide you through each step to create absolutely perfect red velvet cupcakes from scratch, vibrant in color and rich in flavor.
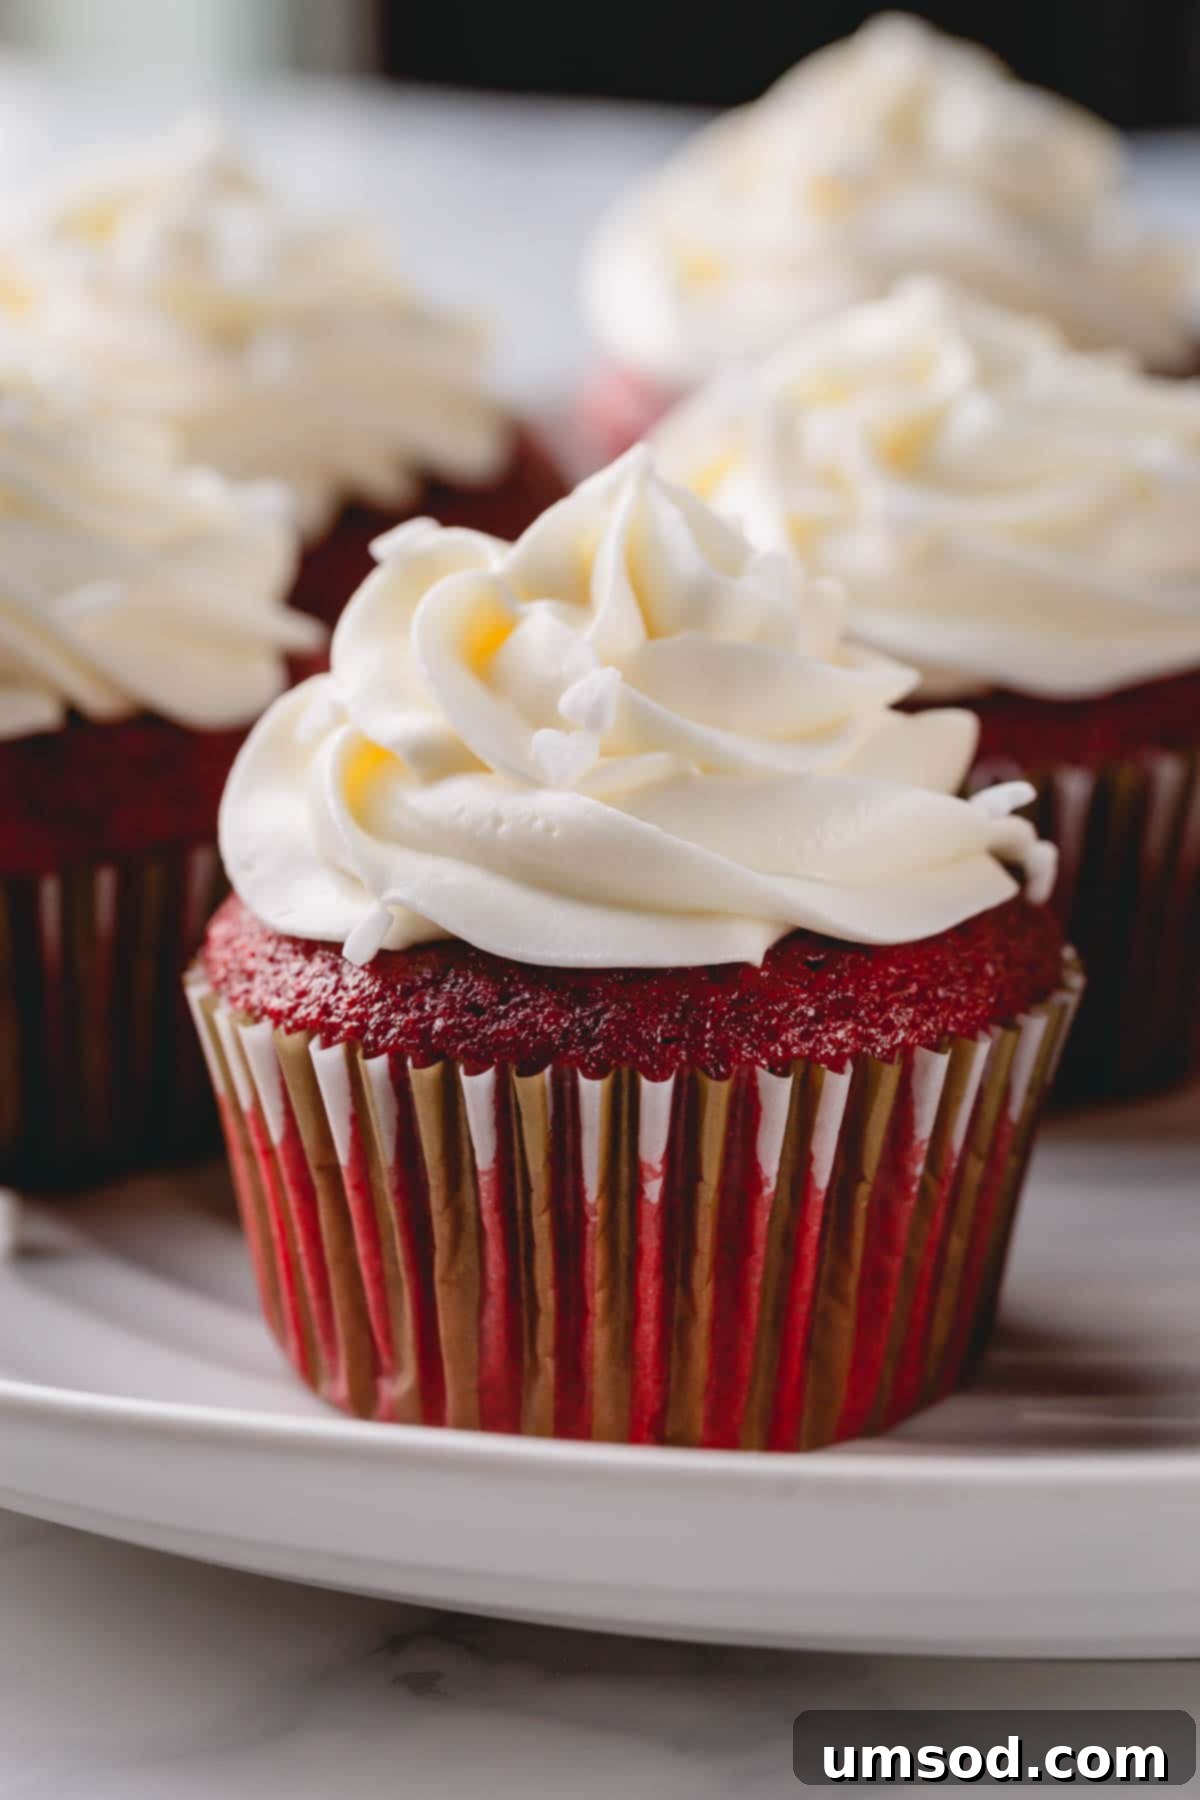
Essential Ingredients for Flawless Red Velvet Cupcakes
Crafting these soft, velvet-y, and utterly delicious cupcakes requires a thoughtful selection of a few simple yet crucial ingredients. Gather your staples: all-purpose flour, granulated sugar, unsweetened cocoa powder, a pinch of salt, a large egg, vegetable oil, buttermilk, pure vanilla extract, baking soda, and white vinegar. Each plays a vital role in achieving the signature red velvet taste and texture.
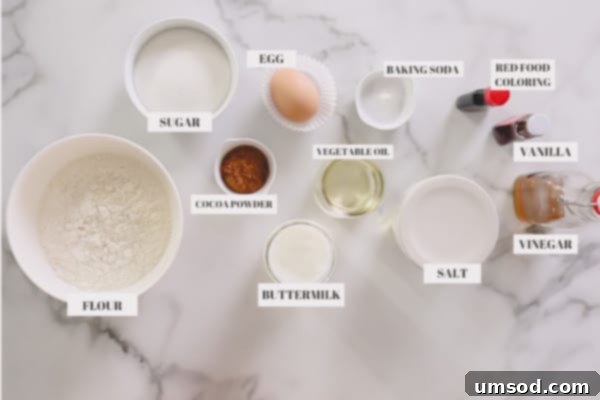
Key Ingredient Deep Dive:
- Cocoa Powder: For an authentic red velvet, the type of cocoa powder truly matters. We highly recommend using unsweetened natural cocoa powder. Dutch-processed cocoa powder, while delicious, has a darker color and a less acidic pH, which can result in darker cupcakes that lack the traditional reddish undertone. Natural cocoa powder’s slight acidity also subtly enhances the interaction with buttermilk, contributing to the delicate crumb.
- Buttermilk: This is a non-negotiable ingredient for that signature velvet-y texture, deep moisture, and tender, soft crumbs. Buttermilk also imparts a delightful, subtle tang that is characteristic of classic red velvet. While homemade versions can work in a pinch, store-bought buttermilk generally offers a more consistent acidity and texture, which we prefer for the best results.
- Food Coloring: Achieving that striking, vibrant red is key to the aesthetic appeal of red velvet. Both liquid and gel food colorings are suitable for this recipe. For a rich, bright red similar to the photos, you’ll need approximately 1 tablespoon of liquid food coloring or about 1 teaspoon of gel food coloring. Gel coloring is more concentrated, so you might use less for the same intensity. Feel free to adjust the amount to achieve your desired shade.
- Vinegar and Baking Soda: This dynamic duo is crucial for the tender texture and slight lift of the cupcakes. The vinegar reacts with the baking soda, creating carbon dioxide bubbles that lighten the batter. It also interacts with the buttermilk, contributing to the overall velvet texture and flavor.
- Room Temperature Ingredients: Ensure your egg and buttermilk are at room temperature. This allows them to emulsify better with other ingredients, creating a smoother, more uniform batter and a more consistent final texture in your baked goods.
Quick Homemade Buttermilk Substitutes:
We understand that buttermilk isn’t always a pantry staple for everyone (though it is for us, thanks to our love for buttermilk pancakes!). If you find yourself without it, here are two easy ways to whip up a quick homemade substitute:
- Option #1 (Using Sour Cream or Yogurt): Combine 1/3 cup of sour cream or plain Greek yogurt with enough milk (or water) to reach a total volume of 1/2 cup. Stir thoroughly until smooth before incorporating into your recipe.
- Option #2 (Using Milk and Acid): Pour 1/2 cup of milk into a measuring cup and add 1/2 tablespoon of lemon juice or white vinegar. Stir gently and let the mixture sit for about 5 minutes. The milk will curdle slightly, signaling it’s ready to use as a buttermilk substitute.
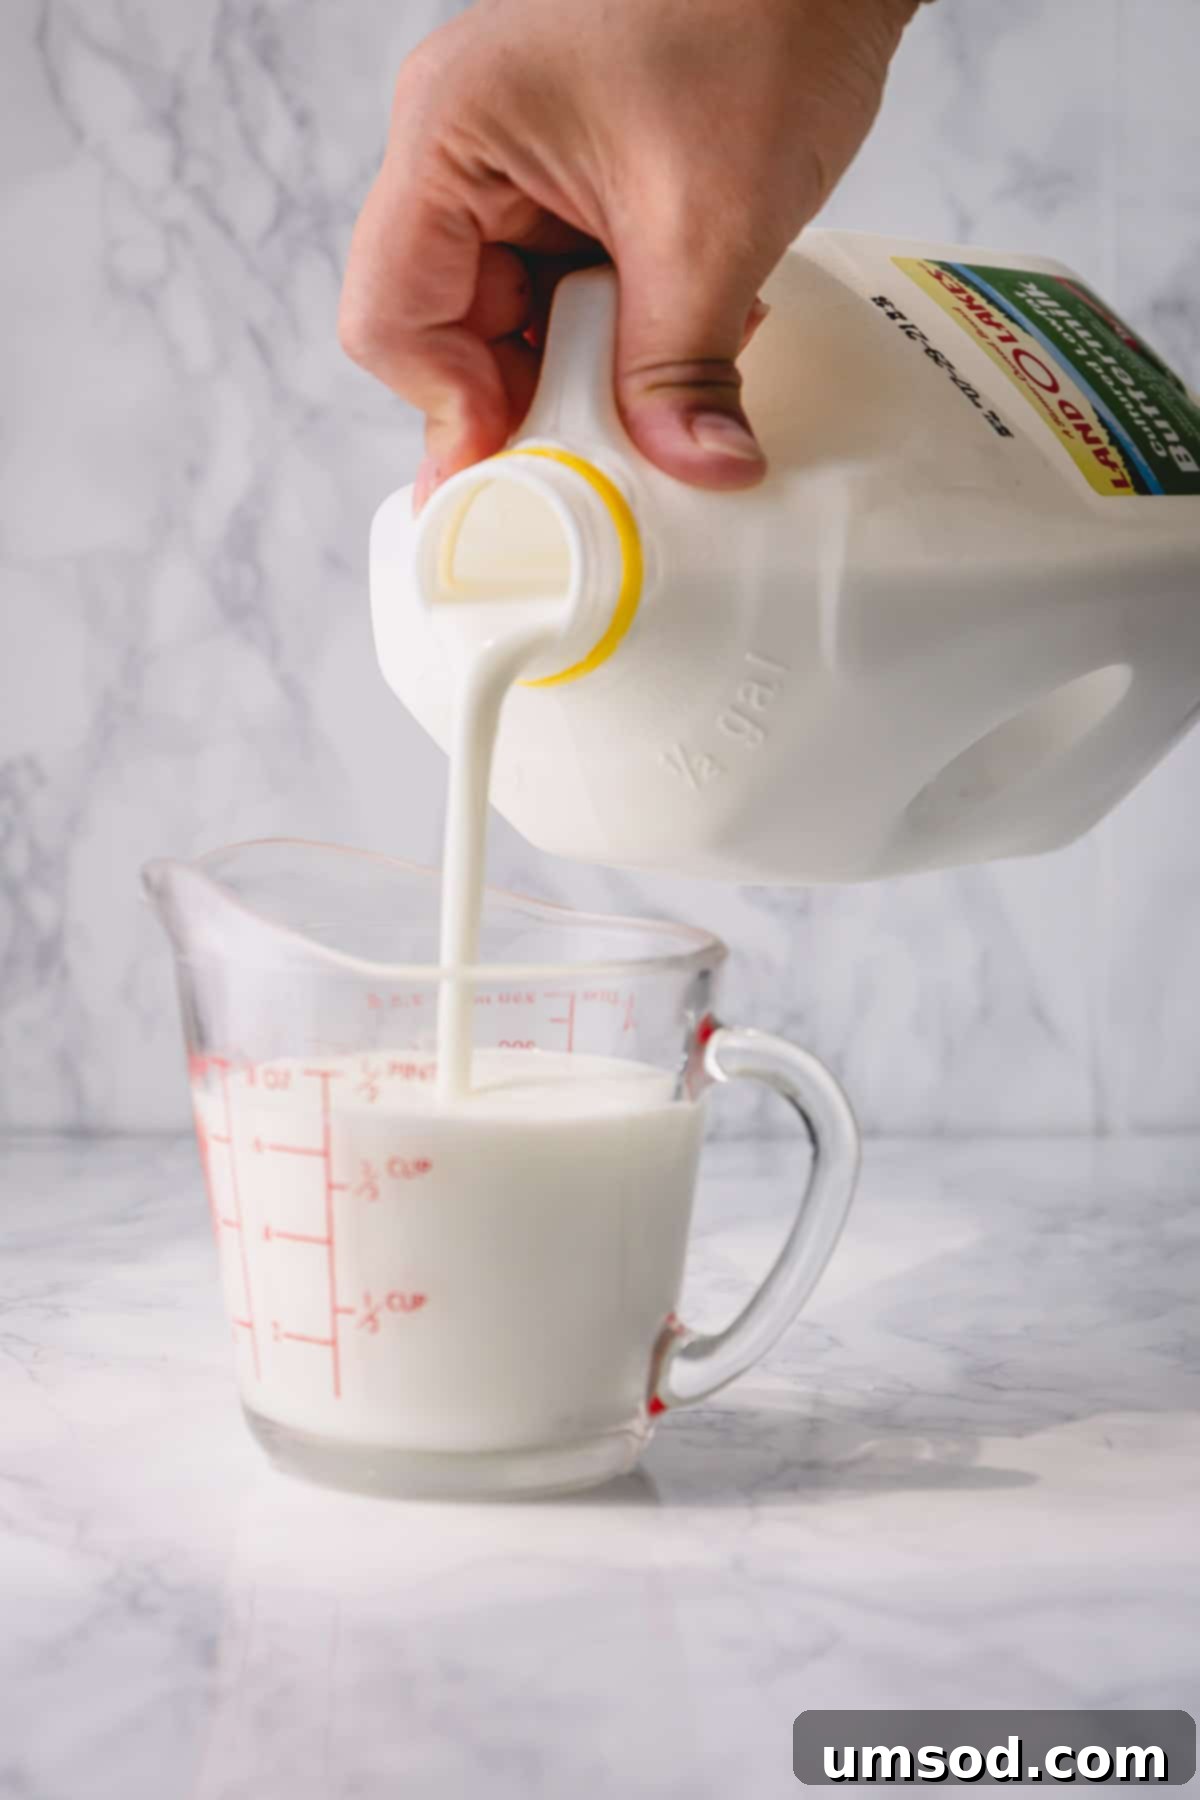
Expert Tip for Buttermilk:
While homemade buttermilk substitutes are perfectly functional in a pinch, for the absolute best velvet-y texture and consistent flavor in these red velvet cupcakes, we highly recommend using genuine store-bought buttermilk.
Simple Steps to Baking Perfect Red Velvet Cupcakes
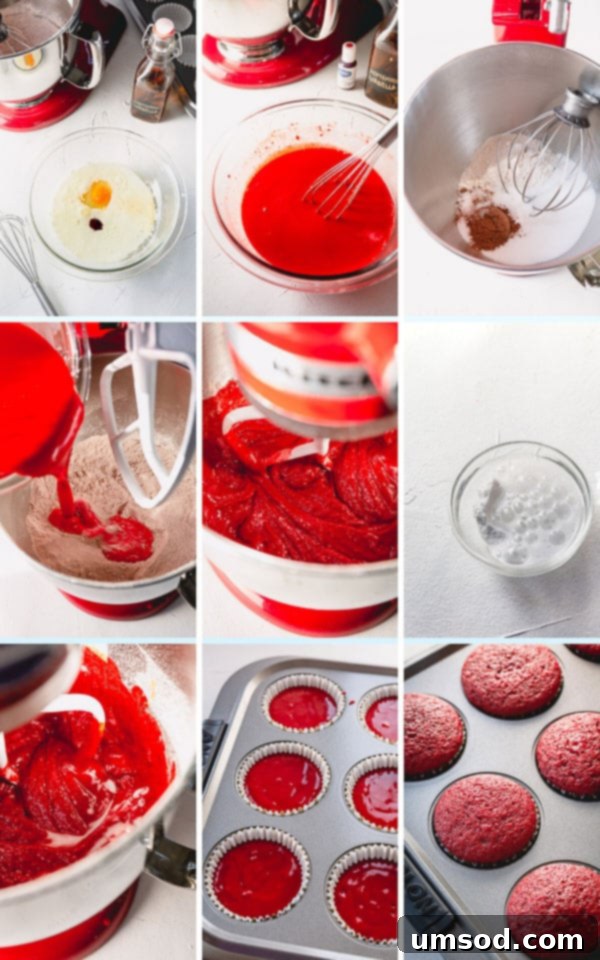
You’ll be delighted by how straightforward it is to make these beautiful red velvet cupcakes. The process is so simple, you won’t even need a stand mixer; a whisk and a couple of bowls are all you truly require. This recipe focuses on ease without compromising on taste or texture, making it perfect for bakers of all skill levels.
The general workflow is quite intuitive, breaking down into five key stages:
- Prepare Dry Ingredients: Whisk together all your dry components to ensure they are well combined and lump-free.
- Combine Wet Ingredients: In a separate bowl, whisk the liquid ingredients until they are smooth and uniformly colored.
- Unite Dry and Wet: Gently fold the dry ingredients into the wet mixture, mixing just until combined to avoid overworking the batter.
- Activate Leavening: Stir in the magical baking soda and vinegar mixture, watching it fizz and activate to give your cupcakes their perfect rise.
- Bake to Perfection: Portion the batter into cupcake liners and bake until golden and moist.
Follow these simple steps, and you’ll have a batch of gorgeous, delicious red velvet cupcakes ready to be frosted. For the ultimate indulgence, be sure to prepare our incredible cream cheese frosting. You can find our detailed step-by-step frosting recipe, complete with a troubleshooting guide, here.
Make-Ahead and Storage Tips for Red Velvet Cupcakes
Planning ahead can make your baking experience even more enjoyable, especially when entertaining. Both the red velvet cupcakes and the cream cheese frosting can be prepared in advance, saving you time and stress on the day of your event.
Cupcake Preparation in Advance:
- Once baked, allow the cupcakes to cool completely on a wire rack. Store the cooled, unfrosted cupcakes in an airtight container at room temperature for up to 2 days. This keeps them wonderfully fresh and moist.
- For longer storage, unfrosted cupcakes can be frozen for up to 3 months. Wrap them individually in plastic wrap, then place them in an airtight freezer-safe container or freezer bag. Thaw them overnight in the refrigerator or for a few hours at room temperature before frosting.
Frosting Preparation in Advance:
- The cream cheese frosting can also be made ahead of time. Once prepared, transfer it to an airtight container and refrigerate for up to 3-4 days. Before frosting, let the frosting come to room temperature for about 30-60 minutes, then re-whip it with a mixer for a minute or two to restore its fluffy texture.
Pro-Tip for Frosting:
For the freshest appearance and best flavor, we recommend frosting your red velvet cupcakes preferably right before serving, or at most 2-3 hours in advance. This prevents the frosting from drying out or losing its perfect texture.
Optimal Storage for Frosted and Unfrosted Cupcakes
Proper storage is essential to keep your red velvet cupcakes tasting their best, whether they are plain or beautifully frosted.
- Unfrosted Cupcakes: Store unfrosted cupcakes in an airtight container at room temperature for 1-2 days. This prevents them from drying out and maintains their soft crumb.
- Freezing Unfrosted Cupcakes: To extend their shelf life, unfrosted cupcakes can be frozen for up to 3 months. Place them in an airtight container or freezer bag, ensuring they are well-sealed to prevent freezer burn. Thaw them overnight in the refrigerator or at room temperature for a few hours before decorating.
- Leftover Frosted Cupcakes: Due to the cream cheese in the frosting, frosted cupcakes should always be stored in the refrigerator. Keep them covered in an airtight container for up to 3 days. To prevent them from drying out or absorbing refrigerator odors, consider covering them with plastic wrap directly over the frosting before placing them in a container.
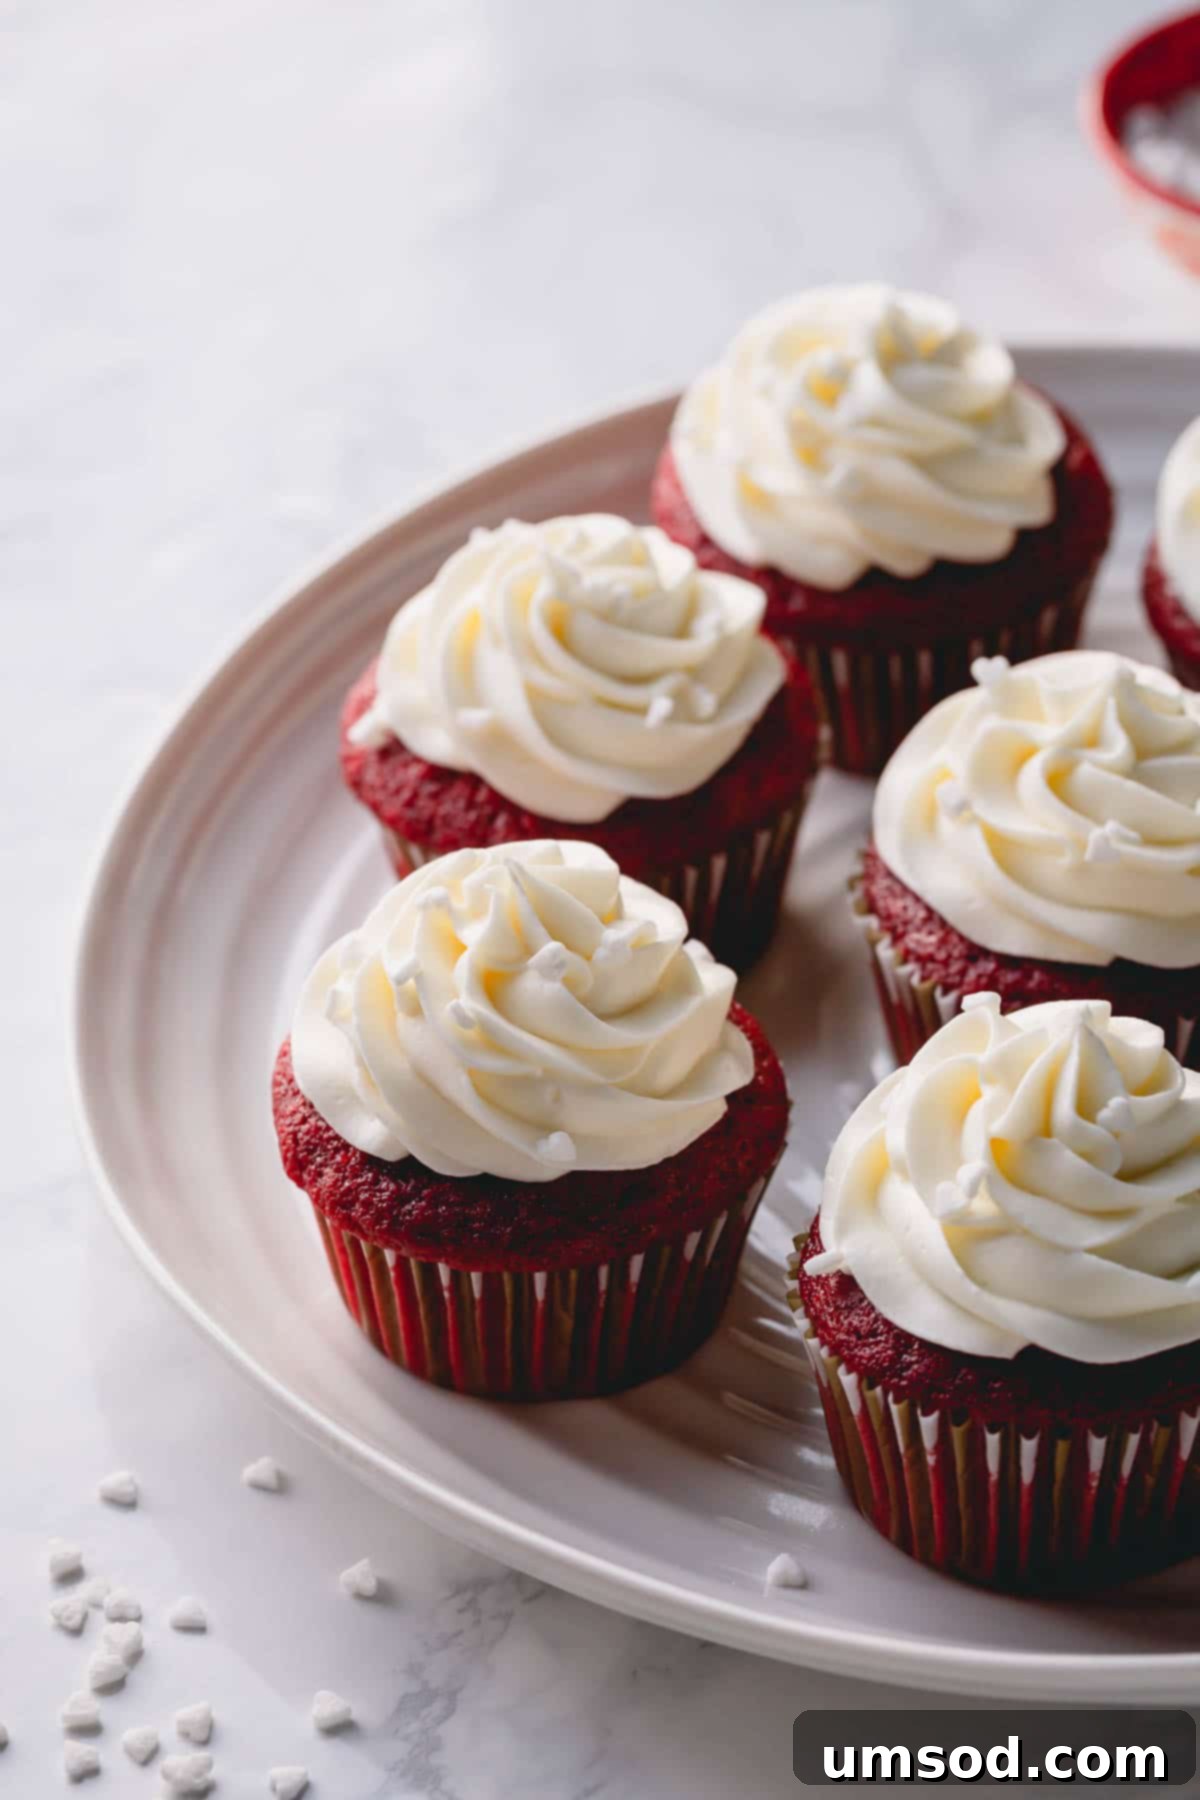
We truly hope you enjoy baking and savoring this incredible red velvet cupcake recipe. Please let us know your thoughts and how your batch turns out!
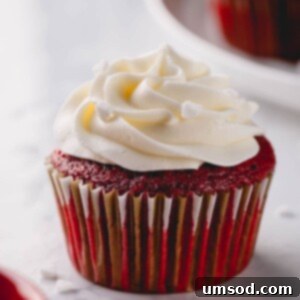
Irresistible Red Velvet Cupcakes with Cream Cheese Frosting
These classic red velvet cupcakes deliver a truly velvety texture and soft, buttery crumbs. They’re incredibly easy to make and perfectly complemented by our tangy cream cheese frosting!
Comment
Print Recipe
Ingredients
For the Cupcakes:
- 1 ½ cups (190g) all-purpose flour
- 1 cup (200g) granulated sugar
- 1 tablespoon natural unsweetened cocoa powder (Note 1)
- ¼ teaspoon salt
- 1 large egg, at room temperature
- ½ cup (120ml) vegetable oil
- ¾ cup (180ml) buttermilk, at room temperature (Note 2)
- 1 tablespoon liquid red food coloring or 1 teaspoon gel food coloring (Note 3)
- 1 teaspoon pure vanilla extract
- ½ teaspoon baking soda
- ½ teaspoon white distilled vinegar
For the Cream Cheese Frosting:
- 8 oz (225g) cream cheese, softened at room temperature
- ¼ cup (55g) unsalted butter, softened at room temperature
- 2 cups (250g) powdered sugar, sifted
- 1 teaspoon pure vanilla extract
- 1/8 teaspoon kosher salt
Instructions
To Make the Cupcakes:
- Preheat your oven to 350°F (175°C). Line a 12-cup muffin pan with paper cupcake liners.
- In a medium-sized bowl, whisk together the flour, sugar, cocoa powder, and salt. Set this dry mixture aside.
- In a large mixing bowl, whisk together the room temperature egg, vegetable oil, buttermilk, red food coloring, and vanilla extract until all wet ingredients are thoroughly combined and the color is uniform.
- Gradually add the prepared dry ingredients to the wet ingredients. Mix until just smooth, being careful not to overmix, which can lead to tough cupcakes. Mix for approximately one minute.
- In a small dish, combine the baking soda and white vinegar. As soon as the mixture begins to bubble and foam, quickly add it to your cupcake batter. Mix it in well for about 30 seconds to distribute the leavening evenly.
- Using a large cookie scoop or an ice cream scoop, divide the batter evenly among the 12 lined muffin cups. Fill each cup approximately two-thirds full.
- Bake for 18-20 minutes, or until a wooden toothpick inserted into the center of a cupcake comes out clean, indicating they are fully baked.
- Allow the cupcakes to cool in the muffin pan for 5 minutes before carefully transferring them to a wire rack to cool completely. Ensure they are fully cooled before frosting.
To Make the Cream Cheese Frosting:
- In a stand mixer fitted with a paddle attachment (or using a hand mixer), beat the softened cream cheese and butter on medium-high speed until the mixture is light and fluffy, usually about 1 minute. Scrape down the sides of the bowl as needed.
- Gradually add the sifted powdered sugar to the cream cheese mixture on low speed, mixing until just combined. Then, increase the speed to medium-high and continue to beat for about 3 minutes until the frosting is smooth, light, and wonderfully fluffy.
- Stir in the vanilla extract and kosher salt. Whip for an additional 30 seconds to ensure everything is fully incorporated.
- Transfer the prepared frosting into a pastry bag fitted with your favorite decorative tip (a Wilton M1 piping tip creates beautiful swirls).
- Frost the completely cooled cupcakes. For the best presentation and texture, frost them right before serving, or a few hours prior if needed.
⭐️ Did you make this recipe?
Please leave a review and let us know how you liked it! Your feedback is much appreciated.
Video Tutorial
Tips & Notes for Success
Note 1 (Cocoa Powder): For an authentic red velvet color and flavor, it’s best to use natural unsweetened cocoa powder. Dutch-processed cocoa powder is darker and less acidic, which can result in darker cupcakes that lack the classic red hue.
Note 2 (Buttermilk Substitute): If you don’t have buttermilk on hand, you can easily make a homemade version. Stir 1 teaspoon of white vinegar or lemon juice into ¾ cup of regular milk. Let it sit for 5 minutes until it slightly curdles before using.
Note 3 (Food Coloring): The amount of food coloring used can be adjusted to your personal preference. The quantities provided in the recipe are designed to achieve the vibrant, bright red color showcased in our photographs.
General Storing Tips:
- Store unfrosted cupcakes at room temperature, covered, for 1-2 days to maintain their freshness.
- You can also freeze unfrosted cupcakes in an airtight container for up to 3 months. Thaw them overnight in the refrigerator before frosting.
- Store leftover frosted cupcakes in the refrigerator, covered, for up to 3 days. It’s best to cover them with plastic wrap to prevent them from drying out.
Nutrition Information
(Approximate values per 1 frosted cupcake)
- Calories: 394 kcal
- Carbohydrates: 50 g
- Protein: 4 g
- Fat: 20 g
- Sugar: 38 g
- Sodium: 246 mg
Nutrition values are estimates and may vary based on specific ingredients and preparation methods.
Did you make this recipe?
Leave a rating and your feedback. Thank you for baking with us!
This beloved recipe was originally published on December 3, 2013, and has been thoughtfully updated on July 20th, 2021, to ensure the most delicious and user-friendly experience for our readers.
