This post is sponsored by Red Star Yeast. All opinions are mine alone.
Irresistible Roasted Garlic & Cheese Breadsticks: Your New Favorite Side!
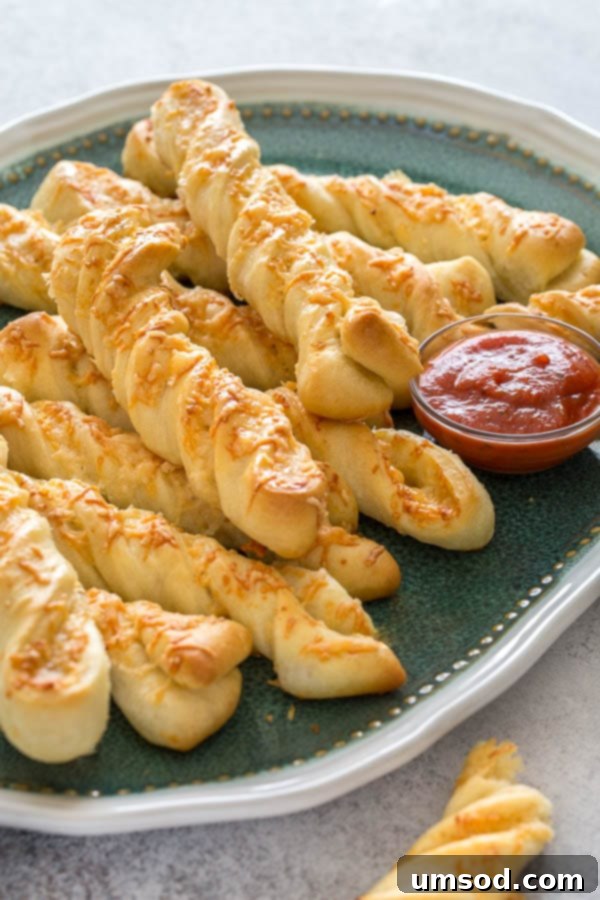
Prepare to fall deeply in love with these unbelievably delicious, no-fail breadsticks. Infused with the mellow, sweet notes of roasted garlic and generously laced with cheese both inside and out, they are a true culinary delight. Despite their gourmet flavor profile, these breadsticks are surprisingly simple to make, perfect for any home baker looking to impress with minimal fuss. They embody everything wonderful about homemade bread: incredible aroma, tender texture, and a taste that’s absolutely unforgettable.
If you’re a fan of the glorious trio of carbs, cheese, and garlic, then you’re in for an extraordinary treat. These breadsticks aren’t just aromatic; they’re incredibly addicting, offering a harmonious blend of savory goodness in every single bite. Each twist is packed with flavor, making them an ideal companion to pasta dishes, soups, salads, or simply enjoyed on their own as a satisfying snack.
The Magic of Roasted Garlic: A Flavor Transformation
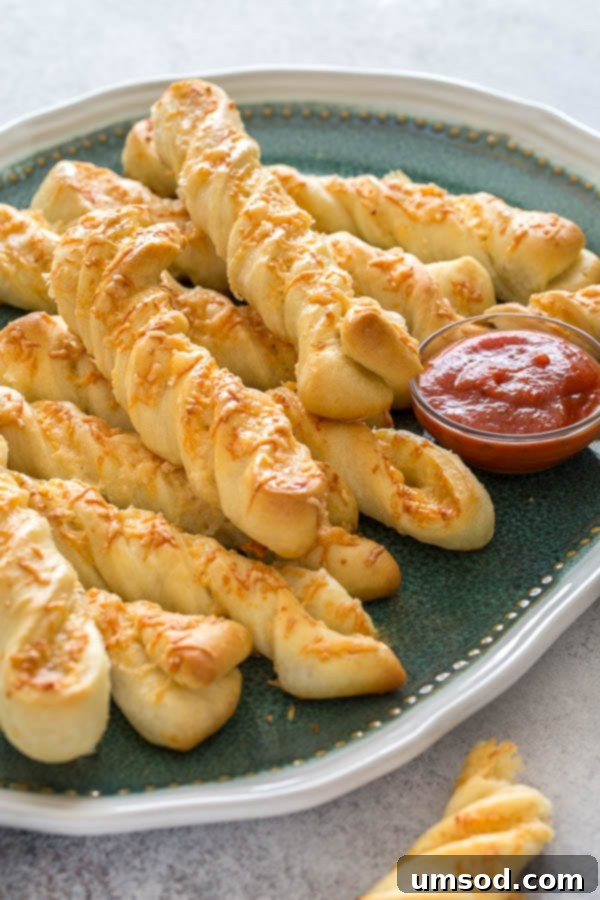
Even if you claim not to be a “big fan” of garlic, I implore you to give this recipe a try. Why? Because we’re not talking about the sharp, pungent bite of fresh raw garlic here. No, the star of this show is roasted garlic – a completely different, far more sublime experience. Roasting transforms garlic cloves into tender, golden nuggets with a milder, almost sweet and caramelized flavor. This process eliminates any harshness, leaving behind a rich, nutty essence that will elevate your breadsticks from delicious to truly extraordinary.
The beauty of roasted garlic lies in its simplicity and versatility. While it takes a little time in the oven, the process is largely hands-off, allowing you to focus on other tasks. Think of it as a low-effort, high-reward step. Whenever you find yourself baking a casserole or roasting a chicken, simply throw a few heads of garlic, wrapped snugly in foil, into the oven alongside. It’s an efficient way to infuse your kitchen with an incredible aroma and prepare a batch of this “gold” for future culinary adventures. Beyond these breadsticks, roasted garlic is a game-changer when smeared on a crusty baguette, blended into creamy hummus, or added to salad dressings and marinades. Once you experience its life-changing flavor, you’ll wonder how you ever cooked without it.
Crafting the Perfect Dough: An Approachable Homemade Experience
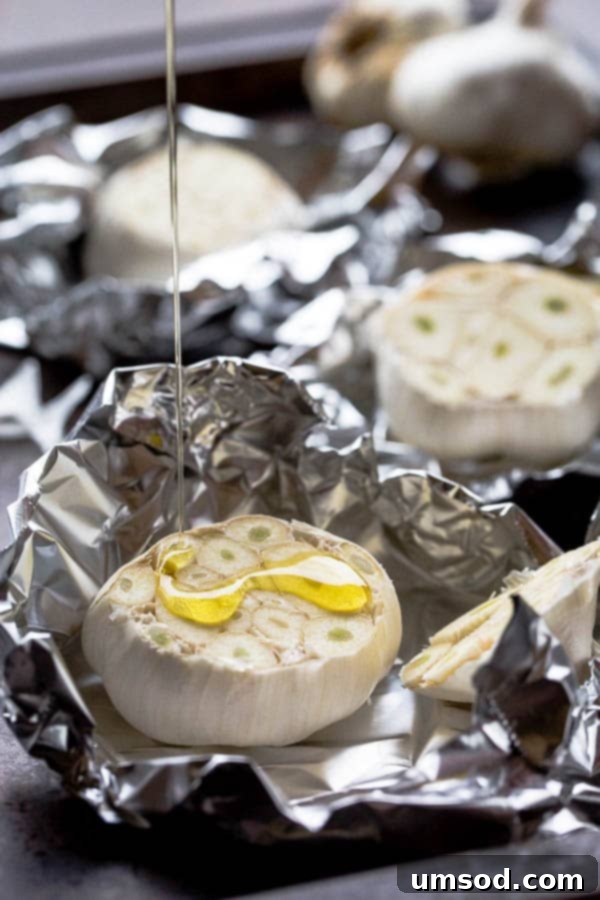
Now that we’ve unlocked the secret to fantastic roasted garlic, let’s delve into the heart of our breadsticks: the dough. Don’t be intimidated by the idea of making bread dough from scratch; this recipe is essentially a no-fail process designed for home bakers of all skill levels. Achieving a perfectly soft, pliable dough is the foundation for these delightful breadsticks, and it’s far easier than you might imagine.
You have several convenient options for preparing the dough. A stand mixer with a dough hook attachment makes quick work of kneading, effortlessly bringing the ingredients together into a smooth, elastic mass. If you own a bread machine, it’s an excellent tool for handling the kneading and first rise with minimal intervention. And for those who enjoy the tactile experience of baking, hand-kneading is absolutely an option, requiring just a few minutes of satisfying work. Whichever method you choose, the result will be a tender, flavorful dough ready to transform into our cheesy garlic twists.
As with any exceptional yeast-based dough, starting with a high-quality yeast is paramount. For years, Red Star Yeast has been my trusted go-to brand, consistently delivering superior results. Their commitment to quality ensures a reliable and impressive rise every time, which is why I’m thrilled to partner with them today to bring you this fantastic recipe. For these roasted garlic breadsticks, we’ll be utilizing the Red Star Platinum Superior Baking Yeast. This particular yeast offers an added convenience: it doesn’t require proofing. This means one less step to worry about, streamlining your baking process and allowing you to achieve professional-level results with ease. Its robust leavening power ensures your breadsticks will be light, airy, and wonderfully fluffy.
The remaining ingredients for our dough are incredibly simple and likely staples in your pantry: all-purpose flour, a touch of sugar to activate the yeast, salt for flavor, lukewarm water to hydrate the yeast, and a drizzle of olive oil for richness and a lovely texture. This straightforward list underscores how accessible homemade bread baking truly is, proving that you don’t need fancy ingredients or equipment to create something truly spectacular.
The Art of Shaping: Twists for Maximum Flavor & Visual Appeal
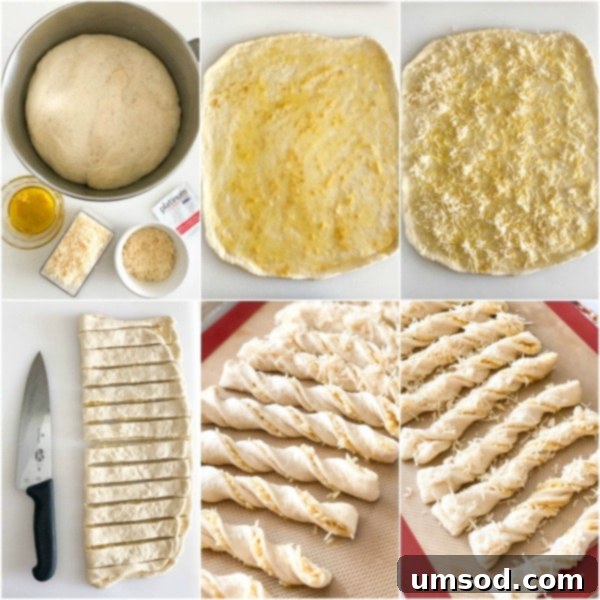
Once your dough has completed its first rise, doubling beautifully in size, it’s time for the fun part: shaping! While you could simply cut strips, I’ve found that twisting each breadstick not only gives them a more elegant, artisanal appearance but also ensures that the delicious cheese and roasted garlic mixture is perfectly distributed throughout every nook and cranny. This technique creates pockets of gooey cheese and garlic bliss, enhancing the flavor and texture significantly.
On a lightly floured surface, you’ll roll out your soft, supple dough into a neat rectangle. Then, spread the aromatic roasted garlic olive oil evenly across the surface, infusing every fiber of the dough with its captivating flavor. Next comes the cheese: a generous sprinkle of shredded mozzarella for its melt-in-your-mouth texture and grated Parmesan for a salty, sharp kick. Folding the dough in half ensures the cheese is enveloped, creating those delightful cheesy layers when twisted. A few simple cuts, a gentle twist for each strip, and you’re almost there. Watching these simple dough strips transform into beautiful twists is incredibly satisfying. These step-by-step photos illustrate the process perfectly, ensuring your breadsticks look as good as they taste.
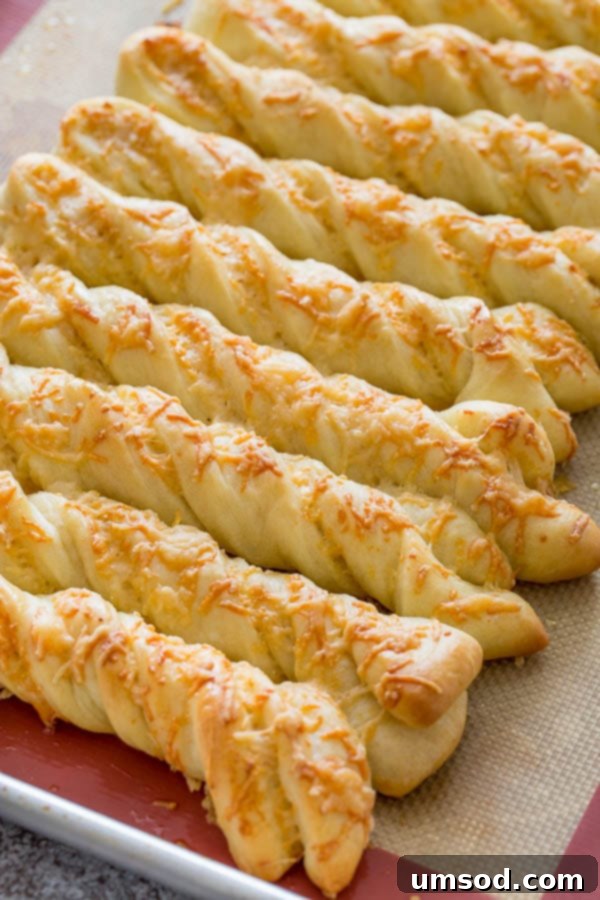
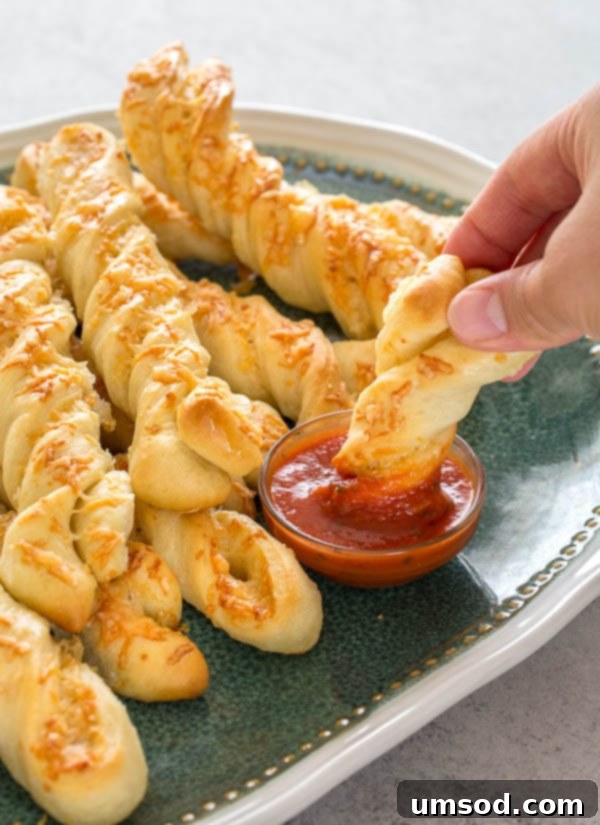
There’s truly nothing quite like the smell of fresh-baked bread wafting through your home. It’s comforting, inviting, and signals that something truly special is coming out of the oven. These roasted garlic and cheese breadsticks fill the air with an aroma that is simply the BEST!

5 from 1 vote
Roasted Garlic & Cheese Breadsticks
Shinee Davaakhuu
15 mins
25 mins
45 mins
1 hr 25 mins
12 breadsticks
Comment
Print Recipe
Ingredients
For the Dough:
- 2 cups (250g) all-purpose flour
- 1 teaspoon Red Star Platinum Superior Baking Yeast
- 1 teaspoon sugar
- 1 teaspoon salt
- 2/3 cup (155ml) lukewarm water
- 1 tablespoon olive oil
For the Filling & Topping:
- 1 head of garlic
- 3 tablespoons olive oil, divided
- 1 cup (100g) shredded mozzarella cheese
- ¼ cup (15g) grated Parmesan cheese
Instructions
- To prepare the dough: In a large mixing bowl equipped with a dough hook attachment, combine the flour, sugar, salt, and Red Star Platinum Superior Baking Yeast. Add the lukewarm water and mix on low speed until all the ingredients come together to form a cohesive dough. (Alternatively, you can easily prepare this dough by hand, kneading in a large bowl).
- Once the dough begins to form, incorporate the 1 tablespoon of olive oil. Increase the mixer speed to medium and knead for 2-3 minutes until the dough is smooth and elastic. If kneading by hand, continue for about 5 minutes. The dough should feel soft and have a slight stickiness to it.
- Lightly drizzle a small amount of olive oil into a clean bowl, then transfer the dough, turning it to coat all sides. Cover the bowl with a clean kitchen towel and place it in a warm spot to rise for 1-2 hours, or until the dough has visibly doubled in size.
- To roast the garlic: While the dough is rising, preheat your oven to 400°F (200°C).
- Take the head of garlic and slice off the very top, just enough to expose the tips of the cloves. Place the garlic head, cut side up, in the center of a piece of aluminum foil. Drizzle 1 tablespoon of olive oil over the exposed cloves, then wrap the garlic head securely in the foil.
- Roast in the preheated oven for 45-75 minutes, or until the garlic cloves are deeply golden brown, incredibly soft, and easily squeezed out of their skins. Begin checking for tenderness and color around the 45-minute mark; for a richer, more caramelized flavor, continue roasting for an additional 15-30 minutes if needed.
- To assemble and bake the breadsticks: Once the garlic is roasted, allow it to cool slightly until it’s comfortable to handle. Squeeze the soft roasted garlic cloves out of their skins into a small bowl. Using a fork or a garlic press, mash the garlic into a smooth paste, then mix it thoroughly with the remaining 2 tablespoons of olive oil.
- Preheat your oven to 400°F (200°C).
- On a lightly floured surface, gently roll out the risen dough into a rectangle approximately 10×12 inches (25×30 cm).
- Evenly spread the roasted garlic olive oil mixture all over the surface of the rolled-out dough, ensuring every part is coated for maximum flavor.
- Sprinkle about half of the shredded mozzarella and grated Parmesan cheeses over the garlic-infused dough.
- Carefully fold the dough rectangle in half, bringing one long edge over to meet the other, so that the cheeses are enclosed within the dough.
- Using a sharp knife or pizza cutter, cut the folded dough into 12 even strips.
- Take each dough strip, gently twist it several times, and arrange the twisted breadsticks on a baking sheet lined with a silicone mat or parchment paper, leaving some space between each.
- Sprinkle the remaining mozzarella and Parmesan cheeses over the tops of the twisted breadsticks. Cover them loosely with a kitchen towel and let them rest for at least 30 minutes for a final short rise.
- Bake for 20-25 minutes, or until the breadsticks are beautifully golden brown and the cheese is bubbly and melted.
⭐️ Did you make this recipe?
Please leave a review and let us know how you liked it!
Tips & Notes
Nutrition
Calories: 158kcal
Carbohydrates: 17g
Protein: 5g
Fat: 8g
Sugar: 1g
Sodium: 287mg
Appetizer, Snack
American
Did you make this? Leave a rating and your feedback. Thank you!
A special thank you to Red Star Yeast for sponsoring this post and helping to make these incredible Roasted Garlic & Cheese Breadsticks possible. Their Platinum Superior Baking Yeast truly makes a difference in achieving perfect homemade baked goods every time. For more inspiring baking recipes, expert tips, and exclusive coupons, be sure to follow them on their social media channels:
- Google Plus
Happy baking, and enjoy every savory, cheesy bite!
