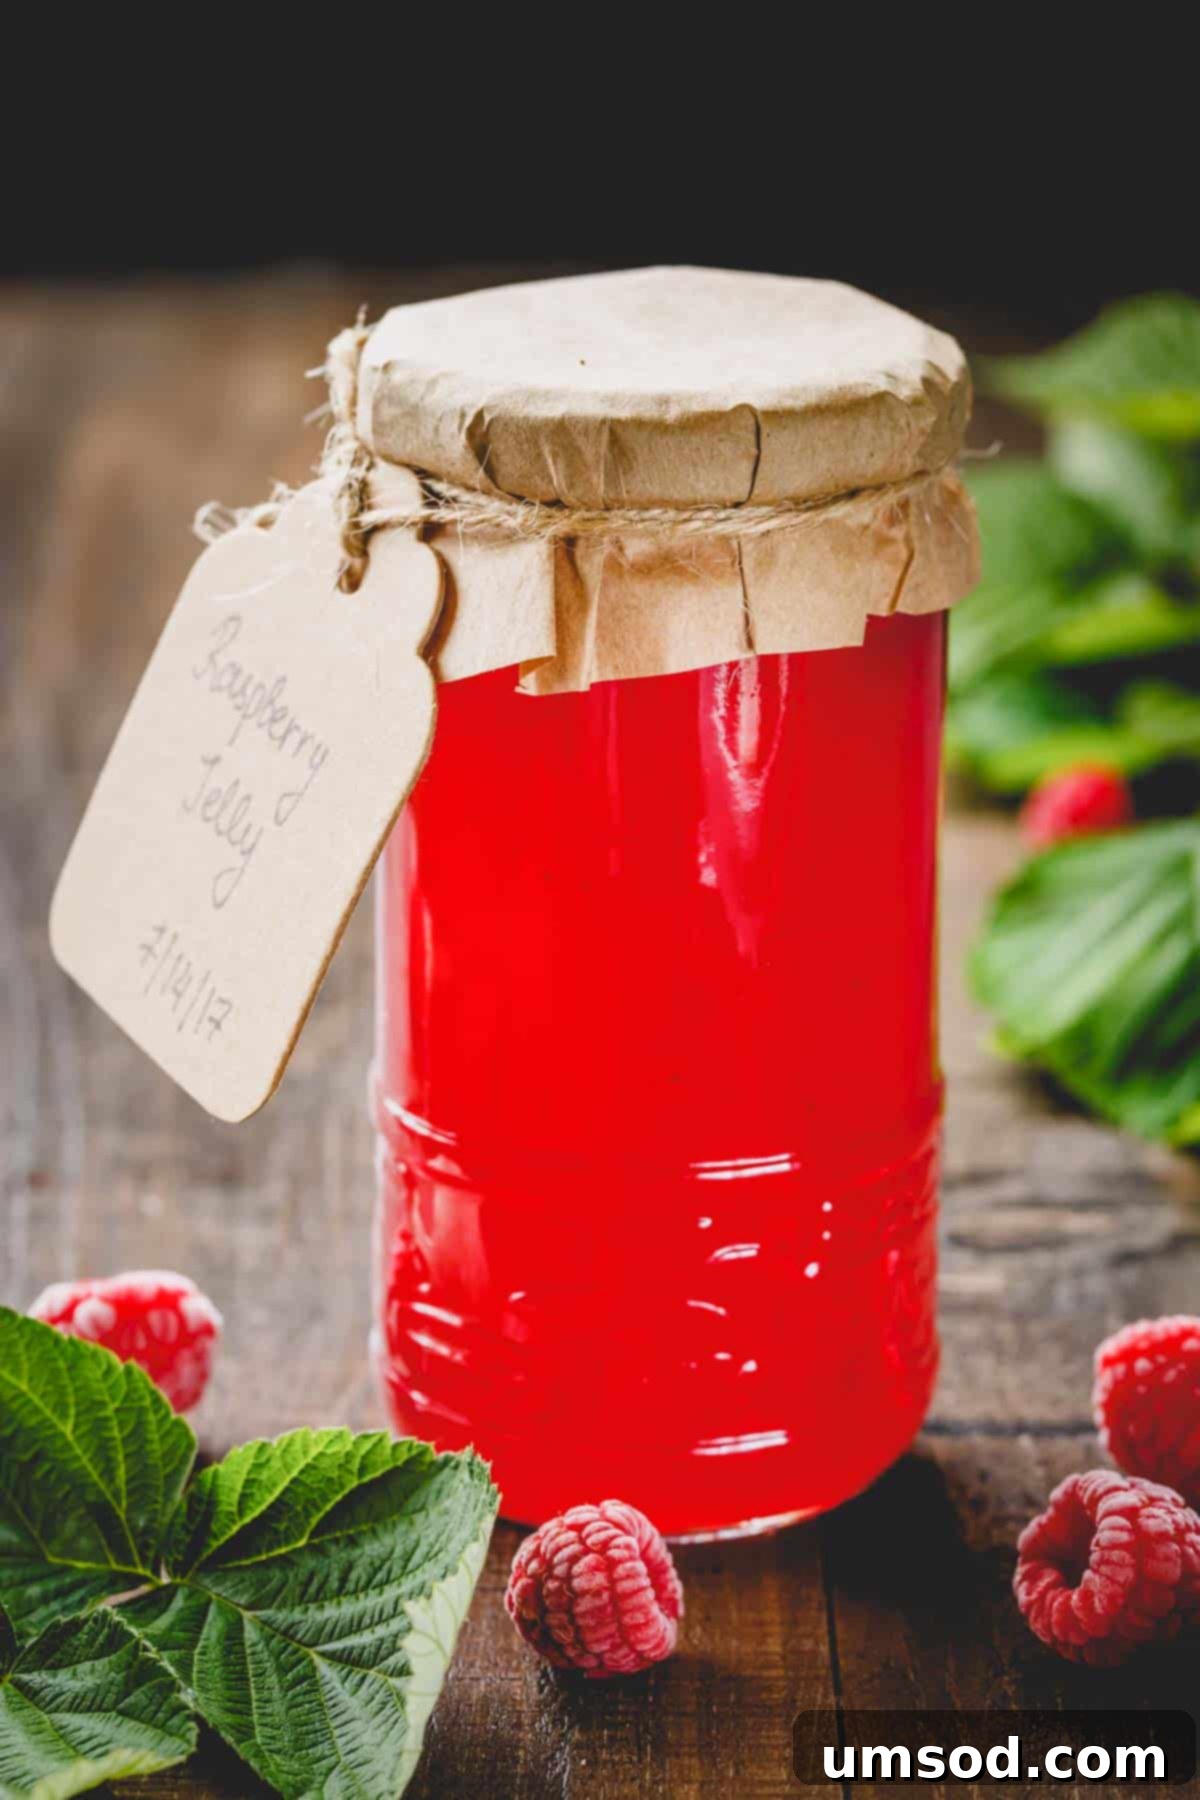
Easy Homemade Raspberry Jelly (No Pectin) Recipe: A Guide to Seedless Perfection
There’s nothing quite like the taste of summer captured in a jar, and this homemade raspberry jelly delivers exactly that! Beautifully vibrant, intensely flavorful, and wonderfully smooth, this seedless jelly is surprisingly easy to make. You’ll adore the bright, fresh essence of raspberries and its soft, luscious consistency, perfect for spreading on toast, scones, or enjoying by the spoonful.
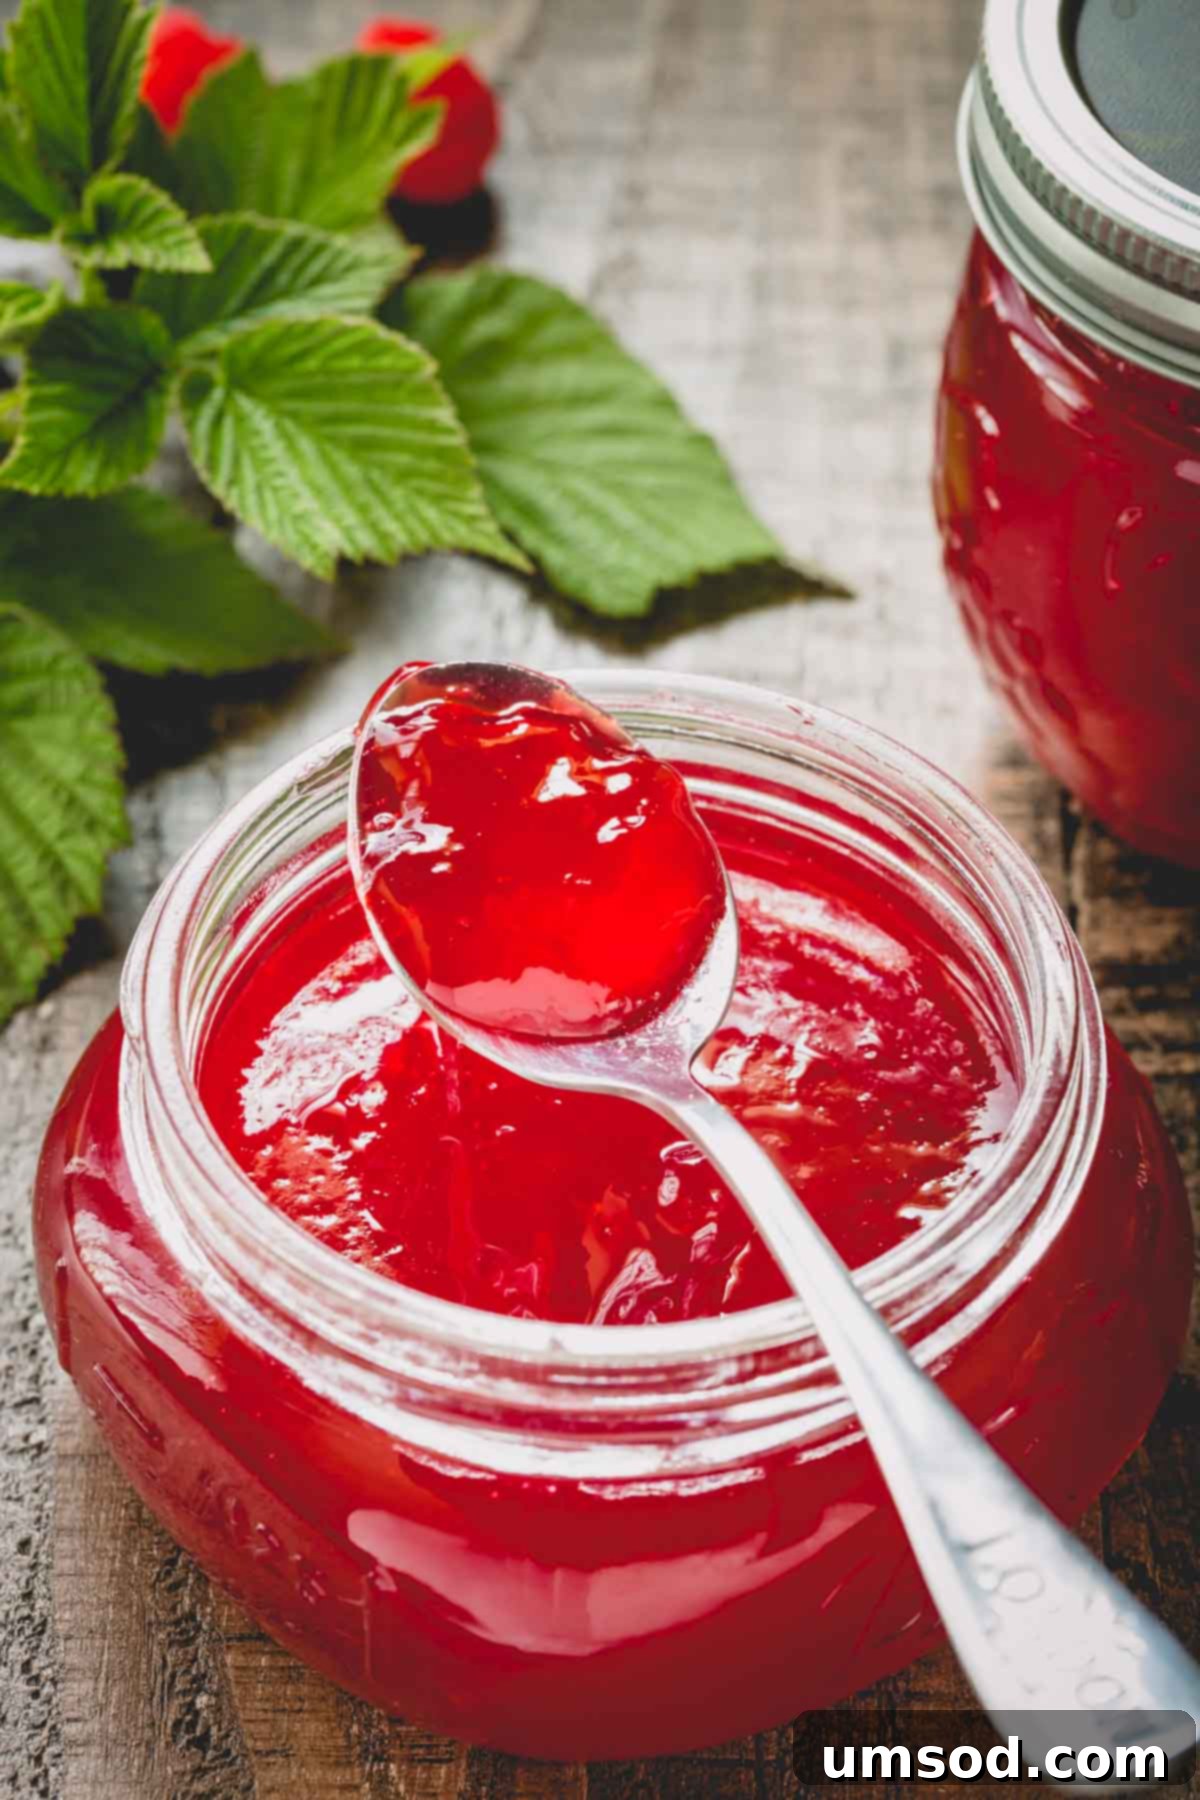
Our backyard raspberry patch has been overflowing with succulent berries this summer, creating an abundance of nature’s candy! There’s an immense joy in spending a few hours hand-picking buckets full of these ruby gems. And what could be a more delightful way to preserve the fleeting taste of summer than transforming them into a glorious homemade jelly?
This annual tradition is one of my favorites, and I’m thrilled to share my go-to, time-tested recipe for raspberry jelly that requires no added pectin. It’s a simple process that yields truly spectacular results.
Why You’ll Fall in Love with This Raspberry Jelly Recipe
This seedless raspberry jelly recipe has been a cherished family favorite for years, and I’m confident it will become a staple in your kitchen too. Here’s why this recipe stands out:
- Effortless Preparation: It’s genuinely easy to make, even for beginners in canning. You don’t need extensive culinary skills, just a love for fresh raspberries!
- Minimal Ingredients: You’ll only need two primary ingredients, making it a straightforward and cost-effective way to enjoy homemade preserves.
- Quick to Create: From start to finish, the active cooking time is less than 30 minutes, allowing you to enjoy your delicious jelly sooner.
- Unmatched Flavor: The jelly boasts a remarkably bright and authentic raspberry flavor that store-bought varieties can rarely match.
- Perfect Texture: It yields a soft, beautifully spreadable consistency that glides smoothly over anything you pair it with, thanks to the careful cooking process and natural pectin.
- Seedless Perfection: Say goodbye to pesky seeds! This recipe focuses on extracting pure raspberry juice, resulting in a perfectly smooth jelly.
- No Added Pectin Needed: By utilizing the natural pectin found in raspberries, we skip the need for commercial pectin, keeping the ingredient list clean and simple.
Essential Ingredients for Your Homemade Raspberry Jelly
The beauty of this seedless raspberry jelly lies in its simplicity. You’ll only need two star ingredients to create this culinary delight:
- Fresh Raspberries: The quality of your raspberries is paramount. Always opt for fresh, ripe berries. For the best setting results, it’s ideal to have a mix of ripe and slightly unripe raspberries. Unripe berries naturally contain higher levels of pectin, which is crucial for helping the jelly set without any artificial additives. We strongly advise against using frozen raspberries for this recipe, as they are typically fully ripe and often lack the sufficient natural pectin needed for proper setting, leading to a runny jelly.
- Granulated Sugar: Sugar plays a multifaceted role in jelly making beyond just sweetening. It is essential for preserving the fruit’s vibrant color, enhancing the flavor, and most importantly, aiding in the gelling process. Sugar interacts with pectin to form the jelly’s structure and acts as a natural preservative, significantly extending the shelf life of your homemade preserve. Do not be tempted to reduce the sugar content, as this could compromise both the setting and the preservation of your beautiful jelly.
For every cup of pure raspberry juice you extract, you will need one cup of granulated sugar. This 1:1 ratio is key to achieving the perfect balance of sweetness, set, and longevity for your homemade raspberry jelly.
How to Make This Exquisite Raspberry Jelly: A Step-by-Step Guide
1. Extracting Pure Raspberry Juice: The Secret to a Seedless Jelly
The key to achieving that wonderfully smooth, seedless jelly consistency is to effectively extract the pure raspberry juice, leaving all the seeds behind. There are a couple of excellent methods for this:
Method 1: Using a Juicer for Optimal Extraction
For the smoothest and most efficient juice extraction, especially for seedless jelly, a juicer is an invaluable tool. I personally use my Omega VERT350 juicer, which I’ve relied on since 2012, and it still performs flawlessly. It effectively separates the seeds while maximizing juice yield.
Expert Tip: To ensure you get every last drop of precious raspberry juice, I recommend running the leftover pulp and seeds through the juicer a second (or even a third) time. You’ll know you’ve extracted most of the liquid when the expelled pulp comes out almost completely dry.
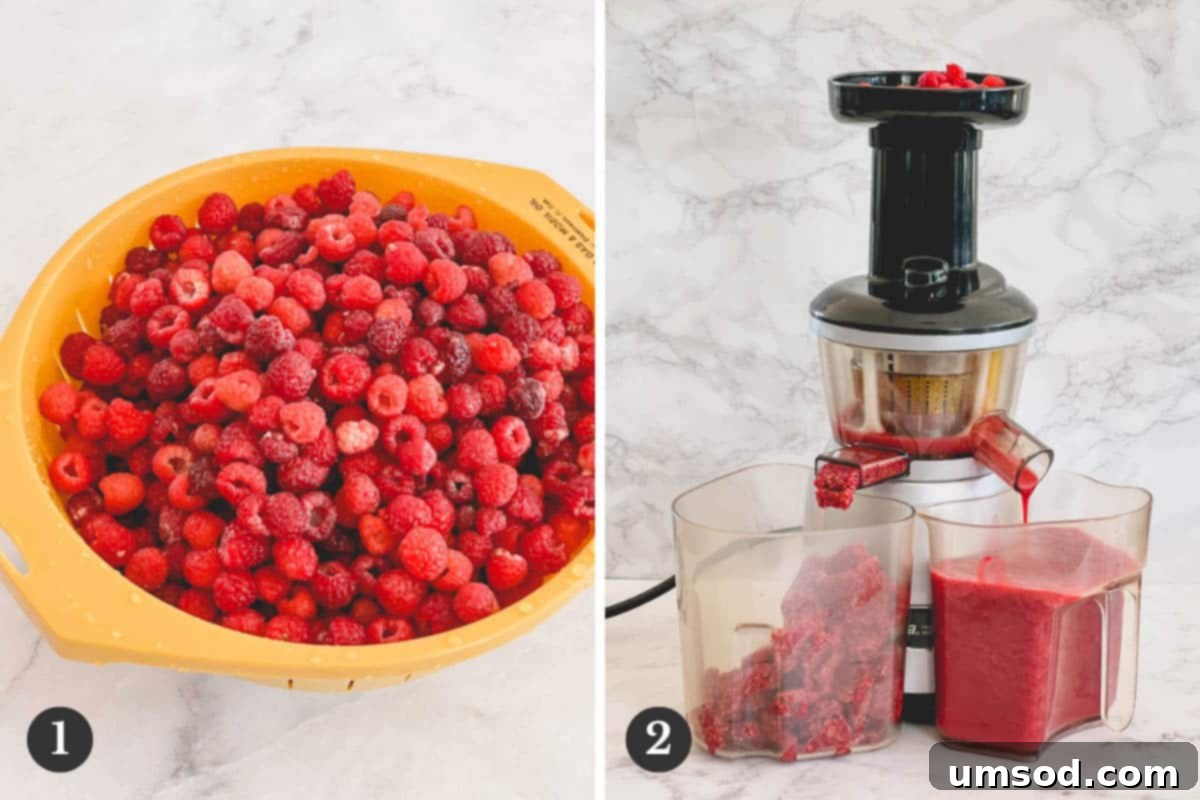
Using my juicer, I typically yield approximately 5 cups of pure raspberry juice from about 3 pounds of fresh raspberries. This ratio is important for planning your batch size.
Method 2: No Juicer? No Problem!
Don’t own a juicer? No worries! You can still achieve perfectly seedless raspberry juice with a few simple kitchen tools. Here’s how:
- Combine your fresh raspberries with about 1 to 1.5 cups of water in a large pot.
- Gently cook the mixture over medium heat for approximately 10 minutes, stirring occasionally, until the berries have softened and released their juices.
- Once cooked, carefully pour the raspberry mixture through a fine-mesh sieve, several layers of cheesecloth, or a dedicated jelly strainer. Allow the juice to drip naturally without pressing on the solids, as pressing can make the jelly cloudy.
- For this method, you may need slightly more raspberries (around 4 pounds) to yield 5 cups of juice, as some liquid might be absorbed or lost in the cooking and straining process.
2. Achieving the Perfect Set: Cooking Your Raspberry Jelly
Once you have your beautiful, vibrant raspberry juice, the next step is to cook it into that perfectly set jelly. This stage requires attention to detail but is straightforward.
- In a large, deep, heavy-bottomed Dutch oven or pot (at least 5-quart capacity is recommended), combine equal parts of your fresh raspberry juice and granulated sugar. For instance, if you have 5 cups of juice, use 5 cups of sugar.
- Begin heating the mixture gently over medium heat, stirring frequently. This initial stirring is crucial to help the sugar dissolve completely and prevent it from scorching at the bottom of the pot. Continue until most of the sugar crystals have dissolved.
- Once the sugar is mostly dissolved, increase the heat to medium-high. Bring the mixture to a full rolling boil. A “full rolling boil” means the mixture is boiling vigorously and continues to do so even when you stir it.
- Continue cooking at a full rolling boil, stirring frequently to prevent sticking and burning. Cook until the mixture reaches at least 215°F (102°C) on an instant-read thermometer. This typically takes about 20-25 minutes, but cooking time can vary based on heat intensity and pot size. Reaching this temperature indicates that enough water has evaporated and the pectin-sugar interaction is ready for setting.
- Immediately turn off the heat once the desired temperature is reached. Using a clean, slotted spoon, carefully skim off any foam that has risen to the surface. This step ensures a clear, sparkling jelly.
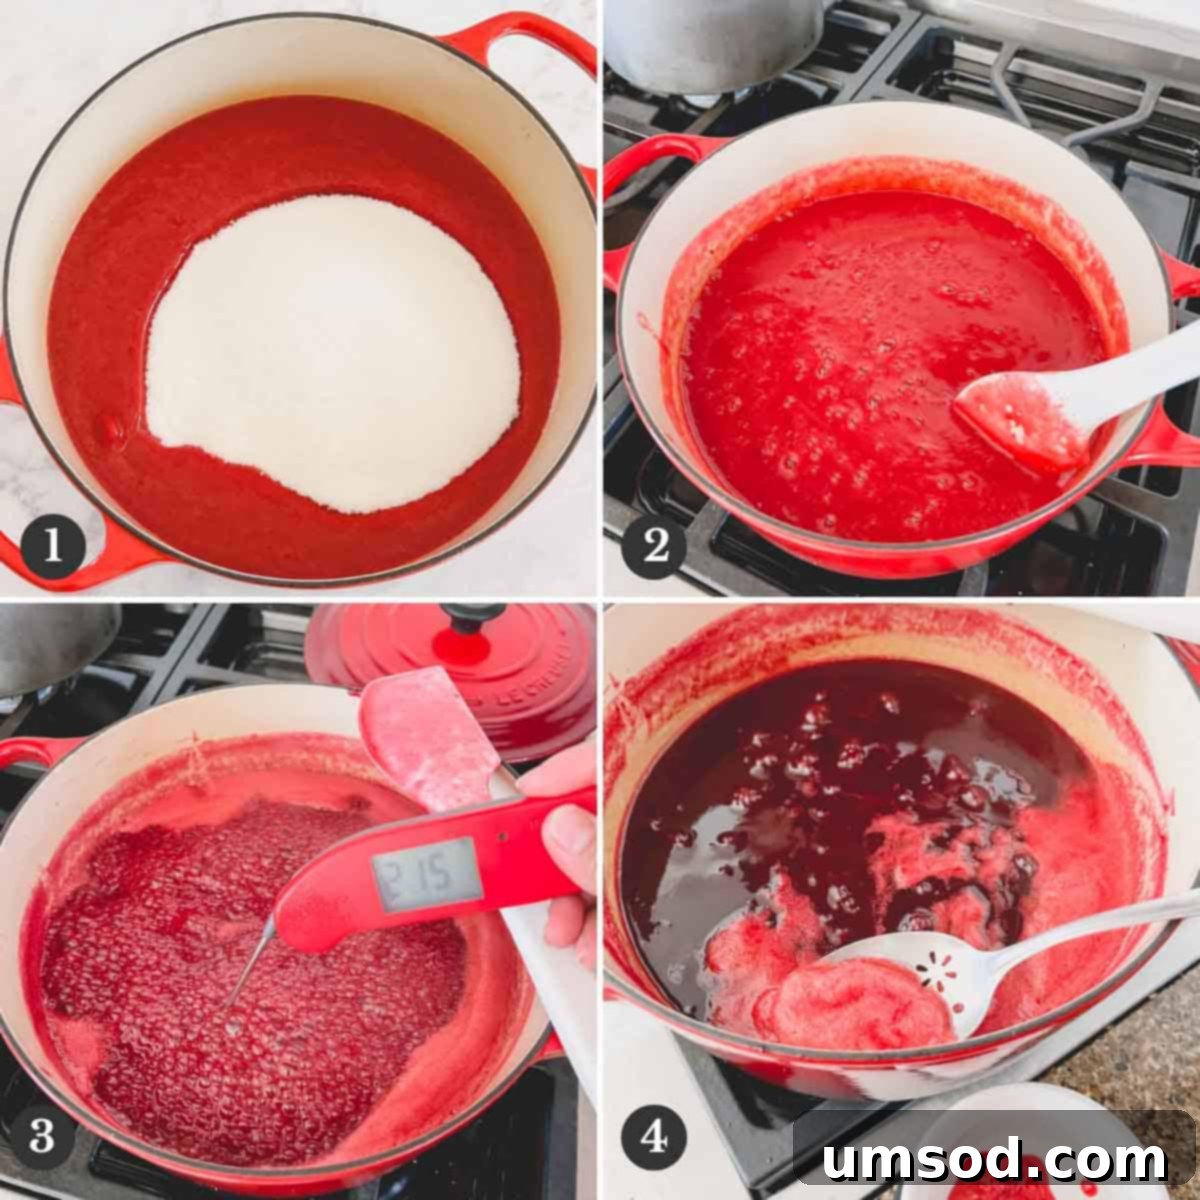
Important Tip: Always use a large, heavy-bottomed pot! Jelly boils up quite a bit, so you need plenty of headspace to prevent boil-overs. A 5-quart (or larger) pot is ideal. Heavy bottoms help distribute heat evenly, reducing the risk of scorching.
3. Preserving Your Harvest: Canning the Raspberry Jelly
Canning is the final step to preserve your delicious raspberry jelly, allowing you to store it safely for months or even a year. Proper canning techniques are vital for safety and shelf stability.
- Carefully ladle the hot jelly into your pre-sterilized canning jars, ensuring you leave at least 1/4 inch of headspace from the top of each jar. This space is crucial for creating a vacuum seal.
- Using a clean, damp towel, meticulously wipe the rims of each jar. Any jelly residue on the rim can prevent a proper seal.
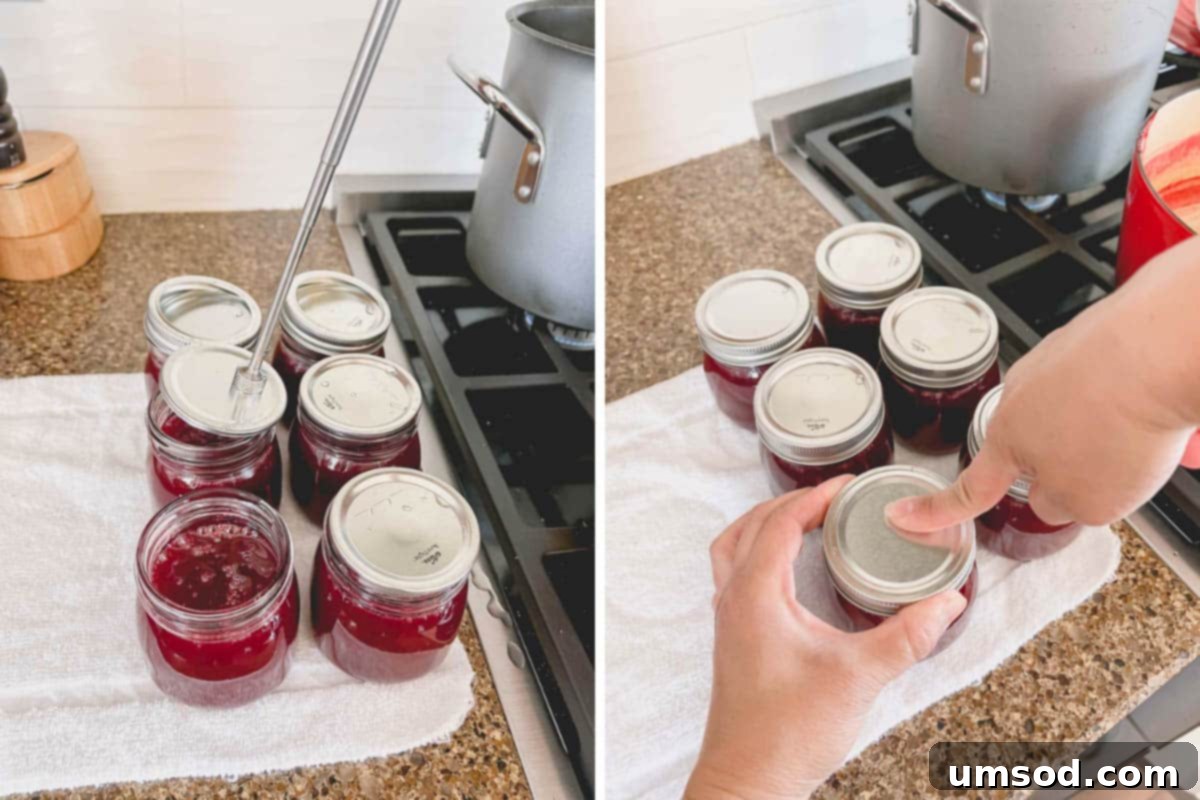
- Place the sterilized lids on top of the jars. Then, secure them with metal rings. When tightening the metal ring, hold the lid firmly in the center with your finger. This technique, a wise tip I learned from my mother-in-law, helps prevent the lid seal from shifting or damaging as you tighten the ring. Tighten to fingertip-tight – not overly tight.
- Carefully place the filled and sealed jars into a deep canning pot equipped with a rack at the bottom, already filled with boiling water. Ensure the jars are completely submerged by at least 1-2 inches of water.
- Bring the water back to a rolling boil and process the jars for 10 minutes.
- After 10 minutes, turn off the heat. Leave the jars in the hot water bath for an additional 5 minutes before carefully removing them. This allows the internal pressure to equalize gradually.
- Transfer the hot jars onto a counter lined with a clean towel, ensuring they are not touching each other, and allow them to cool undisturbed for 12-24 hours.
As the jars cool, you’ll likely hear satisfying “popping” sounds. This delightful sound indicates that the vacuum seal has formed, meaning your jars are properly sealed – exactly what you want!
Once the jars have completely cooled (after 12-24 hours), check the seal by pressing gently on the center of each lid. If the lid does not flex or “spring back” when pressed, it is sealed. Properly sealed jars can be stored in a cool, dark pantry for up to one year. If a jar doesn’t seal (the lid springs back), simply store it in the refrigerator and consume within a month.
How to Sterilize Canning Jars and Lids Effectively
Sterilization is a critical step in safe canning, preventing spoilage and ensuring your jelly lasts. Always use clean jars and lids.
- For Jars: Wash jars thoroughly in hot soapy water or a dishwasher. To sterilize, place clean jars (upside down if using an oven, or submerged in water) into a pot of boiling water for at least 5 minutes. Alternatively, place them in a preheated oven at 225°F (107°C) for 10-15 minutes. Keep them hot until ready to fill.
- For Lids: Bring a small pot of water to a boil, then immediately turn off the heat. Place the canning lids (both the flat lid and the screw band) into the hot, non-boiling water. Do not boil the lids, as excessive heat can compromise the rubber sealing compound, preventing a proper seal. Keep them in the hot water until ready to use.
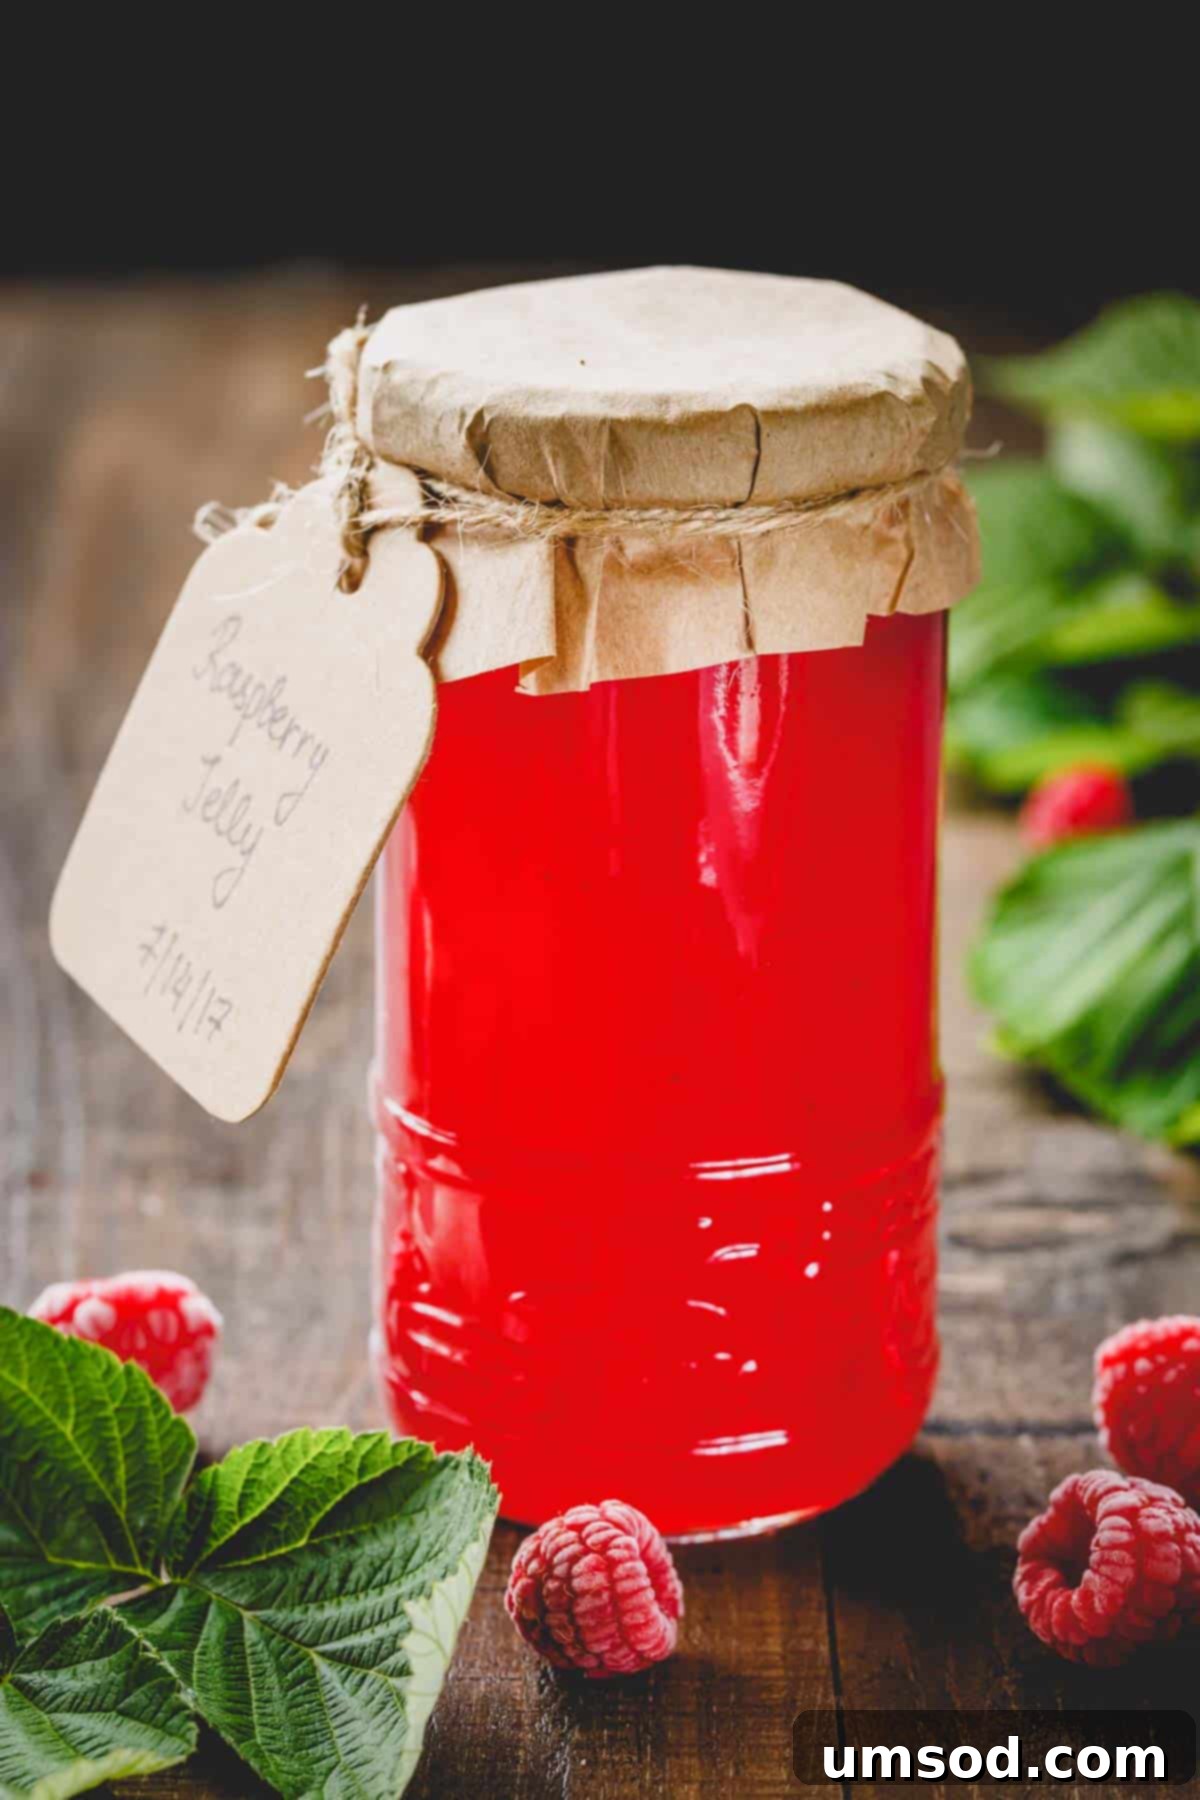
Essential Tips for Raspberry Jelly-Making Success
Follow these expert tips to ensure your homemade raspberry jelly turns out perfect every single time:
- Choose the Right Raspberries: Always use fresh raspberries for the best flavor and setting ability. Prioritize a mix of ripe and slightly under-ripe berries, as the latter are naturally higher in pectin, eliminating the need for commercial pectin. Avoid overly ripe or frozen berries, as they tend to be lower in natural pectin and may result in a runny jelly.
- Optimize Juice Extraction: Employ a juicer for maximum efficiency and a truly seedless result. If using the cook-and-strain method, avoid pressing the pulp to keep the juice clear and brilliant.
- Maintain the 1:1 Juice to Sugar Ratio: This precise ratio is crucial. For every cup of pure raspberry juice, use one cup of granulated sugar. This balance ensures proper setting, flavor, and preservation. Do not reduce the sugar, as it is essential for the jelly’s structure and shelf life.
- Select the Right Pot: A heavy-bottomed pot, such as an enameled Dutch oven (check out this option), is highly recommended. It distributes heat evenly, preventing scorching. Ensure the pot is large enough (at least 5 quarts) to accommodate the mixture as it boils and expands, preventing messy boil-overs.
- Monitor Cooking Temperature: Use an accurate instant-read thermometer to reach the precise setting temperature of 215°F (102°C). This is the most reliable way to ensure your jelly sets properly. Consistently stir the mixture to prevent sugar crystals from forming and sticking to the bottom.
- Avoid Overcooking: Keep a close eye on the jelly during the boiling phase. Overcooking can lead to a darker color, a firmer, sometimes rubbery texture, and a diminished fresh fruit flavor. Aim for the target temperature and remove from heat promptly.
- Invest in Canning Tools: A basic canning kit can make the entire process significantly easier and safer, providing tools like a jar lifter, funnel, and headspace tool.
- Cleanliness is Key: Always sterilize your jars and lids meticulously to prevent bacterial growth and ensure a safe, long-lasting preserve. Wipe jar rims thoroughly before sealing.
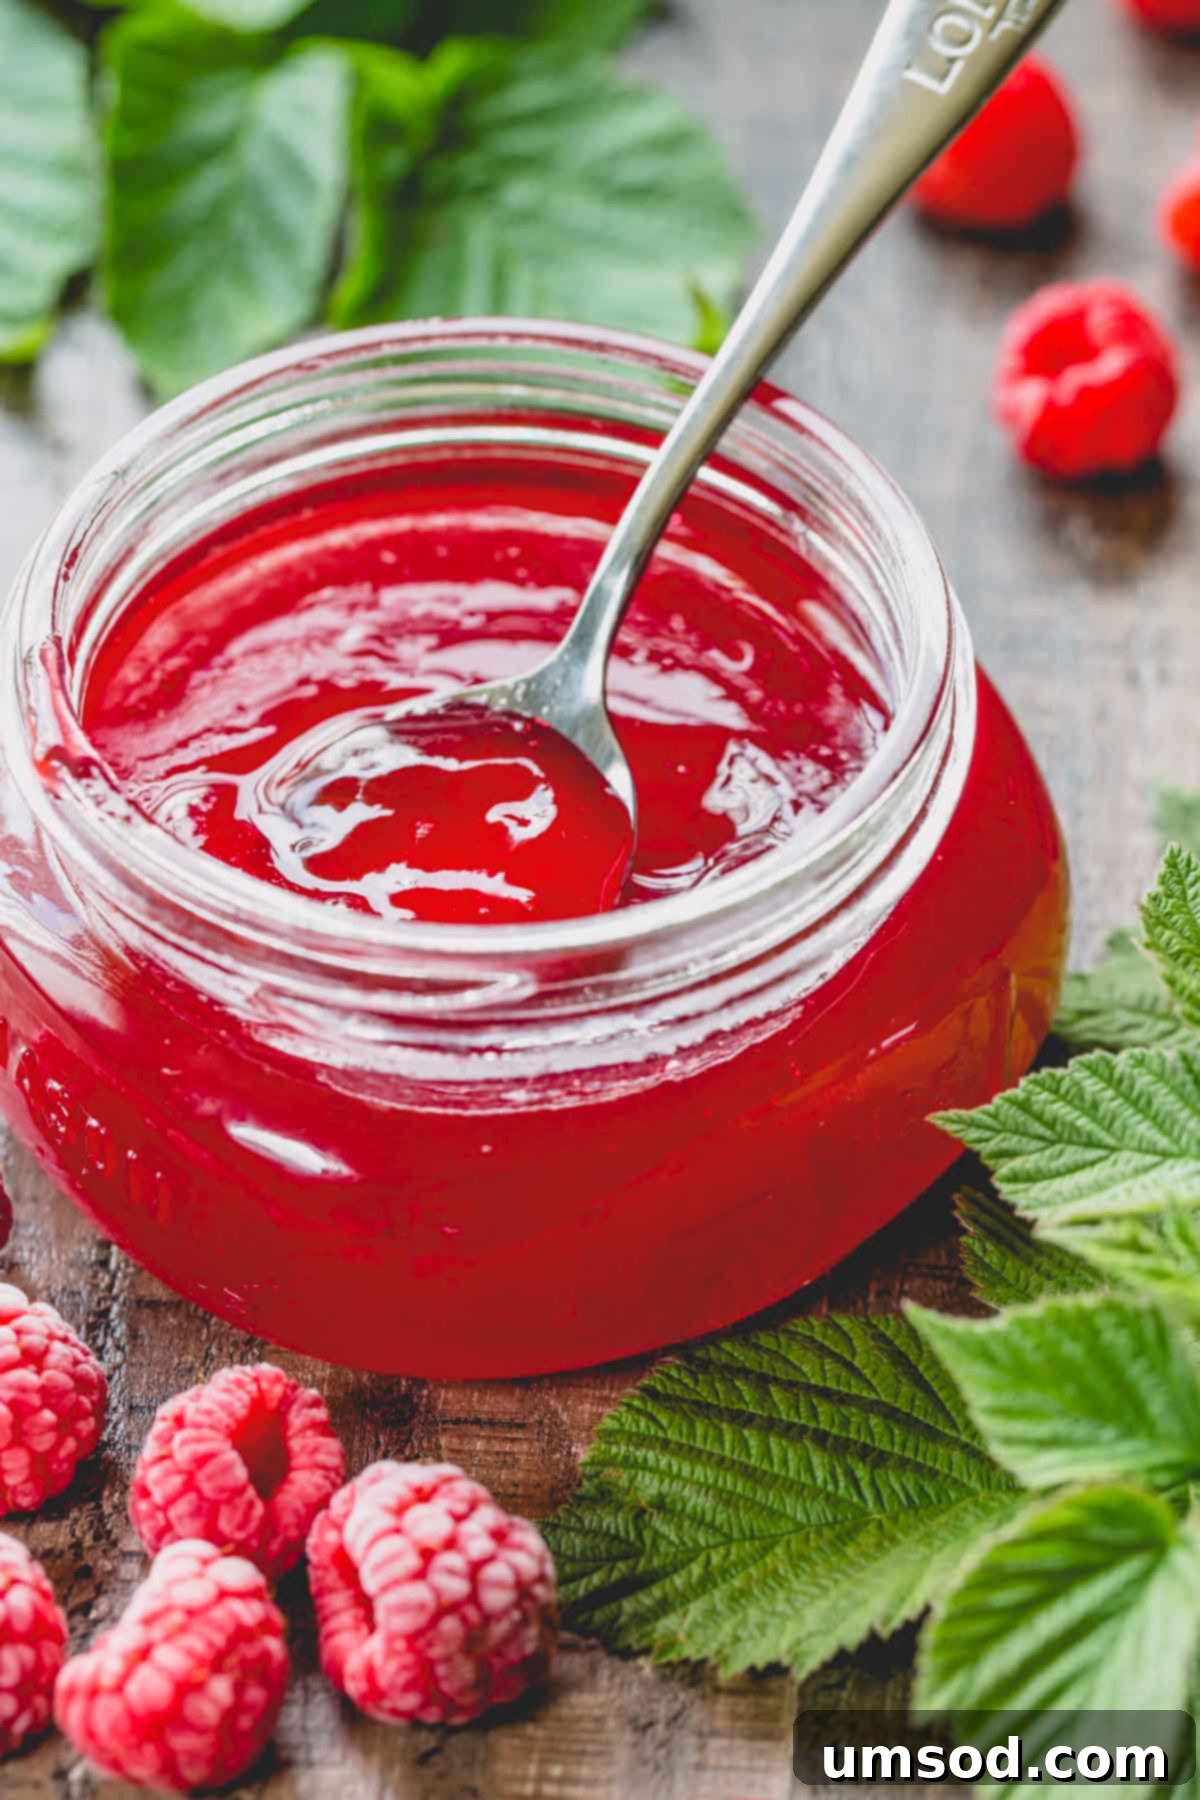
Frequently Asked Questions About Raspberry Jelly
There are two primary methods for removing raspberry seeds to achieve a smooth, seedless jelly. The first and most efficient method is using a juicer, which effectively separates the juice from the pulp and seeds. Alternatively, you can cook the raspberries with a small amount of water until they soften, then press the mixture through a fine-mesh sieve, cheesecloth, or a dedicated jelly bag. Allow the juice to drip naturally for the clearest result.
To sterilize clean canning jars, immerse them in boiling water for at least 5 minutes or place them in an oven preheated to 225°F (107°C) for 10-15 minutes. For lids, bring a separate pot of water to a boil, then turn off the heat and place the lids in the hot water. Do not boil the lids directly, as it can damage the rubber seal, compromising the vacuum necessary for long-term preservation.
The main distinction between jam and jelly lies in their texture and fruit content. Jelly is made exclusively from fruit juice, resulting in a clear, smooth, and seedless spread. Jam, on the other hand, is typically made from crushed or chopped fruit, meaning it contains fruit pulp and sometimes seeds, giving it a chunkier, less uniform texture. Both are delicious fruit preserves!
Several factors can lead to runny jelly. Common culprits include:
- Insufficient Cooking Time/Temperature: The jelly didn’t reach the crucial setting temperature of 215°F (102°C), meaning not enough water evaporated or the pectin didn’t activate properly.
- Incorrect Sugar Ratio: Reducing the sugar can significantly impact the set, as sugar is essential for pectin to gel.
- Using Over-Ripe or Frozen Fruit: These fruits often have lower natural pectin levels.
- Improper Sterilization/Sealing: While not directly affecting the set, a poor seal can lead to spoilage.
You can try re-cooking runny jelly. Reheat the jelly, bring it to a full rolling boil, and continue cooking until it reaches the setting point again.
Properly canned and sealed raspberry jelly can be stored in a cool, dark pantry for up to 1 year. Once opened, or if a jar did not seal properly, it should be stored in the refrigerator and consumed within 1 month for the best quality and safety.
Easy Homemade Raspberry Jelly (No Pectin) Recipe
This recipe provides a simple, natural way to preserve the vibrant flavor of fresh raspberries in a delightful, seedless jelly. With just two ingredients and easy-to-follow steps, you’ll have homemade goodness ready to enjoy or share!
By: Shinee Davaakhuu
Cook Time: 25 mins
Total Time: 1 hr (includes cooling)
Yields: 6 jars (half-pint)
Course: Condiments
Cuisine: American
Ingredients
- 5 cups fresh raspberry juice
- 5 cups granulated sugar
Instructions
To make the jelly:
- In a large, heavy-bottomed pot (at least 5-quart capacity), combine the raspberry juice and granulated sugar.
- Gently heat the mixture over medium heat, stirring frequently, until the sugar is almost completely dissolved.
- Increase the heat to medium-high and bring the mixture to a full rolling boil (a vigorous boil that cannot be stirred down).
- Continue cooking the mixture at a full rolling boil for approximately 20-25 minutes, stirring frequently to prevent scorching, until it reaches at least 215°F (102°C) on an instant-read thermometer.
- Remove the pot from the heat and use a clean, slotted spoon to skim off any foam from the surface of the jelly.
Canning Instructions:
- Divide the hot jelly into pre-sterilized jars, leaving 1/4 inch of headspace from the top of each jar.
- Wipe the jar rims clean with a damp towel. Place sterilized lids on the jars, then secure with screw bands, tightening them to fingertip-tight (hold the lid in the center with your finger while tightening the band to prevent seal damage).
- Carefully place the filled jars into a deep canning pot with a rack, ensuring they are covered by at least 1-2 inches of boiling water.
- Bring the water to a rolling boil and process the jars for 10 minutes.
- Turn off the heat and let the jars sit in the hot water bath for 5 minutes before carefully removing them to a towel-lined counter.
- Allow the jars to cool undisturbed for 12-24 hours. As they cool, you should hear popping sounds indicating a successful seal. Store properly sealed jars in a cool, dark pantry for up to 1 year. Unsealed jars should be refrigerated and consumed within 1 month.
⭐️ Did you make this recipe? Please consider leaving a review and sharing your feedback!
Tips & Notes
Yields: Approximately 6 half-pint (8 oz) jars.
Note 1 (Raspberries): For optimal setting, use fresh raspberries, preferably a mix of ripe and slightly unripe ones, as unripe berries contain more natural pectin. Frozen raspberries are not recommended due to lower pectin content, which can lead to a runny jelly.
To Juice Raspberries:
- Method 1 (Juicer): Use a juicer to remove seeds and extract as much raspberry juice as possible. Running the pulp through the juicer multiple times ensures maximum yield. Approximately 3 lbs of raspberries will yield 5 cups of juice.
- Method 2 (No Juicer): Cook raspberries with 1.5 cups of water for about 10 minutes until softened. Strain the mixture through a fine-mesh sieve, cheesecloth, or jelly strainer without pressing the pulp, which can make the jelly cloudy. You may need about 4 lbs of raspberries for 5 cups of juice using this method.
Note 2 (Sugar): The 1 cup juice to 1 cup sugar ratio is vital for proper setting and preservation. Do not reduce the sugar quantity, as it contributes significantly to the jelly’s structure and shelf stability.
How to Sterilize Jars and Lids:
- Jars: Boil clean jars in water for 5 minutes, or heat in a 225°F (107°C) oven for 10-15 minutes.
- Lids: Bring water to a boil, then turn off the heat and place lids in the hot water. Do not boil lids, as this can damage their rubber seal.
Nutrition Information (Approximate per half-pint serving)
Carbohydrates: 179g
Protein: 1g
Fat: 1g
Sugar: 171g
Sodium: 3mg
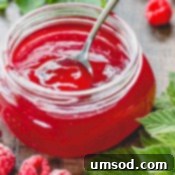
I sincerely hope you’ll take the opportunity to create this beautiful, delectable raspberry jelly for your loved ones. It makes a truly thoughtful and impressive hostess gift, or a delightful treat for your own breakfast table. As always, thank you for reading, and happy canning!
This recipe was originally published on August 11, 2013, and has been updated and refined for clarity and enhanced instructions.
