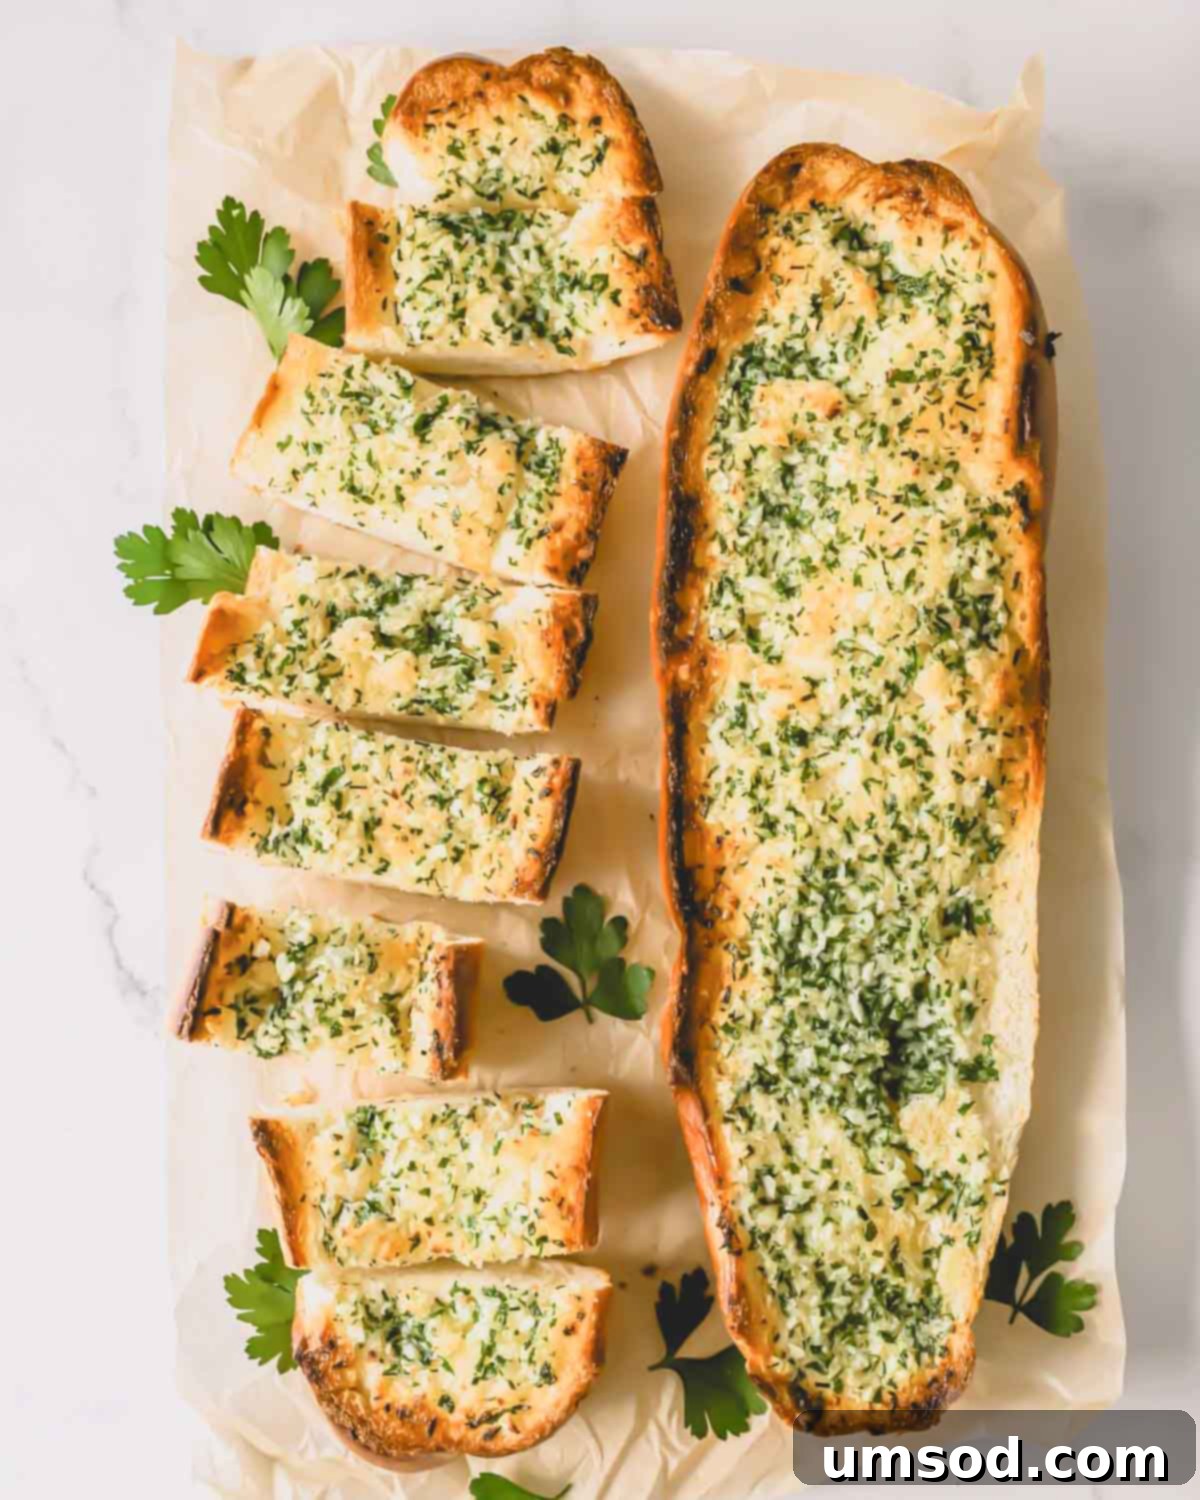
There’s nothing quite like the irresistible aroma of freshly baked garlic bread wafting through your kitchen. Forget the frozen store-bought versions; creating perfectly toasted homemade garlic bread is surprisingly simple and incredibly rewarding. In just about 20 minutes, you can transform a humble loaf of bread into a golden, crispy delight, generously topped with a fragrant herbed butter spread infused with fresh garlic. This easy garlic bread recipe isn’t just good; it’s guaranteed to be the best you’ll ever make, becoming a staple in your culinary repertoire.
Pin this now to find it later
Pin It
Why You’ll Fall in Love with This Homemade Garlic Bread Recipe
Once you experience the joy of making garlic bread from scratch, you’ll wonder why you ever settled for anything less. The difference in flavor, texture, and overall satisfaction is profound. This recipe is not just a side dish; it’s a sensory experience that elevates any meal. Here’s why this particular recipe will become your new favorite:
- Unforgettable Taste: Each bite delivers a burst of vibrant flavor. The pungent warmth of fresh garlic, perfectly balanced with aromatic herbs like parsley and chives, melds seamlessly with rich, creamy butter. This exquisite spread permeates the soft bread, creating an addictively savory and comforting experience that’s far superior to any store-bought alternative. It’s a symphony of flavors that genuinely tastes gourmet.
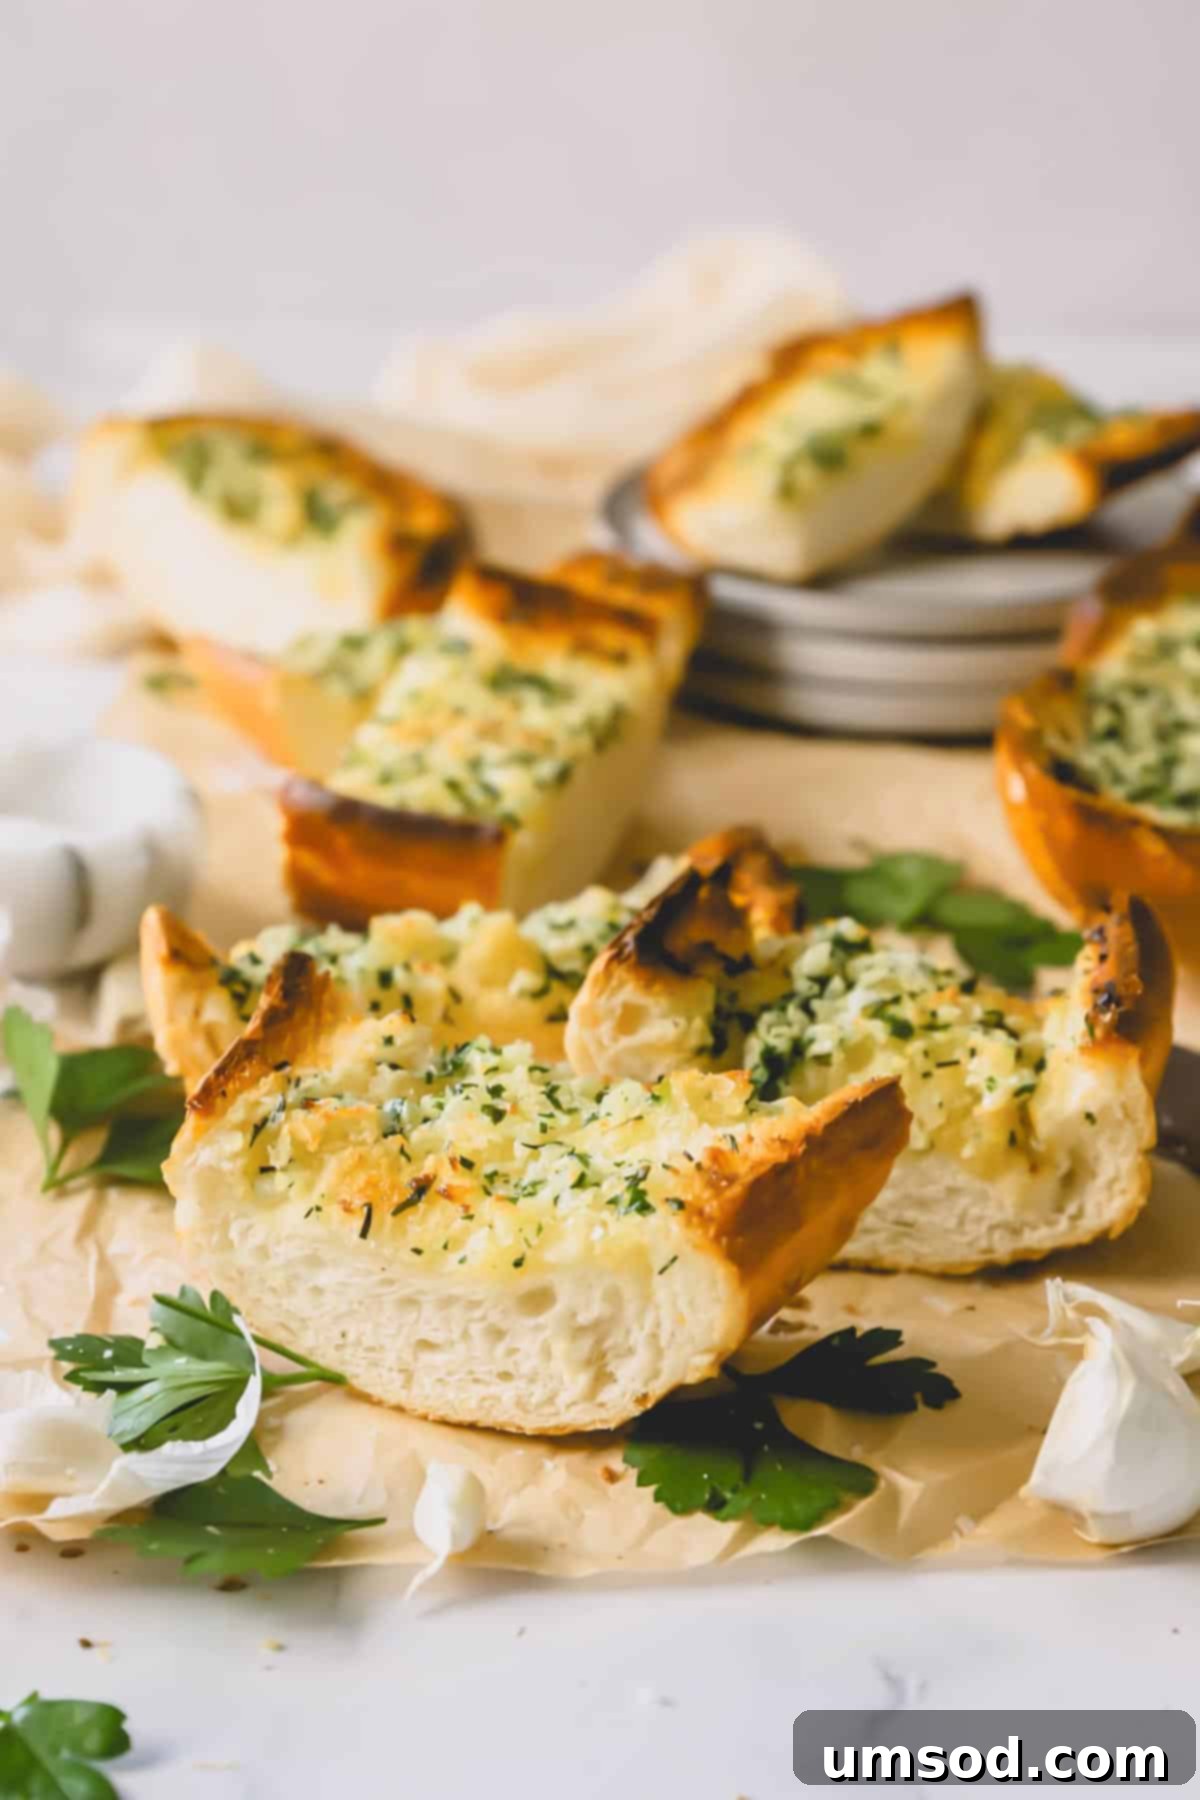
- Superior Texture: Prepare for a textural masterpiece. The baking process transforms the bread into a golden-brown marvel with an incredibly satisfying crunch on the outside. Yet, beneath that wonderfully crispy crust, the interior remains wonderfully soft, fluffy, and tender, having absorbed all the buttery, garlicky goodness. This contrast between crispy and soft is what truly sets homemade garlic bread apart.
- The Ultimate Crowd-Pleaser and Versatility: Garlic bread is the epitome of comfort food, a universal favorite that nobody can resist. Its inviting aroma and delightful taste make it an instant hit at any gathering, from casual family dinners to more elaborate feasts. It serves as an exceptional side dish that complements an enormous array of meals. Pair it perfectly with rich pesto ricotta stuffed pasta shells, zesty easy shrimp scampi, hearty lasagna, or a simple bowl of soup. It’s also fantastic alongside roasted chicken, grilled steak, or even as a standalone snack.
Mastering Flavor: Essential Ingredient Insights for Perfect Garlic Bread
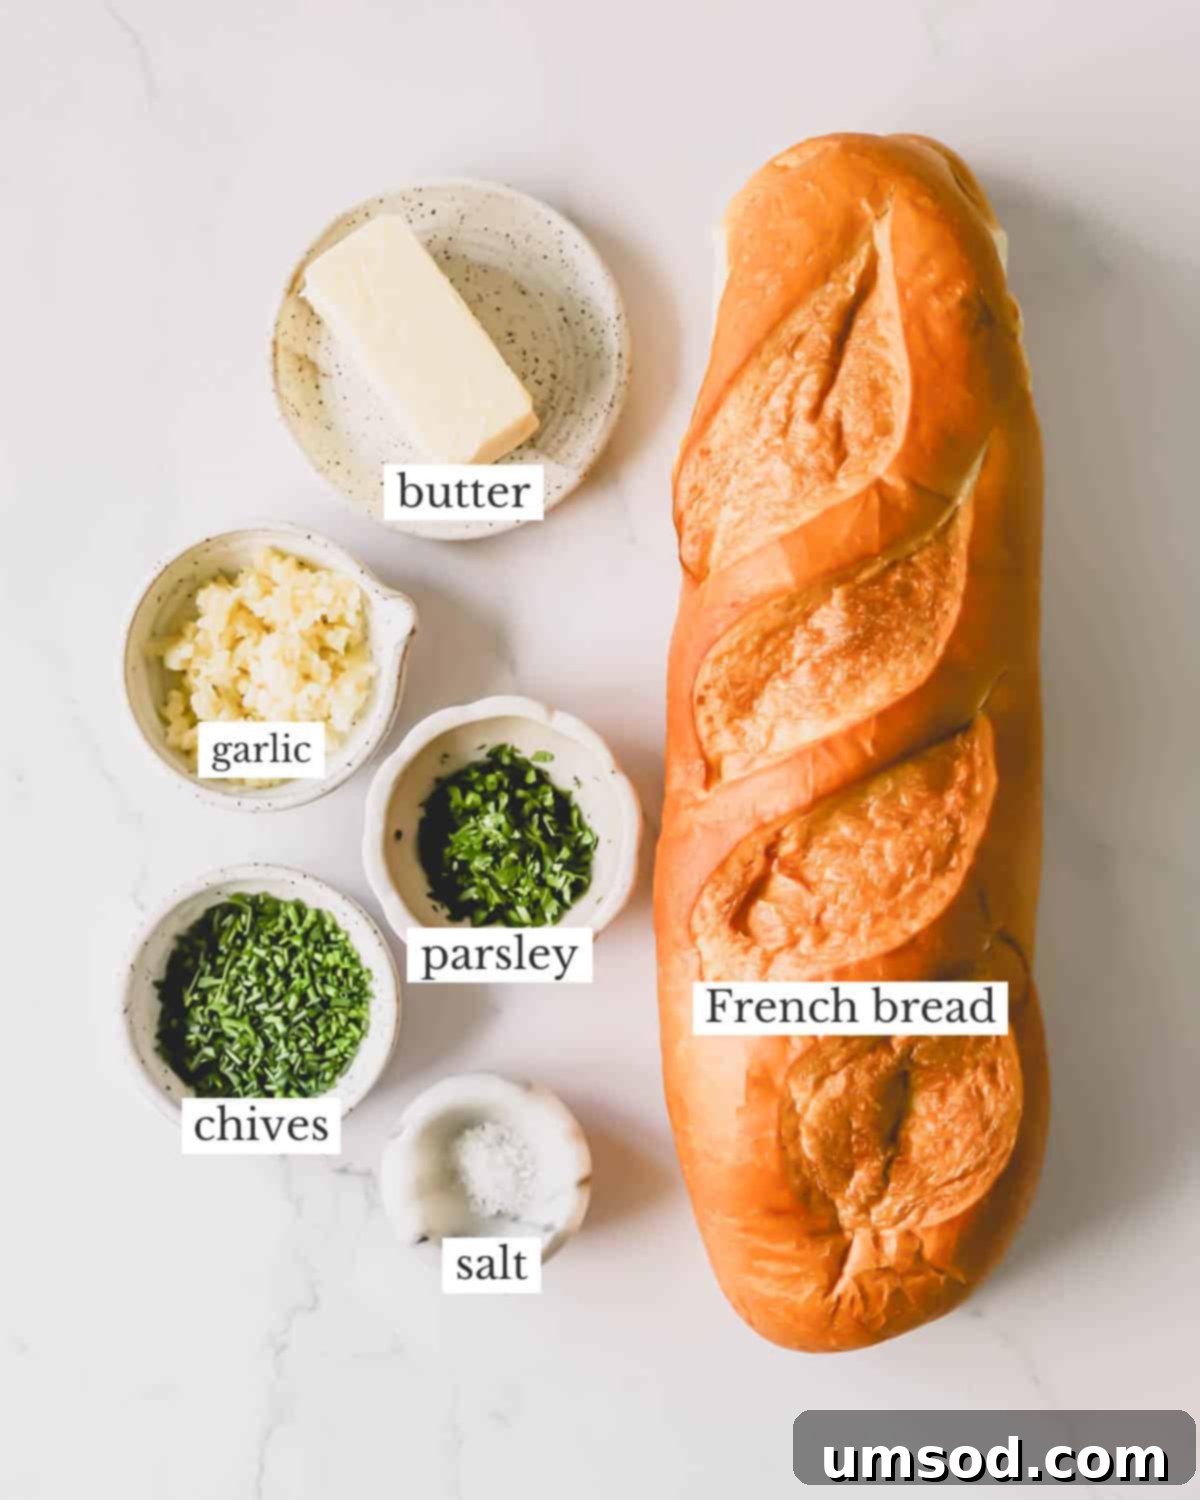
The secret to truly spectacular homemade garlic bread lies in selecting and preparing your ingredients with care. Here’s a closer look at what you’ll need and why each element plays a crucial role:
- The Bread: Your Canvas: Choose a high-quality loaf that boasts a substantial, crusty exterior and a soft, airy, and fluffy interior. Classic choices like French bread, Italian bread, or a rustic baguette work beautifully, providing the ideal base to absorb the rich butter mixture while maintaining structural integrity. Avoid overly soft sandwich loaves, as they won’t achieve the desired crispy texture. A slightly day-old loaf can sometimes be even better, as it absorbs the butter without becoming soggy.
- Unsalted Butter: The Flavor Foundation: Opt for a high-quality unsalted butter. This is paramount because it allows you complete control over the salt content in your garlic spread. Different brands of butter can vary in flavor and fat content; a premium butter will significantly enhance the overall taste and richness of your garlic bread. Remember, we’ll be adding fresh sea salt separately to perfectly season the spread.
- Fresh Garlic: The Undisputed Star: This is where the magic truly happens. Fresh garlic offers an unparalleled pungency, aroma, and depth of flavor that garlic powder or jarred minced garlic simply cannot replicate. Peeled garlic cloves lose their potency quickly, so for the absolute best results, always grate or finely mince fresh garlic right before incorporating it into your butter mixture. This releases the most potent, aromatic oils, ensuring every bite is bursting with authentic garlic goodness. Avoid the temptation to use store-bought minced garlic, as it often has a metallic or dull flavor.
- Fresh Parsley: Brightness and Balance: Whether you choose curly or flat-leaf (Italian) parsley, ensure it is fresh and vibrant. Parsley provides a mild, peppery, and herbaceous note that beautifully brightens the richness of the butter and garlic. It adds a touch of freshness and a lovely visual appeal without overpowering the other flavors.
- Fresh Chives: A Delicate Oniony Twist: Fresh chives are an often-underestimated ingredient that brings a delicate, mild oniony flavor to the herbed butter spread. This subtle allium note complements the garlic perfectly, adding another layer of savory complexity. Their delicate texture and fresh taste are ideal for enhancing the overall aromatic profile.
- Sea Salt: Flavor Amplifier: Don’t underestimate the power of good salt. Using fresh sea salt, rather than regular table salt, will significantly enhance and elevate the overall taste of your garlic butter spread. It helps to awaken and make the savory, herby flavors pop, bringing all the ingredients into delicious harmony. Add it gradually and taste as you go to achieve your perfect seasoning.
Quick Tip: How to Effortlessly Peel Garlic Cloves
Peeling individual garlic cloves can sometimes be a fiddly task. Here’s a simple trick to make it easy: Place garlic cloves on a sturdy cutting board. Position the flat side of a chef’s knife or a heavy object (like the bottom of a small pan) over a clove and gently press down until you hear a crack. This action separates the skin from the clove, making it incredibly simple to peel off by hand. Repeat for all your cloves.
Crafting Perfection: Your Step-by-Step Guide to the Best Garlic Bread
Making this easy garlic bread recipe is a straightforward process that takes minimal effort for maximum flavor. In just about 5 minutes of active preparation, you’ll have it ready for the oven, and shortly after, you’ll be enjoying warm, fragrant garlic bread. Follow these simple steps for a truly delicious result:
- Step 1: Preheat and Prepare: Begin by preheating your oven to a robust 425°F (220°C). While the oven heats up, line a large baking sheet with parchment paper or aluminum foil. This step is crucial for easy cleanup and preventing the bread from sticking.
- Step 2: Slice the Bread: Take your chosen loaf (French or Italian bread works beautifully) and carefully slice it in half lengthwise using a large, sharp serrated knife. This creates two long halves with maximum surface area for your delicious garlic butter. Place these bread halves on your prepared baking sheet, with the cut sides facing upwards.
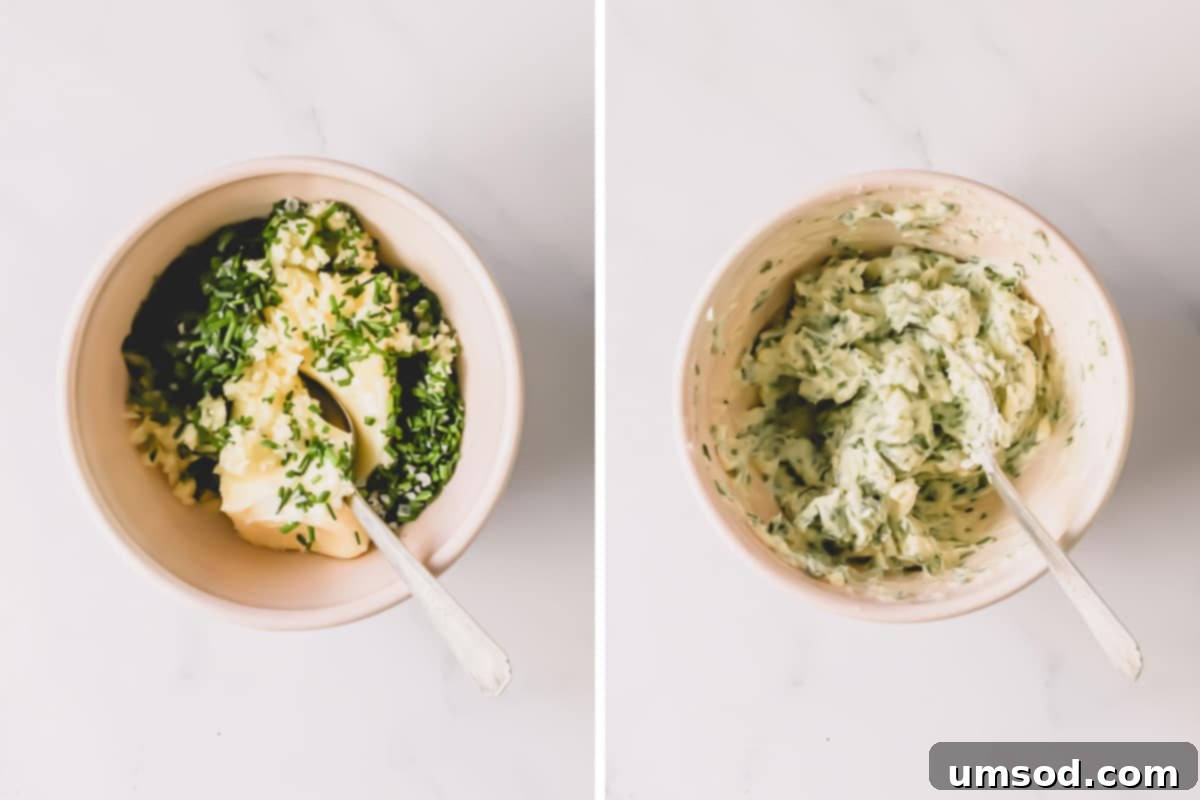
- Step 3: Create the Herbed Garlic Butter: In a medium-sized mixing bowl, combine your softened unsalted butter with the finely minced or grated fresh garlic, finely chopped fresh parsley, finely chopped fresh chives, and sea salt. Using a spoon or spatula, mix all these ingredients thoroughly until they are well combined and the herbs and garlic are evenly distributed throughout the butter. Ensure your butter is properly softened (not melted) for the best texture.
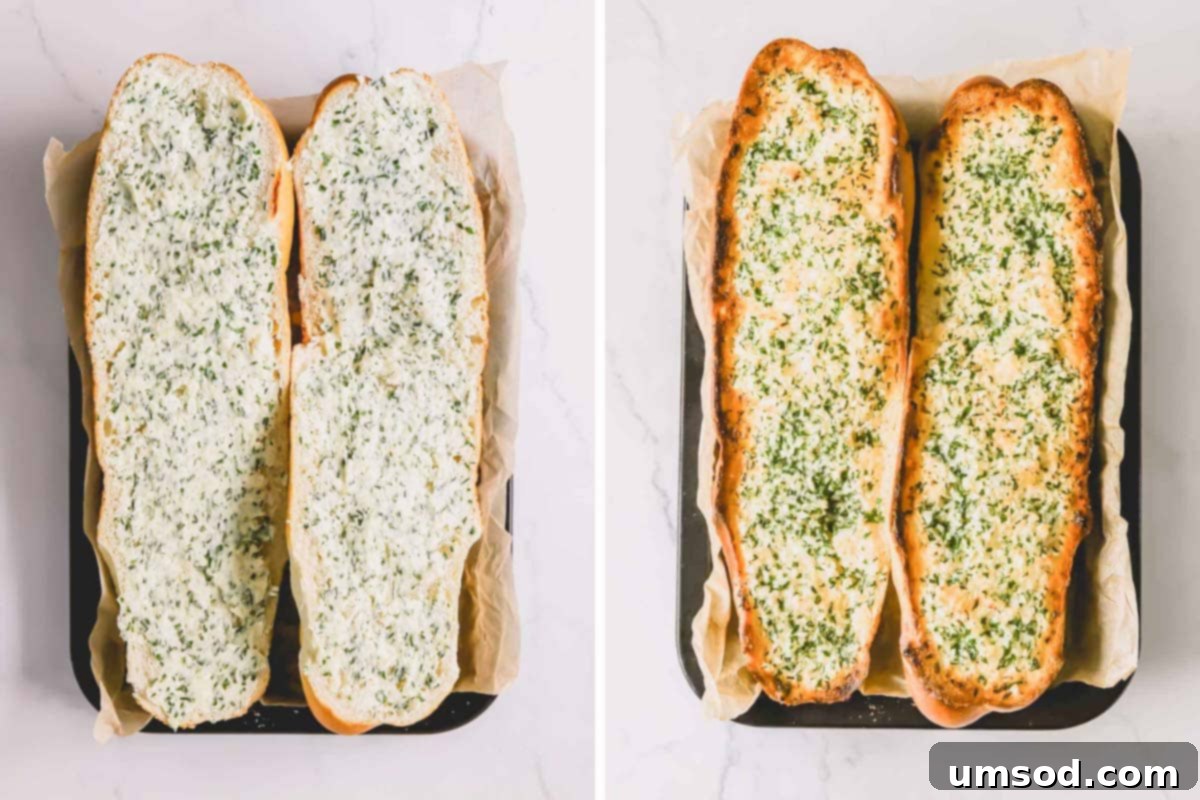
- Step 4: Spread the Flavor: Generously and evenly spread the freshly prepared garlic butter mixture across the cut sides of both bread halves. Make sure to reach the edges, ensuring every part of the bread gets its share of the savory spread. Don’t be shy with the butter; it’s what makes the bread moist and flavorful.
- Step 5: Bake to Golden Perfection: Place the baking sheet into your preheated oven. Bake for approximately 8-10 minutes. Keep a close eye on the bread, looking for the top to turn a beautiful golden-brown and become wonderfully crisp. The edges should be nicely toasted. The exact baking time may vary slightly depending on your oven and the thickness of your bread.
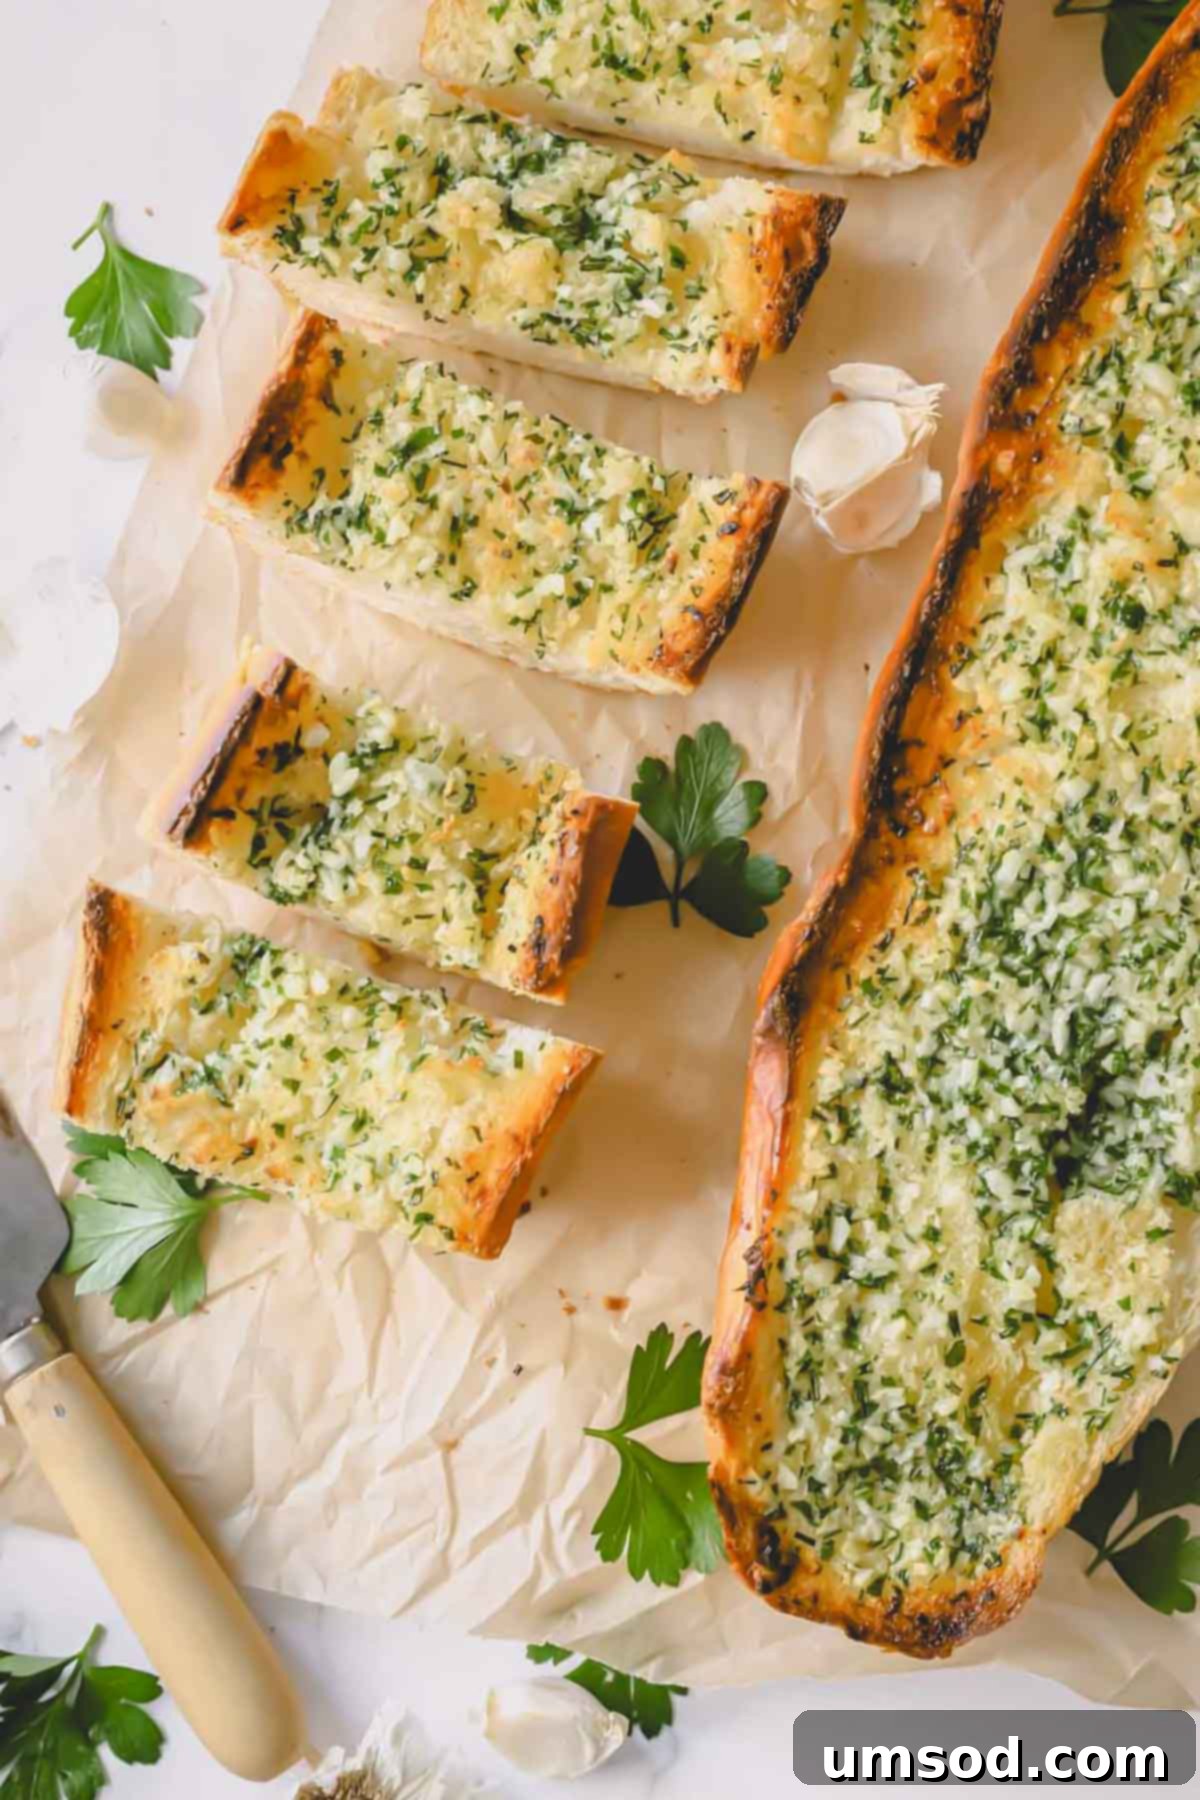
- Step 6: Serve and Enjoy Immediately: Once baked to perfection, remove the garlic bread from the oven. For easier serving, you can slice it into individual pieces or simply tear off sections. Serve it fresh and hot alongside your favorite pasta dish, a crisp salad, a hearty soup, or as a delightful appetizer. Enjoy the incredible aroma and taste of your homemade masterpiece!
Important: Prevent Overbaking for Optimal Texture
Garlic bread can go from perfectly golden to burnt very quickly. It’s crucial to watch your bread carefully, especially during the last few minutes of baking. As soon as the edges turn a vibrant golden brown and the top appears crisp, remove it from the oven immediately. Lingering in the hot oven for even a minute too long can lead to a dry, overly hard, or even charred result, so stay vigilant!
Elevate Your Garlic Bread: Expert Tips for Consistent Perfection
To ensure your homemade garlic bread is consistently outstanding, keep these essential tips and tricks in mind. They’ll help you achieve that perfect balance of crispness, tenderness, and rich flavor every single time:
- The Golden Rule of Butter: Use Softened, Not Melted: This is a critical distinction. Softened butter (butter that has been left at room temperature for at least 30 minutes, or until it yields to gentle pressure) will spread smoothly and evenly across the bread’s surface. Melted butter, on the other hand, tends to soak directly into the bread, potentially leading to a greasy or soggy texture rather than the desired crispy top. Softened butter creates a barrier that toasts beautifully.
- Achieve Extra Crispiness with a Quick Broil: If you love an extra-crispy top, consider a brief stint under the broiler after the initial baking. Once your garlic bread is golden and cooked through, place it under a preheated broiler for 1-2 minutes. **Crucially, do not walk away!** Broilers work very quickly, and bread can burn in a matter of seconds. Watch it constantly until it reaches your desired level of crispness.
- Transform it into Cheesy Garlic Bread: For an irresistible twist, sprinkle a generous layer of shredded mozzarella cheese and freshly grated Parmesan cheese over the herbed butter spread before baking. The cheeses will melt and bubble into a savory, golden crust, adding a delightful tang and gooey texture. Other good cheese options include provolone or a blend of Italian cheeses.
- Garnish for a Beautiful Presentation and Extra Freshness: A sprinkle of fresh herbs after baking not only adds a lovely visual touch but also enhances the overall flavor. Finely chopped fresh parsley, basil, or oregano can be lightly scattered over the warm bread just before serving. This touch of vibrant green makes for an appealing presentation and a burst of fresh aroma.
- Quality Ingredients Make a Difference: While it might seem obvious, investing in good quality bread, real butter, and fresh, vibrant herbs truly elevates the final product. The subtle nuances of better ingredients will shine through in this simple yet profound dish.
Emergency Soft Butter Hack: How to Soften Butter in Minutes
Forgot to take your butter out of the fridge? No problem! Here’s a clever trick to soften a stick of butter quickly without melting it:
- Fill a heat-proof cup or mug with boiling hot water and let it sit for a few minutes to heat up the cup.
- Pour the hot water out of the cup, then immediately invert the hot cup upside down over your cold stick of butter on a plate. The residual heat trapped under the cup will gently and quickly soften the butter to the perfect spreading consistency in just a few minutes.
Smart Prep: Make-Ahead & Freezing for Future Feasts
Garlic bread is an excellent candidate for make-ahead preparation, especially if you love the convenience of having delicious homemade options ready to go. Preparing ready-to-bake loaves and stocking them in your freezer means you’re always just minutes away from fresh, warm garlic bread, far tastier than any store-bought frozen variety!
- Prepare the Loaf: Begin by slicing your fresh bread in half lengthwise, just as you would for immediate baking. Then, generously slather both cut sides with the prepared herbed garlic butter spread, ensuring even coverage.
- Initial Freeze (Flash Freeze): Place the buttered bread halves onto a baking sheet, butter-side up, and transfer them directly into the freezer. Let them freeze solid for at least 1-2 hours. This “flash freezing” step prevents the halves from sticking together when stored.
- Wrap and Store for Long-Term: Once the bread halves are completely frozen and firm, stack them back together, butter-sides facing inward. Wrap the entire loaf tightly in plastic wrap, ensuring no air can get in, then add an additional layer of aluminum foil for extra protection against freezer burn.
- Freezer Longevity: Place the securely wrapped bread back into the freezer, where it can be stored for up to 3 months without compromising flavor or quality.
- Baking from Frozen: When you’re ready to enjoy, simply unwrap the frozen loaf, separate the two halves, and place them butter-side up on a baking sheet. Bake according to the original recipe instructions (425°F/220°C). You’ll likely need to add an extra 5-10 minutes to the baking time, or until the bread is thoroughly heated through, golden-brown, and crispy to your liking.
Keeping it Fresh: Best Practices for Storing Leftover Garlic Bread
- Refrigerating Cooked Leftovers: Allow any leftover baked garlic bread to cool completely to room temperature. This is important to prevent condensation, which can make the bread soggy. Once cooled, wrap it tightly in aluminum foil or place it in an airtight container. Store it in the refrigerator for 1-2 days.
- Freezing Cooked Garlic Bread: Cooked garlic bread also freezes remarkably well. Once completely cooled, double-wrap the individual pieces or halves tightly in aluminum foil, then place them in a freezer-safe bag or container. It can be stored in the freezer for up to 3 months.
- Reheating for Perfect Enjoyment: To reheat, unwrap the refrigerated or frozen garlic bread and place it on a baking sheet. Reheat in a preheated oven at 350°F (175°C) for about 10 minutes for refrigerated bread, or 15-20 minutes for frozen bread, or until it is warm throughout and crisped to your preference.
- Avoid the Microwave: While convenient, reheating garlic bread in the microwave is strongly discouraged. The microwave’s rapid heating process tends to steam the bread, making it soft, chewy, and often disappointingly soggy, completely sacrificing that delicious crispy texture.
Your Garlic Bread Questions Answered: FAQs
For the absolute best, most vibrant flavor, fresh garlic is unequivocally superior and highly recommended. It provides a pungent, authentic taste that garlic powder or garlic salt simply cannot match. If you must substitute, garlic powder is a better choice than garlic salt, as it allows you to control the seasoning precisely. Garlic salt contains a significant amount of sodium, making it very easy to over-salt your bread. You can always add extra sea salt to taste when serving if desired.
Freshly prepared garlic bread typically requires about 8-10 minutes to bake in a 425°F (220°C) oven, or until golden and crispy. If you are baking frozen, prepared garlic bread, it will take slightly longer, usually around 15-20 minutes, to ensure it’s heated through and perfectly toasted.
Garlic bread is a wonderfully versatile side dish that complements a vast array of meals. You truly can’t go wrong serving it with almost anything! It’s a classic accompaniment to pizza, all types of pasta (like stuffed shells or baked ziti), warming soups, and fresh salads. Beyond Italian mains like chicken parmesan, lasagna, and manicotti, it also pairs beautifully with grilled meats, roasted vegetables, or as a simple, satisfying snack on its own.
Absolutely! To make this recipe dairy-free or vegan, simply substitute the unsalted butter with your favorite plant-based butter alternative. Ensure the alternative is unsalted to maintain control over the seasoning. The rest of the ingredients (bread, garlic, herbs, salt) are typically vegan-friendly, but always double-check the bread’s ingredients list.
Several factors contribute to soggy garlic bread. Firstly, ensure your butter is softened, not melted, as melted butter can saturate the bread too quickly. Secondly, bake it at the recommended high temperature (425°F / 220°C) to ensure rapid crisping. Thirdly, avoid over-spreading the butter; a generous but even layer is key. Lastly, ensure proper cooling and storage for leftovers, as wrapping hot bread can trap steam and lead to sogginess.
Explore More Garlic-Infused Delights
If you’re a true garlic lover, there’s a world of other delicious recipes waiting for you to explore:
- Crispy Garlic Chips
- Roasted Garlic & Creative Ways to Use It
- Savory Roasted Garlic Breadsticks
- Irresistible Cheesy Garlic Biscuits
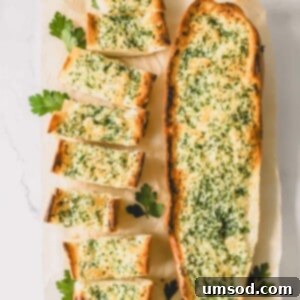
Classic Garlic Bread
Comment
Print Recipe
Ingredients
- 1 pound french loaf or italian loaf
- ½ cup unsalted butter softened
- 6 cloves garlic finely minced or grated (See Note 1 below for peeling tips)
- 1 tablespoon parsley finely chopped
- 1 tablespoon chives finely chopped
- ½ teaspoon sea salt or more to taste
Instructions
- Preheat the oven to 425 degrees F (220°C) and line a large baking sheet with parchment paper or foil.
- Slice the bread in half lengthwise using a serrated knife and place it on the baking sheet, cut sides up.
- In a medium bowl, combine the softened butter, minced garlic, chopped parsley, chives, and sea salt. Mix well until all ingredients are thoroughly combined and evenly distributed.
- Generously spread the garlic butter mixture evenly over the cut sides of both bread halves.
- Bake for 8-10 minutes, or until the top is golden brown and the edges are crispy.
- Remove from oven, slice into desired portions, and serve immediately with your favorite pasta dish or salad. Enjoy!
⭐️ Did you make this recipe?
Please leave a review and let us know how you liked it!
Tips & Notes
Note 2: Cheesy Garlic Bread Variation: For a delightful cheesy twist, sprinkle freshly grated Parmesan or mozzarella cheese over the butter spread just before baking.
Storing & Reheating Tips:
– Wrap cooked and cooled garlic bread tightly in aluminum foil and store in the refrigerator for 1-2 days.
– Homemade garlic bread freezes exceptionally well! Once cooled, double-wrap it in aluminum foil and keep it frozen for up to 3 months.
– Reheat from thawed or frozen in the oven at 350°F (175°C) for about 10-15 minutes, or until warm and crisp. Avoid using the microwave to prevent sogginess.
Nutrition
