This post is sponsored by Red Star Yeast. All opinions are mine alone.
Grandma’s Secret: Soft & Fluffy Old-Fashioned Yeast Rugelach (No Cream Cheese!)
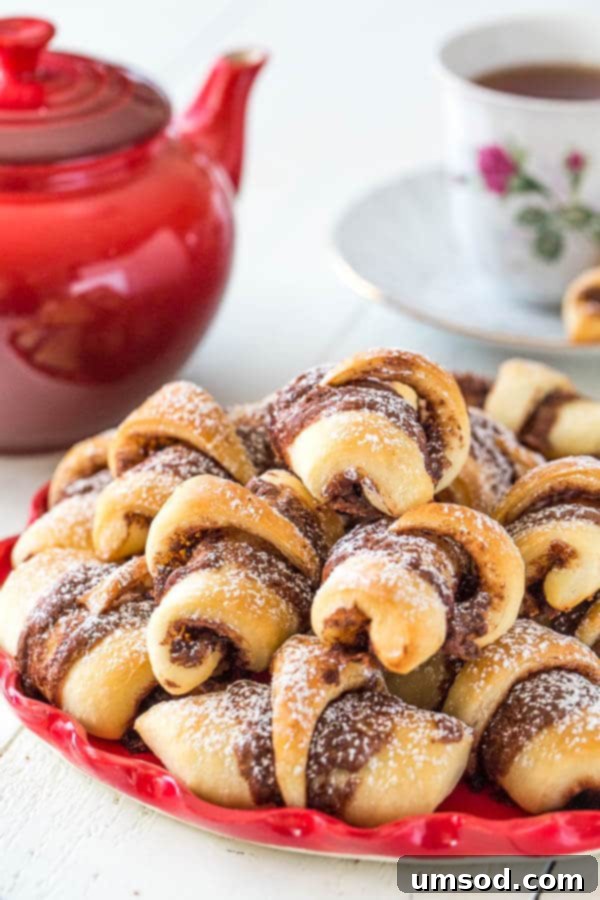
Prepare to be enchanted by a taste of tradition! My mom’s old-fashioned rugelach recipe is a timeless classic, delivering pastries that are irresistibly soft, wonderfully fluffy, and always a delight. Unlike the more common cream cheese versions, these yeast-leavened rugelach offer a unique, slightly chewy texture that harkens back to their true origins. They’re light, deliciously flavorful, and incredibly versatile when it comes to fillings, allowing your culinary creativity to shine.
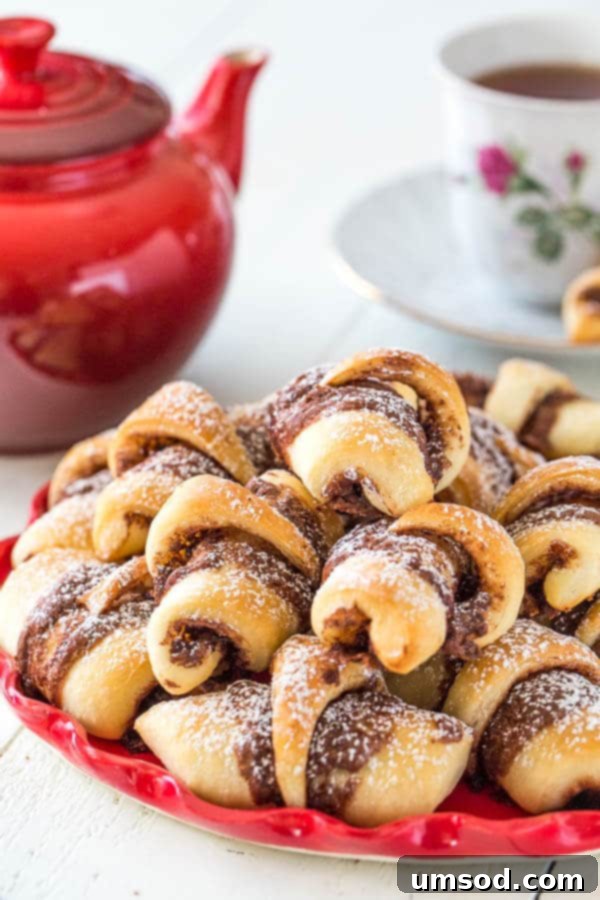
When you think of rugelach, your mind might immediately conjure images of buttery, flaky, cream cheese-based pastries. While delightful in their own right, today we’re diving into a different, arguably more authentic, realm of rugelach: the old-fashioned, yeast-leavened kind. These are not just cookies; they are soft, airy, and possess a gentle chewiness that makes them truly stand out. It’s a texture reminiscent of a fluffy dinner roll meeting a sweet croissant, resulting in a pastry that offers comfort in every bite.
The Authentic Roots of Rugelach: A Historical Twist
Did you know that the original rugelach recipes didn’t feature cream cheese at all? It’s a fascinating historical tidbit! The cream cheese-based rugelach that many of us know and love today is actually a more modern, Americanized adaptation of this beloved Eastern European pastry. Historically, rugelach doughs were often enriched with yeast, butter, or sour cream, yielding a tender, pliable dough rather than a flaky one. My mom’s recipe faithfully adheres to this older tradition, preserving the unique characteristics that made these pastries cherished for generations.
This traditional approach gives our rugelach a distinct identity. While I appreciate the crisp layers of a cream cheese rugelach, there’s an unparalleled comfort and warmth in a yeast-leavened pastry. It evokes a sense of nostalgia, a connection to the kitchens of grandmothers and great-grandmothers who perfected these recipes long ago.
A Family Legacy: Mom’s Irresistible Yeast Rugelach
This particular recipe isn’t just any old-fashioned rugelach; it’s *my mom’s* old-fashioned rugelach recipe. It was a constant presence in our family home, a staple that brought joy to every gathering. Later, it even became a legendary treat in my college dorm. To this very day, my college friends still rave about these little pastries, reminiscing about their soft texture and delicious fillings! The latest fan to join the ranks? My son, Grant, who can effortlessly devour an entire piece all by himself – a testament to their irresistible appeal!
Demystifying Yeast: Your Guide to Effortless Baking
Many home bakers harbor a bit of apprehension when it comes to working with yeast. Perhaps it’s the fear of “killing” it, or the perceived complexity of kneading and proofing. Let me assure you, there’s absolutely nothing to worry about with this recipe! I learned the art of working with yeast from my mom at an early age, watching her effortlessly bake homemade breads, rugelach, and countless other goodies. Her secret? Simplicity and a little understanding.
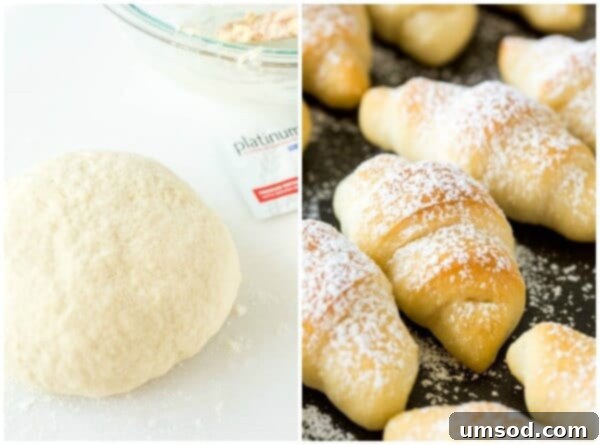
This particular dough is incredibly forgiving and straightforward. You won’t need any fancy stand mixers or extensive kneading. A large bowl and a wooden spoon (or even just your hands!) are all you need to bring this dough together. It’s truly a beginner-friendly recipe that promises success.
Essential Tips for Working with Yeast
The main principle to remember when working with yeast is that it thrives in a warm, comfortable environment. Think of it like a cozy nap! Here are a few key pointers:
- Temperature is Crucial: Always use warm liquids, such as milk or buttermilk. The ideal temperature range is typically between 105-115°F (40-46°C). If the liquid is too cold, the yeast won’t activate properly, leading to a flat dough. If it’s too hot, you risk killing the yeast, and your dough won’t rise. A quick way to test is to dip your finger in – it should feel pleasantly warm, not hot.
- Freshness Matters: Ensure your yeast is fresh and active. Old or expired yeast may not work effectively, impacting your dough’s rise.
- Patience is a Virtue: While this recipe is quick, yeast still needs a little time to work its magic and help the dough rise beautifully. Don’t rush the resting periods.
Partnering for Perfection: My Trust in Red Star Yeast
I am thrilled to be partnering with my favorite yeast brand, Red Star Yeast, to share this cherished family recipe with you. For years, Red Star Yeast has been my go-to choice in the kitchen. Their products consistently deliver reliable results, ensuring that everything I bake turns out beautifully light and fluffy every single time.
Specifically, I find Red Star Platinum Superior Baking Yeast to be an absolute game-changer. It offers a superior rise and unmatched consistent quality, which takes the guesswork out of yeast baking. A fantastic benefit of the Platinum yeast is that it typically requires no proofing before mixing with other ingredients, making the baking process even more “easy peasy” for busy home bakers!
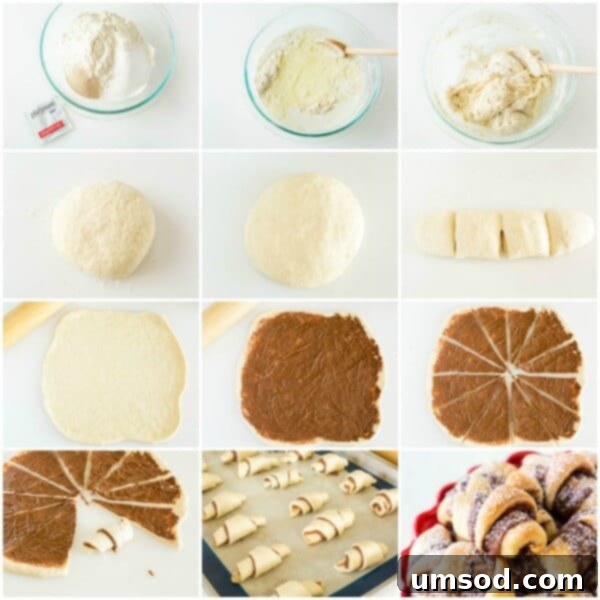
Now, let’s walk through the creation of these delightful pastries with step-by-step visuals to guide you.
As I mentioned, these are distinctly different from the flaky, cream cheese-based rugelach. Imagine the comforting fluffiness of a homemade dinner roll combined with the subtle richness of a buttery pastry, and you’ll get a sense of these sweet rolls. Their tender crumb and soft chew make them incredibly satisfying, whether enjoyed warm from the oven or as a delightful treat later.
Creative Fillings for Your Perfect Rugelach
One of the most exciting aspects of making these rugelach is the freedom to customize the fillings to your heart’s content! The possibilities are endless, allowing you to tailor each batch to your personal preferences or what you have on hand. Here are some fantastic ideas:
- Classic Jams & Preserves: Thick fruit jams like apricot, raspberry, or strawberry work beautifully, offering a burst of sweet-tart flavor.
- Nutty Indulgence: Finely chopped nuts such as walnuts, pecans, or almonds add a delightful crunch and rich flavor. Combine them with a little sugar and cinnamon for extra warmth.
- Dried Fruits: Plump raisins, dried cherries, cranberries, or chopped dates can be sprinkled in for natural sweetness and chewiness.
- Chocolatey Dreams: For a decadent twist, spread a generous layer of Nutella, as I did with this batch. If you have hazelnuts, crush some and sprinkle them over the Nutella for an authentic gianduja experience!
- Simple & Sweet: A mixture of brown sugar and cinnamon creates a wonderfully aromatic and comforting filling that’s always a crowd-pleaser.
- Plain Perfection: Don’t underestimate the simple beauty of plain rugelach! The inherent flavor of the yeast dough is so satisfying, they’re delicious even without a filling.
Whether you opt for a single filling or a delightful combination, ensure your chosen filling isn’t too runny, as this can make the pastries soggy. If using drier ingredients like nuts or raisins, place them towards the wider end of the dough wedge before rolling to ensure they stay secure.
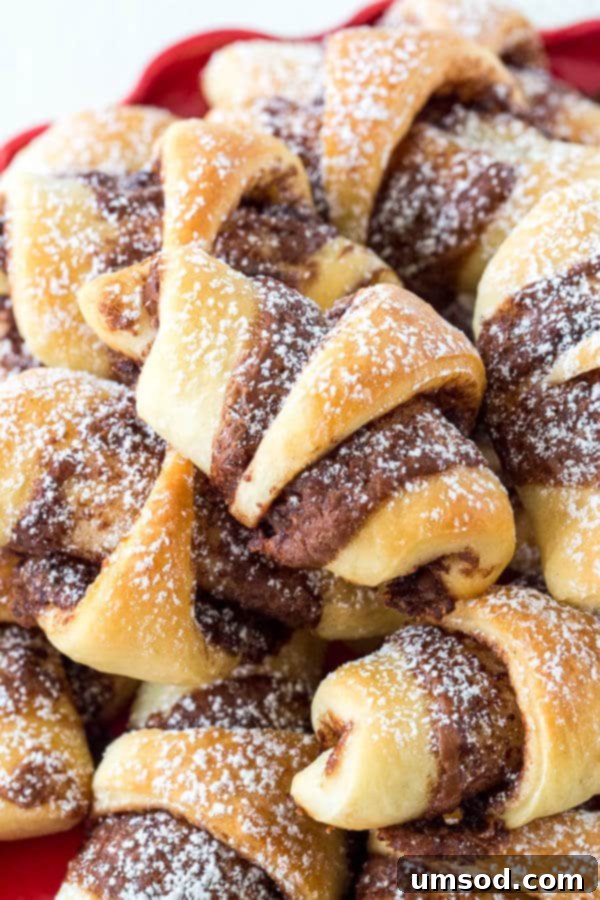
Oh, how I wish you could reach right through the screen and grab one of these golden beauties! Or perhaps two! But the true joy comes from making them yourself. I sincerely hope you’ll embark on this delightful baking adventure and savor every soft, fluffy bite. Thank you for joining me in celebrating this wonderful family recipe!
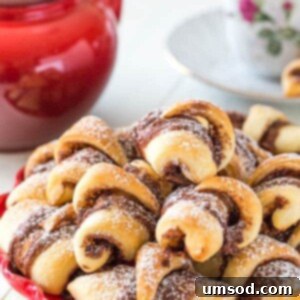
Mom’s Old-Fashioned Rugelach
By Shinee Davaakhuu
Soft and fluffy mom’s old-fashioned rugelach are always a hit! These yeast leavened rugelach are light and tasty, and you can fill them with anything your heart desires.
Prep Time: 45 mins
Cook Time: 20 mins
Resting Time: 30 mins + 20 mins (for dough rise)
Total Time: 1 hr 35 mins
Servings: 4 dozen pastries
Comment
Print Recipe
Ingredients
For dough:
- 4 cups (500g) all-purpose flour
- ¼ cup (50g) sugar
- 1 packet (about 1 ½ teaspoons) Red Star Platinum Superior Baking Yeast
- ½ teaspoon salt
- 1 ¼ cup (300ml) buttermilk (or milk), warmed to 105-115°F (40-46°C)
- 1/3 cup (80ml) vegetable or canola oil
For filling:
- Nutella, jam, raisins, dried fruit, nuts, or any filling your heart desires (see suggestions above)
Instructions
- In a large bowl, combine flour, sugar, yeast, and salt. Whisk them together to ensure even distribution.
- Pour in the warm buttermilk (or milk) and vegetable oil.
- Mix with a wooden spoon or your hands until a shaggy dough ball forms.
- Transfer the dough to a lightly floured surface and knead gently for about a minute, just until it forms a smooth, cohesive ball. This dough requires minimal kneading.
- Place the dough back into the bowl, cover it (with the bowl itself, a clean kitchen towel, or plastic wrap), and let it rest in a warm place for about 30 minutes. This initial rest allows the gluten to relax and the yeast to begin working.
- After resting, divide the dough into 4 equal parts and gently shape each into a smooth ball.
- Working with one dough ball at a time, roll it out into a thin 11-inch (approx. 28 cm) circle. Aim for an even thickness.
- Spread your chosen filling evenly over the circle. For instance, use about 3-4 tablespoons of Nutella. If using dry fillings like raisins or chopped nuts, place them towards the wider end of the wedge.
- Using a pizza cutter or sharp knife, cut the filled circle into 12 equal wedges, just like slicing a pizza.
- Starting from the wide end of each wedge, roll the triangles into a spiral. Don’t roll too tightly (which can make them dense) or too loosely (which can cause them to unravel).
- Arrange the rolled rugelach on a baking sheet lined with parchment paper or a silicone mat, leaving a little space between each.
- Cover the baking sheet lightly and let the rugelach rest for another 20 minutes in a warm spot. This second rise allows them to become even lighter and fluffier.
- While the rugelach are rising, preheat your oven to 350°F (177°C).
- Bake the rugelach for approximately 20 minutes, or until they turn a beautiful golden brown.
- Allow them to cool completely on a wire rack before serving.
- Store cooled pastries in an airtight container at room temperature for up to 3 days. For longer storage, these rugelach freeze exceptionally well. Place them in a freezer bag and freeze for up to 2 months. Thaw at room temperature before enjoying.
⭐️ Made this recipe? Please leave a review and let us know what you thought!
Nutrition Facts (per serving)
- Calories:
- 716 kcal
- Carbohydrates:
- 112 g
- Protein:
- 15 g
- Fat:
- 22 g
- Sugar:
- 16 g
- Sodium:
- 372 mg
Course: Dessert
Cuisine: American
Did you make this? Leave a rating and your feedback. Thank you!
Special thanks once again to Red Star Yeast for generously sponsoring this post. For more inspiring baking ideas and delicious recipes, be sure to follow them on their social media channels:
- Google Plus
