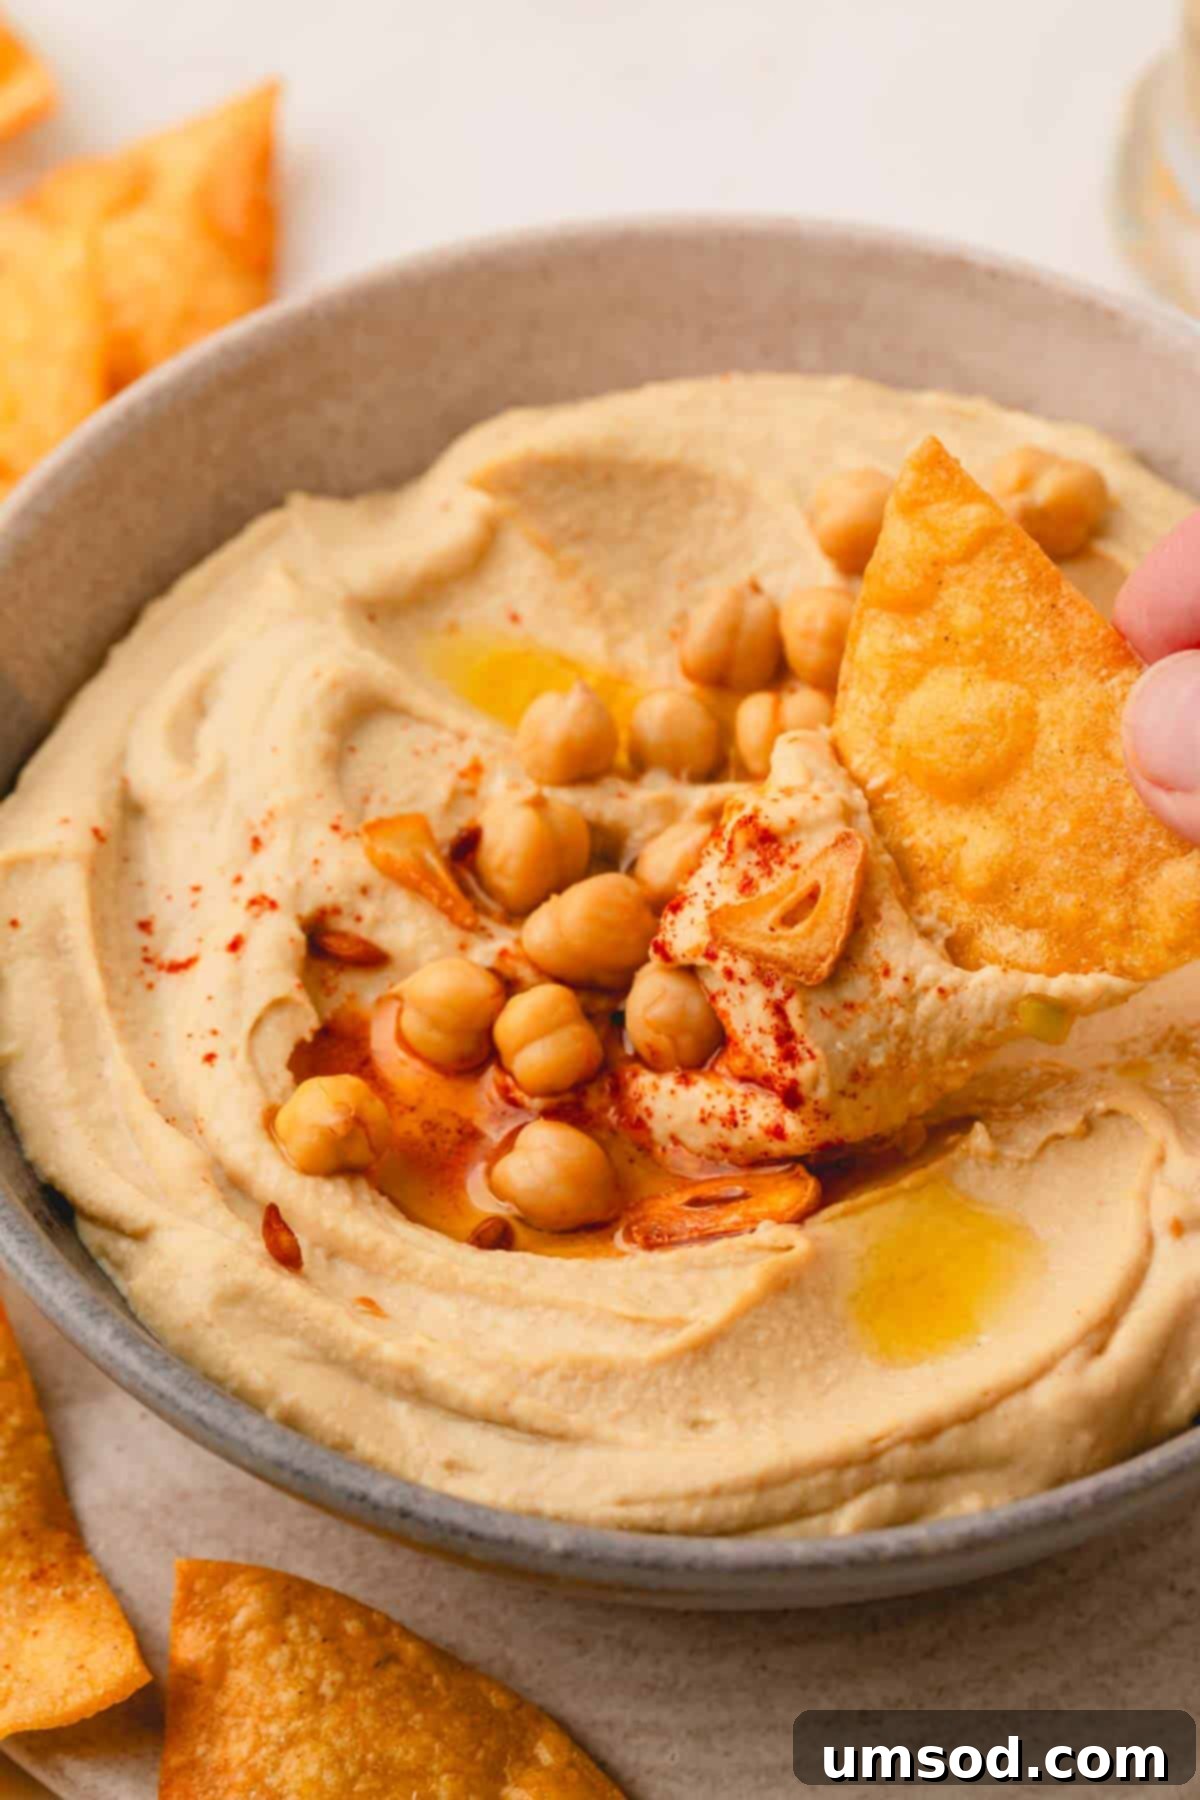
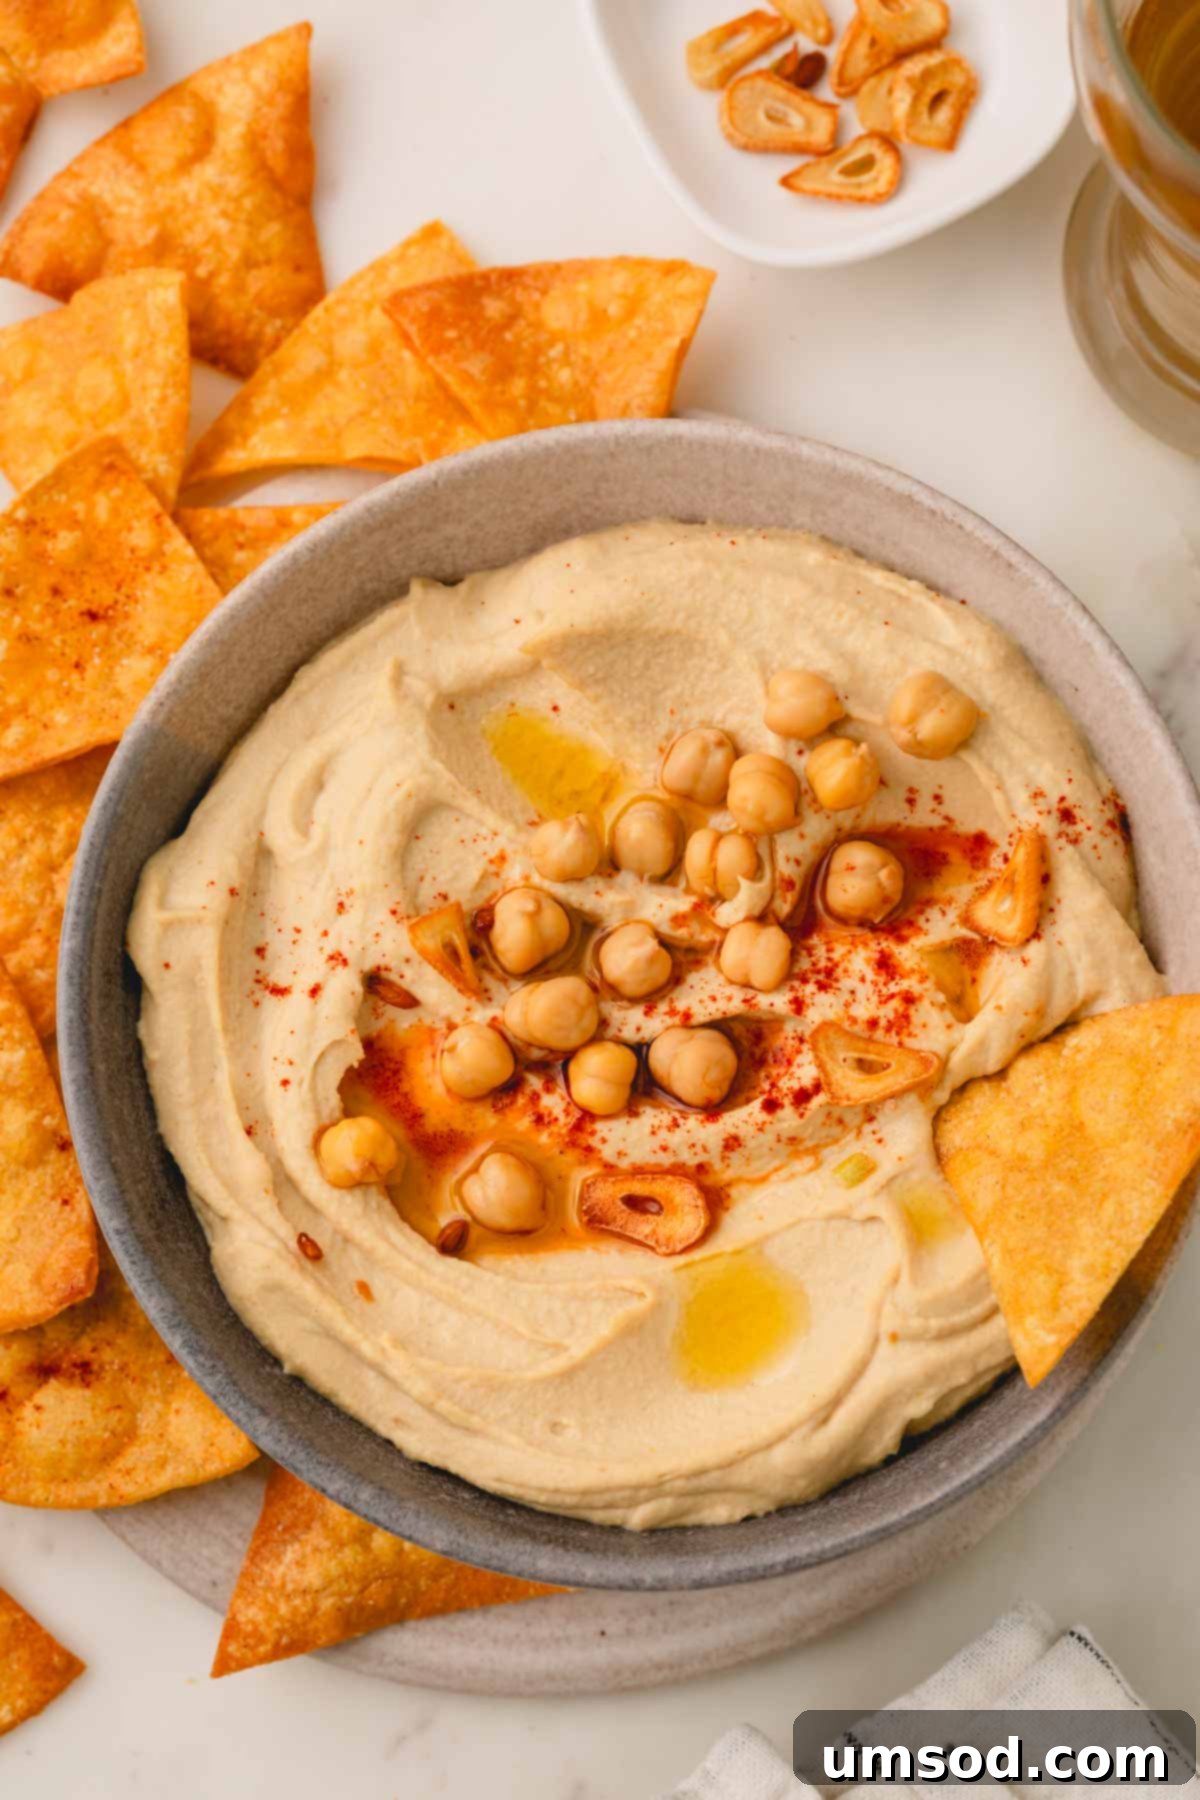
Prepare to elevate your snacking experience with this ultimate **roasted garlic hummus recipe**. This homemade rendition is incredibly smooth, luxuriously creamy, and bursting with rich, savory, and deeply pungent garlic flavors. Forget store-bought varieties; this quick and easy recipe will undoubtedly become your go-to, transforming simple chickpeas into the best hummus you’ve ever tasted!
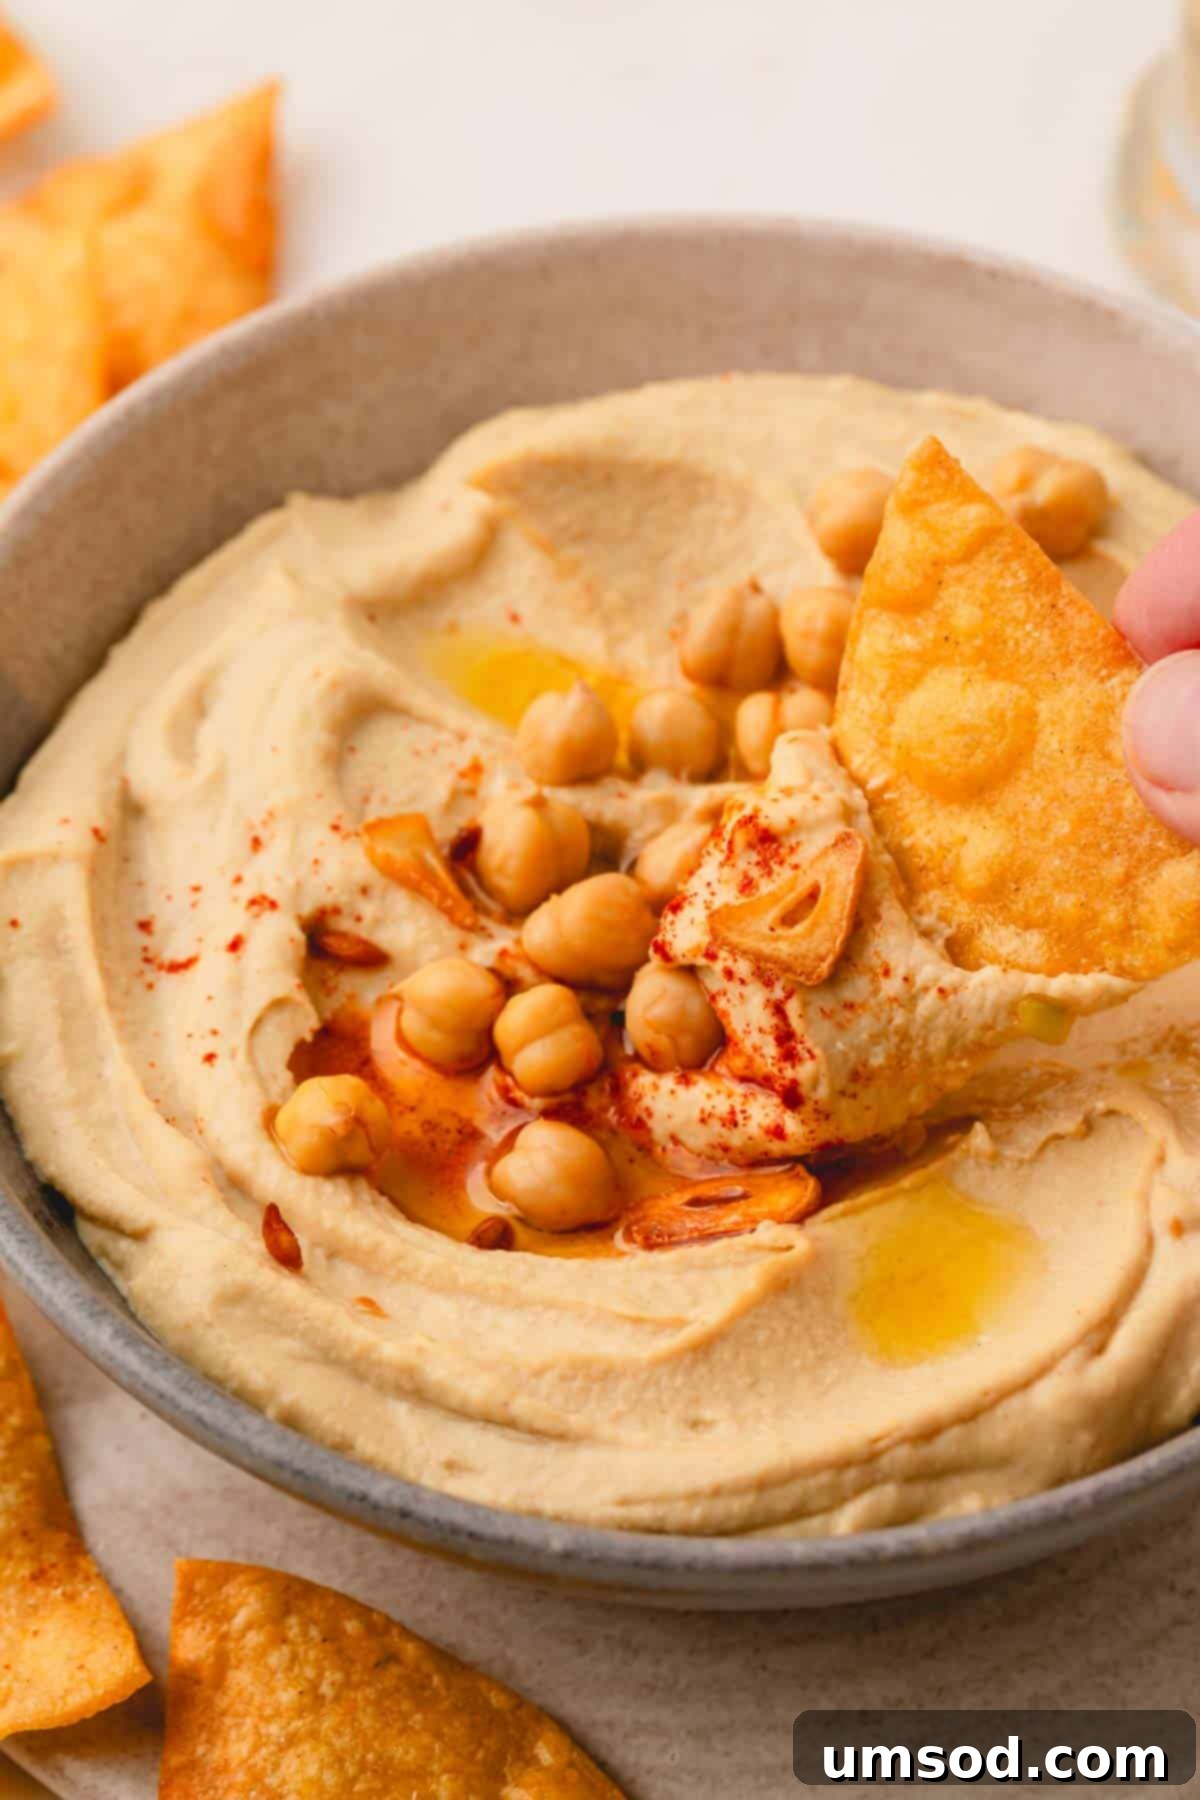
My journey with hummus began later in life, but it was love at first bite! The moment I sampled that creamy, flavorful dip, I was instantly captivated. Since that initial discovery, I’ve made it my mission to explore countless brands and diverse flavor variations. While many were delightful, the enchanting depth of **roasted garlic hummus** always stood out as my absolute favorite. However, finding a high-quality, authentic roasted garlic hummus in stores can often be a challenge.
This quest led me to the kitchen, determined to recreate that irresistible flavor at home. What I discovered was a revelation: homemade hummus, especially with the addition of freshly roasted garlic, far surpasses any store-bought option. Crafting your own allows for unparalleled freshness, customizable flavors, and a texture that is simply divine. It’s a game-changer that makes going back to pre-packaged versions almost impossible once you’ve experienced this homemade perfection.
Why You’ll Fall in Love with This Homemade Roasted Garlic Hummus
Once you try this recipe, you’ll understand why it’s a staple in my kitchen. Here are just a few reasons why this easy roasted garlic hummus will become your new favorite:
- Unforgettable Flavor Profile: Unlike anything you can buy, this recipe harnesses the deep, mellow, and slightly sweet notes of homemade roasted garlic, perfectly balanced with rich tahini. The result is a complex, savory, and nutty dip with a subtle sweetness that is utterly addictive. Plus, the beauty of homemade is the ability to easily fine-tune the seasonings and garlic intensity to perfectly match your personal preference. Want more zest? Add extra lemon. Craving a richer garlic punch? Feel free to add more roasted cloves!
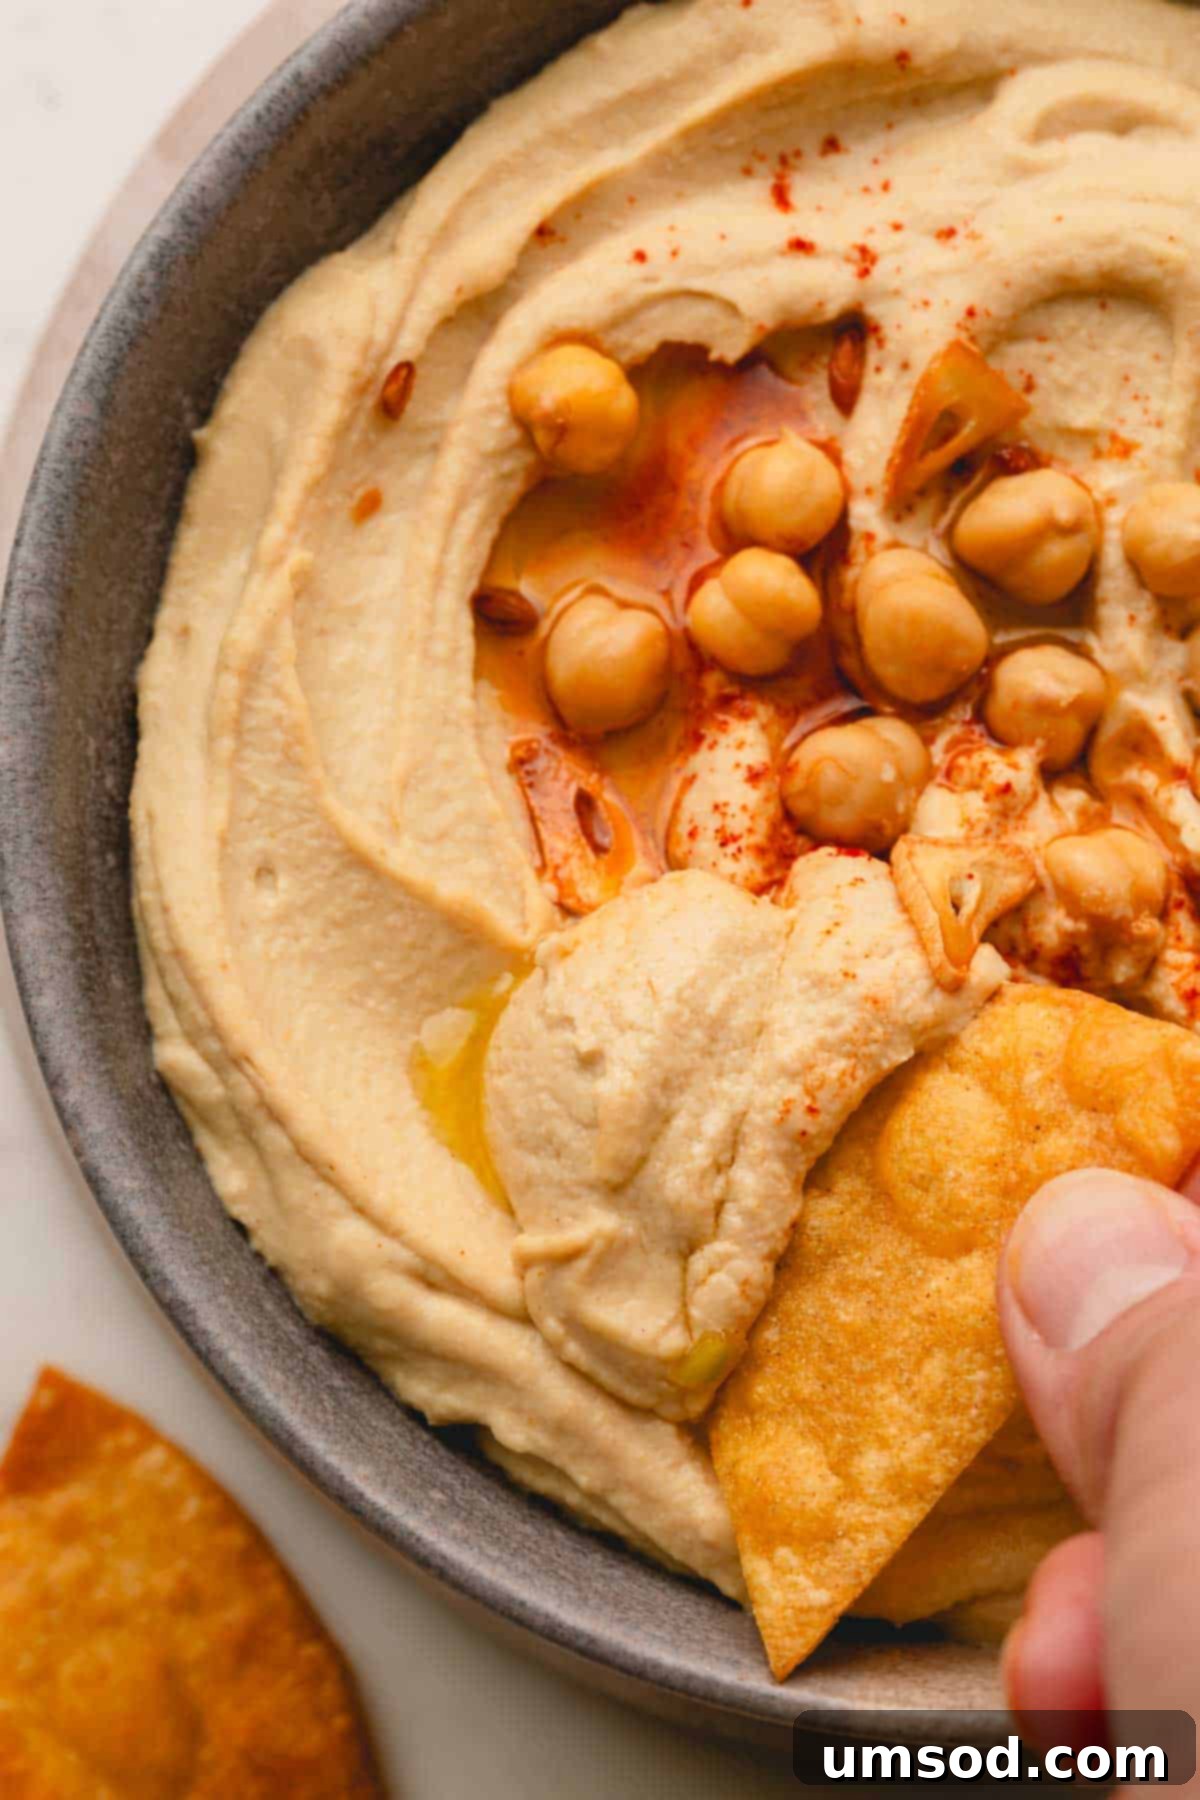
- Achieve the Perfect Silky-Smooth Texture: The secret to an exceptionally smooth and never grainy hummus lies in a few key techniques, including the use of ice water during blending and peeling the chickpeas. This process ensures a wonderfully thick, creamy, and velvety texture that coats your palate beautifully, making every scoop a luxurious experience.
- Convenient & Stores Beautifully: One batch yields approximately 1 ½ cups of delicious hummus, making it ideal for meal prepping or entertaining. It keeps exceptionally well in the refrigerator for up to a week, allowing for effortless healthy snacking or quick additions to meals throughout your busy week. This means you can enjoy fresh, homemade flavor anytime!
This creamy roasted garlic hummus is not just a dip; it’s a versatile culinary delight! Pair it with an assortment of fresh veggie sticks, crunchy pita bread, or spread it generously on sandwiches and wraps. For the ultimate crowd-pleasing appetizer platter, serve alongside other delightful dips like a creamy hot cheese dip, a vibrant roasted beet dip, and a zesty pesto artichoke dip. Your guests will be asking for the recipe!
Pin this delicious recipe to your board for later!
Pin It
Essential Ingredients for Perfect Roasted Garlic Hummus
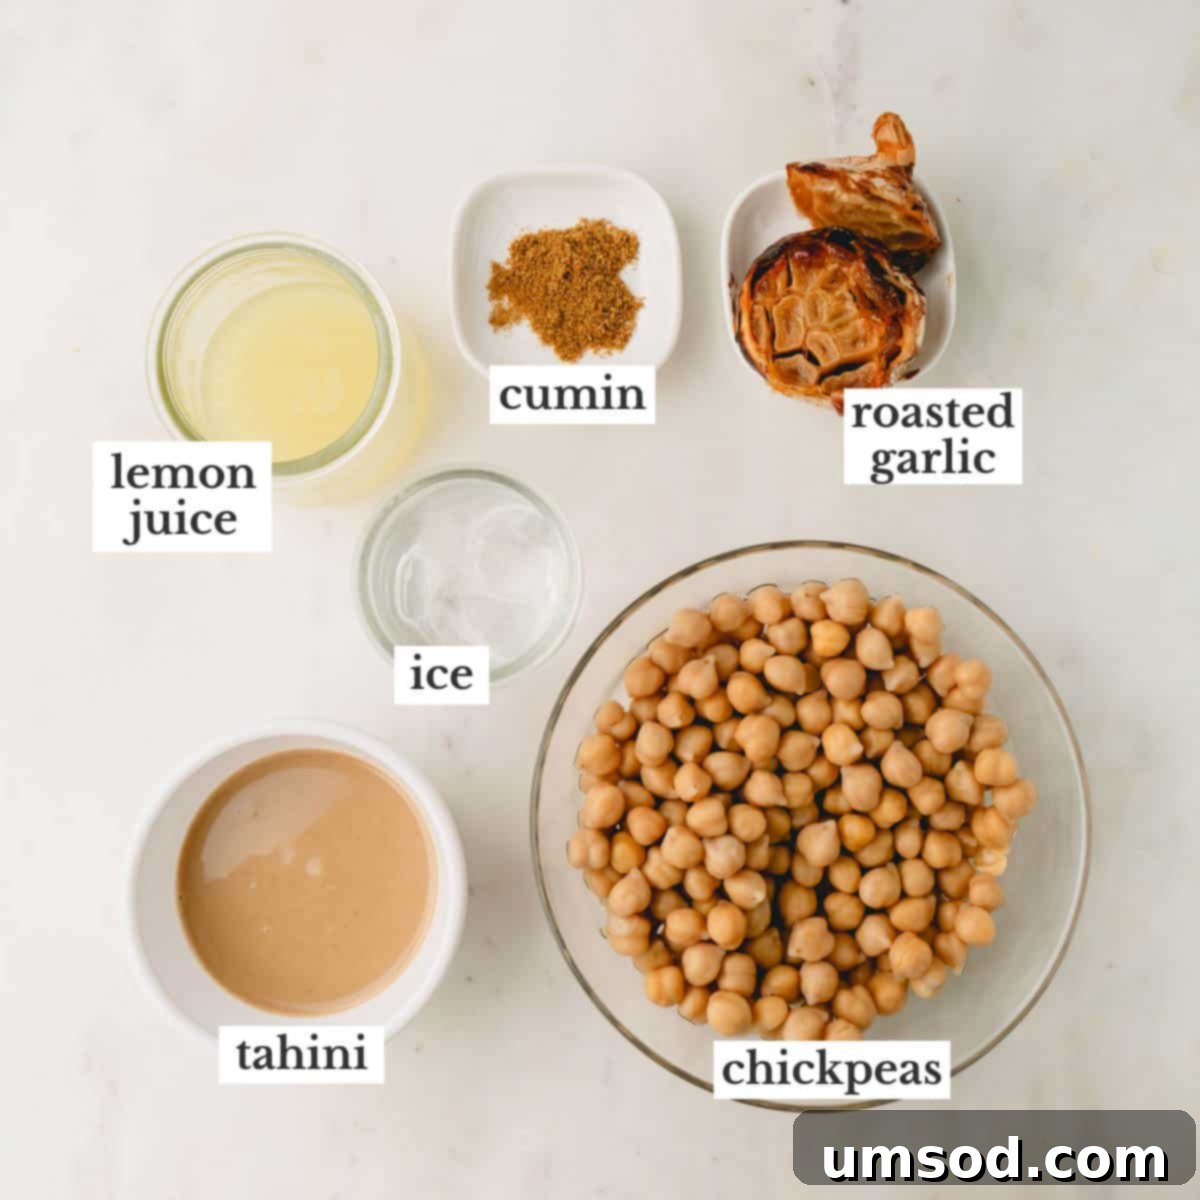
Crafting exceptional homemade roasted garlic hummus relies on a few core ingredients. Each plays a vital role in achieving that rich flavor and luxurious texture:
- Chickpeas (Garbanzo Beans): These versatile legumes form the heart and soul of any hummus. For convenience and to save precious time, I highly recommend using canned chickpeas. Just be sure to rinse them thoroughly under cold water and drain them well before use. Rinsing removes excess sodium and helps create a cleaner flavor profile.
- Fresh Lemon Juice: The bright, zesty acidity of freshly squeezed lemon juice is absolutely crucial. It not only cuts through the richness of the tahini and roasted garlic but also adds a refreshing lift and complexity to the overall flavor. Always opt for fresh over bottled lemon juice for the best results; you’ll taste the difference!
- Tahini (Sesame Paste): This is a non-negotiable ingredient for authentic, creamy hummus. Made from ground sesame seeds, tahini contributes a distinct nutty flavor and helps create that signature smooth, emulsified texture. In my own blind taste tests, the difference between hummus with and without tahini was stark – it truly makes the dip! Look for a high-quality, creamy tahini with a pourable consistency for the best blend.
- Roasted Garlic: The star of this recipe! Roasting an entire head of garlic transforms its sharp, pungent bite into a mellow, sweet, and deeply savory delight. You can easily prepare roasted garlic in advance with just a whole head of garlic, a drizzle of olive oil, and a pinch of salt. The process is simple, and the flavor payoff is immense.
- Seasonings (Cumin & Salt): Cumin adds a warm, earthy, and slightly spicy depth that complements the other ingredients beautifully. Salt, of course, enhances all the flavors and brings everything into harmony. Start with the recommended amount and adjust to your taste. For an extra layer of flavor and visual appeal, I often sprinkle smoked paprika and za’atar (a Middle Eastern spice blend) on top just before serving.
- Ice-Cold Water: This seemingly simple ingredient is a game-changer for achieving an ultra-creamy, light, and fluffy hummus. Adding ice water gradually during blending helps create a lighter texture and aids in emulsification, preventing a dense or gluey consistency.
Unleash Your Creativity: Exciting Flavor Variations
While this classic roasted garlic hummus is perfect as is, don’t hesitate to get creative! Hummus is wonderfully adaptable, allowing you to experiment with different mix-ins and flavor variations to truly make it your own. Here are some of my favorite ways to customize this versatile dip:
- Add a Kick of Spice: For those who love a bit of heat, incorporate ½ to 1 teaspoon of harissa paste, Sriracha, cayenne pepper, or chili flakes. These additions will lend a vibrant warmth and an exciting zing to your hummus.
- Brighten with Fresh Herbs: Introduce a burst of freshness by blending in about ½ cup of fresh parsley, cilantro, or dill. These herbs will add a bright, aromatic, and invigorating taste, perfect for a lighter hummus.
- Deepen with Roasted Red Pepper: For an additional layer of sweet, smoky, and slightly tangy flavor, add up to ½ cup of jarred or homemade roasted red peppers. They blend seamlessly and add a beautiful color.
- Sweet & Savory Caramelized Onions: Create a truly unique and gourmet garlic and onion-inspired dip by folding in up to ½ cup of slowly caramelized onions. Their sweet, jammy texture and rich flavor pair wonderfully with the roasted garlic. Alternatively, use caramelized onions in place of the garlic for a distinctively different, yet equally delicious, spread.
- Sun-Dried Tomato Infusion: Blend in ¼ to ½ cup of oil-packed sun-dried tomatoes (drained) for an intense, sweet-tart Mediterranean twist.
- Smoky Chipotle: A teaspoon of chipotle powder or a couple of chipotle peppers in adobo sauce will infuse your hummus with a delightful smoky heat, perfect for Tex-Mex inspired dishes.
Step-by-Step Guide: Crafting Your Own Roasted Garlic Hummus
Making incredibly smooth and flavorful hummus at home is surprisingly simple. Follow these steps for perfect results every time:
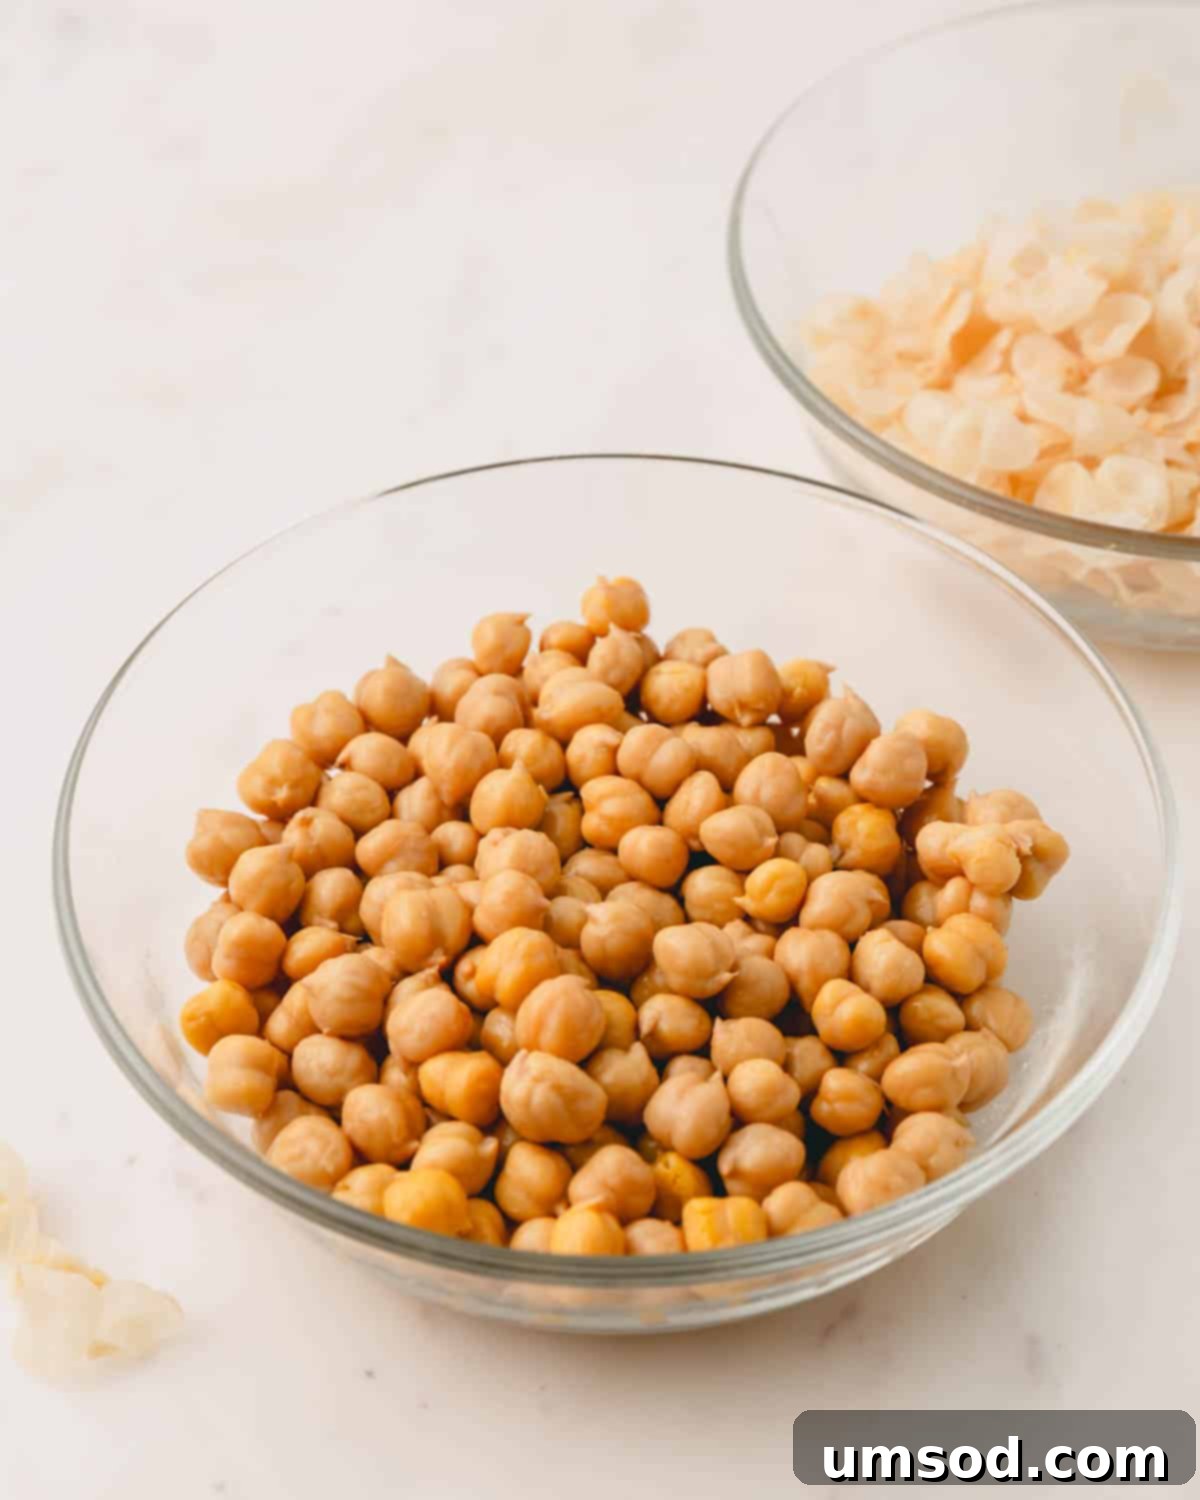
- Prepare the Chickpeas for Ultimate Smoothness: This step is a game-changer for achieving that coveted ultra-smooth texture. Place the drained and rinsed chickpeas in a sturdy plastic container, cover it tightly, and shake vigorously for about 30 seconds to 1 minute. This action helps to loosen their skins. Afterwards, meticulously peel the chickpeas and discard the skins. While this step takes a little extra time (roughly 20-25 minutes), the difference in texture is truly remarkable and well worth the effort. Hummus made with peeled chickpeas is noticeably silkier and less grainy.
- Combine Ingredients in the Food Processor: In the bowl of a large, powerful food processor, combine all the prepared ingredients except for the ice-cold water and any optional garnishes. This includes the peeled chickpeas, fresh lemon juice, tahini, cooled roasted garlic cloves, cumin, and salt. Ensure your roasted garlic has cooled completely before adding it to avoid any issues with the food processor.
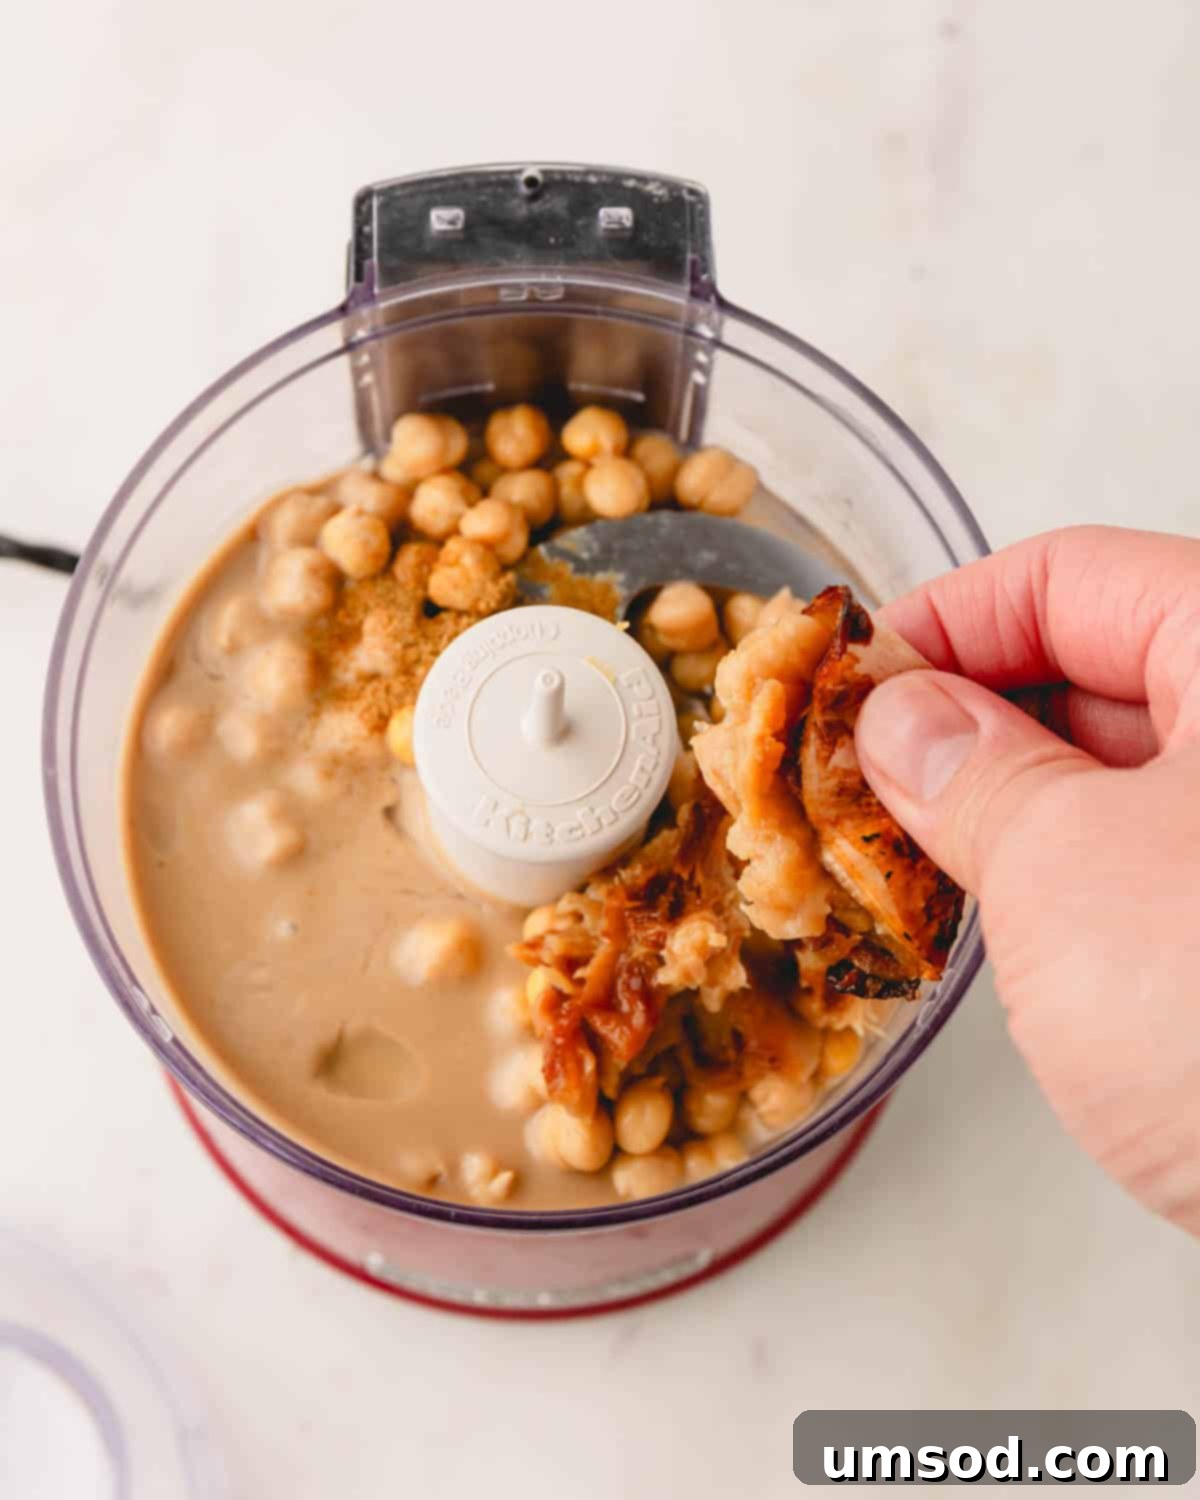
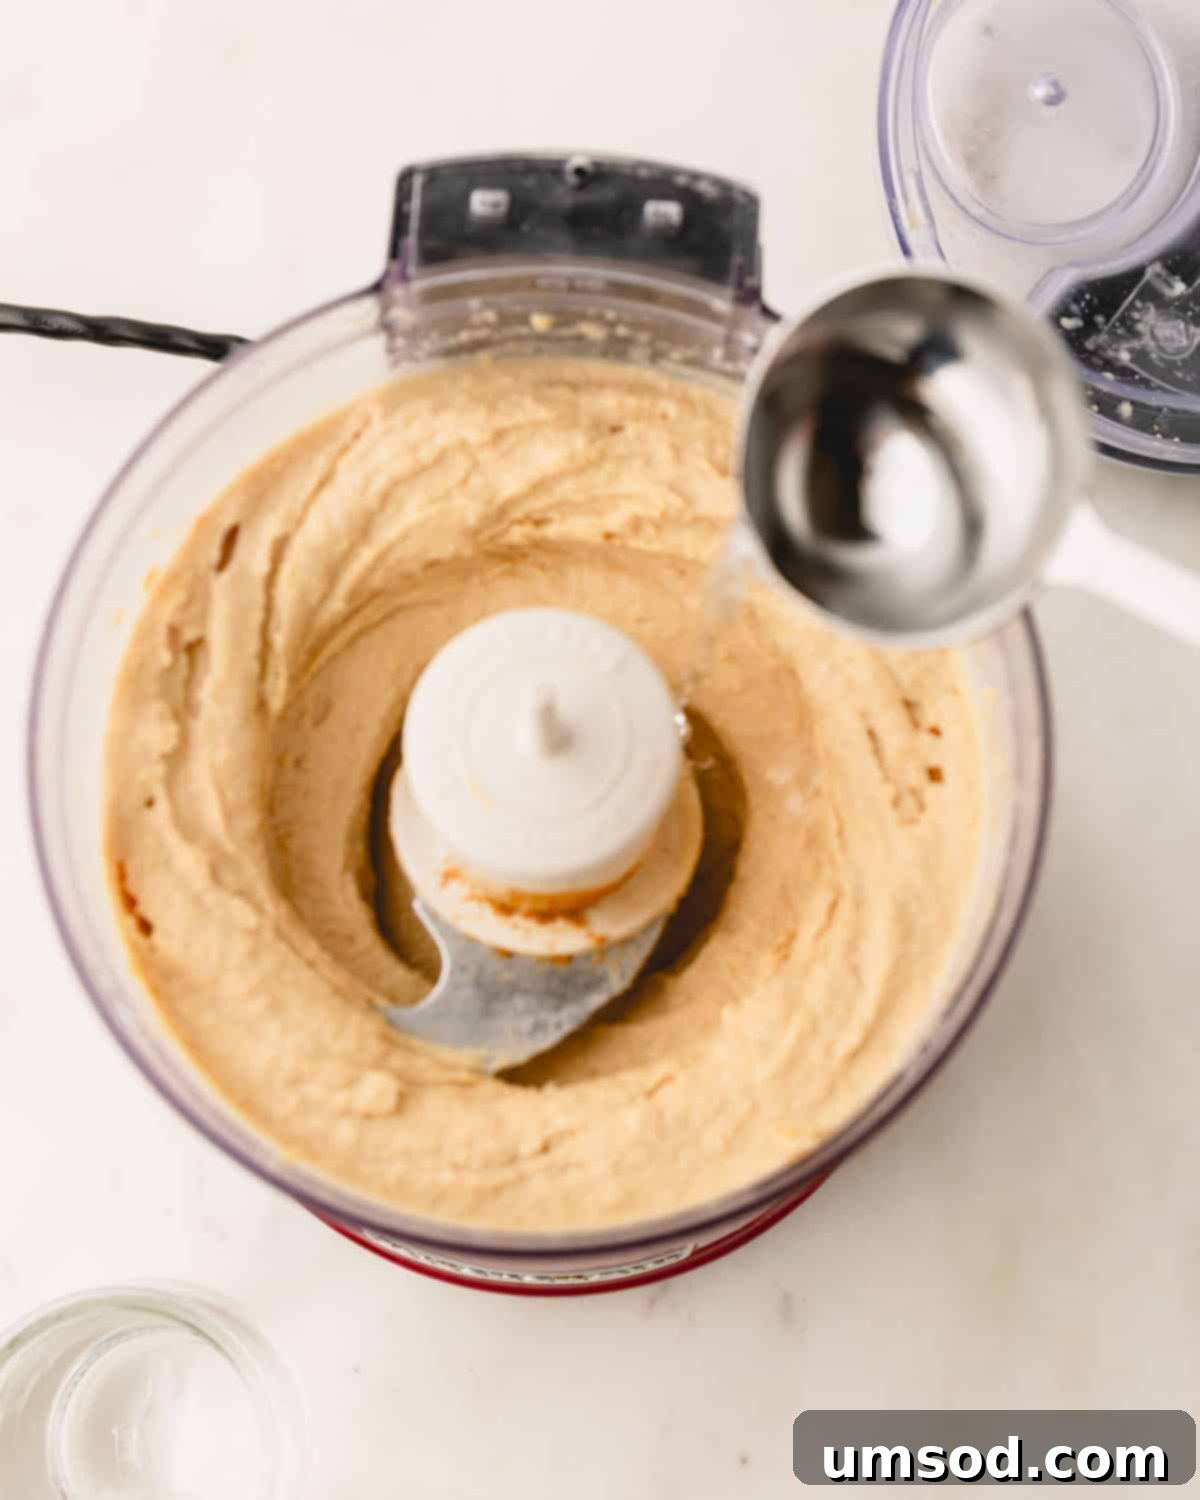
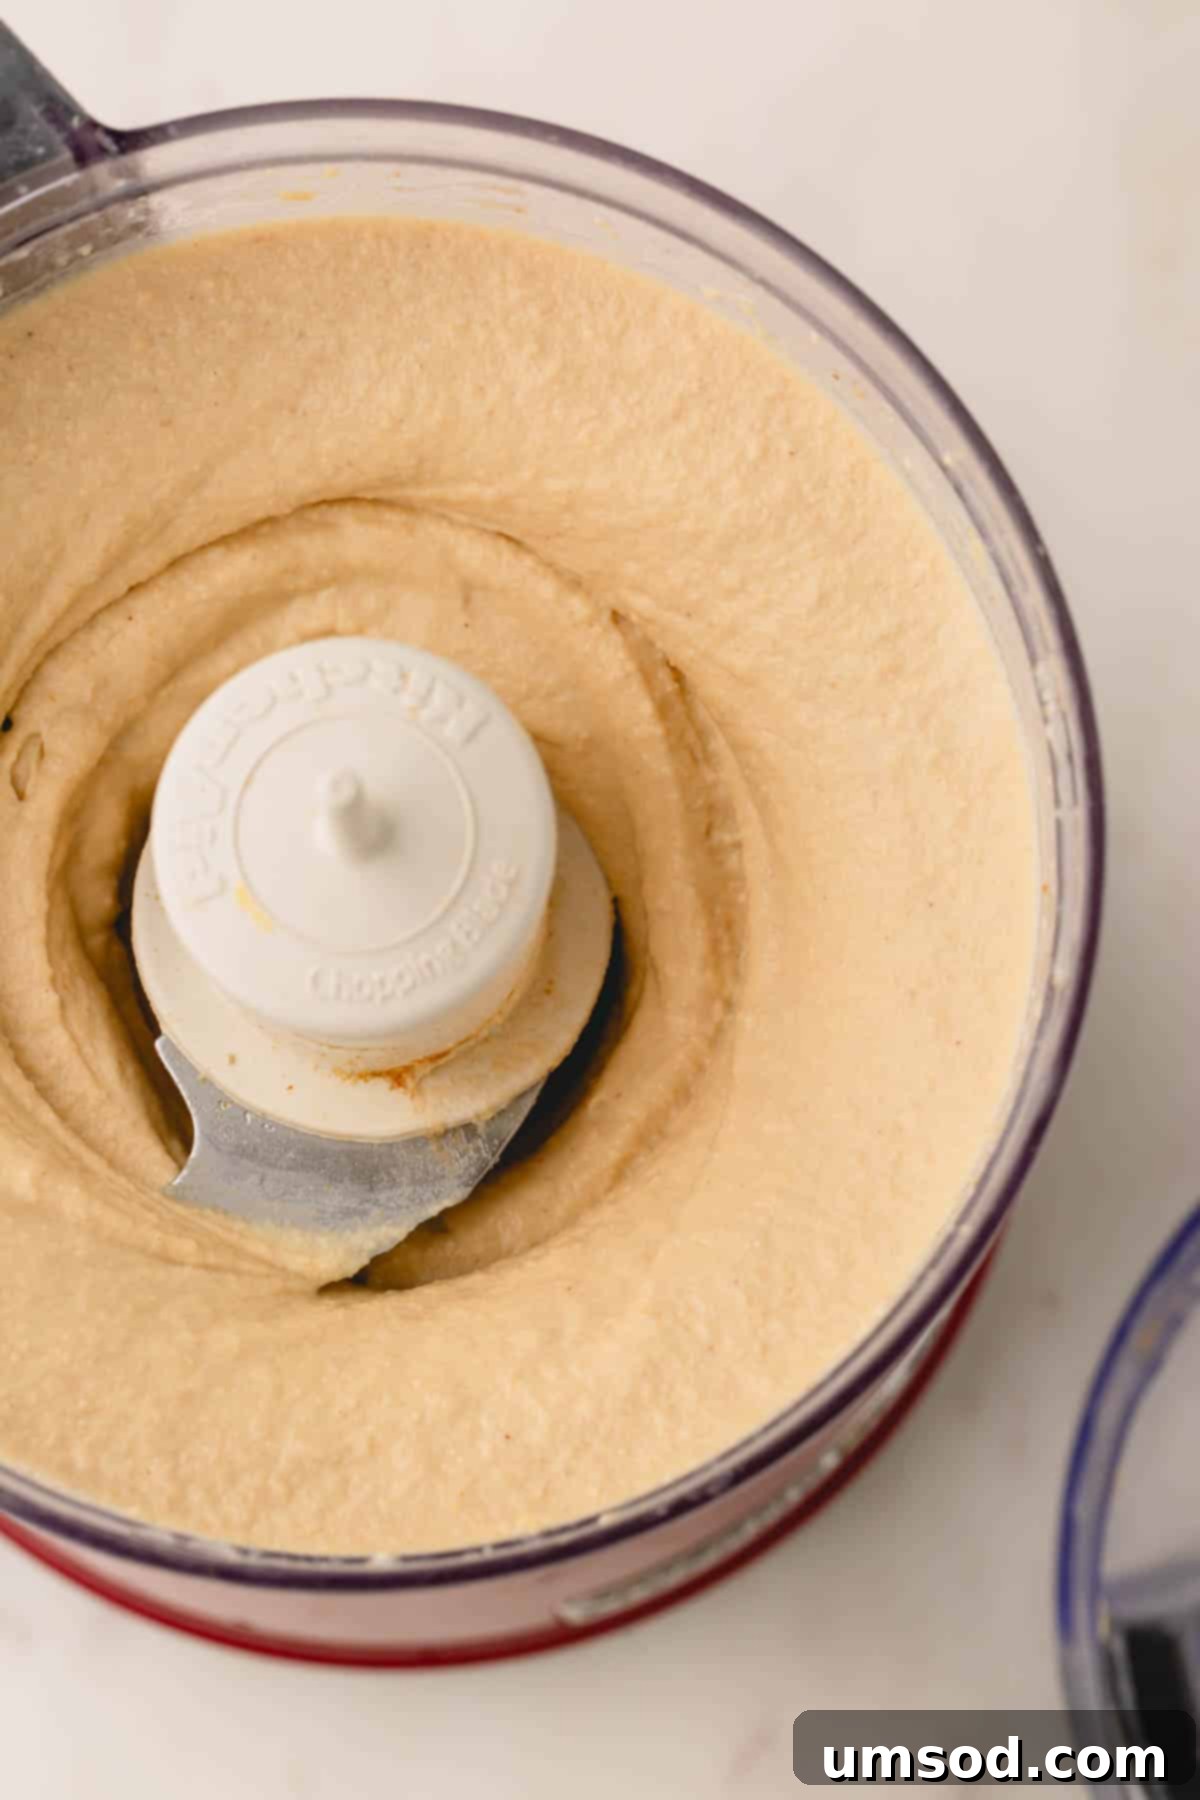
- Blend to Perfection: Secure the lid on your food processor and begin blending the mixture. Allow it to process until the hummus reaches a consistently smooth and creamy texture. This usually takes about 1.5 to 2 minutes, depending on your processor’s power. During this blending process, gradually drizzle in the ice-cold water, a tablespoon at a time, until your desired consistency is achieved.
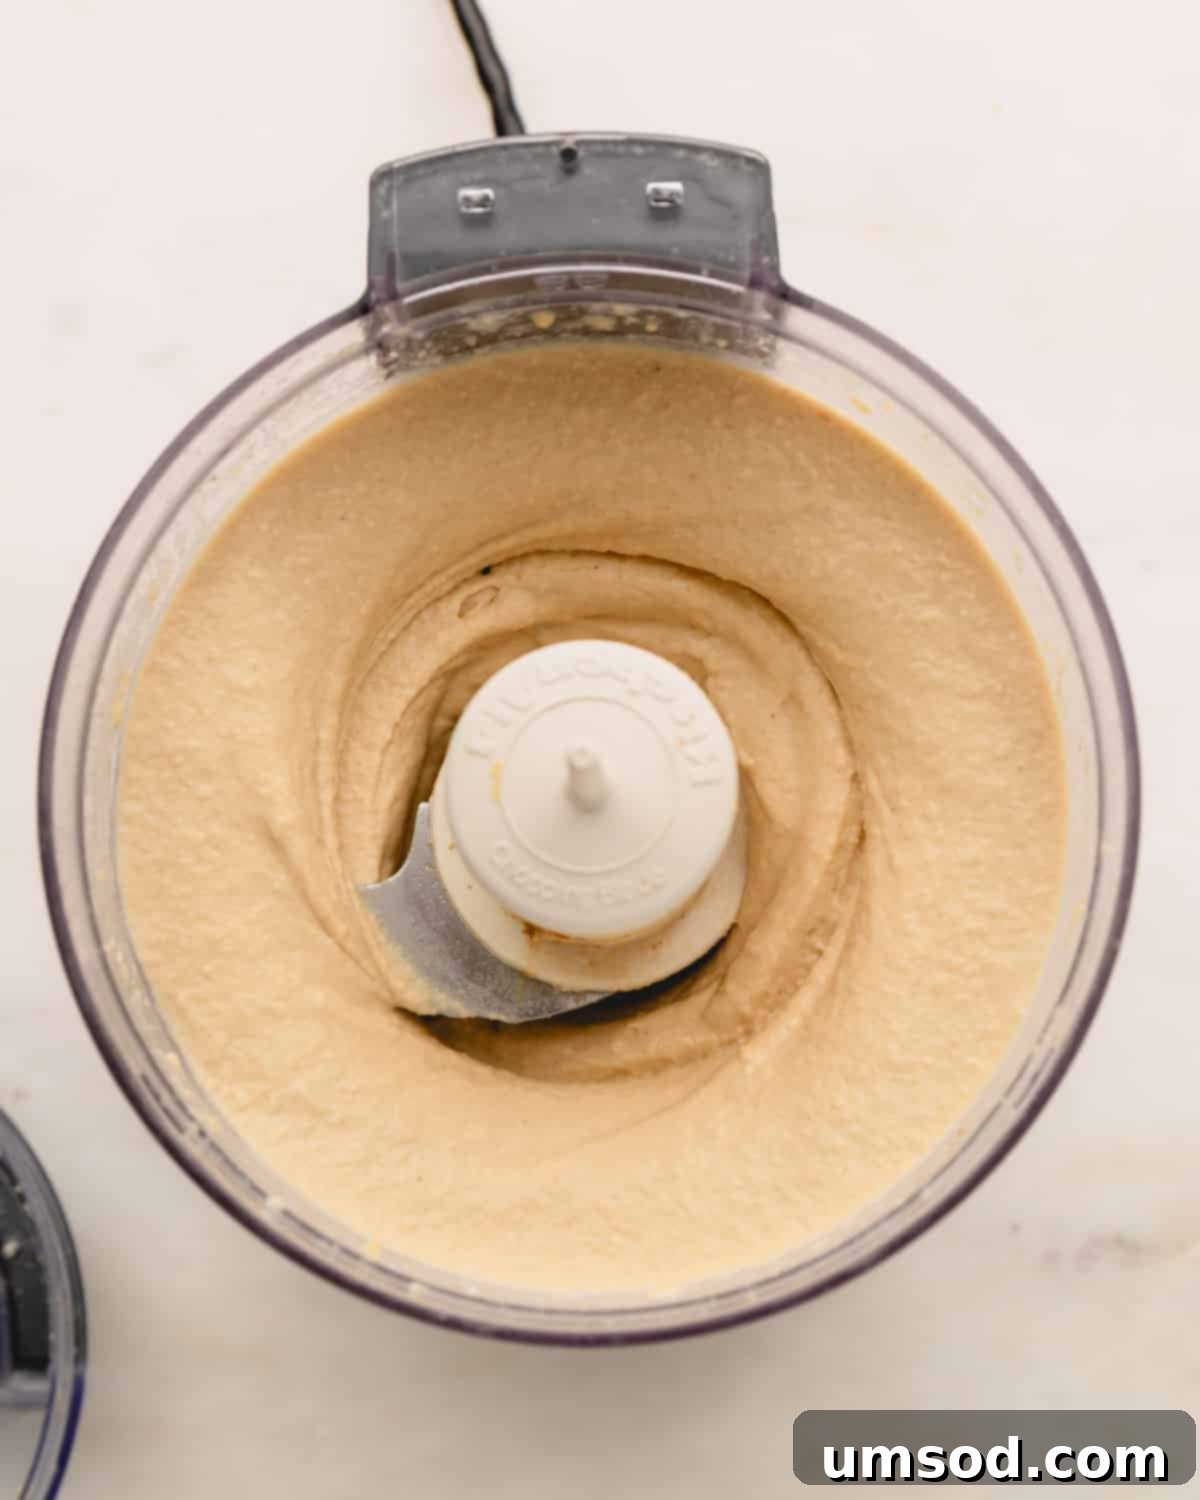
Achieving Your Ideal Hummus Consistency
The amount of ice water you add is key to controlling the final texture of your hummus. If you prefer a thicker, denser dip, use less water. For a lighter, airier, and more spreadable consistency, continue adding ice water, one tablespoon at a time, while the food processor is running. Stop when the hummus is delightfully smooth, creamy, and spreadable, without being too runny. Remember to scrape down the sides of the bowl occasionally to ensure all ingredients are thoroughly incorporated.
Expert Tips for the Best Roasted Garlic Hummus
Achieving restaurant-quality creamy hummus at home is easy with these essential tips and tricks:
- Peel Chickpeas for Unmatched Smoothness: This is perhaps the most crucial tip for a truly velvety hummus. I’ve conducted side-by-side comparisons, and the difference between peeled and unpeeled chickpeas is significant. The skins create a slightly chunky, almost grainy texture that many find less desirable. Taking the extra time to peel them (a quick shake and squeeze method works wonders!) results in an incredibly smooth, luxurious dip.
- Always Cool Your Roasted Garlic: After roasting, allow your garlic to cool down to at least room temperature before adding it to the food processor. Blending hot garlic can create steam and pressure, potentially causing a mess or even damaging your appliance. More importantly, it can negatively affect the final texture and stability of the hummus.
- Invest in High-Quality Tahini: The quality of your tahini makes a noticeable difference. Some brands can be quite bitter or have a very thick, pasty consistency. For the best flavor and texture, seek out organic, light-colored tahini that has minimal ingredients (just sesame seeds!) and a pourable, creamy consistency. A good tahini will have a nutty, slightly sweet flavor.
- Scrape Down the Food Processor Sides Frequently: During the blending process, ingredients can stick to the sides of the bowl. Stop the food processor occasionally, use a spatula to scrape down the sides, and push all the ingredients towards the blades. This ensures everything is uniformly blended, resulting in a consistently smooth hummus.
- Allow the Hummus to Rest and Chill: Just like many culinary creations, hummus benefits immensely from a resting period. I always recommend chilling your hummus in the refrigerator for at least 30 minutes, or even a few hours, before serving. This allows the flavors to meld, deepen, and fully develop, creating a more harmonious and delicious taste experience.
- Use a Powerful Food Processor: While a blender can work, a good quality food processor is ideal for hummus. Its wider base and stronger blades are designed to create that signature smooth consistency without overheating the mixture.
Creative Ways to Enjoy Your Homemade Roasted Garlic Hummus
Beyond being a delightful dip, homemade roasted garlic hummus is incredibly versatile and can enhance a myriad of dishes. Here are some of my favorite creative applications:
- The Ultimate Dip: This is its classic calling! Serve it with crunchy pita bread or pita chips, an assortment of fresh veggie sticks (carrots, cucumbers, bell peppers, celery), homemade falafel, or as a vibrant centerpiece on an elaborate charcuterie board or mezze platter.
- Flavorful Dressing for Salads: Thin out a dollop of hummus with a little extra lemon juice or water to create a creamy, flavorful salad dressing. It’s particularly fantastic on Mediterranean-inspired salads or a hearty falafel salad.
- Elevate Your Sandwiches & Wraps: Ditch the mayo and spread a generous layer of roasted garlic hummus onto sandwiches, wraps, or pita bread. It adds moisture, flavor, and a healthy boost of protein and fiber. It’s especially delicious in a veggie wrap or a chicken pita.
- Boost Grain Bowls: A spoonful of hummus adds incredible richness and creaminess to any grain bowl. Layer it with quinoa, roasted vegetables, lean protein, and a drizzle of olive oil for a complete and satisfying meal.
- Healthy Snack Booster: Spread it on rice cakes, crackers, or even apple slices for a quick, nutritious, and satisfying snack.
- Savory Base for Flatbreads: Use hummus as a base sauce for homemade pizzas or flatbreads, topped with fresh vegetables, feta, and herbs, then baked until bubbly.
Smart Make-Ahead Strategies for Hummus
While this homemade hummus recipe is relatively quick, the peeling of chickpeas can take a bit of time. To streamline your cooking process and enjoy fresh hummus even faster, consider preparing some of the components in advance. This way, when you’re ready, all you’ll need to do is combine and blend!
- Prepare Chickpeas in Advance: Drain and rinse your canned chickpeas, then proceed with the skin removal step. Once peeled, transfer the chickpeas to an airtight container and store them in the refrigerator for up to 3-4 days. This makes assembly a breeze when you’re ready to blend.
- Roast Garlic Ahead of Time: Roasted garlic is perfect for prepping in advance. You can roast a larger batch and keep it refrigerated for up to 3 days in an airtight container with a bit of its roasting oil. For longer storage, freeze roasted garlic cloves in an airtight container or ice cube tray (covered with olive oil) for up to 3 months. Thaw in the refrigerator before use.
Storing Your Delicious Roasted Garlic Hummus
Proper storage ensures your creamy roasted garlic hummus remains fresh and flavorful for as long as possible:
- Refrigerator Storage: Any leftover hummus should be transferred to an airtight container. If desired, you can drizzle a thin layer of olive oil over the surface before sealing to help prevent it from drying out and to maintain freshness. Store in the refrigerator for up to one week.
- Freezing for Longer Freshness: Hummus freezes beautifully, making it an excellent candidate for meal prepping. Ensure the hummus has completely cooled (if freshly made) before transferring it to freezer-safe airtight containers or heavy-duty freezer bags. Leave a little headspace for expansion. It can be frozen for up to 3 months.
- Thawing Frozen Hummus: To enjoy frozen hummus, simply transfer it from the freezer to the refrigerator and allow it to thaw overnight. Once thawed, give it a good stir. The texture might be slightly thicker or a little separated initially; a splash of ice water or a squeeze of fresh lemon juice, mixed in vigorously, will help bring back its creamy consistency and fresh flavor.
Frequently Asked Questions About Roasted Garlic Hummus
Absolutely! Chickpeas (also known as garbanzo beans) are the fundamental ingredient in traditional hummus recipes. They are essential for providing the dip’s characteristic earthy flavor, creamy consistency, and nutritional base. While you can make bean dips with other legumes, it wouldn’t be authentic hummus without chickpeas.
Technically, you *could* use garlic powder, but I strongly advise against it for this specific recipe. The entire essence of “roasted garlic hummus” comes from the unique flavor profile of roasted garlic – which is sweet, mellow, and deeply aromatic, a stark contrast to the sharp, raw flavor of garlic powder. Using garlic powder would result in a hummus that tastes entirely different and lacks the complex depth that makes this recipe so special.
A food processor is the ideal tool for achieving the smoothest hummus with minimal effort. While a high-speed blender can also work, you might find yourself needing to stop and scrape down the sides more frequently, and there’s a higher risk of the mixture overheating, which can affect the texture. If using a blender, blend in short bursts and add liquids gradually.
Generally, yes! When you make hummus at home, you have complete control over the ingredients. You can opt for high-quality olive oil, fresh lemon juice, and adjust the amount of salt to your preference. Many store-bought hummuses contain preservatives, unnecessary added oils, or higher sodium levels. Homemade ensures freshness and allows you to tailor it to your dietary needs.
Bitterness in hummus often stems from two main culprits: low-quality tahini or too much tahini. Always choose a good quality, creamy tahini. If your tahini is naturally bitter, you might try reducing the amount slightly or adding a pinch of sugar or honey to balance the flavor. Ensure you are also using enough fresh lemon juice, as its acidity helps cut through any potential bitterness.
Discover More Irresistible Dip Recipes
If you loved this roasted garlic hummus, you’re sure to enjoy these other fantastic dip recipes:
- Hearty Beer Cheese Dip
- Classic Reuben Dip – A Crowd Favorite
- Spicy Jalapeño Popper Dip
- Effortless 3-Ingredient Cheesy Bean Dip

Roasted Garlic Hummus
Shinee Davaakhuu
25
25
6 servings
1 ½ cups
Comment
Print Recipe
Ingredients
- 1 (15 oz) can chickpeas, drained
- 2 tablespoons (30 g) fresh lemon juice
- ¼ cup tahini Note 1
- 1 head of roasted garlic
- ½ teaspoon cumin
- ½ teaspoon salt plus more to taste
- 2-3 tablespoons ice-cold water
- For garnish: smoked paprika Za’atar
Equipment
- 1 food processor
Instructions
- Place the drained and rinsed chickpeas in a sturdy plastic container, cover, and shake vigorously for about 30-60 seconds to loosen up their skins. Then, carefully peel off the skins and discard them. (This step, while taking a little over 20 minutes, significantly improves the final texture of the hummus, making it exceptionally smooth.)
- In a large food processor, combine all the ingredients except for the ice-cold water and any optional garnishes (peeled chickpeas, fresh lemon juice, tahini, cooled roasted garlic, cumin, and salt).
- Blend the mixture until completely smooth, gradually adding the ice-cold water as you blend, a tablespoon at a time, until you achieve a wonderfully creamy consistency. This process usually takes about 1.5 minutes. Remember to stop and scrape down the sides of the food processor bowl as needed to ensure even blending.
⭐️ Did you make this recipe?
Please leave a review and let us know how you liked it!
Tips & Notes
Storing Tips:
– Store leftover hummus in an airtight container in the refrigerator for up to one week. You can drizzle a thin layer of olive oil on top before sealing for added freshness.
– Freeze cooled roasted garlic hummus in a freezer-safe container for up to 3 months.
– Thaw frozen hummus in the refrigerator overnight. Once thawed, give it a quick stir, adding a splash of ice water or lemon juice as needed to restore its creamy consistency.
Nutrition

