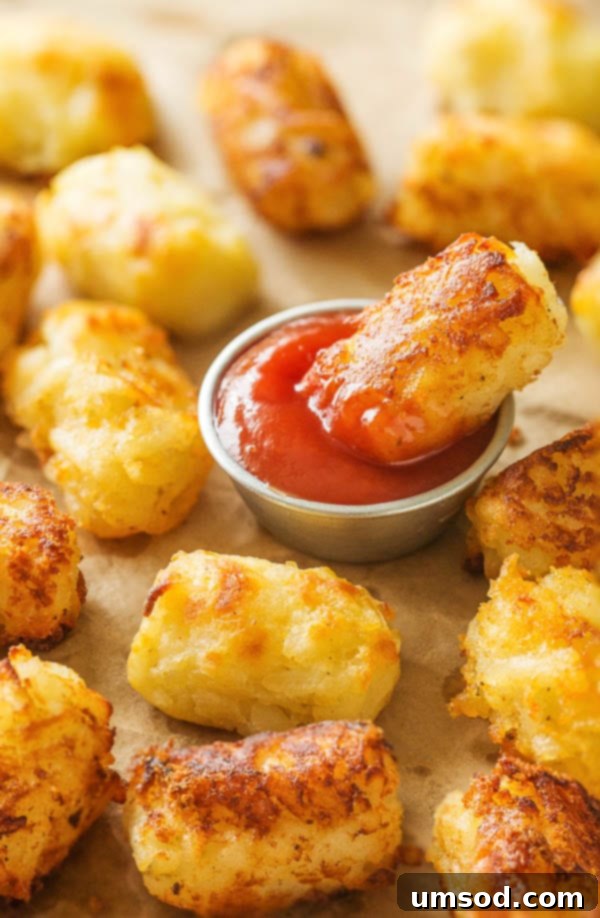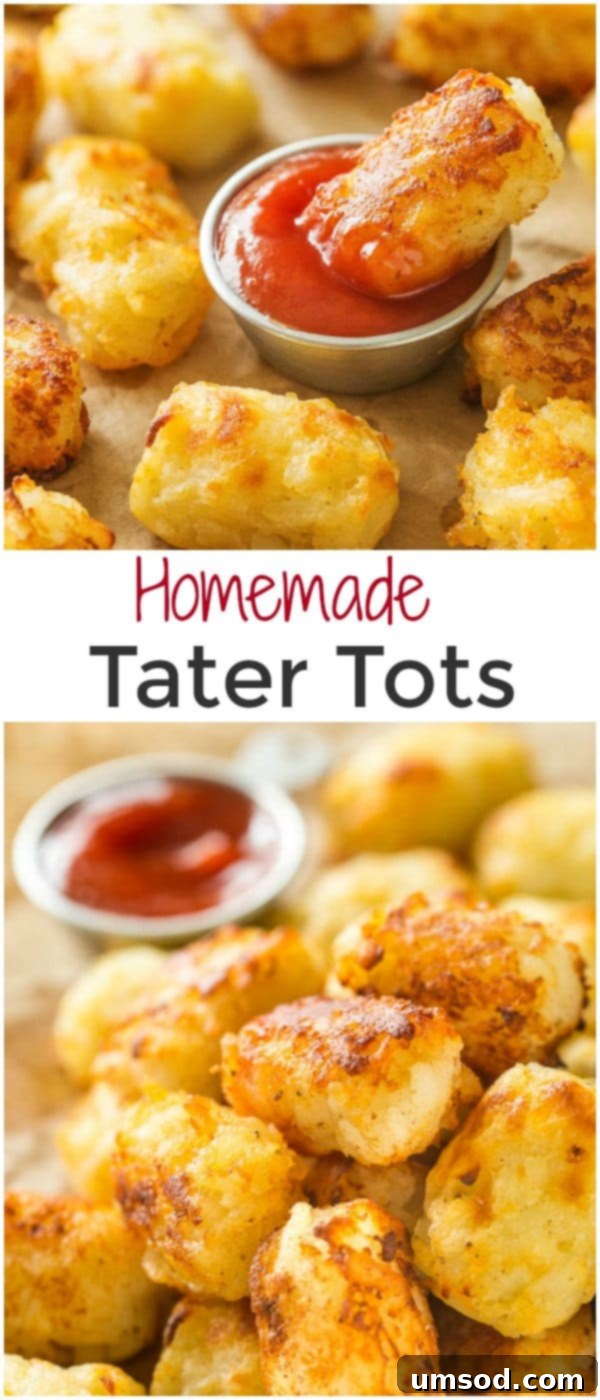
The Ultimate Guide to Fluffy & Cheesy Homemade Tater Tots: Baked or Fried Perfection
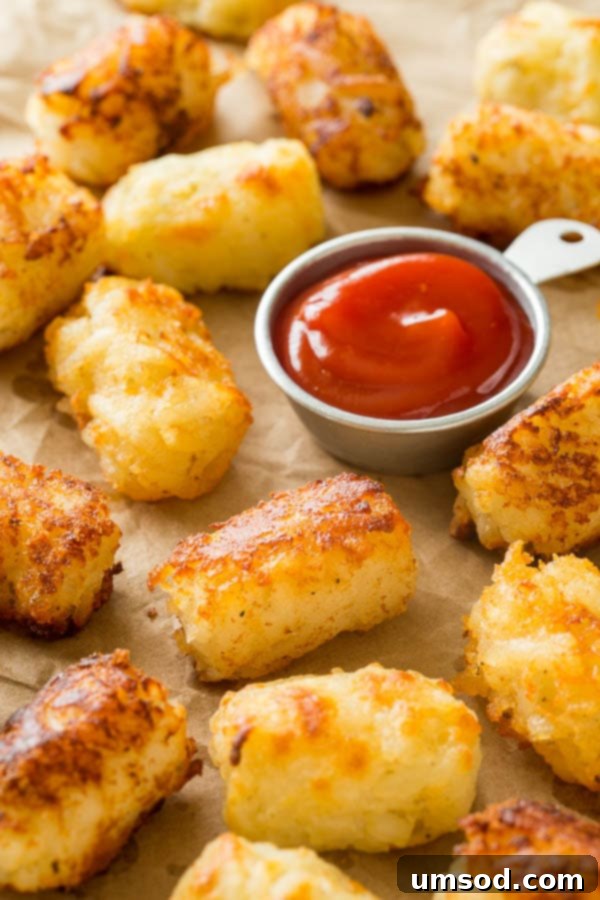
Are you ready to transform your snack game? Imagine golden, crispy bites with a fluffy, cheesy interior, made right in your kitchen with just three main ingredients. Forget the bland, store-bought versions; these homemade tater tots are a revelation! Whether you bake them for a lighter crunch or fry them for that classic, delicate crisp, they are the ultimate crowd-pleaser for both kids and adults.
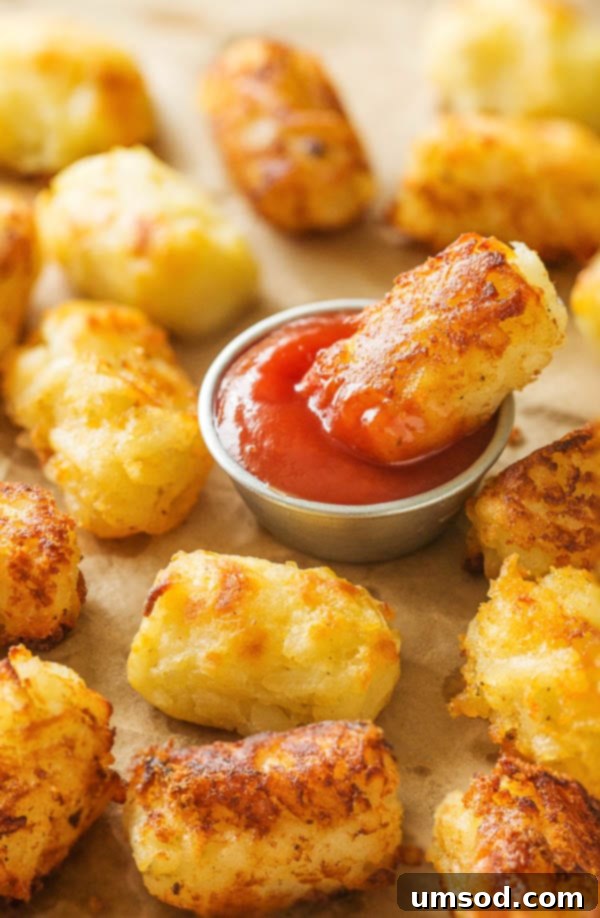
Why Go Homemade? Ditching the Frozen Food Aisle
Let’s be honest, we all have those moments of convenience, reaching for a frozen pizza or ready-made puff pastry. But when it comes to tater tots, I’m a firm believer that homemade is the only way to go. Pre-packaged frozen foods often come with a laundry list of preservatives, artificial flavors, and additives that simply don’t belong in a wholesome snack. While some convenience items are undeniably worth it, the true magic of a tater tot is lost in mass production.
Making your own tater tots from scratch is not only surprisingly easy, but it also puts you in complete control of what goes into your food. No hidden ingredients, no artificial colors, just pure, unadulterated potato goodness infused with rich, melted cheese. The difference in taste and texture is monumental – a fresh, vibrant flavor that simply can’t be replicated by a freezer bag. Plus, the satisfaction of creating these delightful bites yourself is incredibly rewarding.
The Simple Secret: Just 3 Main Ingredients!
The beauty of this recipe lies in its simplicity. You truly only need three core ingredients to create these incredibly delicious tater tots, plus a few common seasonings. This minimalist approach ensures that the natural flavors shine through, making for an authentic and satisfying snack.
- Potatoes: The star of the show! We’ll dive into preparation shortly, but choosing the right potato and cooking it just right is crucial for that perfect fluffy interior.
- Cheese: This is where the “cheesy” goodness comes in. Sharp cheddar or pepper jack are fantastic choices, adding a bold flavor and creamy texture that melts beautifully within each tot.
- All-Purpose Flour: Our simple binding agent. Unlike potato cakes or fritters that might rely on eggs, a small amount of flour is all that’s needed here to hold everything together without altering the light, airy consistency we’re aiming for.
Beyond these three, salt and pepper are essential for seasoning, and you can get creative with other spices to truly make these your own!
Baked vs. Fried: A Texture Showdown for the Ages
The debate rages on: to bake or to fry? Both methods yield incredibly tasty tater tots, but they offer distinct textural experiences. It often comes down to personal preference and what kind of crisp you crave.
- Baked Tater Tots: If you’re looking for a healthier option without sacrificing crispiness, baking is your friend. When baked at a high temperature, these tater tots develop a wonderfully golden-brown exterior that is delightfully firm and crispy. It’s a satisfying crunch, clean and straightforward, perfect for those who prefer a less oily snack. The internal fluffiness remains intact, creating a pleasant contrast.
- Fried Tater Tots: For the purists who chase that classic diner-style experience, frying is the way to go. Frying in a shallow amount of oil creates a uniquely light, delicate, and undeniably crunchy outer shell. There’s a certain “shatter” to a fried tot that baked ones, while crispy, don’t quite achieve. It’s a richer crispiness that often feels more indulgent and satisfying for many.
Ultimately, the choice is yours! I encourage you to try both methods and see which one becomes your personal favorite. Each offers a delicious, albeit slightly different, journey to tater tot bliss.
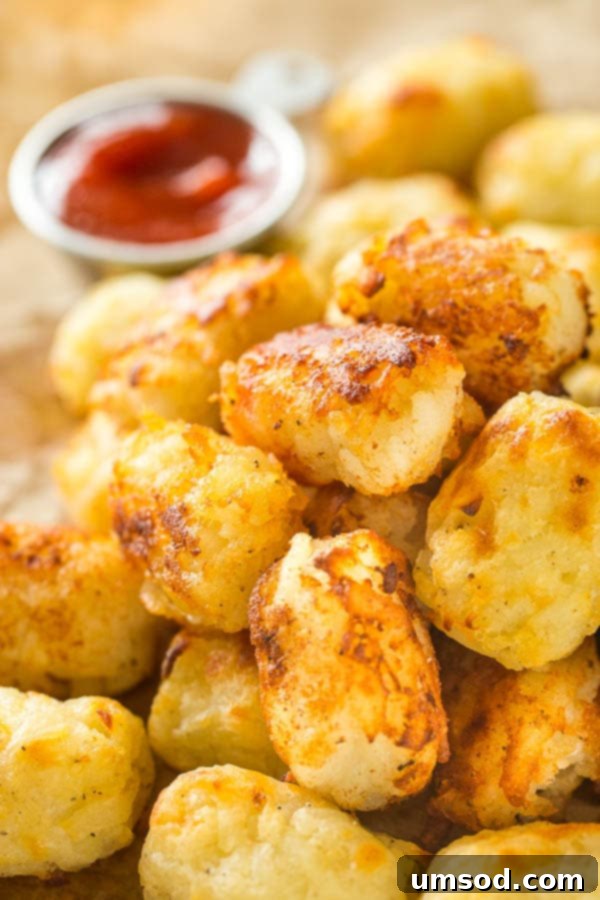
Achieving the Perfect Fluffy Interior and Crispy Exterior
The secret to our tater tots’ success lies in how we handle the potatoes. For that coveted light and fluffy interior, we start by boiling the potatoes until they are *just* fork-tender. This is a crucial step; you don’t want them to be mushy or falling apart, as we’ll be grating them. Grating the cooked potatoes, rather than mashing, creates a wonderful texture and helps prevent them from becoming dense. It allows for tiny pockets of air, contributing to that irresistible fluffiness.
The flour then steps in to gently bind the grated potatoes and melted cheese, ensuring each tot holds its shape beautifully without needing eggs. This omission of eggs is intentional, designed to keep the texture light and distinctly “tot-like,” rather than venturing into the realm of denser potato cakes. The result is a perfect harmony of creamy potato and gooey cheese, encased in a perfectly crisp crust.
Seasoning and Customization: Make Them Your Own!
While salt and pepper are fundamental, these homemade tater tots are a fantastic canvas for flavor experimentation. Don’t be shy about adding your favorite herbs and spices to customize them to your palate. Consider a pinch of garlic powder or onion powder for an extra savory kick, a dash of paprika for subtle warmth and color, or even a sprinkle of cayenne pepper if you enjoy a little heat. Dried herbs like chives or parsley can also add a fresh dimension. The key is to taste and adjust the seasoning to your liking before shaping and cooking.
Prep Ahead: Freeze for Future Snacking!
One of the best things about this recipe is its make-ahead potential. You can easily double or triple the batch and freeze the shaped tater tots for up to a month. This means you can have a delicious, homemade snack ready to go whenever a craving strikes or unexpected guests arrive. Simply arrange the uncooked tots on a baking sheet and freeze until solid, then transfer them to an airtight freezer bag. When you’re ready to cook, there’s no need to thaw; just add a few extra minutes to the baking or frying time.
Serving Suggestions and Pairings
These cheesy homemade tater tots are incredibly versatile. They make an excellent appetizer or side dish for nearly any meal. Serve them alongside burgers, hot dogs, grilled chicken, or even as a fun addition to breakfast or brunch. They’re also perfect on their own as a satisfying snack.
Don’t forget the dipping sauces! Classic ketchup is always a hit, but consider elevating your tater tot experience with homemade ranch, a spicy sriracha mayo, a tangy barbecue sauce, or a creamy garlic aioli. For a truly indulgent treat, sprinkle them with fresh chives or a dusting of Parmesan cheese immediately after cooking.
Ready to Ditch the Store-Bought?
I genuinely hope you’re inspired to try this easy and incredibly rewarding recipe. These fluffy, cheesy homemade tater tots are a testament to how simple, fresh ingredients can create something truly extraordinary. Say goodbye to the mundane and hello to a snack that promises flavor, texture, and homemade goodness in every bite. Your taste buds (and your family!) will thank you.
Cheesy Homemade Tater Tots
Shinee Davaakhuu
30 minutes
40 minutes
1 hour 40 minutes
30 tater tots
Comment
Print Recipe
Ingredients
- 4 medium potatoes about 1 ½ lbs/650gr, peeled
- 1 cup grated sharp cheddar cheese or pepper jack cheese
- 2 tablespoons all-purpose flour
- Salt and pepper to taste
- 2-3 tablespoons melted butter OR vegetable oil for frying
Instructions
- Cut the peeled potatoes in half and place them in a pot filled with cold water. Add 1 tablespoon of salt and bring to a boil over medium-high heat. Reduce the heat to medium-low and simmer for 8-10 minutes, or until just fork-tender, ensuring they are not falling apart. Drain the hot water and add cold water to cool them down. Let them sit in cold water for about 30 minutes until cool enough to handle.
- Once the potatoes are cool to the touch, grate them using a box grater. You should get approximately 4 cups of grated potatoes, which provides a lovely texture for the tater tots.
- In a large mixing bowl, combine the grated potatoes, grated cheese, and all-purpose flour. Mix thoroughly until all ingredients are well combined and the mixture is uniform.
- Season the mixture with salt and pepper to taste. (I typically add about ½ teaspoon of each.) This is also the perfect time to add any other desired seasonings like dried herbs, paprika, garlic powder, or a pinch of cayenne pepper for extra flavor.
- Using a 1.5-tablespoon ice cream scoop (or simply your hands), divide the potato mixture into equal-sized balls. Gently shape these balls into small cylinders, mimicking the classic tater tot shape. TIP: Slightly wet your hands before shaping to prevent the mixture from sticking.
- Baking instructions: Arrange the shaped tater tots on two baking sheets lined with parchment paper or a silicone mat. Lightly brush each tater tot with melted butter. Bake in a preheated oven at 425°F (220°C) for 25-30 minutes, or until they are beautifully golden and crispy.
- Frying instructions: In a large skillet, heat about half an inch of vegetable or canola oil over medium-high heat until it begins to sizzle. Carefully fry the tater tots in batches, being careful not to overcrowd the pan, until they are golden brown and crispy on all sides. Remove the fried tots and place them on a plate lined with paper towels to drain any excess oil.
⭐️ Did you make this recipe?
Please leave a review and let us know how you liked it!
Tips & Notes
To freeze: After shaping, arrange uncooked tater tots on a baking sheet and freeze until solid. Transfer to an airtight bag and store for up to one month. Cook directly from frozen, adding a few extra minutes to the bake/fry time.
Experiment with different cheese types like Monterey Jack for a milder flavor or a blend of cheeses for more complexity.
Nutrition
46kcal
5g
2g
2g
1g
32mg
Appetizer, Snack
American

Did you make this?
Leave a rating and your feedback. Thank you!
This recipe was originally published on November 24th, 2014, and has been updated for clarity and comprehensive detail.
