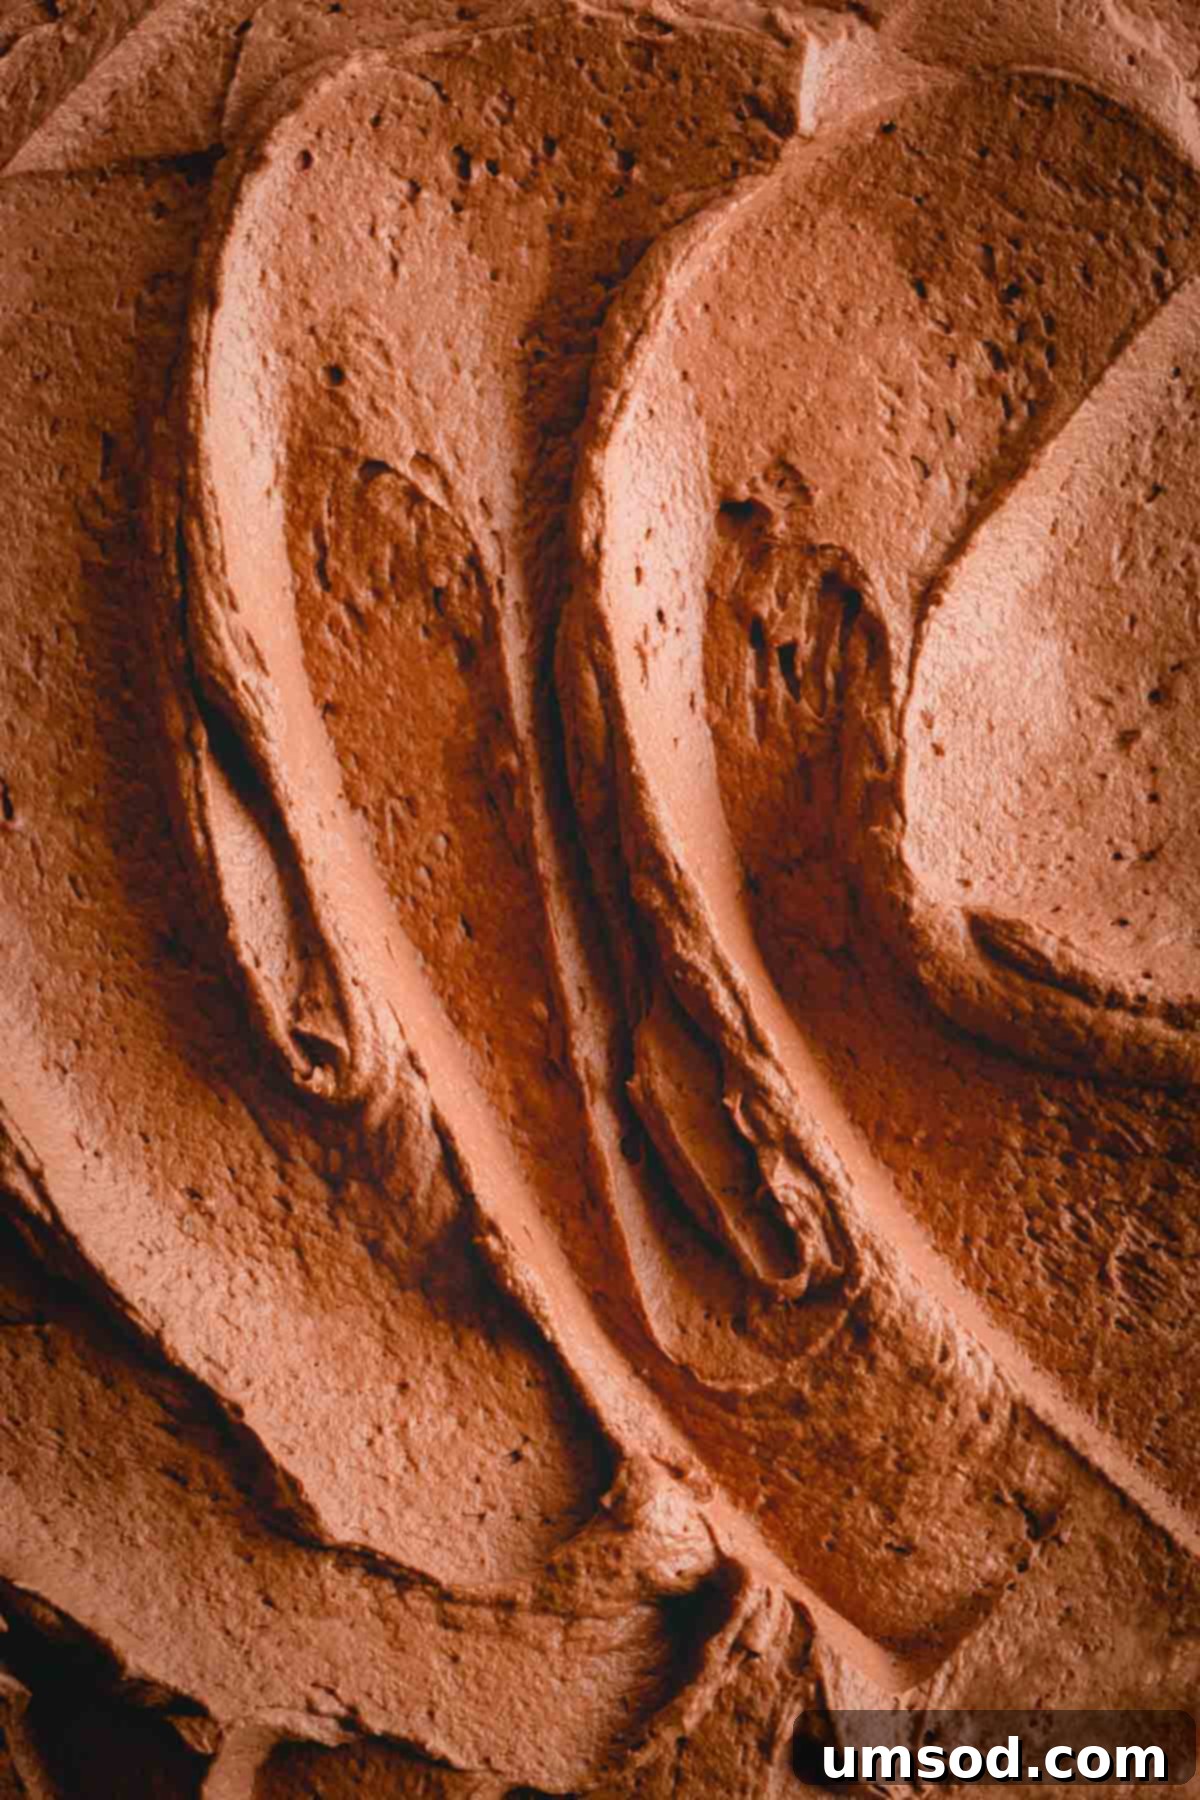
Indulge in the luxurious world of chocolate with this exquisite **Chocolate Mousse Filling**. Crafted to perfection, this recipe delivers a creamy, rich texture combined with an astonishingly light and airy feel, all while bursting with an intense chocolate flavor. It’s the ultimate enhancement for a variety of desserts, making it ideal for generously filling elegant layer cakes, delicate roll cakes, or artfully decorating individual cupcakes.
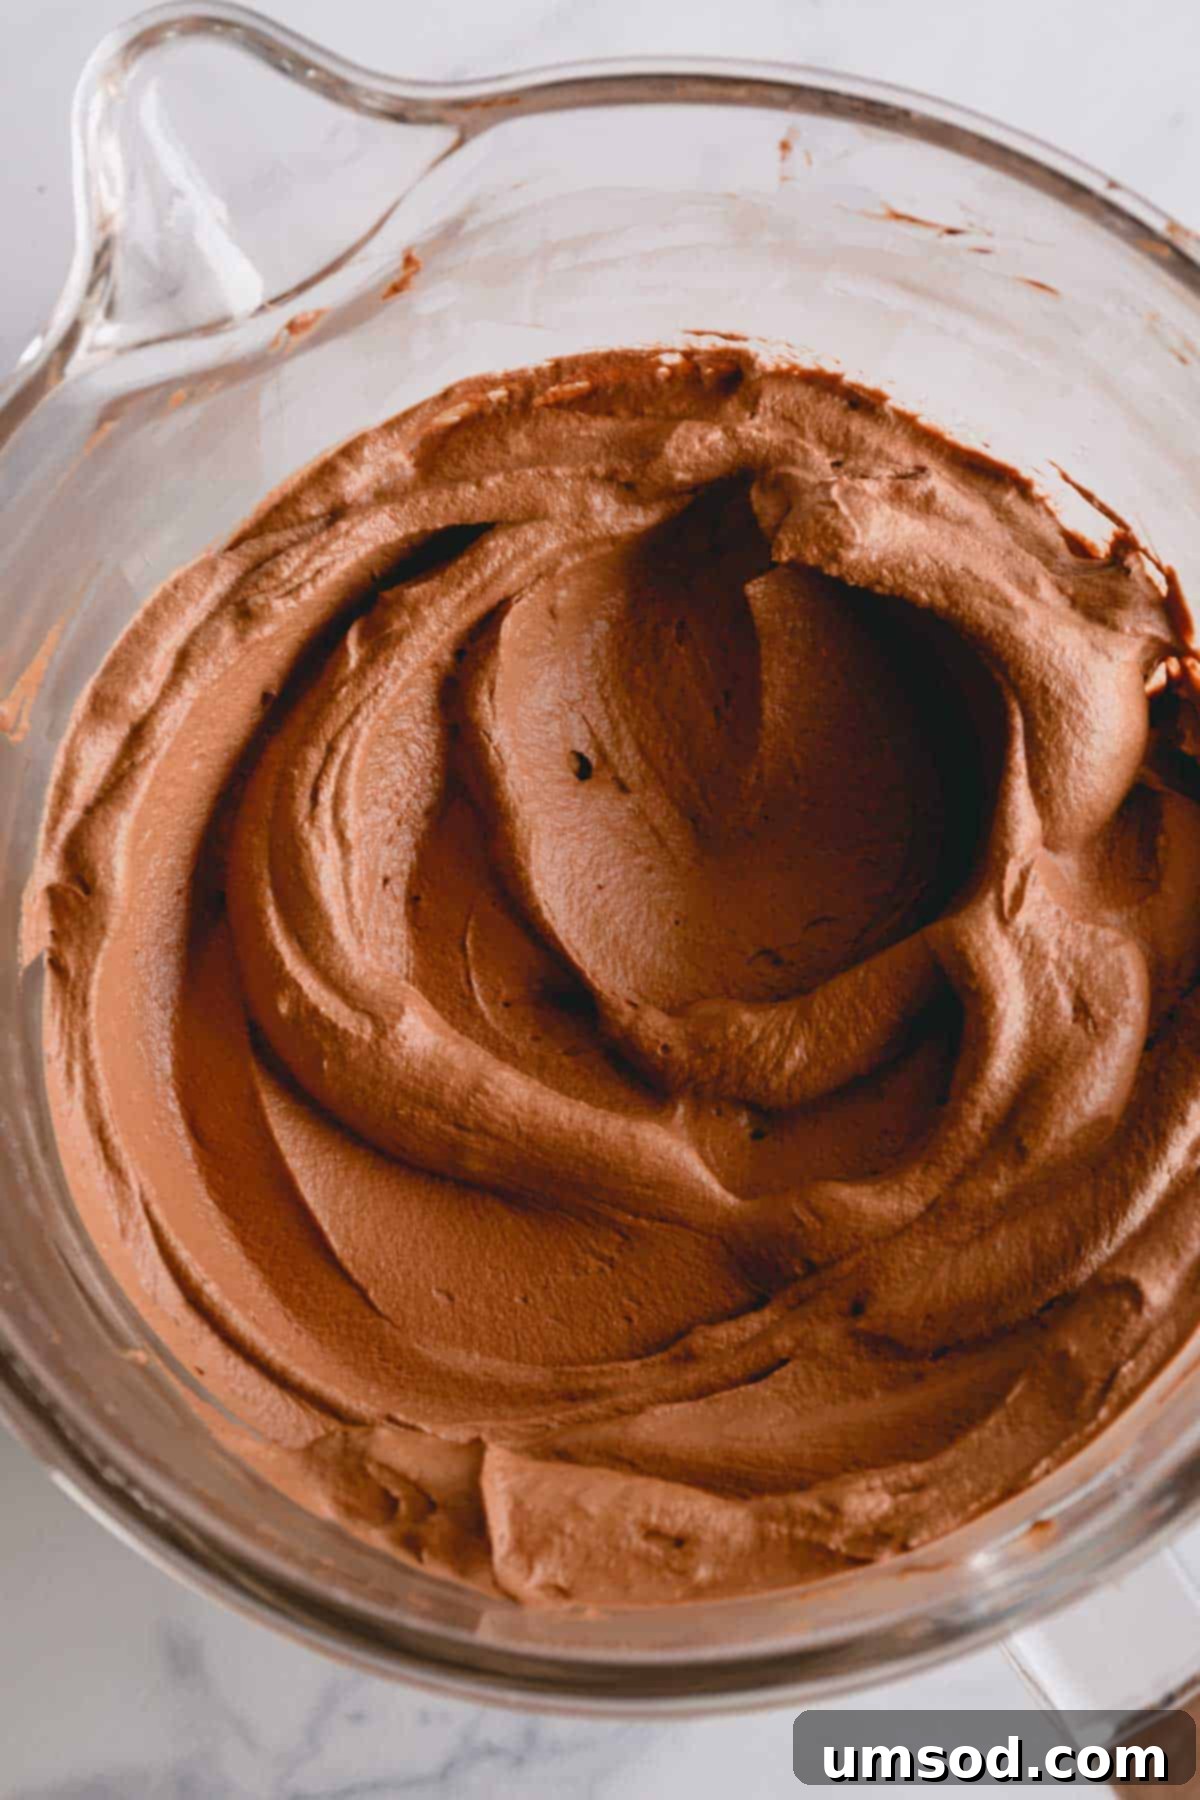
Why This Decadent Chocolate Mousse Will Become Your Go-To Filling
Don’t let the sophisticated appearance and gloriously pillowy texture fool you into thinking this chocolate mousse is difficult to achieve. While its glossy sheen and decadent chocolate taste suggest hours of culinary effort, this chocolate mousse frosting is remarkably quick and simple to make! It’s essentially a harmonious blend of freshly whipped cream gently folded into perfectly melted chocolate. The inherent properties of the chocolate work wonders, stabilizing the cream to create a robust yet incredibly light structure, all while imparting that deep, rich chocolate flavor we all crave.
This recipe is not just another filling; it’s a game-changer for home bakers and dessert enthusiasts alike. Here’s why you’ll be utterly captivated:
- The Ultimate Chocolate Cake Companion: This mousse provides the absolute best filling for any chocolate cake, enhancing its flavor and adding a melt-in-your-mouth texture that standard buttercream simply can’t match.
- Customizable Chocolate Intensity: Whether you prefer the mellow sweetness of milk chocolate, the balanced notes of semi-sweet, or the profound depth of dark chocolate, this recipe allows you to easily customize the flavor profile to your exact preference.
- Effortlessly Simple & Fast: Forget complicated techniques! This mousse comes together in just about 25 minutes from start to finish, making it a perfect last-minute addition to elevate any dessert.
- Versatile Dessert Enhancer: Beyond cakes, its airy texture and rich flavor make it incredibly versatile for a wide array of sweet treats.
While I confess I could easily enjoy this luscious chocolate mousse by the spoonful straight from the bowl, my absolute favorite application is using it as the star filling in classic chocolate layer cakes. The contrast between the soft cake and the ethereal mousse is simply divine. But don’t stop there! Experiment with it in elegant roll cakes, summery ice cream cakes, delightful cupcakes, or even as a surprisingly decadent filling for fresh strawberries. The possibilities are endless, and the results are always spectacular!
Mastering Your Mousse: Essential Ingredient Insights
Crafting the perfect chocolate mousse begins with understanding the role of each ingredient. Quality ingredients, handled correctly, are the secret to that irresistible texture and profound chocolate flavor.
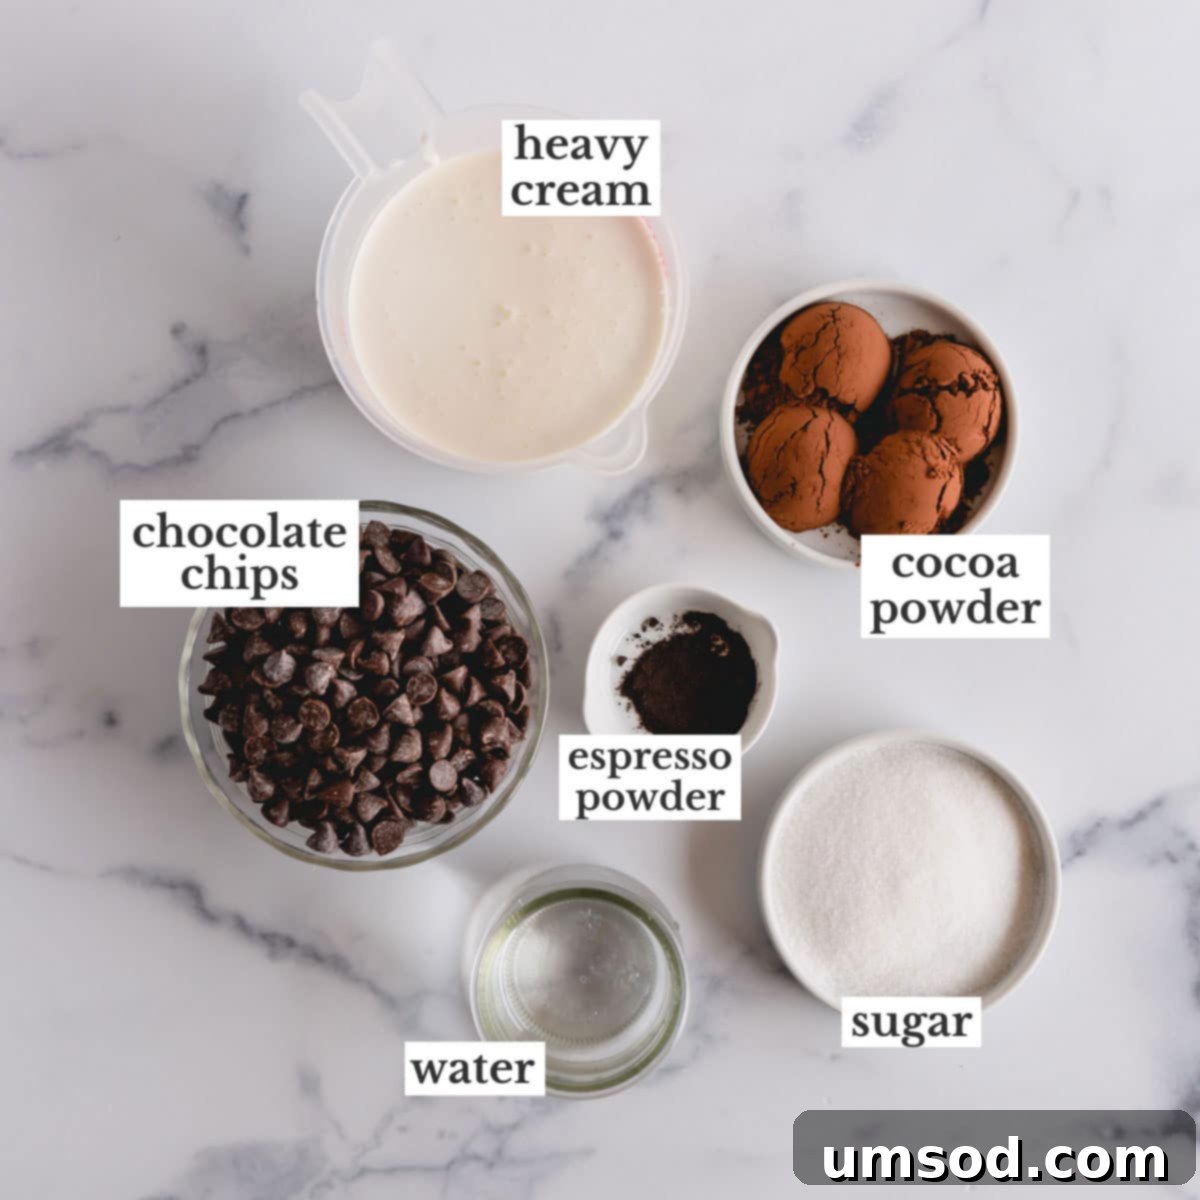
- Hot Water: This seemingly simple ingredient plays a crucial role in “blooming” the cocoa powder. When cocoa powder is mixed with a hot liquid, its flavor compounds are released and intensified, resulting in a much richer and more robust chocolate taste in your final mousse. Don’t skip this step – it’s key to maximizing the chocolate impact!
- Unsweetened Cocoa Powder: The combination of unsweetened cocoa powder and melted chocolate is what gives this mousse its exceptionally robust and rich chocolatey taste. For those who desire an even deeper, more intense chocolate experience, consider swapping regular unsweetened cocoa powder with dark cocoa powder (often labeled as “Dutch-processed dark cocoa”). This will yield a dramatically darker color and a more profound chocolate flavor, perfect for serious chocolate lovers.
- Instant Espresso Powder: If you’re not a coffee enthusiast, don’t worry – you won’t taste the coffee itself! Instant espresso powder is a secret weapon in many chocolate recipes because it significantly enhances and deepens the natural flavor of the chocolate. It acts as a flavor amplifier, making your chocolate taste “more chocolatey” without imparting any coffee notes.
- Semi-Sweet Chocolate Chips: The original recipe calls for semi-sweet chocolate, which typically contains a cacao content ranging from 40% to 60%. This offers a balanced sweetness and rich chocolate flavor. However, feel free to customize! For a sweeter, milder filling, opt for milk chocolate chips. For a deep, intensely dark filling, choose dark chocolate with a higher cacao percentage (60% or more). For the absolute best results, always use high-quality chocolate chips from reputable brands like Ghirardelli or Callebaut. Alternatively, a finely chopped chocolate bar of your preferred cacao percentage will work perfectly and often melts more smoothly.
- Heavy Cream (Cold): Heavy whipping cream is the backbone of this mousse, providing its signature light and airy texture. As you whip it, the fat molecules stabilize, and air is incorporated, transforming it into stiff, fluffy whipped cream. The most critical tip here is to ensure your heavy cream is *always* very cold. Warm cream simply will not whip properly, no matter how long you try, leading to a runny, disappointing mousse.
- Granulated Sugar: A touch of granulated sugar adds the perfect amount of sweetness to balance the bitterness of the chocolate. Beyond flavor, sugar also plays a role in stabilizing the whipped cream, helping it hold its shape and maintain its delightful texture.
Crafting Your Creamy Chocolate Mousse: A Step-by-Step Guide
Creating this irresistible chocolate mousse cake filling is much simpler than you might imagine, and I promise you’ll achieve perfect results by following these straightforward instructions. Each step is designed to guide you smoothly through the process, ensuring a flawless, luscious mousse every time.
- Prepare the Cocoa Mixture: In a small, heatproof bowl, combine the unsweetened cocoa powder and instant espresso powder. Pour the hot water over them and stir thoroughly with a mini whisk or a spoon until both powders are completely dissolved and you have a smooth, dark paste. Set this aside. The hot water will “bloom” the cocoa, intensifying its flavor.
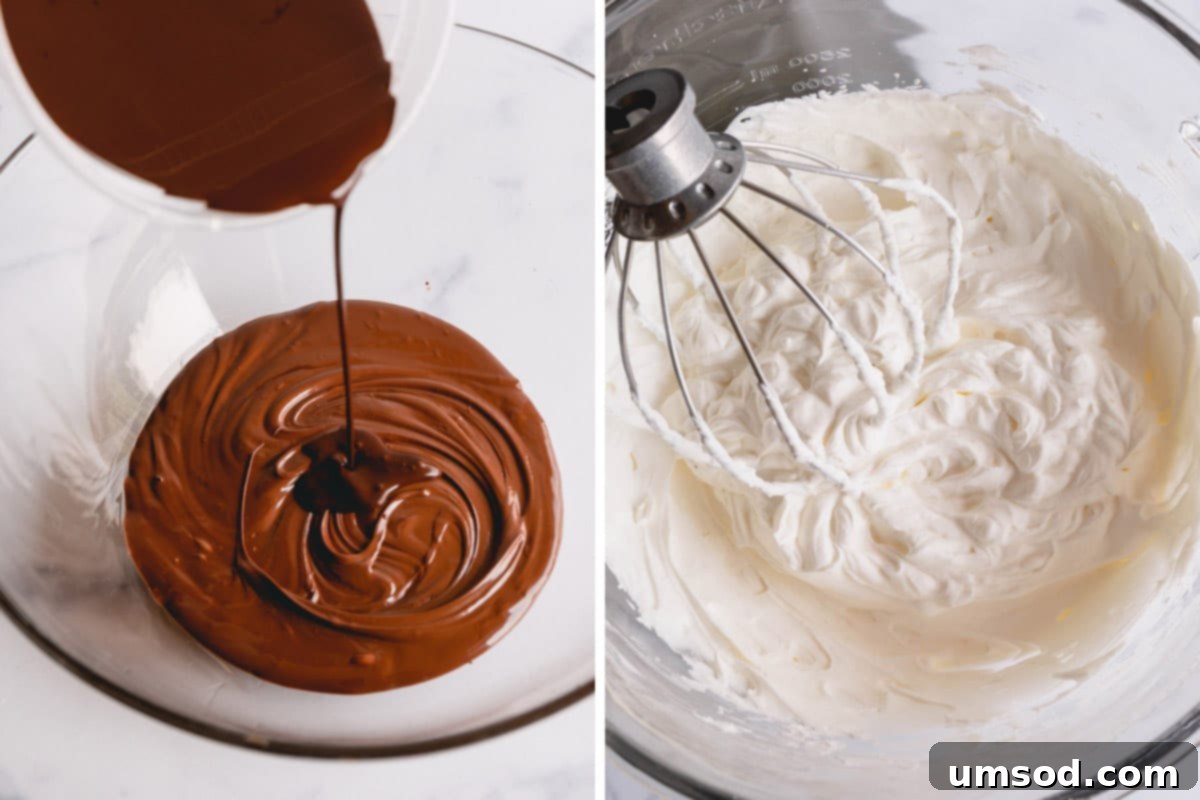
- Melt the Chocolate: Fill a small saucepan with about two inches of water and bring it to a gentle simmer over medium heat. Place your semi-sweet chocolate chips into a large, heatproof bowl (ensure it’s clean and dry). Carefully set this bowl over the simmering water, making sure the bottom of the bowl does not touch the water. Gently stir the chocolate chips constantly with a rubber spatula until they are completely melted and smooth, with no lumps remaining. Once melted, carefully remove the bowl from the heat and set it aside to cool slightly. It’s crucial that the chocolate isn’t hot when you combine it later.
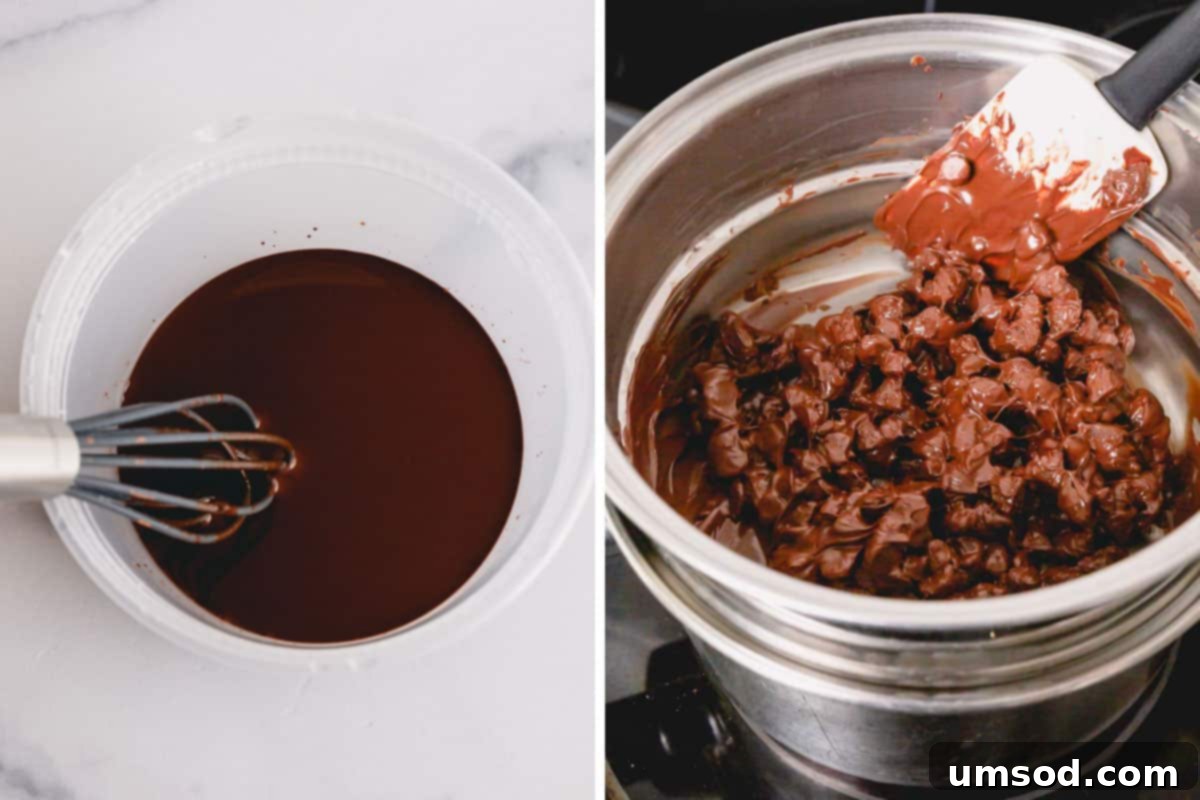
- Combine Cocoa and Chocolate: Once the melted chocolate has cooled to a lukewarm temperature (it should still be liquid but not warm to the touch), pour the prepared cocoa and espresso mixture into it. Stir gently but thoroughly until the cocoa mixture is fully incorporated into the chocolate, creating a uniformly rich, dark chocolate base. Ensure there are no streaks of cocoa paste visible.
- Whip the Heavy Cream: In a separate, chilled mixing bowl fitted with the whisk attachment (if using a stand mixer), pour the very cold heavy cream and granulated sugar. Begin whipping on medium-low speed, gradually increasing to medium-high. Continue to whip until stiff peaks form. Stiff peaks mean that when you lift the whisk, the cream will hold a defined peak or point that stands upright without collapsing.
Pro Tip: Avoid Overwhipping!
Be extremely careful not to overwhip the cream. Overwhipped cream will begin to separate, developing a grainy or curdled texture, and eventually turn into butter. The ideal consistency for whipped cream in mousse is smooth, voluminous, and firm enough to hold its shape.
- Lighten the Chocolate Base: Take about one-third of your freshly whipped cream and gently add it to the cooled chocolate mixture. Using a rubber spatula, carefully fold the cream into the chocolate. This initial step helps to lighten the dense chocolate base, making it easier to incorporate the rest of the whipped cream without deflating it. Fold until the mixture is mostly combined, but some streaks of cream are still acceptable at this stage.
- Fold in Remaining Whipped Cream: Now, add the remaining two-thirds of the whipped cream to the lightened chocolate mixture. Continue to fold gently using broad, sweeping motions from the bottom of the bowl upwards, being careful not to overmix. Stop folding as soon as no white streaks of cream remain and the mixture is uniformly colored and light. Overmixing at this stage can deflate the mousse, losing its signature airy texture.
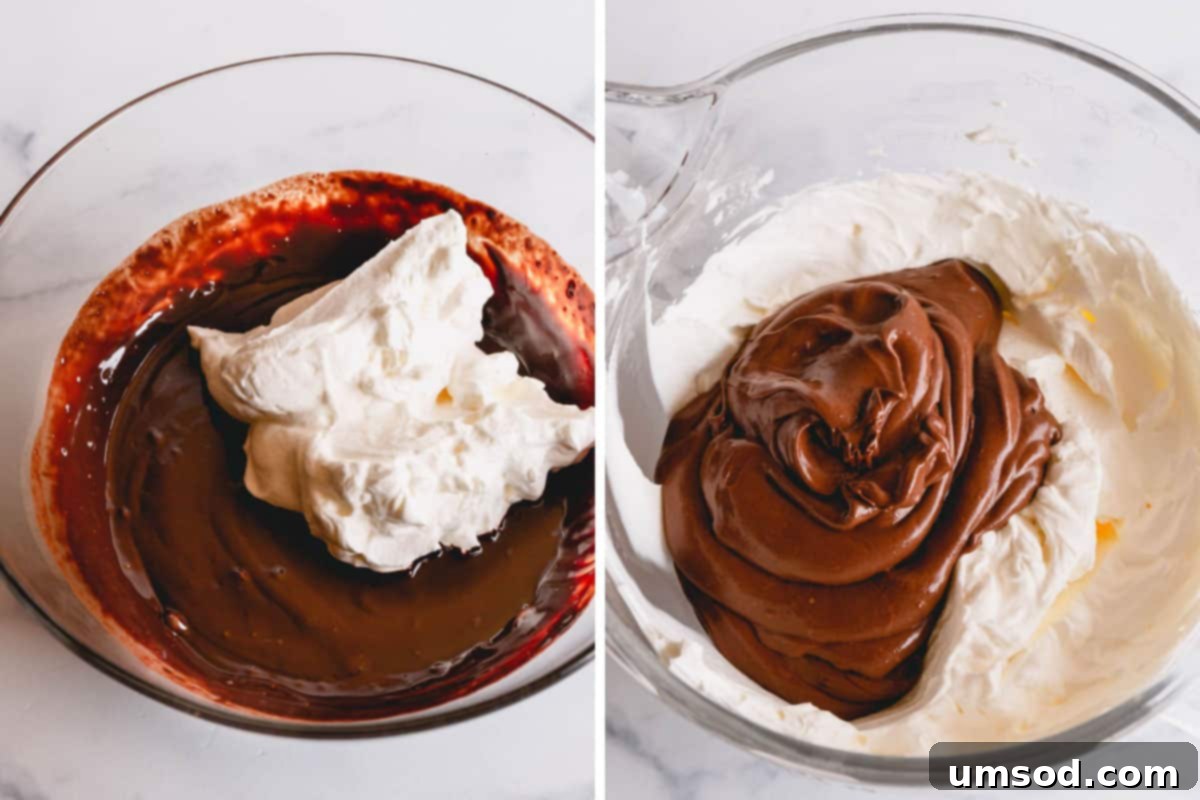
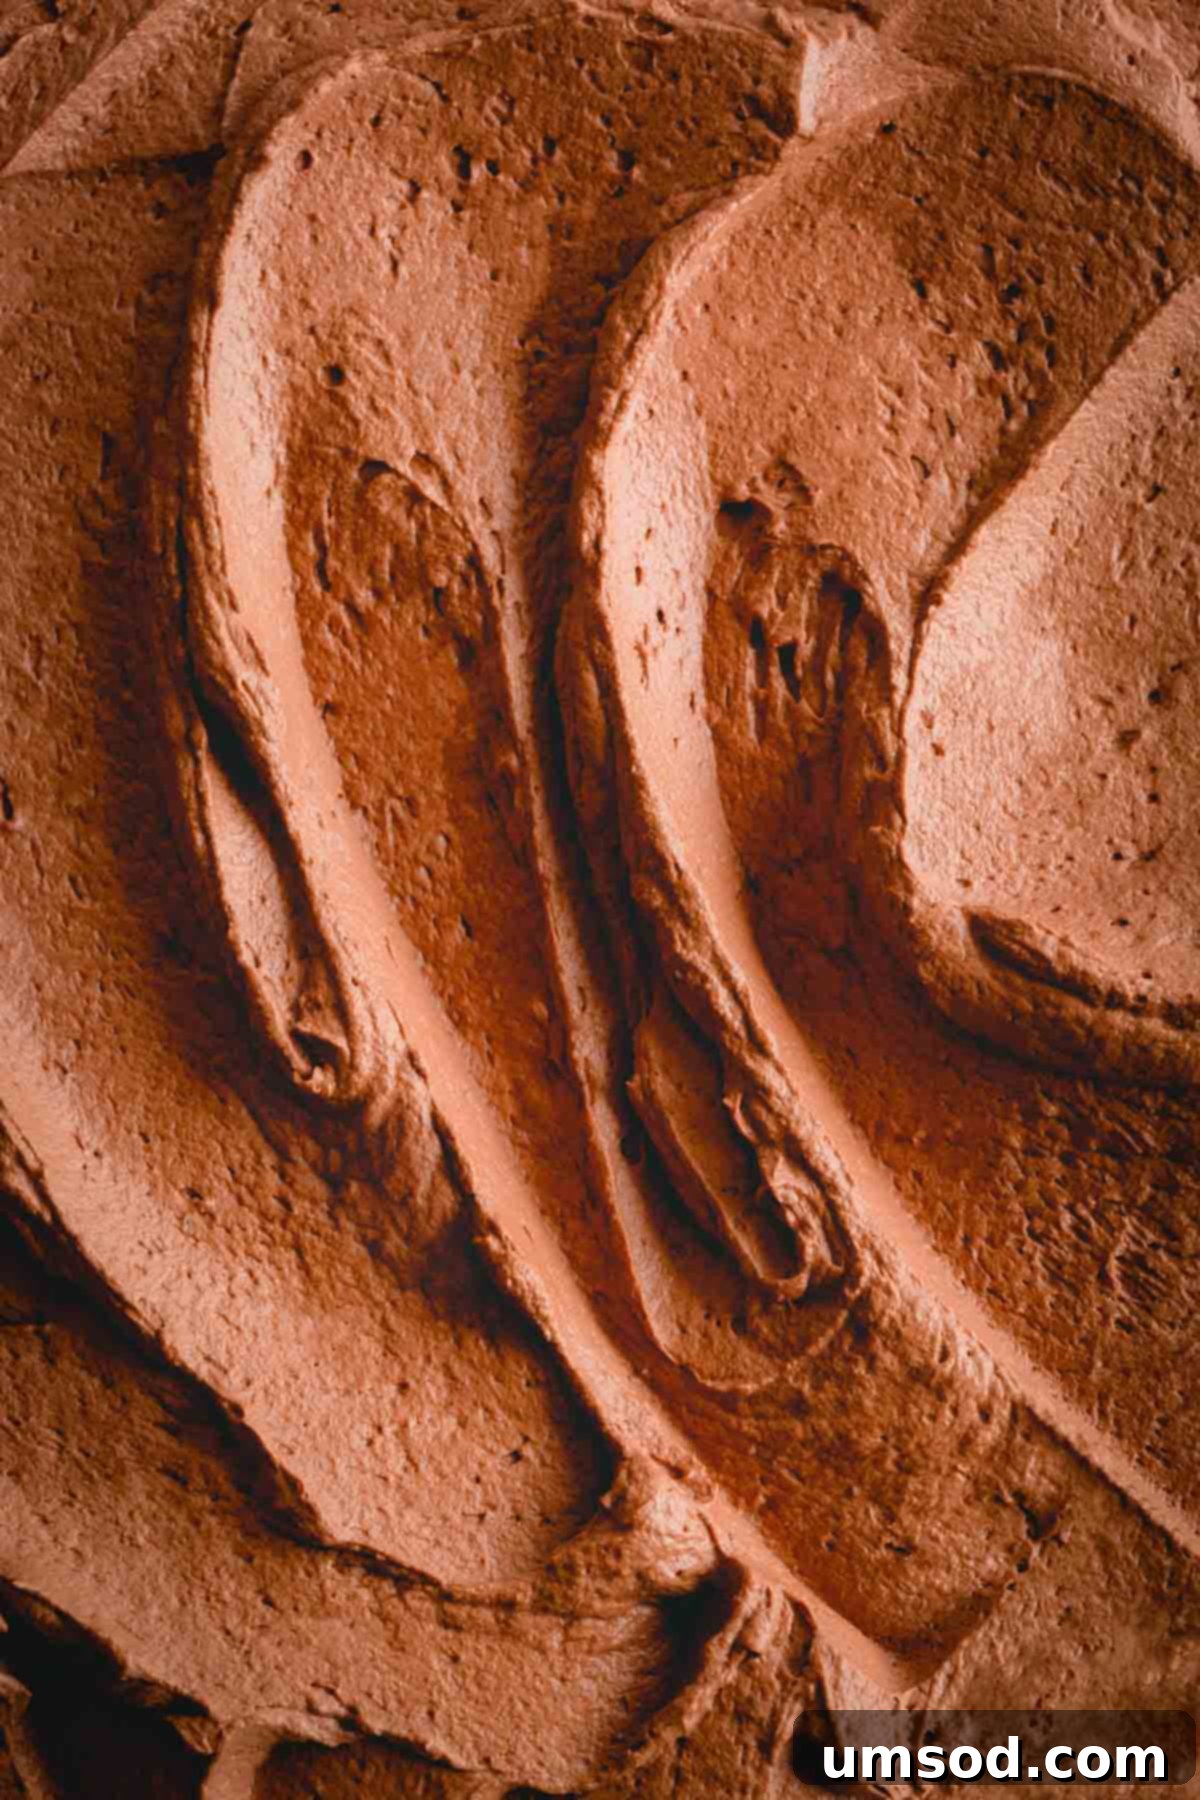
Your decadent chocolate mousse filling is now ready! You can use it immediately or chill it slightly for a firmer consistency, depending on your application. Get ready to elevate your desserts!
Essential Tips for a Flawless Chocolate Mousse Every Time
Achieving that perfect, airy, and rich chocolate mousse is easy when you keep a few key principles in mind. These tips will help you avoid common pitfalls and ensure your mousse is always a showstopper:
- Cool the Melted Chocolate Completely: This is arguably the most critical step. After melting your chocolate, allow it to cool to room temperature or even slightly cooler before you begin folding in the whipped cream. If the chocolate is still warm or hot, it will instantly melt the delicate whipped cream, leaving you with a runny chocolate soup instead of a fluffy mousse. Patience here is key!
- Alternative Melting Method (Microwave): While a double boiler is recommended for gentle, even melting, you can certainly use a microwave if you’re careful. Place your chocolate chips in a microwave-safe bowl and heat them in short, 30-second intervals. Stir thoroughly after each interval. It’s vital not to overheat the chocolate, as it can easily burn and seize, becoming thick and unusable. Stop microwaving when there are still a few small lumps, and the residual heat will melt them as you stir.
- Maintain Chilled Heavy Cream: As mentioned, warm heavy cream simply will not whip properly. Always ensure your heavy cream is straight out of the refrigerator, as cold as possible. Some pro bakers even chill their mixing bowl and whisk attachment for 10-15 minutes before whipping to ensure maximum coldness, which aids in achieving those perfect stiff peaks.
- Never Overwhip the Cream: While stiff peaks are desired, there’s a fine line between perfectly whipped cream and overwhipped cream. If you continue whipping beyond the stiff peak stage, the cream will start to separate, becoming clumpy and losing its smooth texture. Eventually, it will turn into butter. Keep a close eye on your cream as it whips, stopping as soon as it holds firm peaks.
- Gentle Folding Technique: When combining the chocolate mixture with the whipped cream, use a light hand and a rubber spatula. Employ a “cut and fold” motion: cut down through the center of the mixture, sweep the spatula across the bottom of the bowl, and then fold it over the top. Rotate the bowl and repeat. This technique incorporates the ingredients without deflating the precious air you’ve whipped into the cream.
Creative Ways to Utilize Your Delicious Chocolate Mousse Filling
This versatile chocolate mousse filling isn’t just for cakes! Its rich flavor and delightful texture make it an incredible addition to a wide array of desserts. Here are some inspiring ideas to put your freshly made mousse to good use:
- Simple Dessert by the Spoonful: For an immediate indulgence, spoon the mousse into elegant glasses, top with a dollop of extra whipped cream, a sprinkle of chocolate shavings or colorful sprinkles, and savor it directly. It’s a quick, effortless dessert that truly satisfies.
- Elegant Stuffed Strawberries: Elevate fresh strawberries by using a small paring knife to hull out their centers. Then, pipe the chocolate mousse filling into the cavities. For an extra touch of decadence, dip the filled strawberries in melted chocolate and chill until set. These make perfect party appetizers or sophisticated treats.
- Gourmet Cupcake Filling: Transform ordinary cupcakes into gourmet delights. Use a cupcake corer or a small knife to cut out the center of baked cupcakes (like these Kahlua cupcakes), then pipe a generous amount of chocolate mousse icing inside. Top with frosting for an extra surprise in every bite.
- Decadent Layer in Frozen Desserts: Add an incredible chocolate layer to your homemade ice cream cakes or creamy cheesecakes. The mousse provides a contrasting light texture against the denser components, creating a truly memorable dessert experience.
- Trifle Sensation: Layer this chocolate mousse into a trifle bowl with crumbled cookies (like Oreos or chocolate wafers), fresh berries, and additional whipped cream. Spread it evenly for a visually stunning and incredibly decadent chocolate layer that will impress any guest.
- Donut or Eclair Filler: Pipe the mousse into homemade or store-bought donuts, eclairs, or cream puffs for an elevated, bakery-style treat.
- As a Dip for Fruits: Serve chilled mousse alongside an assortment of fresh fruits like bananas, pineapple chunks, or berries for a delightful and easy dessert dip.
Storing Your Chocolate Mousse Filling for Optimal Freshness
While this chocolate mousse filling is truly at its peak when enjoyed on the day it’s made, it can be prepared slightly in advance if needed. Proper storage is crucial to maintain its light texture and fresh flavor:
- Best When Fresh, But Prep Ahead: For the best taste and texture, try to make and use the mousse on the same day. However, if planning is essential, you can prepare it up to 24 hours in advance.
- Refrigeration is Key: Transfer the finished chocolate mousse filling to an airtight container. Alternatively, you can simply cover the bowl tightly with plastic wrap, ensuring it makes contact with the surface of the mousse to prevent a skin from forming. Refrigerate promptly for up to 24 hours.
- Softening Before Use: When you’re ready to use the chilled filling for your cake or other desserts, allow it to sit on the kitchen counter for about 15-30 minutes at room temperature. This brief period will slightly soften the mousse, making it easier to spread or pipe without losing its delightful airy quality.
Frequently Asked Questions About Chocolate Mousse Filling
The composition of chocolate mousse can vary significantly depending on the specific recipe! Classic French chocolate mousse often involves a base of melted chocolate, whipped egg yolks for richness, stiffly beaten egg whites for aeration, and sometimes butter, all balanced with sugar. However, simplified versions, like this recipe, are frequently made with a combination of rich melted chocolate and light, airy whipped cream. Both approaches, regardless of the method, consistently feature chocolate and a touch of sweetness from sugar.
Layer cakes offer a fantastic canvas for various delicious fillings! Beyond this delightful chocolate mousse, you can explore a wide range of options. Popular choices include creamy Swiss meringue buttercream (known for its silky texture), rich French buttercream, classic American buttercream, or luscious fruit jams. Other fantastic choices include light cream fillings, sweet pie fillings, smooth custards, tangy citrus curds (like lemon or lime), or decadent chocolate ganache. The best choice often depends on the flavor profile of your cake and your personal preference for sweetness and texture.
No, double cream is not the same as heavy cream, although they are both rich dairy products. Double cream, commonly found in the UK, has a significantly higher fat content, typically around 48% milk fat. In contrast, heavy cream (or heavy whipping cream), prevalent in the US, generally contains about 36% milk fat. While you can use double cream as a substitute, be aware that its higher fat content means it will whip much faster and become stiff more quickly. Exercise extra caution to avoid overwhipping it, as it can separate and curdle very easily due to its richness.
Yes, chocolate mousse filling absolutely needs to be refrigerated. This type of mousse is designed to be enjoyed chilled, as it maintains its firm yet fluffy texture best when cold. If left out at room temperature for an extended period, it will gradually lose its shape and light, airy consistency, becoming a runny mess. More importantly, since it contains fresh whipped cream, which is a dairy product, it is highly perishable and must be kept refrigerated to prevent spoilage and ensure food safety.
Discover More Irresistible Mousse Recipes
If you’ve fallen in love with this chocolate mousse, you’ll be thrilled to explore other delightful mousse creations:
- Creamy Pumpkin Mousse Pie
- Pistachio Eclairs with White Chocolate Pistachio Mousse Filling
- Healthy and Decadent Avocado Chocolate Mousse
- Chocolate Roll Cake with Sweet Raspberry Mousse Filling
- Perfect Chocolate Cupcakes with Luxurious Chocolate Mousse Frosting

Rich & Easy Chocolate Mousse Filling
Shinee Davaakhuu
This chocolate mousse filling is incredibly creamy and rich, featuring a wonderfully light and airy texture and an intense chocolatey flavor! It’s the perfect choice for filling elegant layer cakes, delicate roll cakes, and decorating beautiful cupcakes, elevating any dessert to a new level.
20
5
25
24 servings
Comment
Print Recipe
Ingredients
- ½ cup (120 ml) hot water
- 4 tablespoons (30 g) unsweetened cocoa powder (Note 1: Use dark cocoa for richer flavor)
- ½ teaspoon instant espresso coffee powder
- 1 ½ cups (260 g) semi-sweet chocolate chips (Note 2: Use quality chocolate for best results)
- 2 cups (480 ml) heavy cream, very cold
- 2 tablespoons (30 g) granulated sugar
Equipment
- Small bowl
- Heatproof bowl (for double boiler)
- Small saucepan
- Mixing bowl with whisk attachment (for whipping cream)
- Rubber spatula
Instructions
- Melt Chocolate: Using a double boiler (or microwave in 30-second intervals), melt the chocolate chips until smooth and glistening. Remove from heat and allow to cool to lukewarm.
- Bloom Cocoa: In a small bowl, dissolve the cocoa powder and instant espresso powder in the hot water. Stir until a smooth paste forms.
- Combine Chocolate Base: Stir the cocoa mixture into the cooled melted chocolate until fully combined and smooth. Ensure the cocoa mixture is warm to prevent the chocolate from seizing.
- Whip Cream: In a chilled mixing bowl with a whisk attachment, whip the very cold heavy cream and granulated sugar until stiff peaks form. Be careful not to overwhip.
- Lighten Chocolate: Add about one-third of the whipped cream into the cooled chocolate mixture. Gently fold with a rubber spatula until mostly combined.
- Complete Mousse: Add the remaining whipped cream to the chocolate mixture. Gently fold until no white streaks remain and the mousse is uniformly light and fluffy. Avoid overmixing.
⭐️ Did you make this recipe?
Please leave a review and let us know how you liked it!
Tips & Notes
Note 1: For an exceptionally rich and dark chocolate flavor, consider using dark cocoa powder (Dutch-processed). It provides a deeper color and more intense taste.
Note 2: The type of chocolate used significantly impacts the final flavor. Milk chocolate will result in a sweeter, milder mousse. Semi-sweet offers a balanced richness, while dark chocolate chips (60% cacao or higher) will yield an intense, deep chocolate mousse. Always use high-quality chocolate for the best texture and flavor.
Storing Tips:
– This chocolate mousse filling is at its best on the day it’s prepared, showcasing its perfect airy texture.
– If you need to prepare it in advance, transfer the mousse to an airtight container or cover the bowl tightly with plastic wrap and refrigerate for up to 24 hours.
– Before using, allow the filling to sit at room temperature for 15-30 minutes to soften slightly, making it easier to spread or pipe without compromising its delicate texture.
Nutrition
135kcal
8g
1g
11g
5g
7mg
Dessert, Filling, Frosting
American, French

Did you make this?
Leave a rating and your feedback. Thank you!
With this comprehensive guide, you’re now equipped to create a truly unforgettable chocolate mousse filling that will impress everyone. Its rich flavor, incredibly light texture, and versatility make it a must-have recipe for your baking repertoire. So go ahead, whip up a batch, and transform your ordinary desserts into extraordinary culinary masterpieces!
