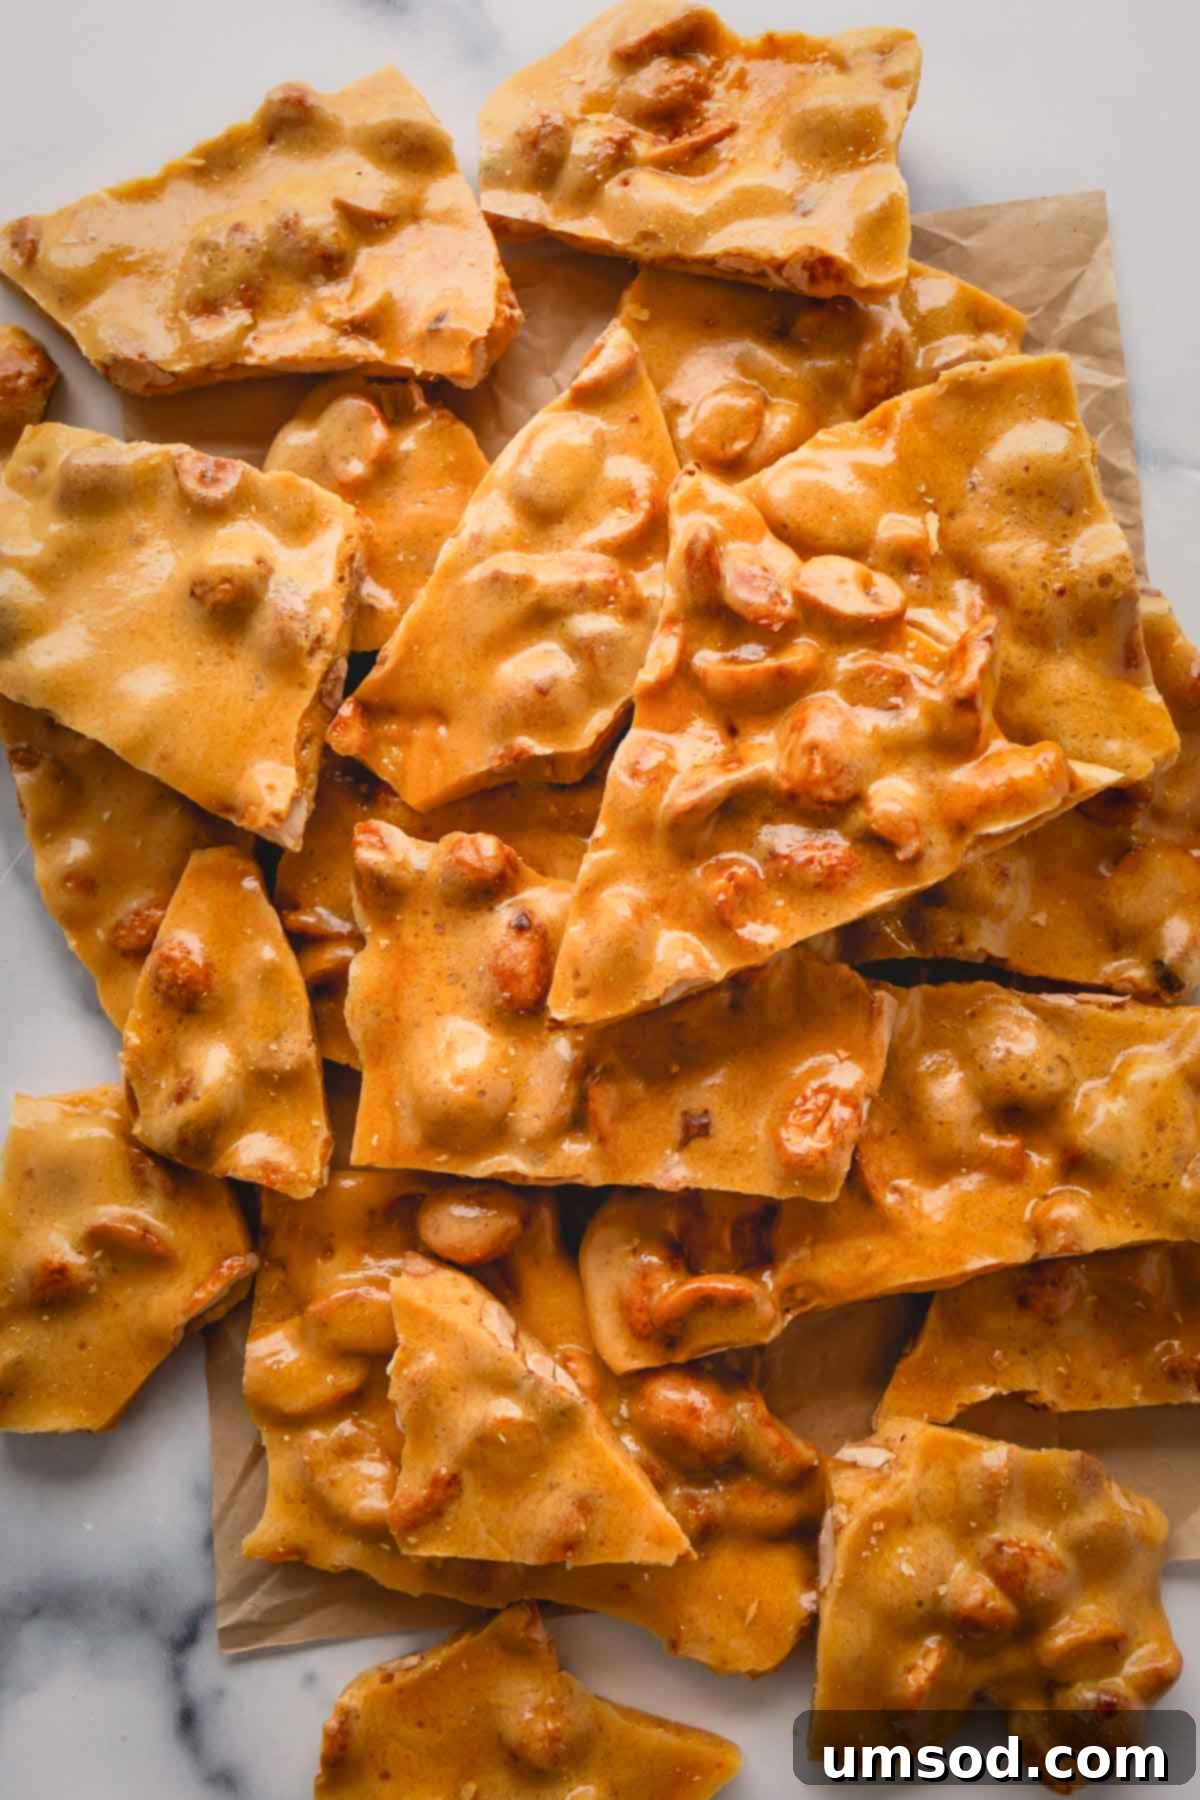
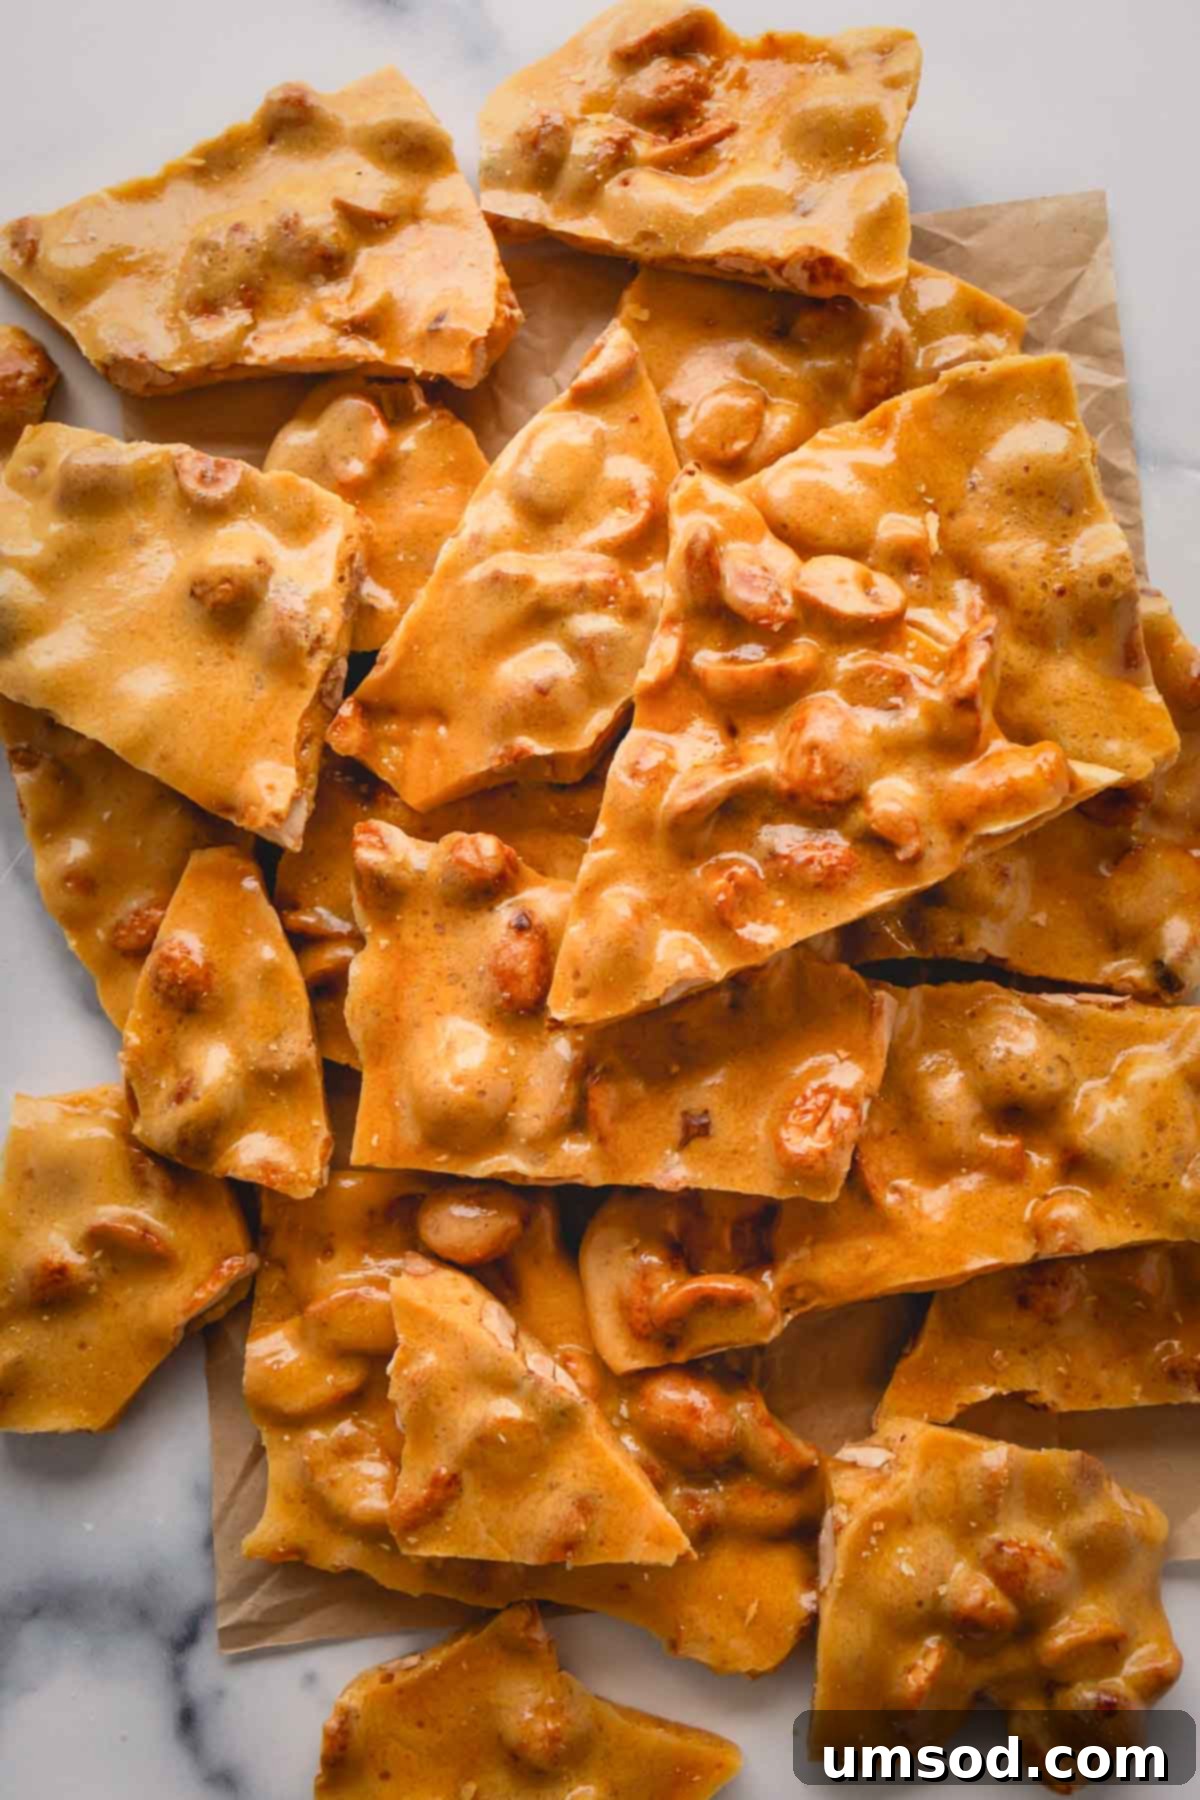
Discover the ultimate recipe for unbelievably crunchy, melt-in-your-mouth microwave peanut brittle that won’t leave you struggling with rock-hard candy or a sticky mess! This foolproof method is not only incredibly quick, requiring minimal hands-on time, but it also eliminates the need for a candy thermometer. Get ready to impress your taste buds and loved ones with perfect homemade brittle every single time.
Pin this delicious recipe now to save for later!
Pin It
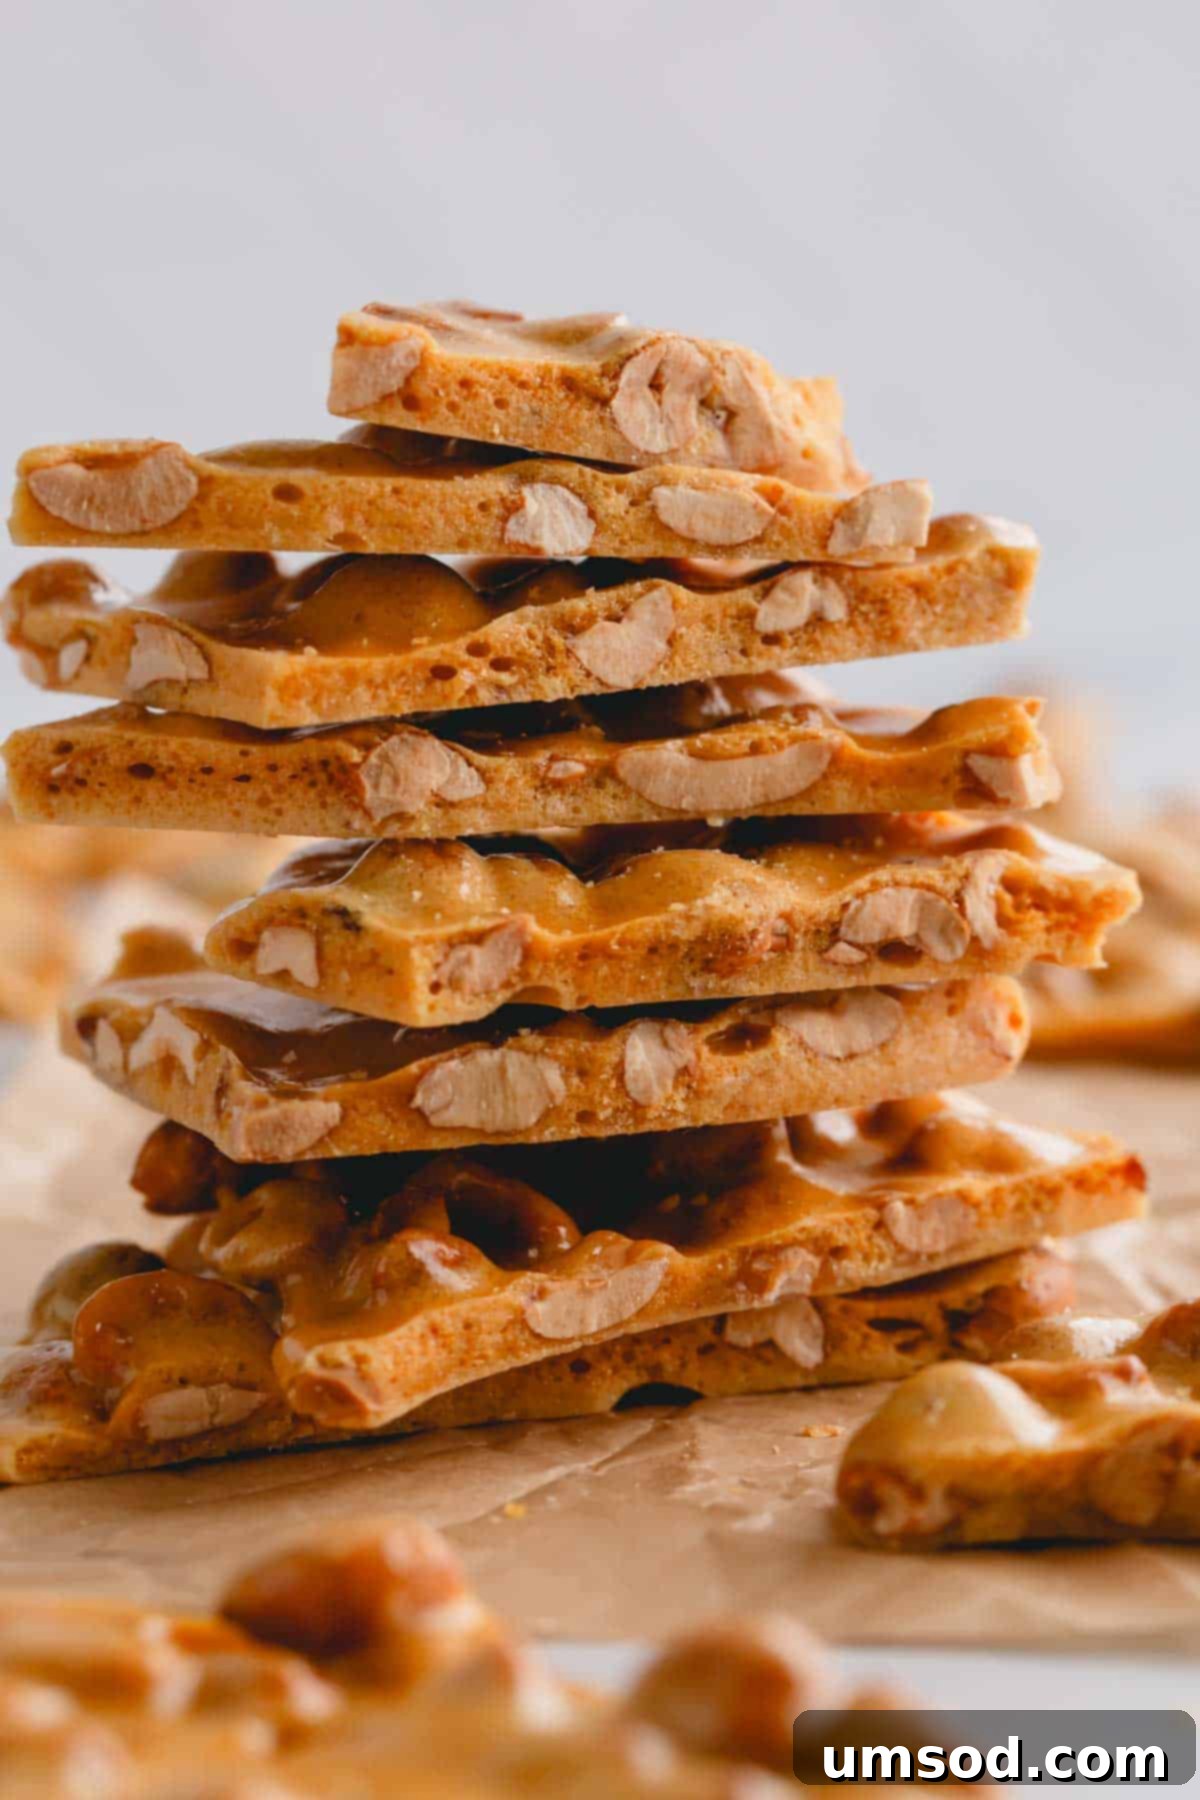
This incredible microwave peanut brittle recipe comes from a cherished family friend, Leo, who has truly mastered the art of candy making. His peanut brittle is legendary – a perfect balance of sweet and nutty flavors, with an unbelievably light, airy, and melt-in-your-mouth crunch that is utterly addicting. Once you try it, you’ll understand why it quickly became a favorite!
Fortunately for all of us, Leo was incredibly generous and shared his treasured recipe, allowing everyone to recreate this delightful treat in their own kitchens. It’s a game-changer for homemade candy, promising delectable results without any fuss.
Why You’ll Adore This Easy Microwave Peanut Brittle Recipe:
This microwave peanut brittle recipe is not just easy to make; it’s almost dangerously easy to eat! We’re not exaggerating when we say this might be the simplest and best peanut brittle recipe you’ll find anywhere. It’s designed for busy home cooks who crave impressive results with minimal effort. Here’s what makes it truly special:
- No Candy Thermometer Needed: Forget the stress of monitoring exact temperatures. This recipe relies on precise microwave timing, making it truly foolproof.
- Stovetop-Free Convenience: Avoid standing over a hot stove stirring a sugar mixture. The microwave does most of the work, keeping your kitchen cooler and cleaner.
- Minimal Hands-On Time: You’ll only spend about 10 minutes actively preparing this delicious brittle. The microwave and cooling time handle the rest.
- Simple Equipment & Ingredients: All you need is one microwave-safe bowl with a lid, a microwave, and a handful of common pantry staples.
Beyond its incredible ease, this peanut brittle is genuinely addictive. You’ll fall in love with its rich, nutty, and perfectly sweet flavors, complemented by a light, airy texture that delivers the most satisfying crunch with every bite. It’s the ideal treat for holidays, gifting, or simply satisfying your sweet tooth.
And if you’re a chocolate lover eager to elevate your homemade candy experience, be sure to try our chocolate peanut brittle recipe next. It’s an irresistible twist on this classic favorite!
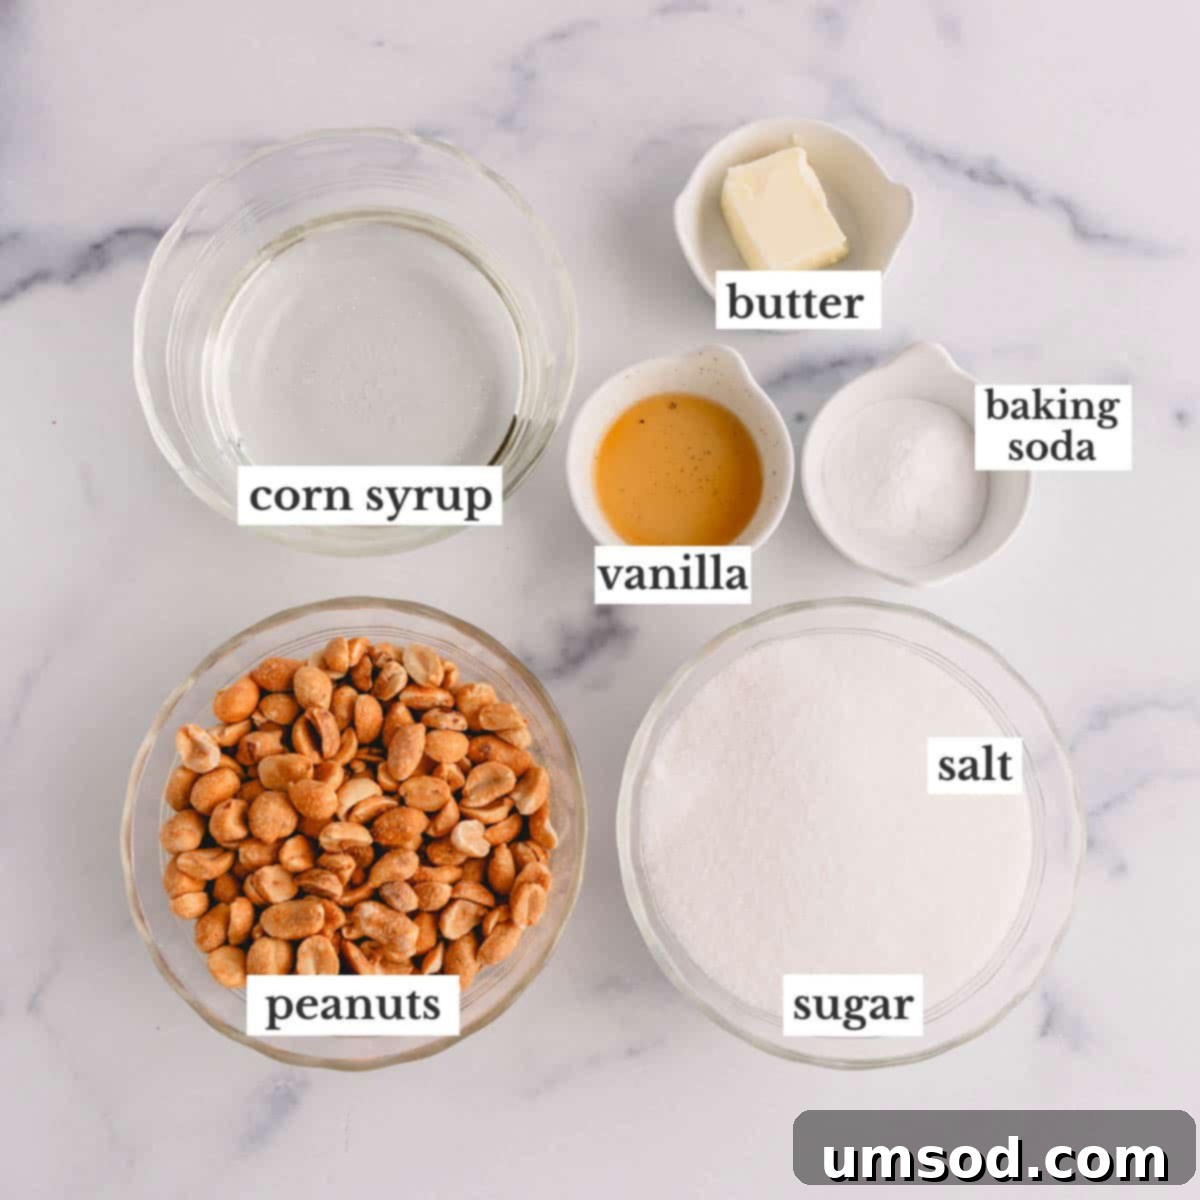
Key Ingredients for Perfect Microwave Peanut Brittle:
Crafting the perfect peanut brittle starts with understanding the role of each ingredient. Here’s a closer look at what you’ll need and why:
- Dry-Roasted Peanuts: Opt for unsalted peanuts that have been dry-roasted without oil. The roasting process brings out their essential nutty flavor, which is crucial for the brittle’s taste. While raw peanuts won’t deliver the same depth, lightly salted dry-roasted peanuts can also be used successfully, just be mindful of the added salt.
- Granulated Sugar: This is the foundation of your brittle’s sweetness and its classic golden, caramelized hue. As it melts and cools, the sugar forms the sturdy, glass-like structure that holds your brittle together.
- Salt: A small pinch of salt is essential to balance the intense sweetness of the sugar and corn syrup, enhancing the overall flavor profile of the brittle.
- Light Corn Syrup: This liquid sweetener is key to achieving a smooth, non-grainy texture. Unlike sugar alone, corn syrup prevents crystallization during heating, ensuring your brittle remains clear, crisp, and delightful.
- Butter: The original recipe called for margarine, but high-quality unsalted butter works beautifully, contributing a rich, creamy flavor and helping to prevent sticking. You’ll achieve the same excellent results.
- Pure Vanilla Extract: A splash of pure vanilla extract adds a wonderful aromatic depth and warmth, rounding out the sweet and nutty flavors. For an extra special touch, consider making your own DIY vanilla extract. Always avoid imitation varieties for the best taste.
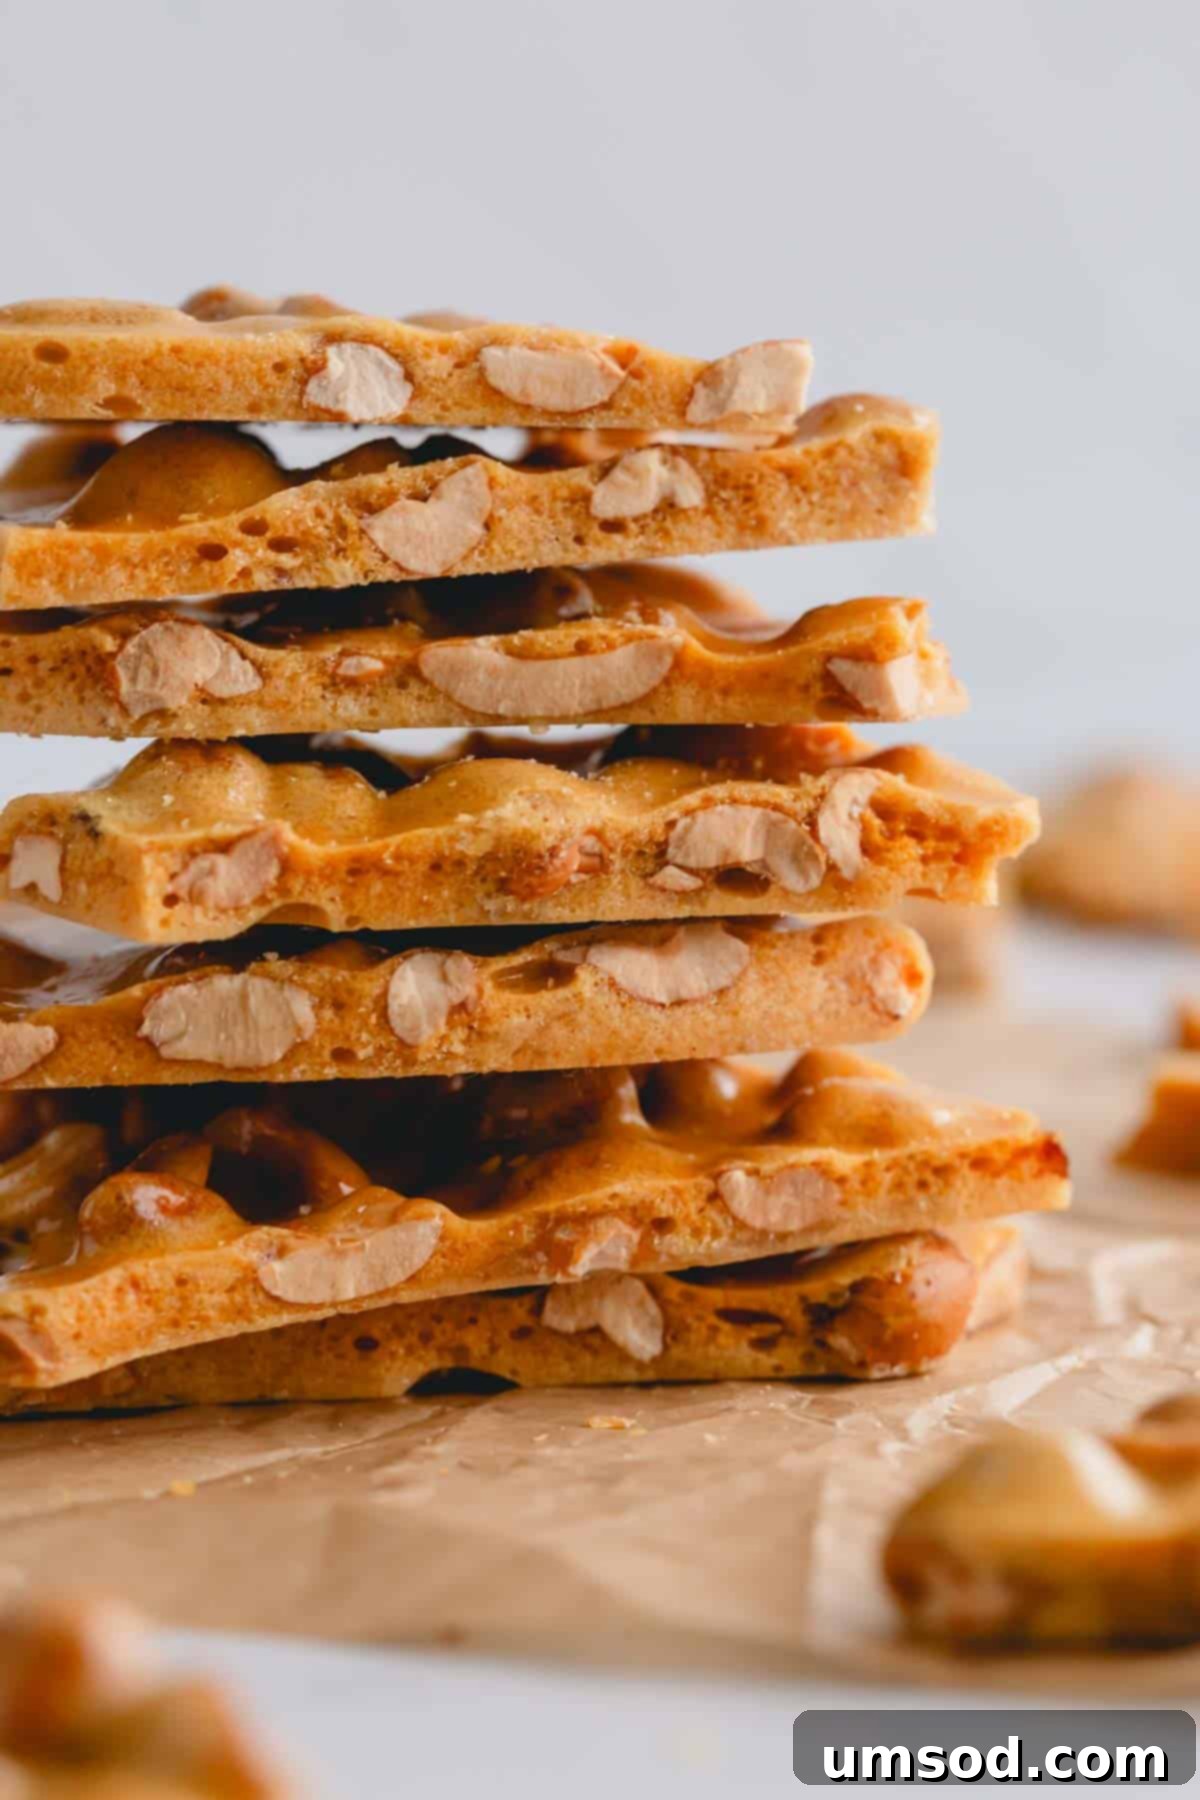
- Baking Soda: This might seem like an unusual addition, but baking soda is the secret ingredient for that light, airy, and truly “brittle” texture. It reacts with the hot sugar mixture to create tiny air pockets, making the candy easy to bite into and giving it a satisfying crunch.
Step-by-Step Guide: How to Make Homemade Microwave Peanut Brittle:
Before you begin this quick and delightful candy-making adventure, ensure your workspace is prepared. Evenly coat a large baking sheet (approximately 13×18 inches) with a good quality nonstick cooking spray. This crucial step prevents the hot brittle from sticking and makes for easy removal later. Having everything ready beforehand is key, as this recipe moves quickly!
Microwave Session 1: The Initial Melt
- Combine Ingredients: In a 1-quart, microwave-safe glass bowl (glass is preferred over plastic for better heat distribution and preventing burning), combine your dry-roasted peanuts, granulated sugar, salt, and light corn syrup. Give them a good stir to ensure all ingredients are well mixed.
- First Microwave Cycle: Place the lid securely on the bowl. Microwave the mixture on high for precisely 3 minutes. After this initial heating, carefully remove the bowl from the microwave (it will be hot!) and give the mixture a thorough stir. The sugar should begin to dissolve and meld with the corn syrup.
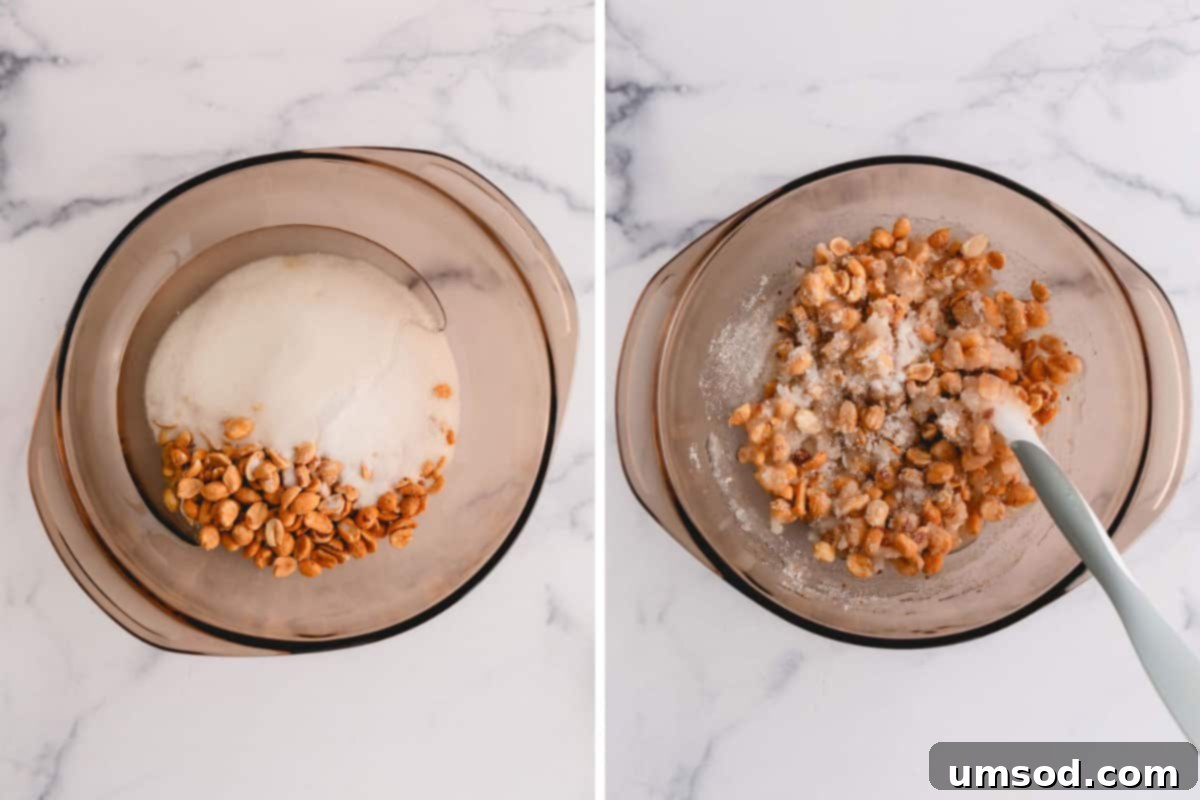
Important Tip: Prevent Burning
It is absolutely essential to cover your microwave-safe bowl during the heating sessions. An uncovered peanut mixture will cook unevenly and, more importantly, will likely burn, resulting in a bitter, unusable brittle. The lid helps to trap heat and moisture, promoting even cooking and preventing scorching.
Microwave Session 2: Developing Flavor
- Second Microwave Cycle: Replace the cover firmly on the bowl. Return the mixture to the microwave and heat for an additional 3.5 minutes on high. This longer session allows the sugar to fully dissolve and the mixture to begin its caramelization process.
- Stir in Butter and Vanilla: Carefully remove the bowl once more. Uncover it, and quickly stir in the butter (or margarine) and pure vanilla extract. The butter will melt into the hot candy mixture, adding richness, while the vanilla infuses its delightful aroma. Stir until fully incorporated.
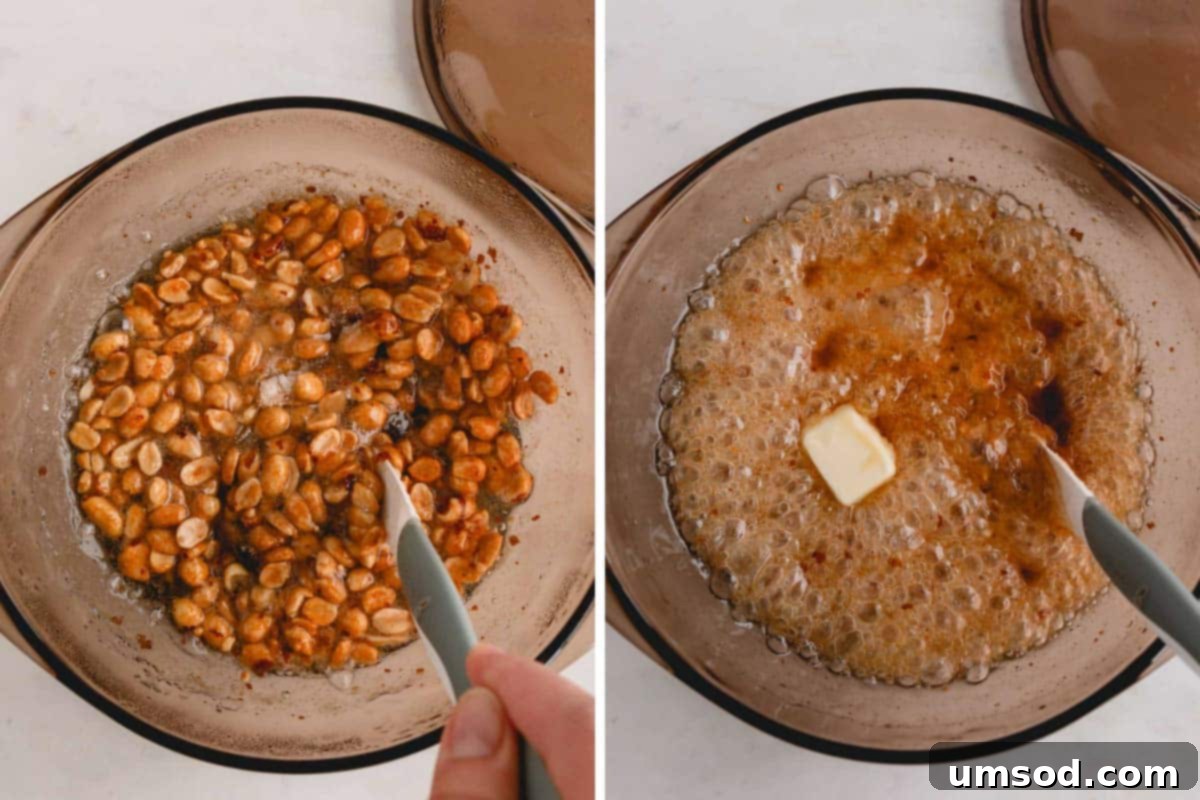
Microwave Session 3: The Brittle Transformation
- Final Microwave Cycle: Cover the bowl for the last time and microwave for another 2.5 minutes on high. During this cycle, the sugar mixture will reach its optimal temperature for brittle formation, turning a beautiful golden-amber color.
- Add Baking Soda: Promptly remove the bowl from the microwave. Immediately add the baking soda to the hot mixture. Stir quickly and vigorously. You’ll notice the mixture foaming up and becoming lighter in color and texture. This is the baking soda reacting, creating those essential air pockets for a truly brittle candy. Do not overmix – just enough until evenly foamed.
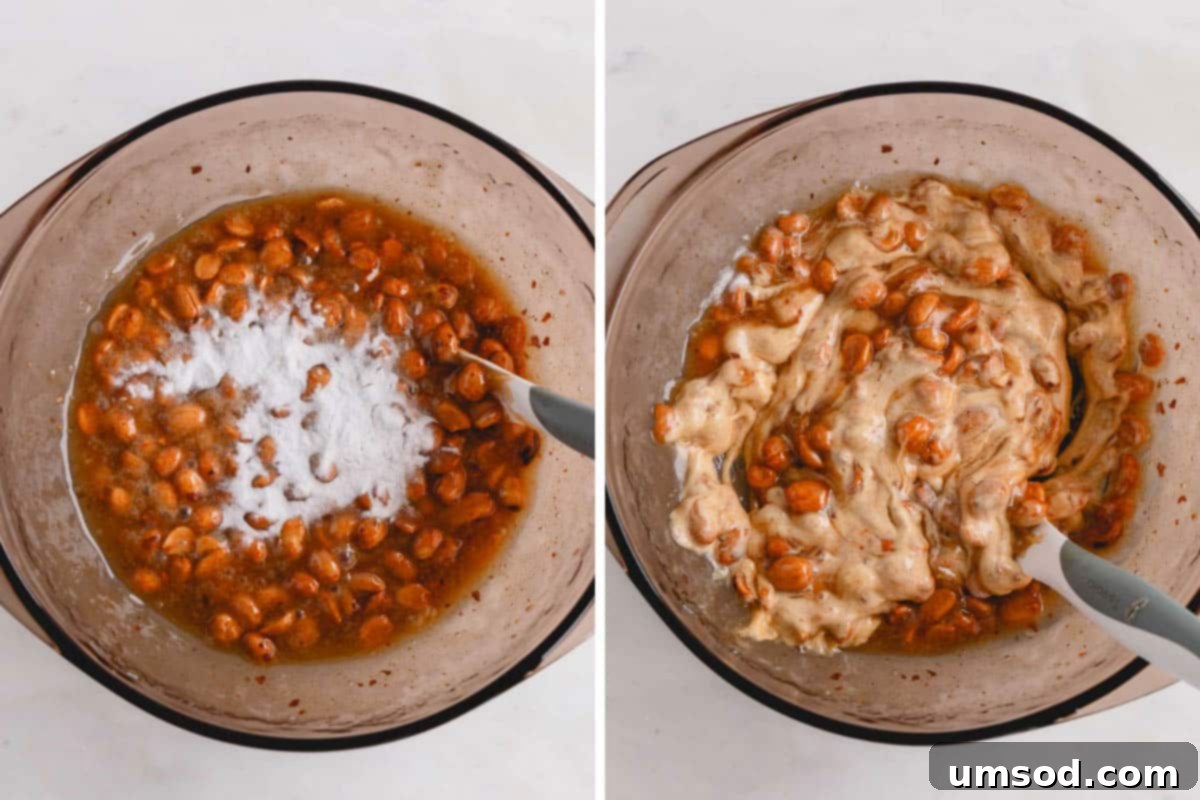
Shape the Peanut Brittle: Quick and Even Spreading
- Pour onto Baking Sheet: As soon as the baking soda is incorporated and the mixture is foamy, swiftly pour the entire peanut brittle mixture onto your prepared baking sheet. Work quickly, as the candy will begin to set as it cools.
- Spread Evenly: Using two forks or a greased metal spatula, carefully and evenly spread the hot brittle mixture across the baking sheet. Aim for a consistent, relatively thin layer, but be cautious not to spread it too thinly, as this can make it excessively fragile. The goal is a uniform thickness for even cooling and breakage.
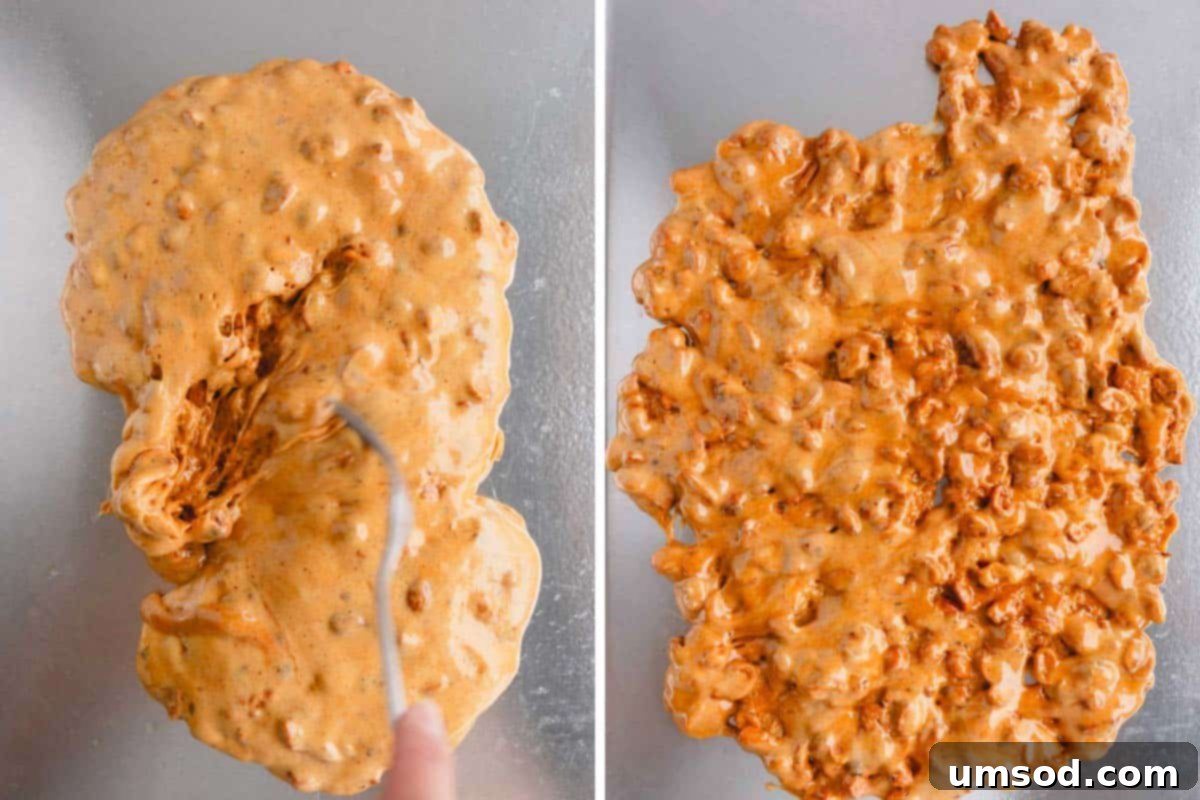
Allow It to Set: The Final Touch
- Cool and Harden: Once spread, allow the peanut brittle to cool completely and harden undisturbed on the baking sheet for approximately 30-45 minutes. Resist the urge to touch or move it prematurely, as this can affect its final texture.
- Break and Enjoy: Once fully cooled and solid, simply break the large sheet of brittle into irregular, bite-sized pieces. Now it’s ready to be devoured!
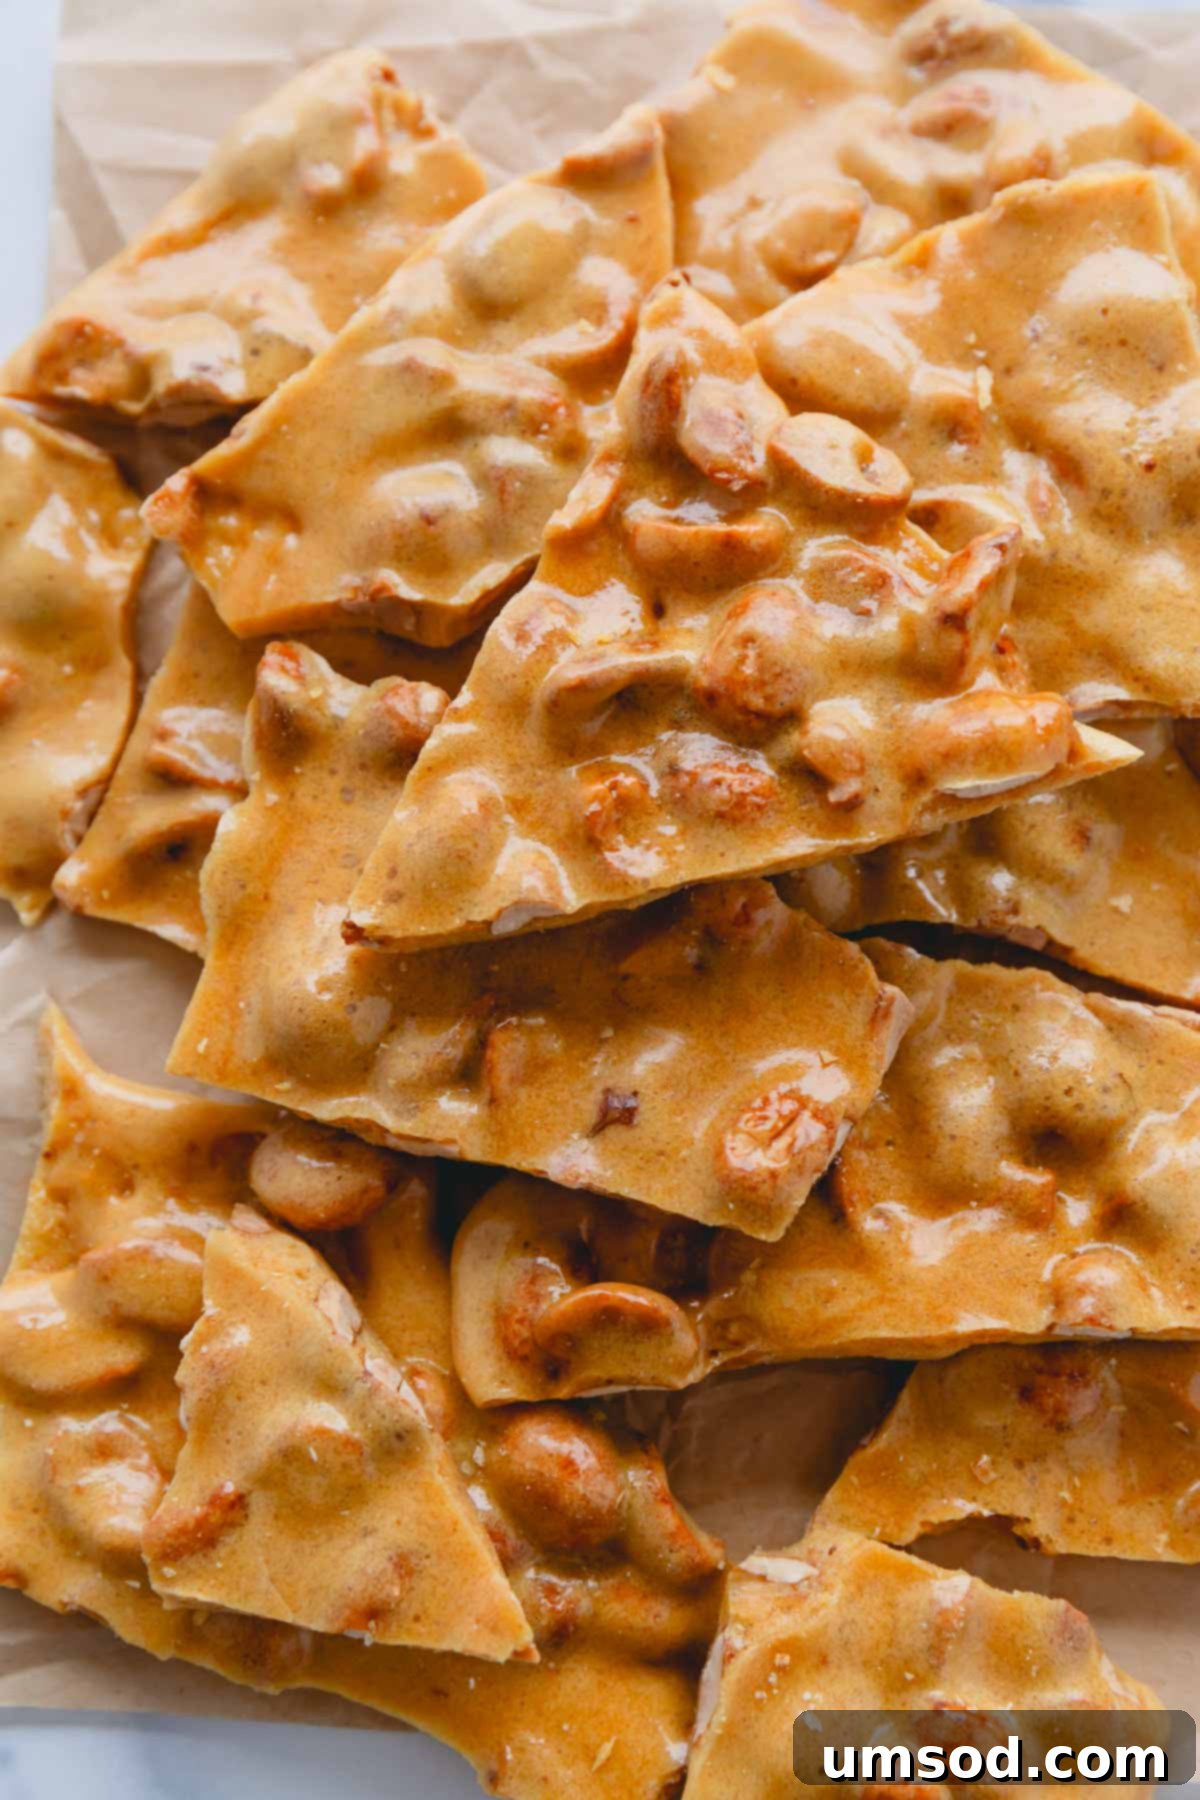
Essential Tips for Peanut Brittle Success:
Even with a foolproof recipe, a few key considerations can ensure your microwave peanut brittle turns out perfectly every time:
- Know Your Microwave’s Power: This recipe is specifically calibrated for a 1000-watt microwave. If your microwave has a higher wattage, the candy may cook faster and burn easily. For lower wattage microwaves, you might need to add small increments of cooking time (e.g., 30 seconds at a time) in the final session until it reaches a rich amber color.
- Mise en Place is Crucial: “Mise en place” means having all your ingredients measured, prepped, and ready to go before you start. This microwave peanut brittle recipe moves very quickly, and there won’t be time to scramble for ingredients once the cooking process begins. Organization is your best friend here!
- Use the Right Bowl: A 1-quart microwave-safe glass bowl with a tight-fitting lid is non-negotiable. The lid is vital to prevent burning and ensure even cooking. Avoid using plastic bowls if possible, as they can sometimes leach chemicals or deform under the intense heat of the molten sugar.
- Fresh Baking Soda Makes a Difference: Baking soda is responsible for the light, airy, and crisp texture of your brittle. Ensure your baking soda is fresh and active (not expired) for the best foaming action. Don’t be alarmed when the mixture foams up after adding it; this is precisely what you want to see!
- Don’t Overmix the Baking Soda: Once the baking soda is added, stir quickly and just enough to distribute it evenly and create that foamy texture. Overmixing can deflate the air pockets, resulting in a denser, less brittle candy. A few good stirs are all it takes.
Storing Your Homemade Peanut Brittle:
Proper storage is key to maintaining the perfect crunch and preventing stickiness.
- Room Temperature: Store any leftover microwave peanut brittle in an airtight container at room temperature. It will remain fresh and delightfully crisp for up to 1 week.
- Avoid Refrigeration: It is generally not recommended to store peanut brittle in the refrigerator. The moisture and humidity within the fridge can cause the brittle to absorb water, becoming soft and sticky.
- Freezing for Long-Term Storage: To extend its shelf life, peanut brittle can be frozen. First, ensure the brittle is completely cooled and hardened. Then, transfer the pieces to an airtight freezer-safe container, separating layers with parchment paper to prevent sticking. Freeze for up to 3 months. Thaw at room temperature before serving.
Common Peanut Brittle FAQs:
If your peanut brittle is soft or chewy rather than crisp and brittle, it’s most likely due to undercooking. The sugar mixture didn’t reach a high enough temperature to become truly hard. This is a common issue if your microwave has a lower wattage than the 1000 watts specified in this recipe. Higher wattage microwaves cook faster, so lower wattage microwaves will require slightly longer cooking times, usually in small, additional increments during the final microwave session.
Baking soda is a magical ingredient in peanut brittle! When added to the hot, molten sugar mixture, it undergoes a chemical reaction that releases carbon dioxide gas. This creates tiny air pockets throughout the candy, causing it to foam and lighten in color and texture. These air pockets are precisely what give peanut brittle its signature light, airy, and snappy texture, making it easy to bite into and truly “brittle.” Without baking soda, the candy would be much denser and harder.
Stickiness in peanut brittle is almost always caused by moisture. High humidity in the air or improper storage can lead to the brittle absorbing moisture, which softens the sugar and makes it sticky. To prevent this, always ensure your brittle hardens in a cool, dry environment. Furthermore, avoid storing leftovers in the refrigerator, as the cool, damp environment will inevitably cause it to become sticky and lose its desirable crispness. An airtight container at room temperature is ideal.
More Irresistible Candy Recipes to Try:
- Decadent Chocolate Peanut Brittle
- Easy Candied Pecans
- Soft & Chewy Cardamom Caramel Bites
- Rich Chocolate Caramel Cups
Microwave Peanut Brittle Recipe
Shinee Davaakhuu
20 mins
10 mins
30 mins (cooling)
1 hr
12 servings
1lb brittle
Comment
Print Recipe
Ingredients
- 1 cup (125 g) dry-roasted peanuts
- 1 cup (200 g) granulated sugar
- 1/8 teaspoon salt
- ½ cup (150 g) light corn syrup
- 1 tablespoon (14 g) unsalted butter
- 1 teaspoon pure vanilla extract
- 1 teaspoon baking soda
Instructions
- Before You Start: Confirm your microwave’s wattage. This recipe is optimized for 1000 watts. If yours differs, adjust cooking times accordingly (e.g., shorter for higher wattage, longer for lower). Measure and prepare all ingredients in advance as the process moves quickly.
- Generously spray a baking sheet with non-stick cooking spray, ensuring an even coating. Set aside.
- In a 1-quart microwave-safe glass bowl with a tight-fitting lid (glass is highly recommended over plastic), combine the dry-roasted peanuts, granulated sugar, salt, and light corn syrup. Stir thoroughly to mix all components evenly.
- Cover the bowl with the lid and microwave on high for 3 minutes. After this first cycle, carefully remove the hot bowl and stir the mixture well to ensure even heating and melting of the sugar. (Critical Tip: Always cover the bowl to prevent burning.)
- Replace the lid and microwave for an additional 3.5 minutes on high. Once done, remove from the microwave, uncover, and promptly stir in the butter (or margarine) and pure vanilla extract until fully incorporated.
- Cover the bowl again and microwave for a final 2.5 minutes on high. Immediately after removing it, add the baking soda to the hot mixture.
- Quickly and vigorously stir the mixture. It will foam up significantly and lighten in color; this is the desired reaction for an airy texture. Once evenly foamed, immediately pour the entire mixture onto your prepared baking sheet.
- Using two forks or a greased metal spatula, swiftly spread the hot brittle into a thin, even layer across the baking sheet. Work quickly before it sets.
- Allow the peanut brittle to cool completely and harden at room temperature for approximately 30-45 minutes. Once firm, break it into desired pieces. Store leftovers in an airtight container for up to one week.
⭐️ Did you make this recipe?
Please leave a review and let us know how you liked it!
Tips & Notes
Nutrition
Servings:
1.25 oz
Calories:
187 kcal
Carbohydrates:
30 g
Protein:
3 g
Fat:
7 g
Sugar:
28 g
Sodium:
176 mg
Snack
American
Did you make this? Leave a rating and your feedback. Thank you!
This recipe was originally published on April 21, 2016.
