Welcome to the ultimate food coloring guide, your comprehensive resource for transforming ordinary baked goods into extraordinary, eye-catching masterpieces! Whether you’re a seasoned baker or just starting your culinary journey, understanding the nuances of food coloring is essential for achieving those picture-perfect, vibrant results. This guide will walk you through everything you need to know, from the fundamental differences between liquid, gel, and powder varieties to advanced tips and tricks for seamless decorating. Get ready to infuse your creations with stunning splashes of color and unleash your inner artist in the kitchen!
Why Elevate Your Baking with Food Coloring?
After dedicating precious hours to meticulously shaping perfect sugar cookies, or patiently baking an impressive multi-layered cake, it’s finally time for the most exciting part: the decoration! While there are moments when the simple elegance of classic white powdered sugar icing or creamy cream cheese frosting is perfectly satisfying, there’s an undeniable magic that happens when you introduce color.
Food coloring isn’t just about making things pretty; it’s about telling a story, celebrating an occasion, or simply adding that extra “wow” factor that makes your desserts truly unforgettable. From festive holiday treats to elegant wedding cakes, vibrant colors can transform a delicious dessert into a true work of art. The best way to achieve these bright, eye-catching, and consistent designs is by utilizing the right liquid, gel, or powdered food coloring. In this extensive guide, we’ll teach you everything from selecting the ideal type of food coloring for your project to mastering application techniques, ensuring your creations always pop with brilliant hues.

Food Coloring Guide: Exploring the 3 Main Types
Choosing the right food coloring is crucial for successful results. This comprehensive guide will delve into the distinct characteristics, advantages, and limitations of liquid, gel, and powdered food coloring, helping you make informed decisions for your baking projects.
1. Liquid Food Coloring: The Everyday Tint
Liquid food coloring is arguably the most common and widely recognized type, readily available in the baking aisle of virtually every grocery store. It’s a water-based dye, typically sold in small squeeze bottles, designed to impart lighter, more translucent shades to your favorite frostings, batters, and icings. While convenient, it has specific applications where it shines best.
- Pros: Liquid food coloring is incredibly user-friendly. Its thin consistency allows for easy drop-by-drop addition, making it simple to achieve a gradual color build-up in your mixture. It’s also very affordable and accessible, making it a great starting point for beginners or for less critical coloring tasks.
- Cons: The primary drawback of water-based food dye is its tendency to produce watered-down, often pastel or “washed-out” looking colors, especially when aiming for brighter hues. The more liquid coloring you incorporate into a recipe, the higher the risk of altering the consistency of your batter or frosting. This can lead to undesirable outcomes such as cookies spreading excessively, cakes failing to rise properly, or frostings becoming overly soupy and difficult to work with. For recipes sensitive to moisture, liquid dyes can be problematic.
- Best Uses: Liquid food dye is best suited for applications where only a subtle hint of color is desired, or where the addition of a small amount of liquid won’t significantly impact the recipe’s integrity. Think vibrant Easter eggs, lightly tinted sugar water, or for adding a delicate wash of color to pancake batter for a fun breakfast. It’s ideal when a faint, natural-looking shade is preferred over intense saturation.
2. Gel Food Coloring: The Secret to Vibrant Hues
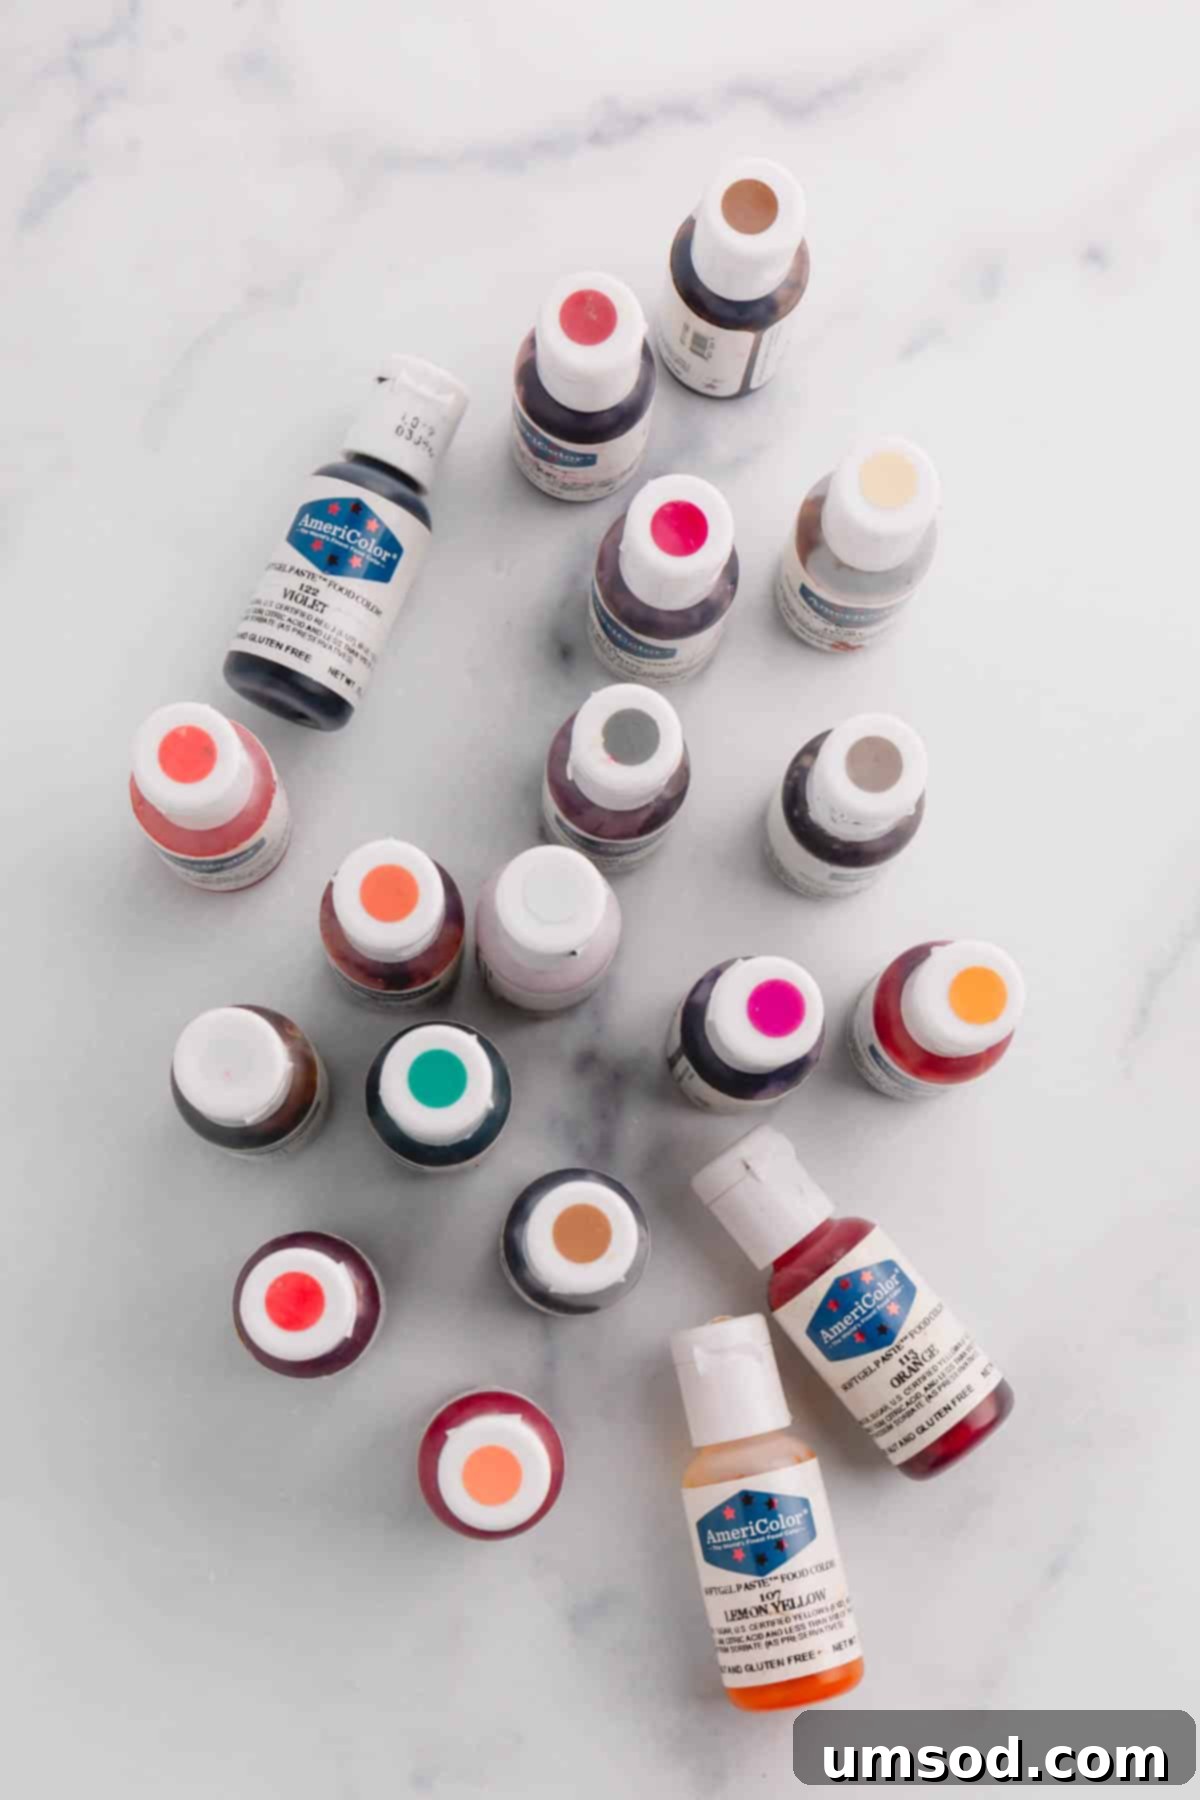
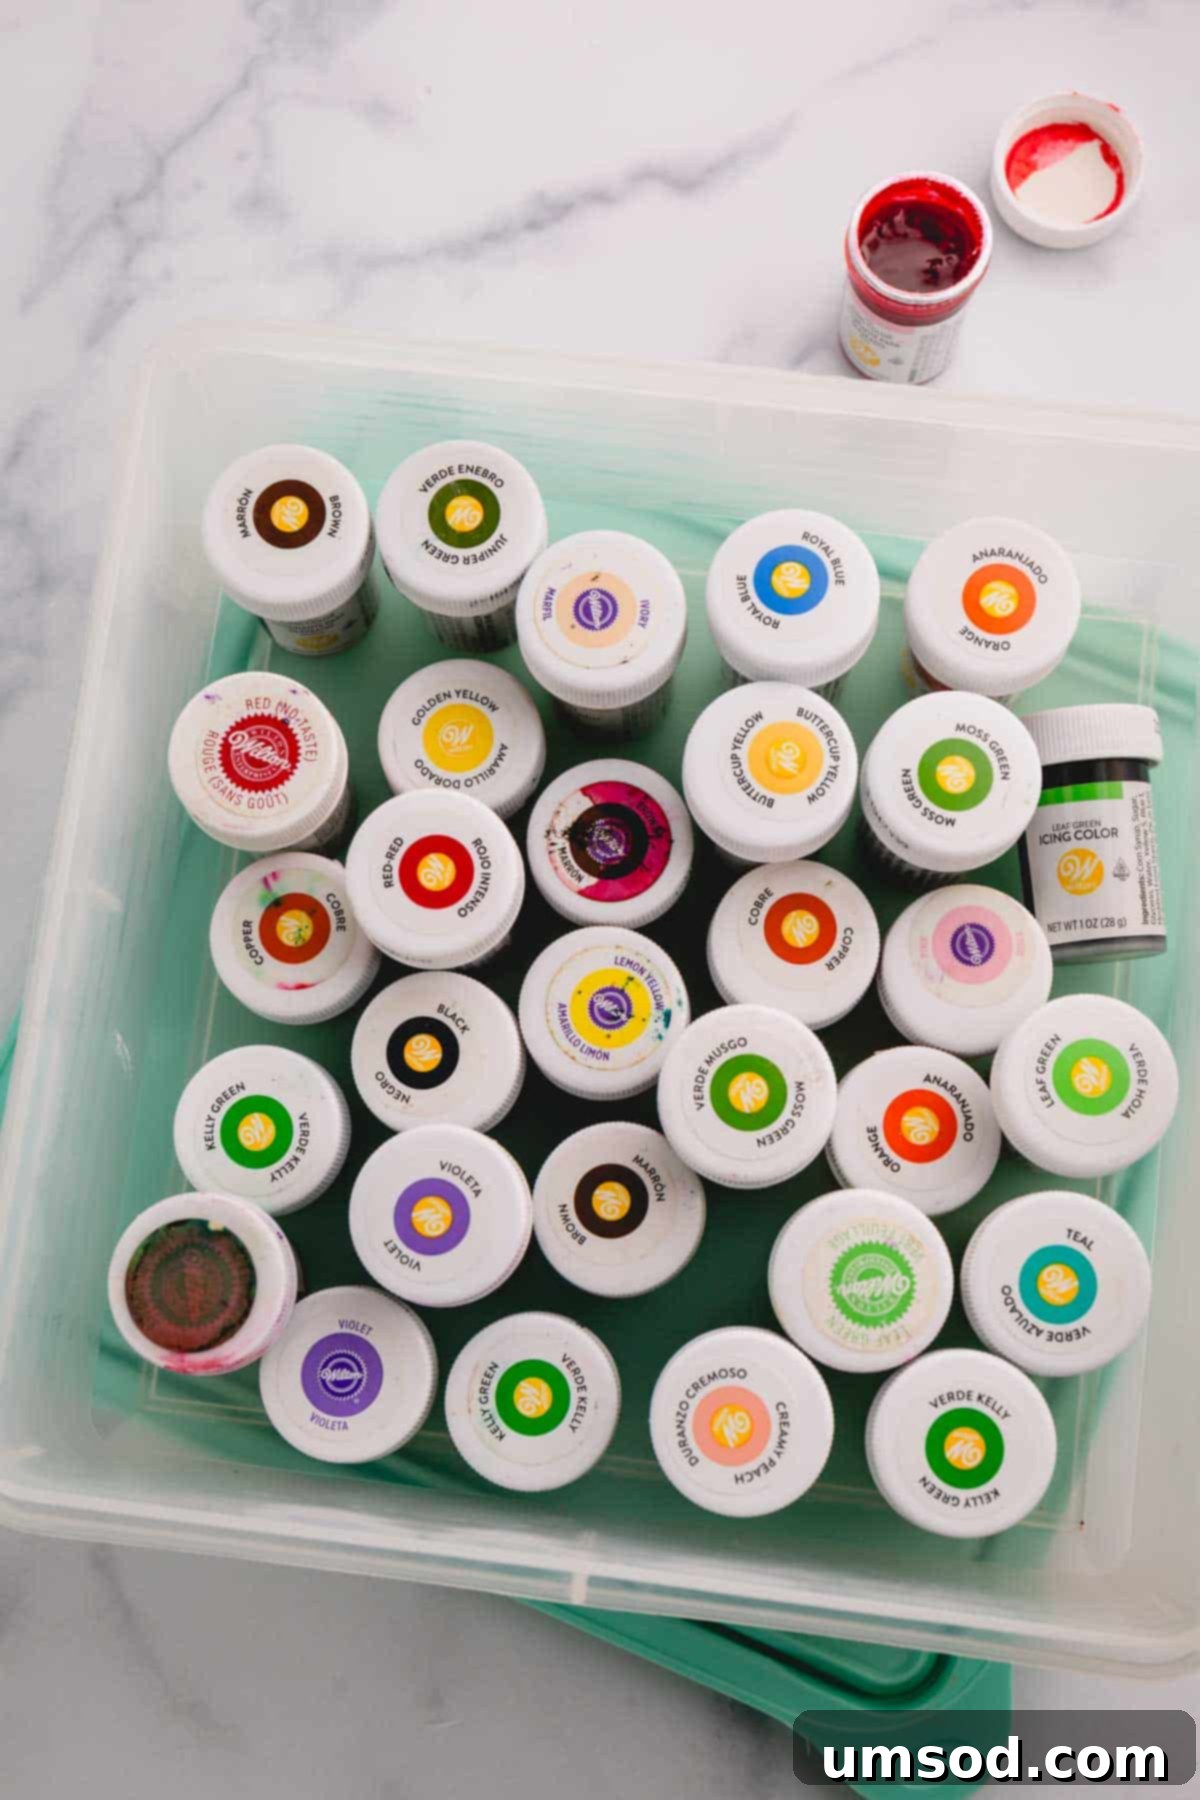
Gel food coloring is often hailed as the secret weapon of experienced bakers for achieving bright, intensely vibrant, and consistent colors. Unlike its liquid counterpart, gel food coloring is highly concentrated and typically has a glycerin or corn syrup base, giving it a thick, gel-like consistency. While perhaps not as widely stocked in local grocery stores, it’s easily accessible online and through specialty baking suppliers. My personal preferred brands for their exceptional quality and color range are Americolor and Wilton, both offering a vast spectrum of rich shades.
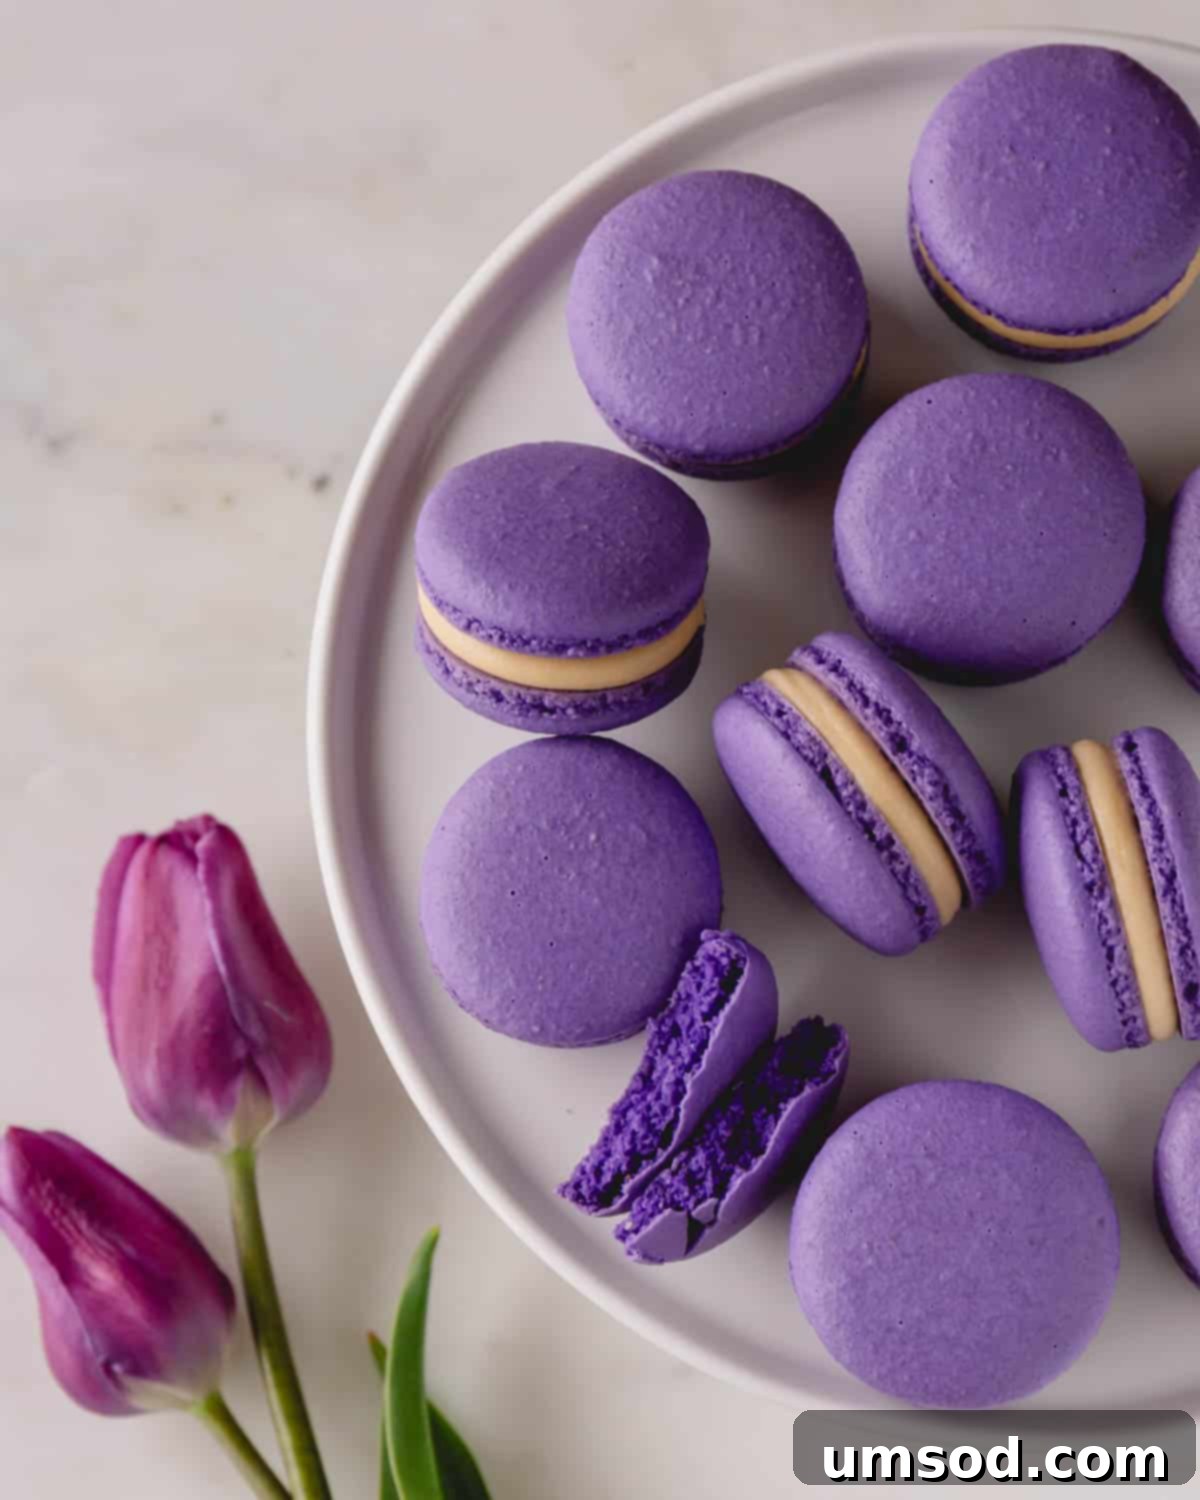
- Pros: The key advantage of gel food coloring lies in its highly concentrated pigment. A tiny amount can produce deep, rich, and intensely colored shades without significantly altering the consistency of your recipe. This makes it perfect for delicate recipes where the precise ratio of wet to dry ingredients is critical and cannot be thrown off, such as in making delicate red velvet macarons or intricate royal icing designs. Its glycerin/corn syrup base means it adds minimal moisture compared to liquid dyes, preserving the texture of your baked goods.
- Cons: Due to its extreme concentration, it’s incredibly easy to oversaturate your colors if you’re not careful. Adding too much too quickly can result in shades darker than intended, and it’s difficult to lighten a color once it’s too dark. Another minor consideration is that the color can continue to develop and deepen slightly over time, even after mixing.
- How to Use: The golden rule with gel food coloring is to start small. Begin with just a single drop or a tiny dab on the end of a toothpick, especially for lighter shades. Mix it thoroughly into your frosting or batter, then allow a few minutes for the color to develop before deciding if more is needed. Gradually add more, mixing and observing until you reach your desired hue. For best results with colored icings and frostings, consider preparing them in advance, as the color often deepens subtly as it rests. This allows for any final adjustments before application.
3. Powder Food Coloring: The Versatile Pro’s Choice
Powder food coloring is perhaps the most versatile and often overlooked option in the food coloring spectrum, favored by professional bakers and decorators for its unique properties. It’s a dry pigment, free of any liquid base, which opens up a world of possibilities for intricate decorating. Since it’s a powder, it naturally won’t contribute to moisture or dry out over time in the same way liquids or gels can.
- Pros: Powdered food coloring is an absolute game-changer for recipes where even a tiny amount of added liquid could critically compromise the texture or structure, such as delicate chocolates, meringues, or macarons. Like gel food coloring, it is highly concentrated, allowing it to produce deep, intensely-colored pigments with minimal product. Its dry nature makes it perfect for dusting directly onto finished goods, brushing onto surfaces (like fondant or cookies), or even mixing with a clear extract (like vanilla or lemon) to create edible paint. This method allows for incredible detail and custom artistic touches without introducing unwanted moisture.
- Cons: The main challenge with powdered food coloring is its availability; it’s typically not found in standard grocery stores and usually requires an online purchase or a visit to a specialized baking supply shop. Furthermore, mastering its application, especially for painting or fine dusting, can require some advanced decorating skills and a bit of trial and error to get it just right. The initial learning curve might be steeper than with liquid or gel dyes.
- How to Use: Integrate powdered food dye into recipes where moisture is a concern, such as coloring white chocolate, creating vibrant meringues, or achieving specific shades in macarons without affecting their delicate consistency. For dusting, apply directly with a dry brush. To make edible paint, mix a small amount of powder with a few drops of clear alcohol (like vodka or pure vanilla extract) until you achieve a desired consistency. Apply with a food-safe paintbrush for intricate designs or broad strokes.
Water-Soluble vs. Oil-Soluble Food Coloring: The Right Match for Your Recipe
Beyond the form factor (liquid, gel, powder), understanding whether your food coloring is water-based (water-soluble) or oil-based (fat-soluble) is paramount. This distinction is crucial because the effectiveness and outcome of your coloring efforts depend heavily on matching the dye type to the primary ingredient base of your recipe. As the old saying goes, “oil and water don’t mix,” and this principle applies profoundly in the world of food coloring.
- Water-based food coloring – These dyes are formulated to dissolve and disperse seamlessly in water-based mixtures. They are the ideal choice for recipes where water is a dominant ingredient or where fat content is low. Examples include royal icing, meringues, macarons, and even some types of batters and frostings where water is used as the primary liquid. Using water-based coloring in an oil-rich environment can lead to streaking, clumping, or the color simply not blending effectively.
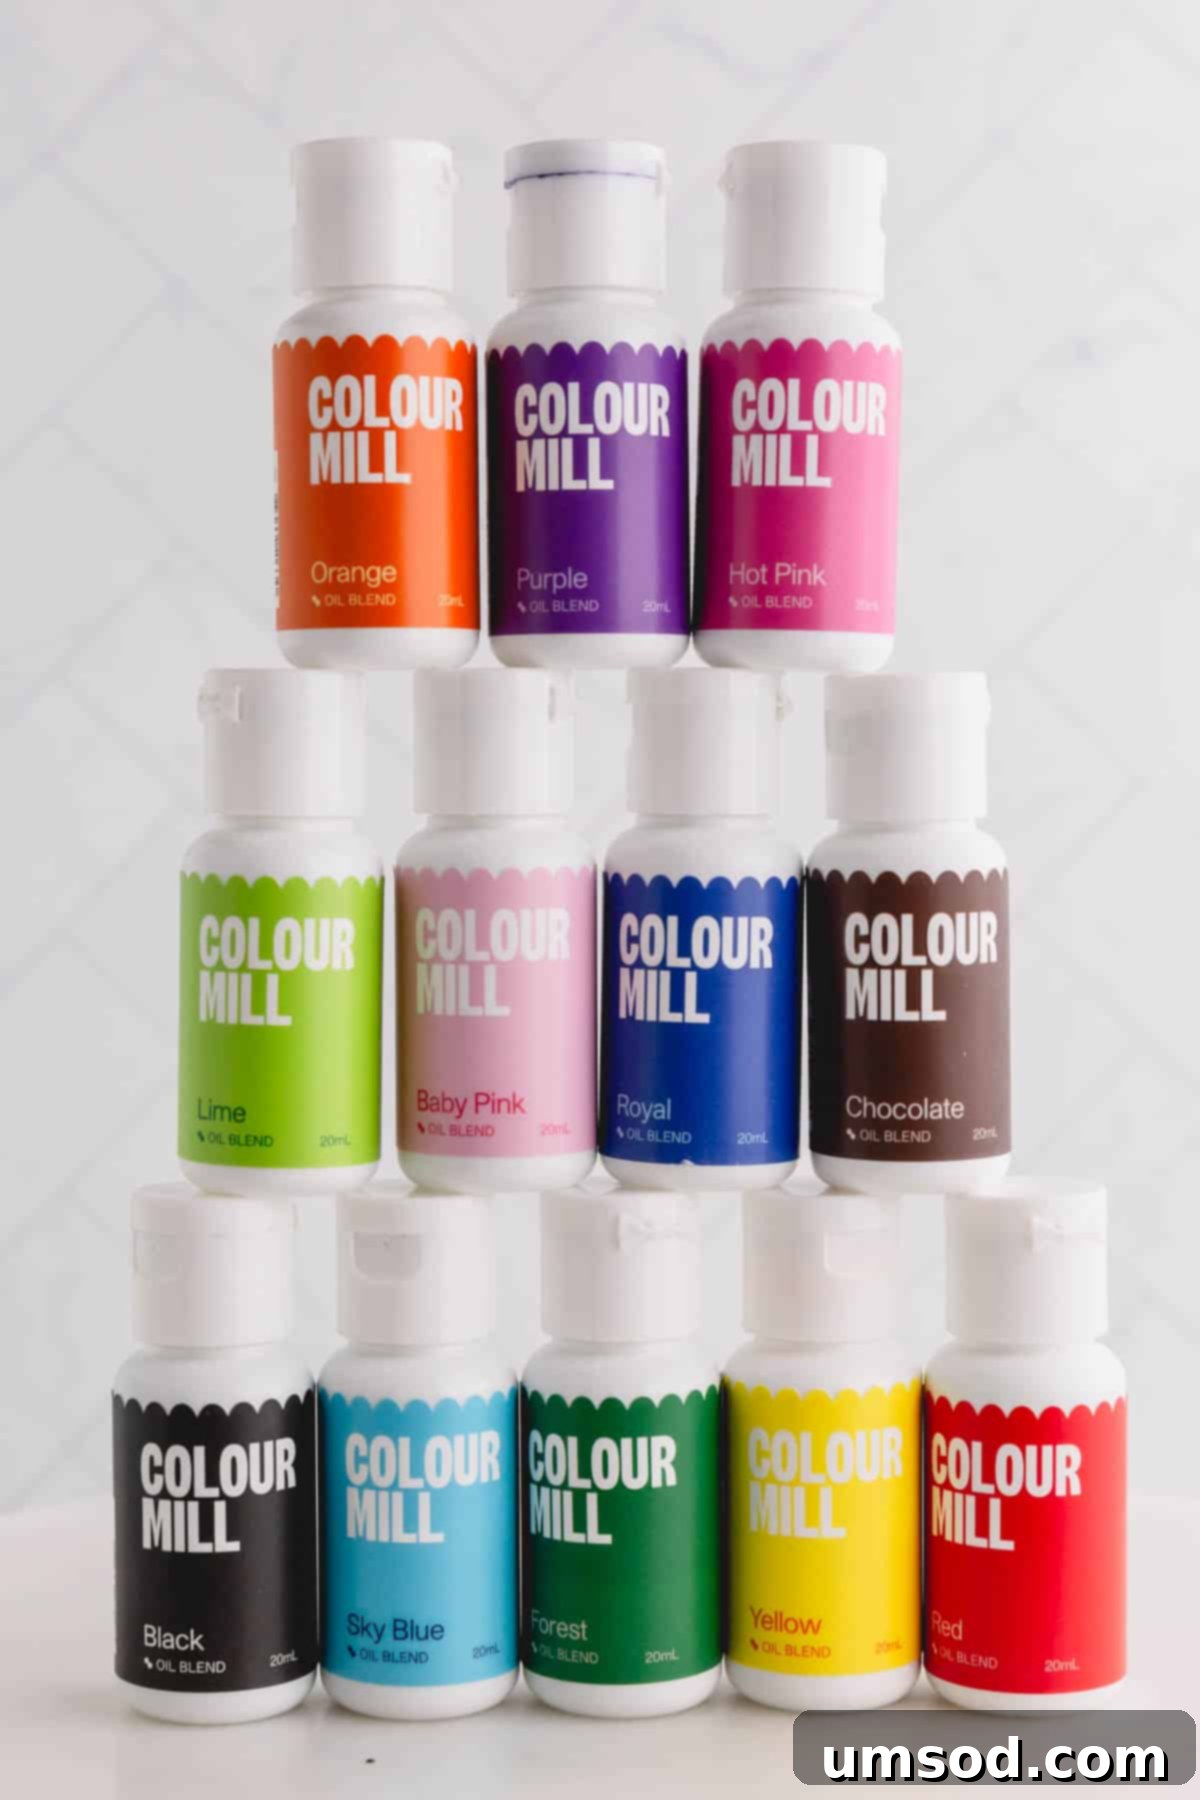
- Oil-based food coloring – Specifically designed to blend harmoniously with high-fat ingredients, oil-based food colorings are a must-have for certain applications. These dyes are perfect for coloring chocolate, candy melts, and rich buttercream frostings, as their oil base allows them to integrate smoothly without causing the mixture to seize or become grainy. I particularly adore Color Mill oil blend food colorings for achieving stunning, smooth colors in white chocolate and other fat-based mediums.
To reiterate, if your recipe’s main ingredient is butter, oil, or chocolate, always opt for oil-based food coloring to ensure proper emulsification and vibrant, streak-free results. Conversely, if you’re working with a light, low-fat recipe like royal icing or a meringue, a water-based food coloring will be your best choice. Mismatching these types can result in disappointing aesthetic outcomes and can even ruin the texture of your carefully prepared ingredients.
Quick Tip: Always Check the Ingredients!
A simple glance at the ingredient list on your food coloring bottle can quickly tell you its base. If water is listed as the first ingredient, it’s most likely a water-based food coloring. If it contains any form of oil (like vegetable oil, polysorbate 80, or sunflower oil), you’ve got yourself an oil-based food coloring. This quick check can save you from common baking mishaps!
Natural vs. Synthetic Food Coloring: A Deeper Dive
When selecting food coloring, you’ll also encounter a distinction between natural and synthetic options. Each type comes with its own set of characteristics, particularly concerning vibrancy, stability, and potential impact on flavor. If your goal is to achieve truly bright, bold, and stand-out colors, synthetic food coloring remains the go-to choice. Unfortunately, natural alternatives, while appealing for their source, often struggle to deliver the same intensity and consistency.
- Synthetic Food Coloring: These dyes are created using artificial chemicals, typically identified by FD&C (Food, Drug, and Cosmetic) numbers and colors such as FD&C Red 40, Yellow 5, and Blue 1. The primary advantages of synthetic food colorings are their unparalleled vibrancy, exceptional consistency, and remarkable stability. They rarely impart undesirable flavors or textures to your food, even when used in larger quantities. Overall, synthetic food dyes are highly predictable in their performance, making their learning curve relatively small and ensuring reliable results every time. They are designed for maximum visual impact and ease of use.
- Natural Food Coloring: Derived from plant-based sources, natural food colorings offer an alternative for those seeking to avoid artificial ingredients. Common sources include spirulina (for blues and greens), spinach powder (greens), paprika (reds/oranges), turmeric (yellows), beet juice (reds/pinks), and annatto (oranges). While they successfully add color to baked goods and frostings, they often present a few challenges. The colors tend to be duller, more muted, and less consistent compared to synthetic dyes. A significant drawback is their potential to alter the flavor of whatever you’re making, as they carry the subtle taste of their source plant. Additionally, natural colors can be less stable, sometimes changing hue when exposed to heat during baking or even over time, making them less predictable for complex projects.
Essential Food Coloring Tips for Success
Mastering the art of food coloring involves more than just picking a shade; it requires a few key techniques to ensure your efforts yield professional and beautiful results. A comprehensive food coloring guide wouldn’t be complete without these invaluable tips for success.
- Start Small, Always: This is arguably the most critical rule. When adding any type of food coloring, begin with just 1-2 drops (for liquid) or a tiny dab on a toothpick (for gel/powder). Mix thoroughly, then assess the color. Remember, you can always add more dye to deepen the shade, but you absolutely cannot remove it once it’s incorporated. Gradual addition prevents over-saturation and wasted ingredients.
- Patience is a Virtue: Many food colorings, especially gels, tend to deepen and become more vibrant over time. After you’ve mixed in your initial amount, wait at least 10-15 minutes before adding more. This allows the pigment to fully develop and integrate, helping you accurately judge the final shade. Rushing this step often leads to colors darker than intended.
- Use Clear, Glass Bowls: The color of your mixing bowl can significantly distort your perception of the true color you’re creating. Always use clear glass or white ceramic bowls when mixing colored ingredients. This ensures you see the actual hue and can make accurate adjustments without being influenced by a colored container.
- A White Base is Your Best Friend: For the brightest and most accurate colors, always start with a pure white base. Darker bases, such as chocolate batters, yellow-tinted buttercreams, or fruit-flavored frostings that naturally have a hue, will be much harder to color effectively. They may require significantly more dye to achieve a noticeable change, potentially impacting texture or taste. A clean, white canvas allows the true brilliance of your chosen color to shine through.
- Create Custom Colors with Caution: Mixing different shades to create custom colors is a fantastic way to personalize your desserts, but it requires a basic understanding of color theory and a careful approach. Before attempting to mix directly into your entire batch of frosting or batter, conduct small-scale experiments in a separate, tiny bowl. Reference online color formulation charts (like a color wheel or specific food coloring mixing guides) to predict outcomes. This cautious method prevents you from accidentally turning your entire creation into an unappetizing muddy shade.
- Most Importantly, Have Fun!: Don’t let the pursuit of perfection overshadow the joy of decorating. Minor mistakes are part of the learning process, even for seasoned bakers. Decorating with food coloring is a wonderful, delicious way to express your creativity and personal style. Embrace the experimentation, enjoy the process, and delight in the beautiful results you create!
Inspiring Ideas for Using Food Coloring in Your Baking
Now that you’re equipped with a solid understanding of different food coloring types and essential tips, you can confidently tackle a wide array of decorating techniques. This food coloring guide empowers you to easily master any of the decorating styles and vibrant results outlined in the recipes below:
- Valentine’s Day Sugar Cookies – Discover the secret to crafting deep, rich red royal icing using gel food coloring. This recipe uniquely teaches you how a touch of brown food coloring can actually enhance and deepen the vibrancy of red, achieving the brightest and boldest hues for your festive treats!
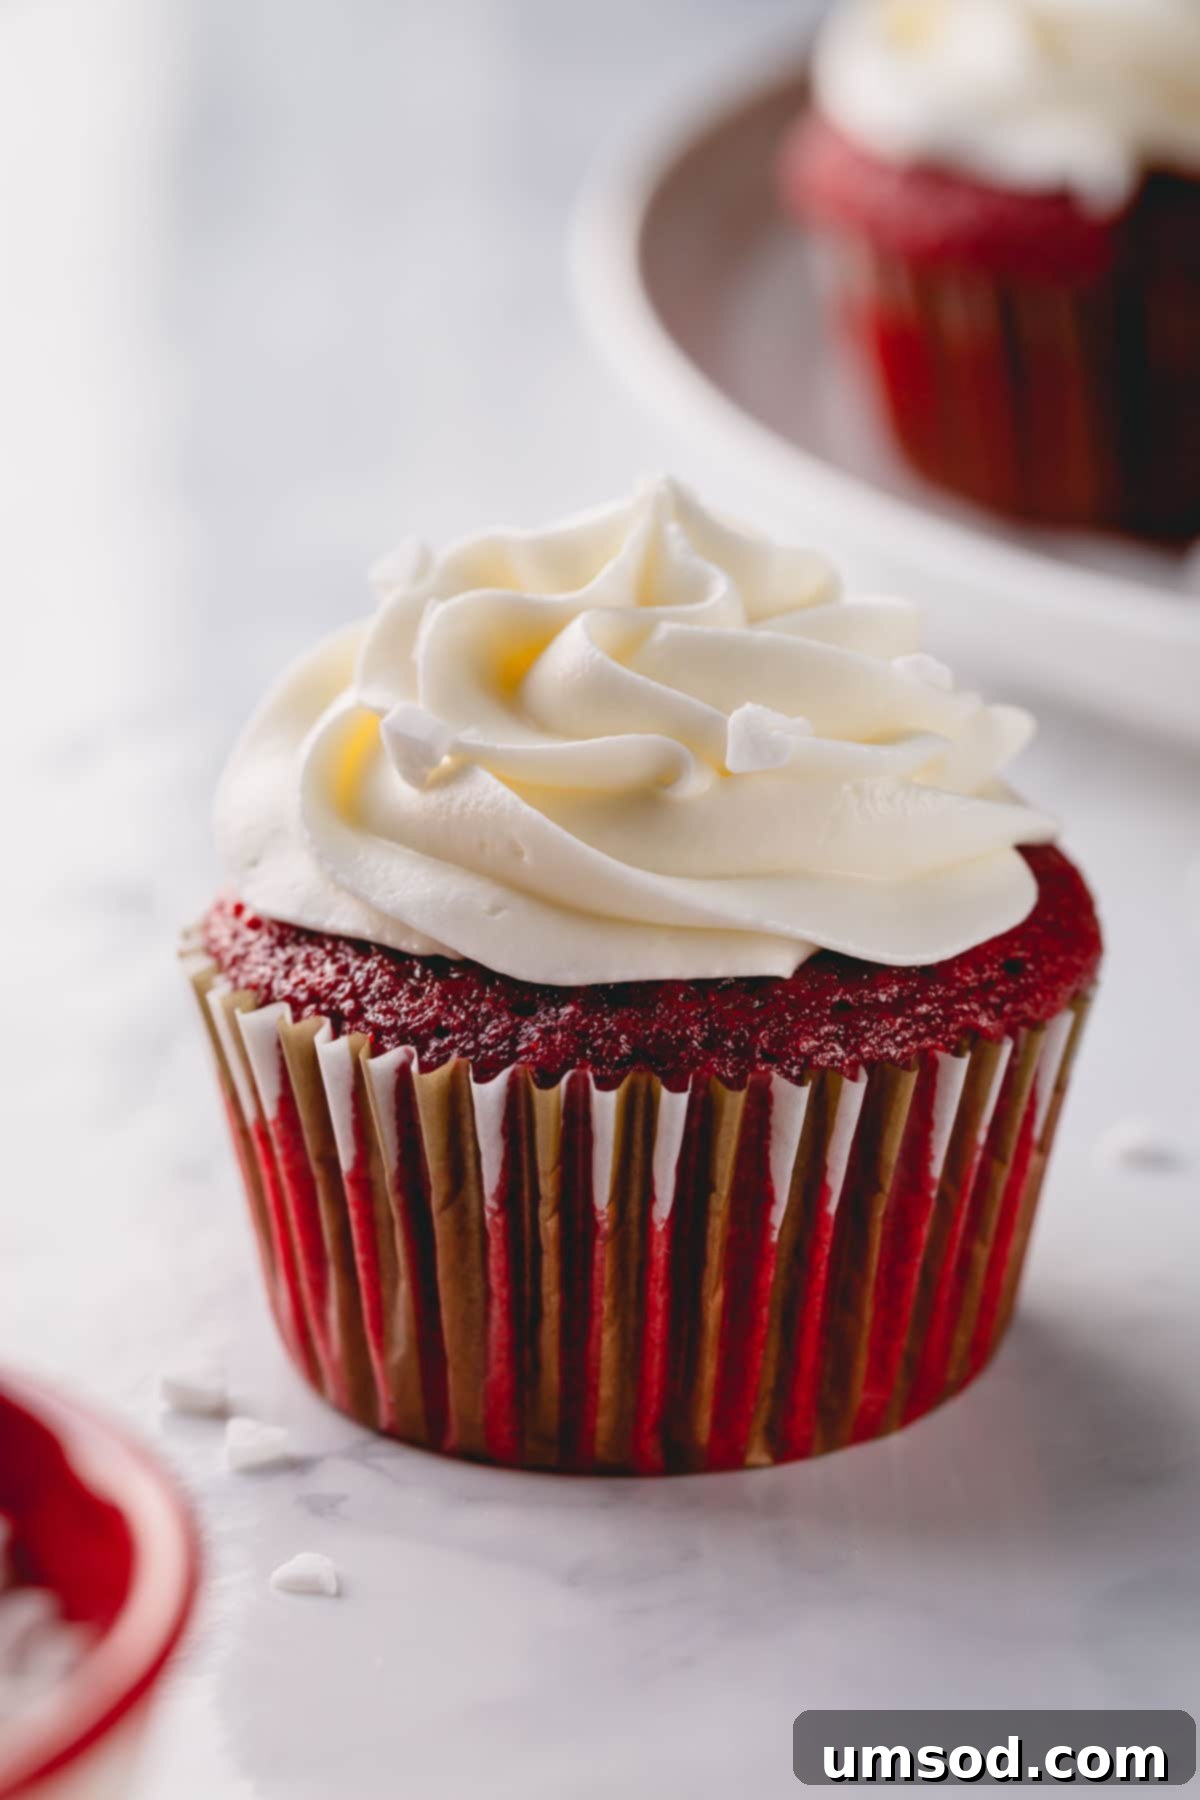
- Red Velvet Layer Cake or Red Velvet Cupcakes – For these iconic crimson desserts, you have the flexibility to use either liquid or gel food coloring. While liquid can provide a subtle red, gel coloring will deliver that classic, intense red velvet shade without compromising the texture of your cake or cupcake batter.
- DIY Colored Sugar – Elevate your sugar cookies and other desserts with homemade colored sugar. I specifically recommend using gel food coloring for this project because it adds minimal moisture to the sugar crystals, resulting in a beautiful, bright, and evenly coated color. It’s a wonderfully fun and inexpensive way to add sparkling, colorful flourishes to any sweet treat.
- Strawberry Swiss Buttercream and Strawberry Macarons – To give these delectable treats a delicate yet distinct pink hue, a small amount of pink gel food coloring works wonders. It enhances the visual appeal without overpowering the natural strawberry flavor, ensuring both your buttercream and macarons are perfectly colored and deliciously appealing.
Food Coloring Guide FAQs
Synthetic food coloring boasts an incredibly long shelf life and is highly unlikely to spoil or go “bad” in the traditional sense, especially when unopened. Over time, particularly after several years or if not stored correctly, liquid or gel food coloring might dry out or lose some of its potency, meaning you’ll need to use more to achieve the same color intensity. Powdered food coloring has an even longer shelf life due to its dry nature. To ensure the longest possible shelf life and maintain optimal potency, always store food coloring in a cool, dark cabinet away from direct sunlight, and make sure the lids are tightly closed after each use.
Mixing colors can be a tricky endeavor that requires patience and a good understanding of color theory to avoid undesirable muddy or unappetizing shades. The key is to always start with very small amounts of each color, adding gradually. Instead of mixing directly into your entire batch of frosting or batter, it’s best to conduct a small test in a separate bowl. This allows you to experiment without risking your whole preparation. For precise results and guidance, always reference a reliable food coloring mixing chart online, such as this helpful food coloring mixing chart from McCormick, which provides formulas for achieving a wide range of custom hues.
When used in reasonable quantities, high-quality synthetic food coloring should not alter the taste of your food. Its primary function is visual, and if you’re using an appropriate amount, the only way you’ll know it’s there is by seeing the vibrant color! However, if an unnecessarily large quantity is used, particularly with liquid dyes, it might impart a slightly bitter or chemical taste due to the sheer volume of non-food ingredients. On the other hand, natural food colorings, derived from plants, often carry the subtle (or sometimes pronounced) flavor of their source. For example, beet powder might lend an earthy note, and spinach powder could add a faint grassy taste. Therefore, use natural food colorings with awareness of their potential flavor impact, especially in delicate recipes.
More Helpful Baking Guides
To further enhance your baking skills, explore these additional comprehensive guides designed to equip you with essential techniques and knowledge:
- How to Soften Butter (in 30 seconds!) – Master this fundamental step for perfectly blended ingredients and consistent baking results.
- How to Make Royal Icing – Learn the art of creating smooth, durable royal icing for intricate cookie decorations and delicate edible accents.
- How to Make DIY Colored Sugar – Discover how to easily create your own sparkling colored sugars to add a custom touch to any dessert.
- How to Temper Chocolate – Uncover the techniques for perfectly tempered chocolate, ensuring a glossy finish and a satisfying snap for your confections.
