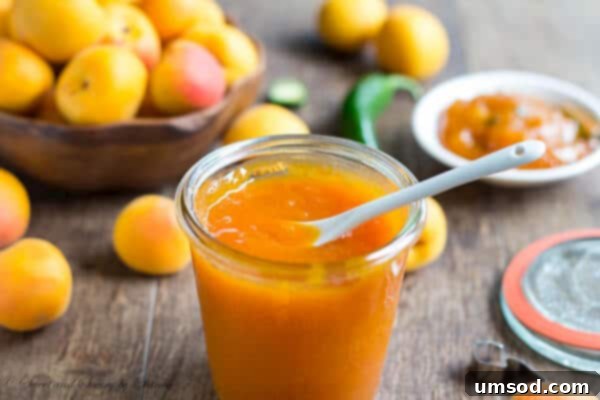
The Ultimate Guide to Homemade Apricot Jam: Sweet, Spicy, and Honey-Kissed Variations
There’s nothing quite like the taste of summer captured in a jar, and this homemade apricot jam recipe is the perfect way to preserve the season’s bounty. Whether you prefer a classic sweet-tart spread, an adventurous kick from jalapeños, or the golden sweetness of honey, this versatile recipe offers something for every palate. Get ready to transform fresh apricots into delectable preserves that will brighten your mornings all year long!
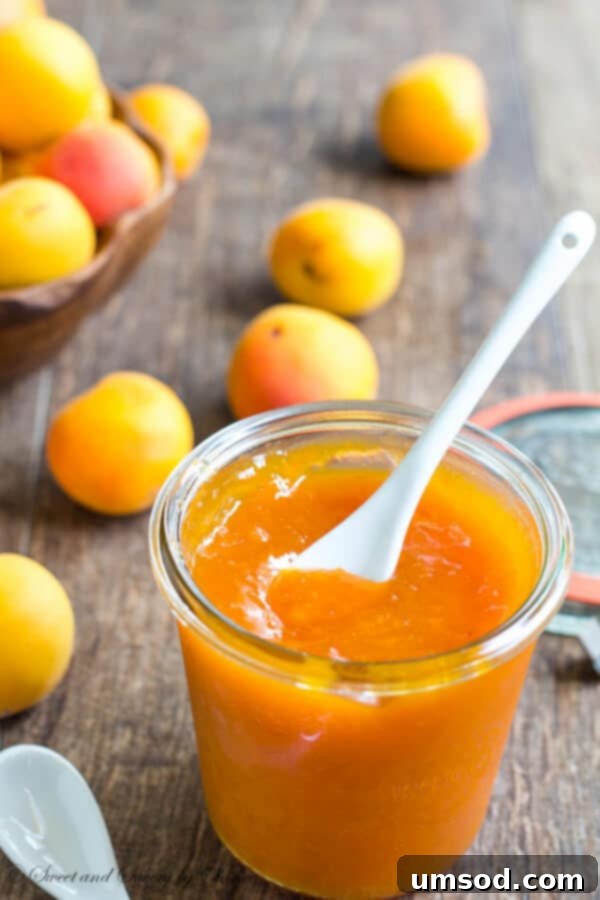
Greetings from Denver, my friends! I’m currently enjoying the last vestiges of my summer travels, reflecting on an incredibly busy couple of months filled with both long expeditions and short, refreshing getaways. In between these adventures, my kitchen became a hub of vibrant activity, dedicated to preserving the peak flavors of summer. From succulent peaches and juicy cherries to delicate figs and, of course, a glorious abundance of apricots, it was a season of fruitful labor.
Why You’ll Fall in Love with This Apricot Jam Recipe
Homemade jam offers an unparalleled depth of flavor and a sense of accomplishment that store-bought varieties simply can’t match. This particular apricot jam stands out for several reasons, promising a truly delightful experience for both the novice jam-maker and the seasoned canner alike.
Celebrate the Authentic Apricot Flavor
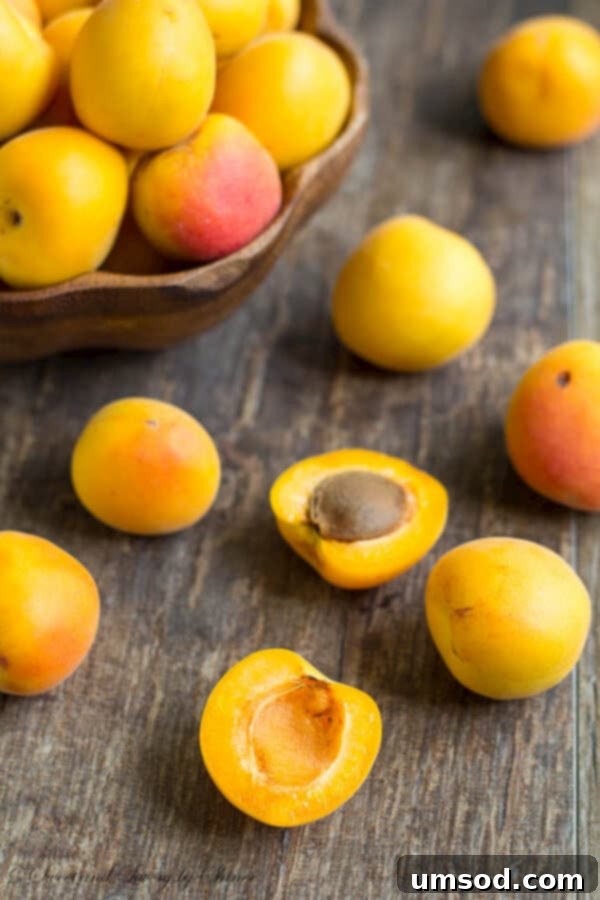
This year, our apricot trees at the ranch were exceptionally generous, gracing us with a bountiful harvest. These particular garden apricots are known for their distinct tartness and intensely concentrated flavor, making them absolutely ideal for jam. Unlike some sweeter supermarket varieties, their inherent tang provides the perfect foundation for a truly balanced jam that isn’t overly saccharine. For me, the perfect apricot jam strikes a harmonious balance between sweet and tart, often leaning slightly towards the tart side to truly let the apricot’s natural essence shine.
Three Delicious Variations for Every Preference
To celebrate this incredible fruit, I experimented with three unique variations of this apricot jam, ensuring there’s a perfect jar for every taste:
- Classic Apricot Jam: A timeless favorite, highlighting the natural sweet and tart notes of the apricots.
- Apricot Jalapeño Jam: A thrilling option for those who crave a little heat, adding a dynamic “kick” to the fruity sweetness.
- Honey-Sweetened Apricot Jam: A wholesome alternative, sweetened exclusively with raw honey for a rich, nuanced flavor without any refined sugar.
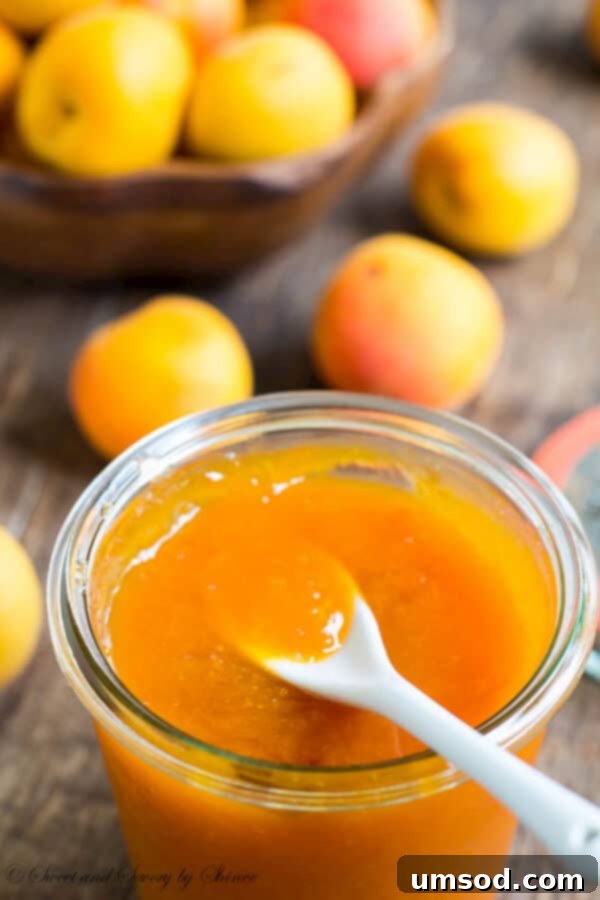
Mastering Homemade Apricot Jam: A Simple Guide
Making your own apricot jam might sound intimidating, but I promise it’s incredibly straightforward. Even if you’re a novice in the world of canning (like I once was!), this recipe is remarkably fail-proof and yields delicious results every time. Forget the need for added pectin; the natural pectin in apricots, combined with lemon juice, is usually sufficient to achieve a beautiful set.
Preparing Your Apricots for Jam
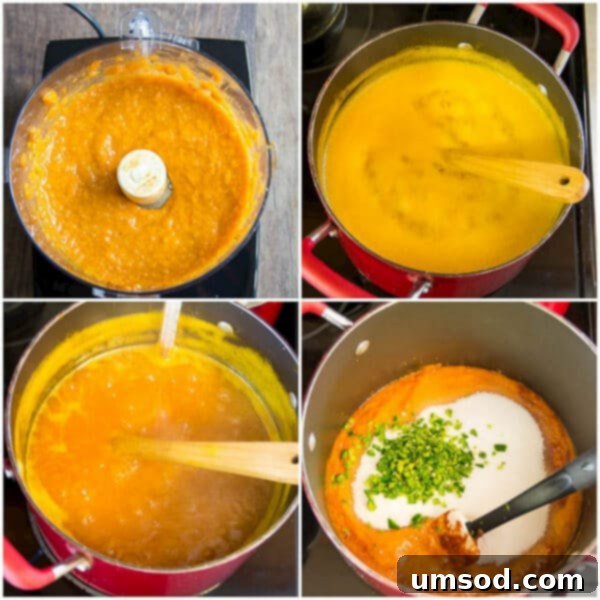
The first step is to thoroughly wash your fresh apricots. Next, halve them and remove the pits. While some jam recipes call for chopped fruit, for a smoother, more spreadable jam, we’ll puree the apricots in a food processor. This creates a uniform texture that cooks down beautifully and provides a consistent base for all our variations.
Cooking the Jam to Perfection
Once you have your apricot puree, combine it with sugar (or honey for the honey-sweetened version) and fresh lemon juice in a large, heavy-bottomed pot. The lemon juice is crucial not just for flavor, but also to aid in the jam’s setting by activating the fruit’s natural pectin. Begin by simmering the mixture over medium heat until the sugar completely dissolves, stirring occasionally to prevent sticking. Then, increase the heat to medium-high and bring the mixture to a rolling boil. A rolling boil is when the mixture continues to bubble vigorously even when stirred. At this point, you’ll need to stir constantly to prevent scorching.
Cook the jam for approximately 30-40 minutes, or until it reaches a temperature of 220°F (104°C) on a candy thermometer. This temperature is key for ensuring a proper set. If you don’t have a thermometer, you can use the “cold plate test”: place a small spoonful of hot jam on a chilled plate, let it cool for a minute, then push it with your finger. If it wrinkles, it’s ready.
Sweetness to Your Liking
This recipe aims for a balanced sweet-tart profile. However, if you have a sweeter tooth or your apricots are particularly tart, feel free to add an additional cup of sugar to the regular or jalapeño batches. Always taste as you go and adjust to your preference!
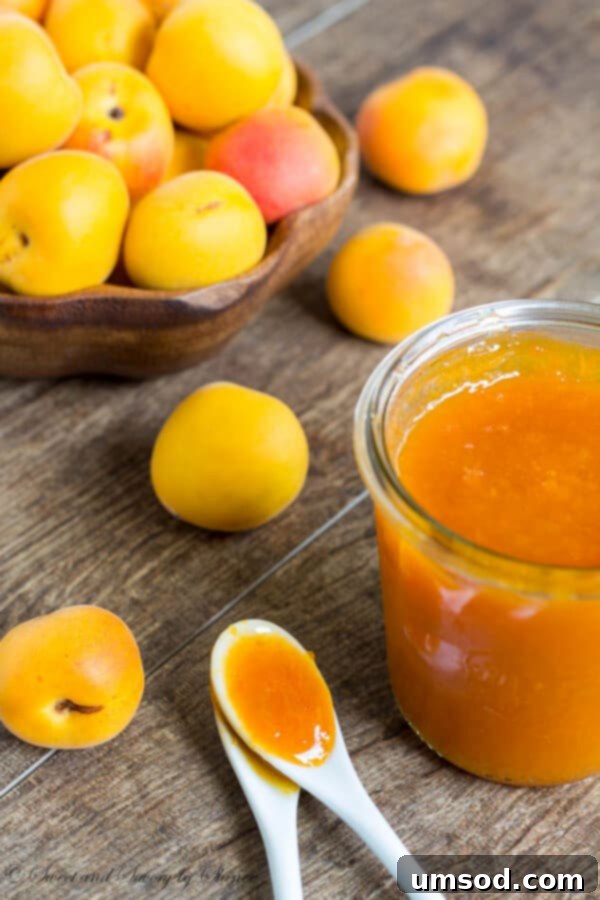
The Honey-Sweetened Twist
In one of my batches, I opted for raw honey as the sole sweetener, completely omitting refined sugar. The result was equally delicious, offering a richer, more complex sweetness. Do keep in mind that the distinctive flavor of honey will subtly overpower the tartness of the apricots, creating a unique profile. You shouldn’t reduce the honey, though, as it’s essential for both sweetness and consistency. This variation typically has a slightly darker color than its sugar-sweetened counterpart and is absolutely perfect spread generously over a slice of warm 12-grain toast with a pat of butter. Mmm-mmm!
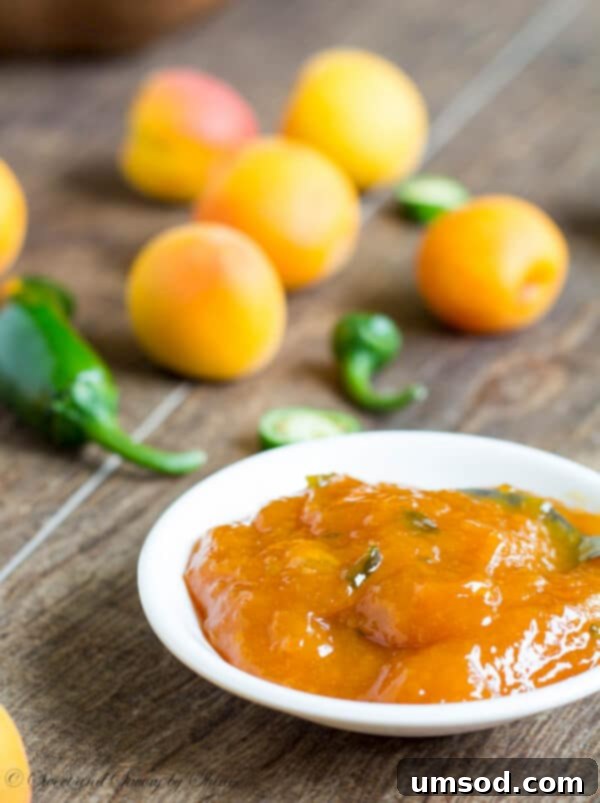
The Thrill of Apricot Jalapeño Jam
Out of all three batches, the apricot jalapeño jam quickly became my personal favorite. This combination masterfully balances sweet and tart with a perfect, intriguing kick. It’s not overly mild, nor is it overwhelmingly hot. While a few spoonfuls back to back might certainly make you feel the heat (as I discovered!), in smaller doses—say, on a warm pancake or a piece of toast—it offers a delightful warmth without being uncomfortably spicy. It’s truly a gourmet twist that elevates the simple apricot jam to new culinary heights.
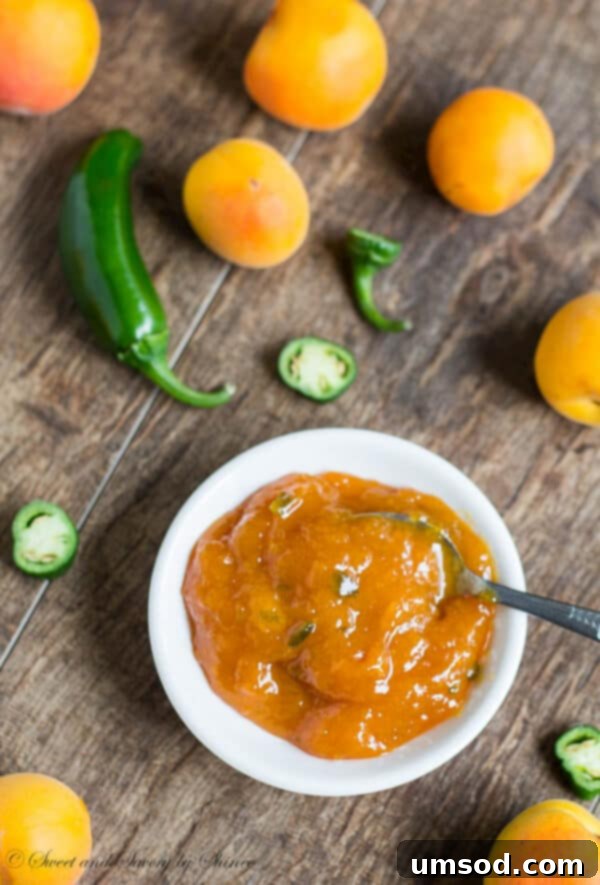
And just look at those beautiful green specks from the chopped jalapeños! They add a visual appeal that’s simply gorgeous and hints at the exciting flavor within. This jam is fantastic with cheese and crackers, as a glaze for chicken or pork, or even mixed into vinaigrettes for a unique salad dressing.
Essential Canning for Long-Lasting Freshness
Once your jam is cooked to perfection, proper canning is essential for shelf-stable storage. Sterilizing your jars, lids, and rings is a crucial first step. You can achieve this by simmering them in hot water in separate pots. This eliminates any bacteria that could cause spoilage. While this recipe provides simplified instructions, for a more detailed, step-by-step canning tutorial with photos, I recommend checking out my easy strawberry jam without pectin guide, which covers the process thoroughly.
After cooking, carefully ladle the hot jam into your hot, sterile jars, leaving about ¼ inch of headspace from the rim. This headspace is vital for creating a proper vacuum seal during processing. Wipe the rims of the jars clean with a damp paper towel to ensure no jam interferes with the seal. Place the lids on top and screw on the rings until they are fingertip-tight – not overly tight, as this allows air to escape during processing.
Finally, place the filled jars back into your canning pot, ensuring they are covered by at least 4 inches (10cm) of hot water. Bring the water back to a rolling boil and process for 10 minutes. Once the processing time is complete, carefully transfer the jars to a cooling rack, leaving space between them, and let them cool undisturbed overnight. As they cool, you’ll hear satisfying “popping” sounds – this is an excellent sign that your jars are sealing properly, creating an airtight vacuum that preserves your delicious apricot jam for months to come!
Apricot Jam Recipe Card
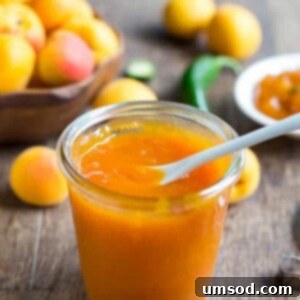
Apricot Jam
By Shinee Davaakhuu
This slightly tart apricot jam is the best way to preserve your apricots this season. Add some jalapeno for a lil kick, or sweeten it with honey. There is something for everyone.
Prep: 15 mins Cook: 45 mins Total: 1 hr
Servings: 4 (8oz) jars
Ingredients
Regular Apricot Jam:
- 5 cups apricot puree
- 3 cups (600g) sugar
- 5 tablespoons fresh lemon juice
Apricot Jalapeno Jam:
- 5 cups apricot puree
- 3 cups (600g) sugar
- 5 tablespoons fresh lemon juice
- 3 medium jalapenos, finely minced (seeds removed for less heat)
Honey Sweetened Apricot Jam:
- 5 cups apricot puree
- 3 cups raw honey
- 5 tablespoons fresh lemon juice
Instructions
- Sterilize your canning jars, lids, and rings by simmering them in separate large pots of hot water. Keep them hot until ready to fill.
- In a large, heavy-bottomed pot, combine all the ingredients for your chosen jam variation. Simmer over medium heat for about 5 minutes, stirring occasionally, until the sugar (or honey) is completely dissolved.
- Increase the heat to medium-high and bring the mixture to a vigorous rolling boil. Stirring constantly, cook the jam for 30-40 minutes, or until it reaches 220°F (104°C) on a candy thermometer. Alternatively, use the cold plate test: a small spoonful of jam cooled on a chilled plate should wrinkle when pushed.
- Carefully pour the hot jam into your hot sterile jars, leaving approximately ¼ inch of headspace from the top. Wipe the rims of the jars clean with a damp paper towel. Place the lids on and screw on the rings until fingertip-tight.
- Place the filled jars back into the canning pot with hot water. Ensure the water covers the jars by about 4 inches (10cm). Bring to a rolling boil and boil for 10 minutes.
- Transfer the jars onto a cooling rack and let them cool completely overnight. You will hear popping sounds as the jars seal. Once cool, check seals by pressing the center of the lid; it should not flex.
⭐️ Did you make this recipe?
Please leave a review and let us know how you liked it!
Tips & Notes
For a more detailed, step-by-step canning tutorial, check out my easy strawberry jam without pectin guide.
Nutrition
Servings: 1 tablespoon
Calories: 66kcal
Carbohydrates: 17g
Protein: 1g
Fat: 1g
Sugar: 17g
Sodium: 1mg
Course: Condiments
Cuisine: American
Storing Your Homemade Apricot Jam
Once your jars have cooled and sealed, store them in a cool, dark place, such as a pantry or cellar. Properly canned and sealed apricot jam can last for up to 1-2 years. Once a jar is opened, it should be refrigerated and consumed within 2-3 weeks for the best quality and safety. If any of your jars did not seal properly (the lid flexes when pressed), simply store them in the refrigerator and enjoy them first!
Troubleshooting Common Jam Challenges
Even with a fail-proof recipe, sometimes things don’t go exactly as planned. If your jam doesn’t set, it might be due to insufficient cooking time or too little lemon juice. You can try re-boiling it for a few more minutes to reach the setting point. If it becomes too firm, don’t worry! You can often gently reheat it with a splash of water or fruit juice to loosen its consistency, making it more spreadable.
Conclusion: Enjoy the Taste of Preserved Summer
Making homemade apricot jam is a rewarding experience, transforming simple fruit into a pantry staple that brings joy to every meal. Whether you prefer the classic, the honey-infused, or the spicy jalapeño kick, these variations ensure there’s a perfect flavor for every occasion. Embrace the season, fill your kitchen with the sweet aroma of apricots, and enjoy the delicious fruits of your labor. Don’t forget to share your creations and experiences with us!

Did you make this? Leave a rating and your feedback. Thank you!
