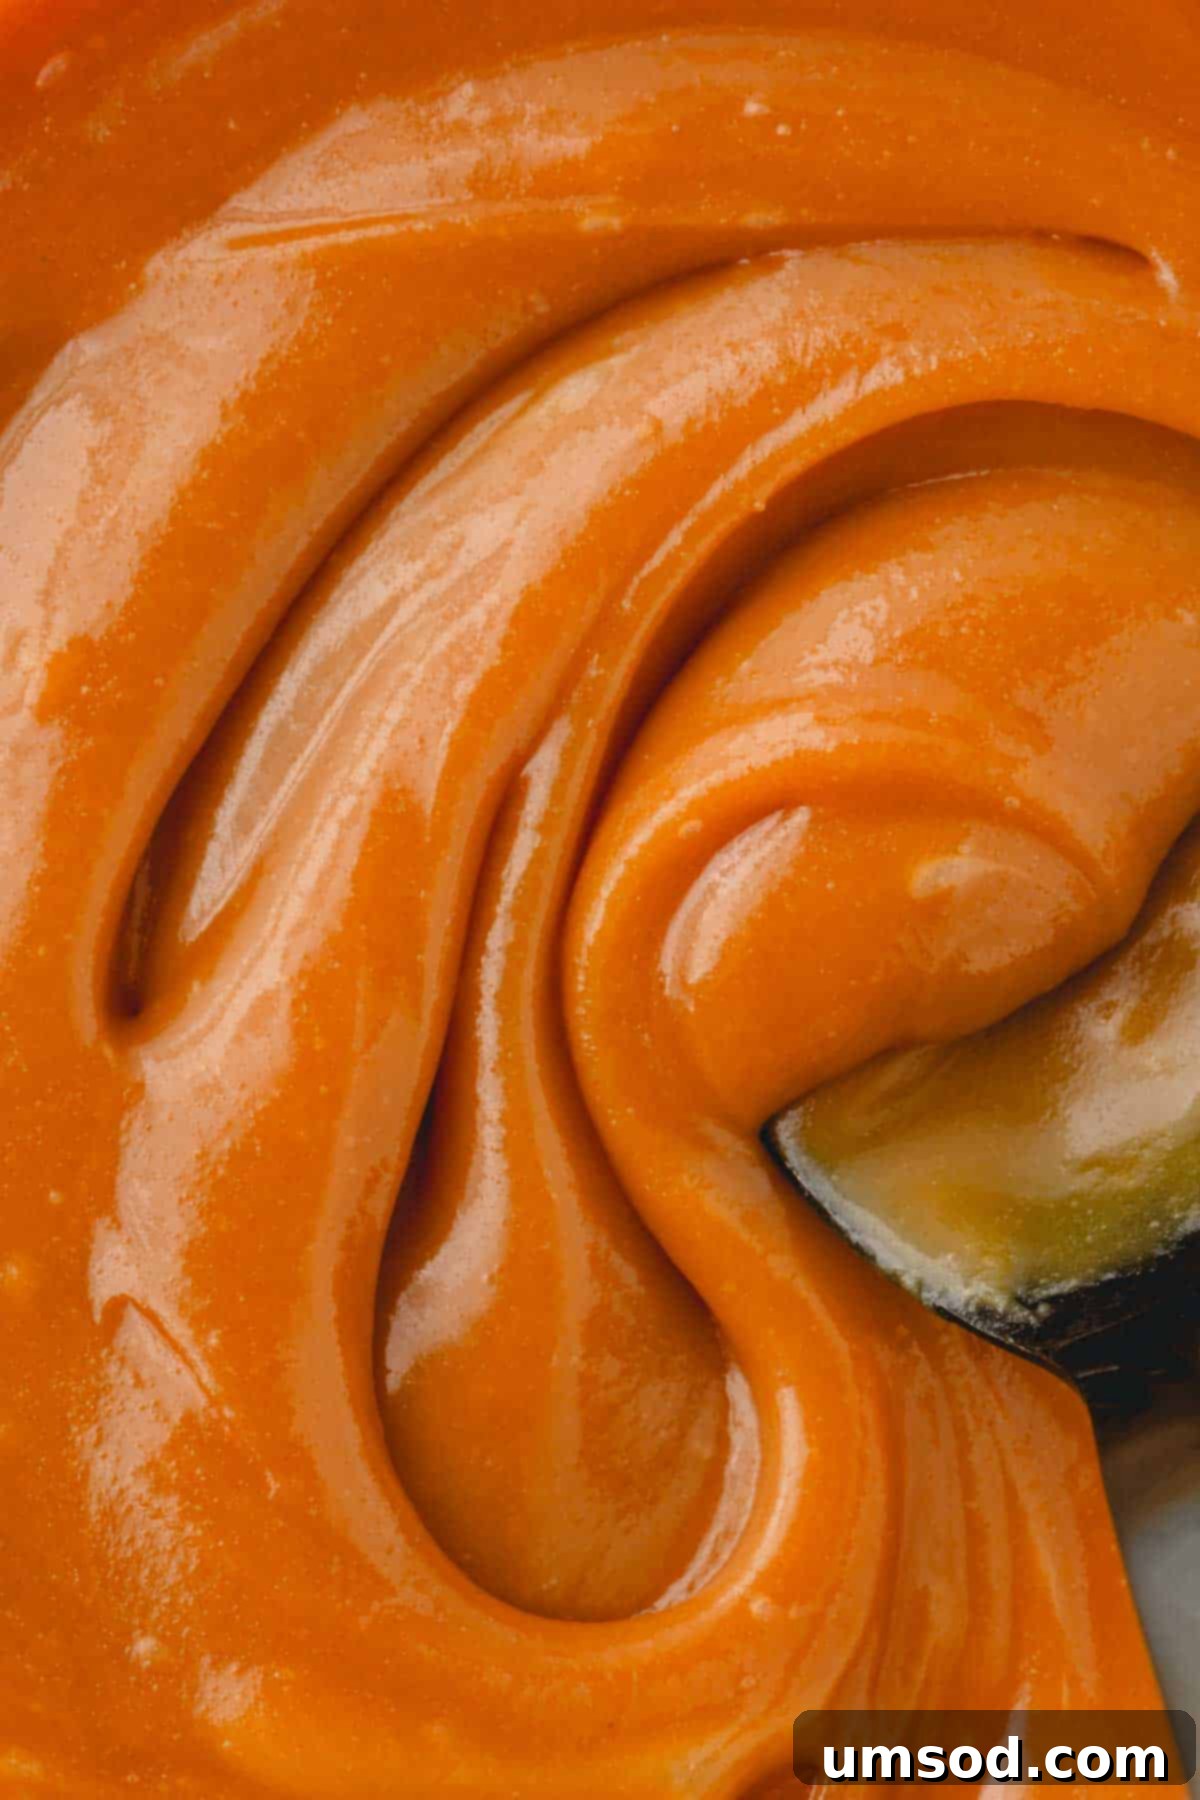
Easy Vegan Caramel Filling: Your Go-To Dairy-Free Recipe for Desserts
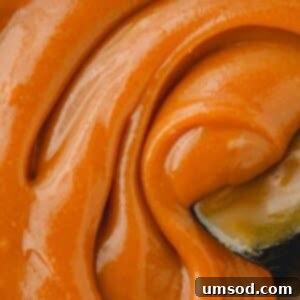
Indulge in the rich, sweet, and utterly irresistible taste of caramel without any dairy! This easy vegan caramel filling is incredibly versatile, serving as the perfect addition to a wide array of desserts, from delicate macarons and gourmet candies to elaborate cakes. Beyond being a fantastic filling, it effortlessly transforms into a luscious vegan caramel sauce, ideal for drizzling over warm brownies, a scoop of vanilla ice cream, or even a stack of fluffy pancakes. Crafted with just three simple, readily available ingredients, this recipe offers a straightforward way to elevate any sweet treat into an extraordinary culinary experience.

While my heart holds a special place for chocolate, caramel has always been a very close second in my list of beloved flavors. I’ve often delighted in creating classic caramel treats, such as my popular salted caramel chocolate chip cookie bars and decadent chocolate caramel cups. Over time, I noticed an increasing demand for vegan alternatives to these cherished recipes.
Driven by this need, I donned my scientist’s hat and ventured into the kitchen with a clear mission: to formulate a truly delicious, dairy-free vegan caramel filling. The challenge was to replicate that authentic caramel taste and texture without relying on traditional dairy products.
After just a few dedicated test runs, I achieved what I set out to do. The result was a completely dairy-free and vegan filling (or sauce, depending on your desired consistency) that remarkably captures the essence of classic caramel. Its rich flavor and smooth texture will impress even the most discerning palates, making it a perfect plant-based substitute for all your caramel cravings!
Why This Vegan Caramel Recipe is a Must-Try
This coconut caramel sauce quickly became a household favorite, earning enthusiastic approval from my husband and boys. Here’s why you’ll fall in love with it too:
- Effortlessly Simple Ingredients – Forget about specialty store hunts! This recipe calls for just three incredibly simple items, which you likely already have stashed away in your pantry. It’s a testament to how extraordinary flavors can emerge from ordinary components.
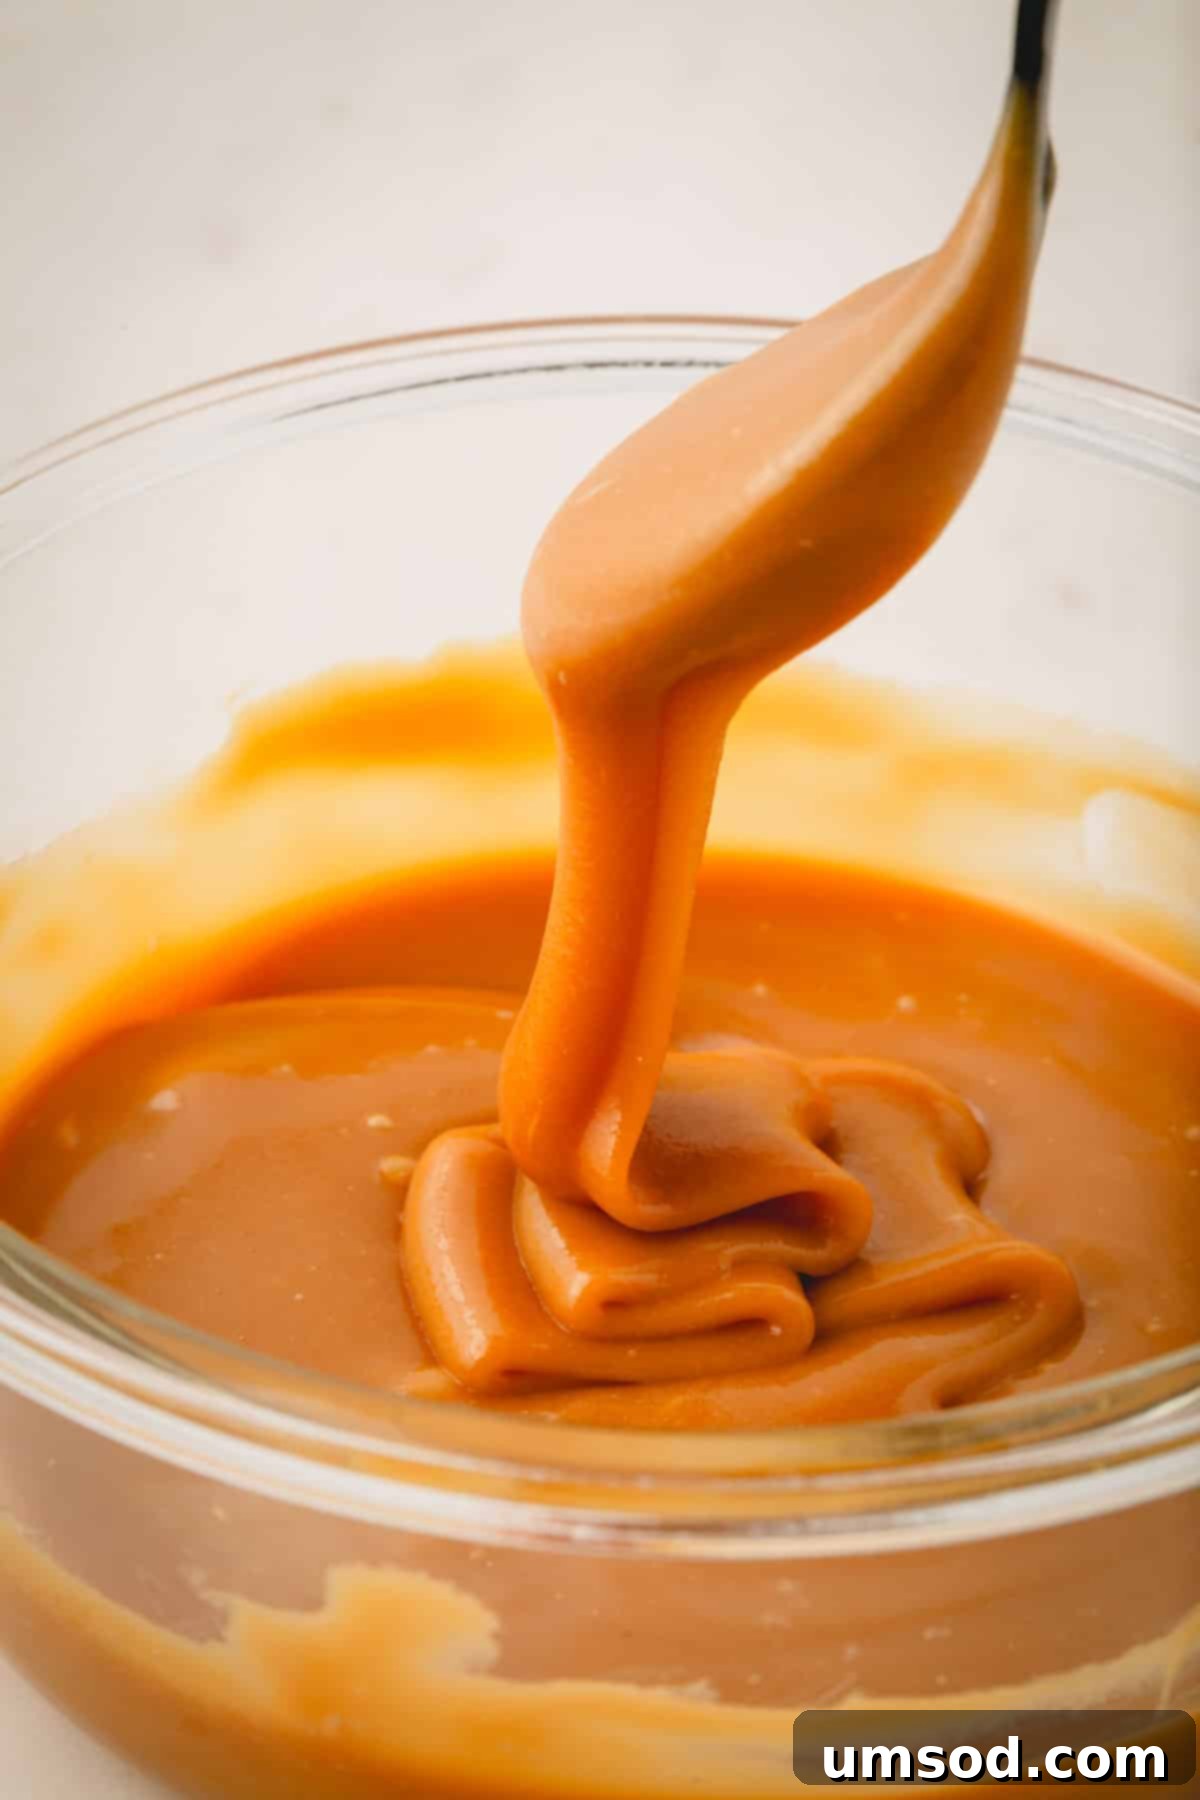
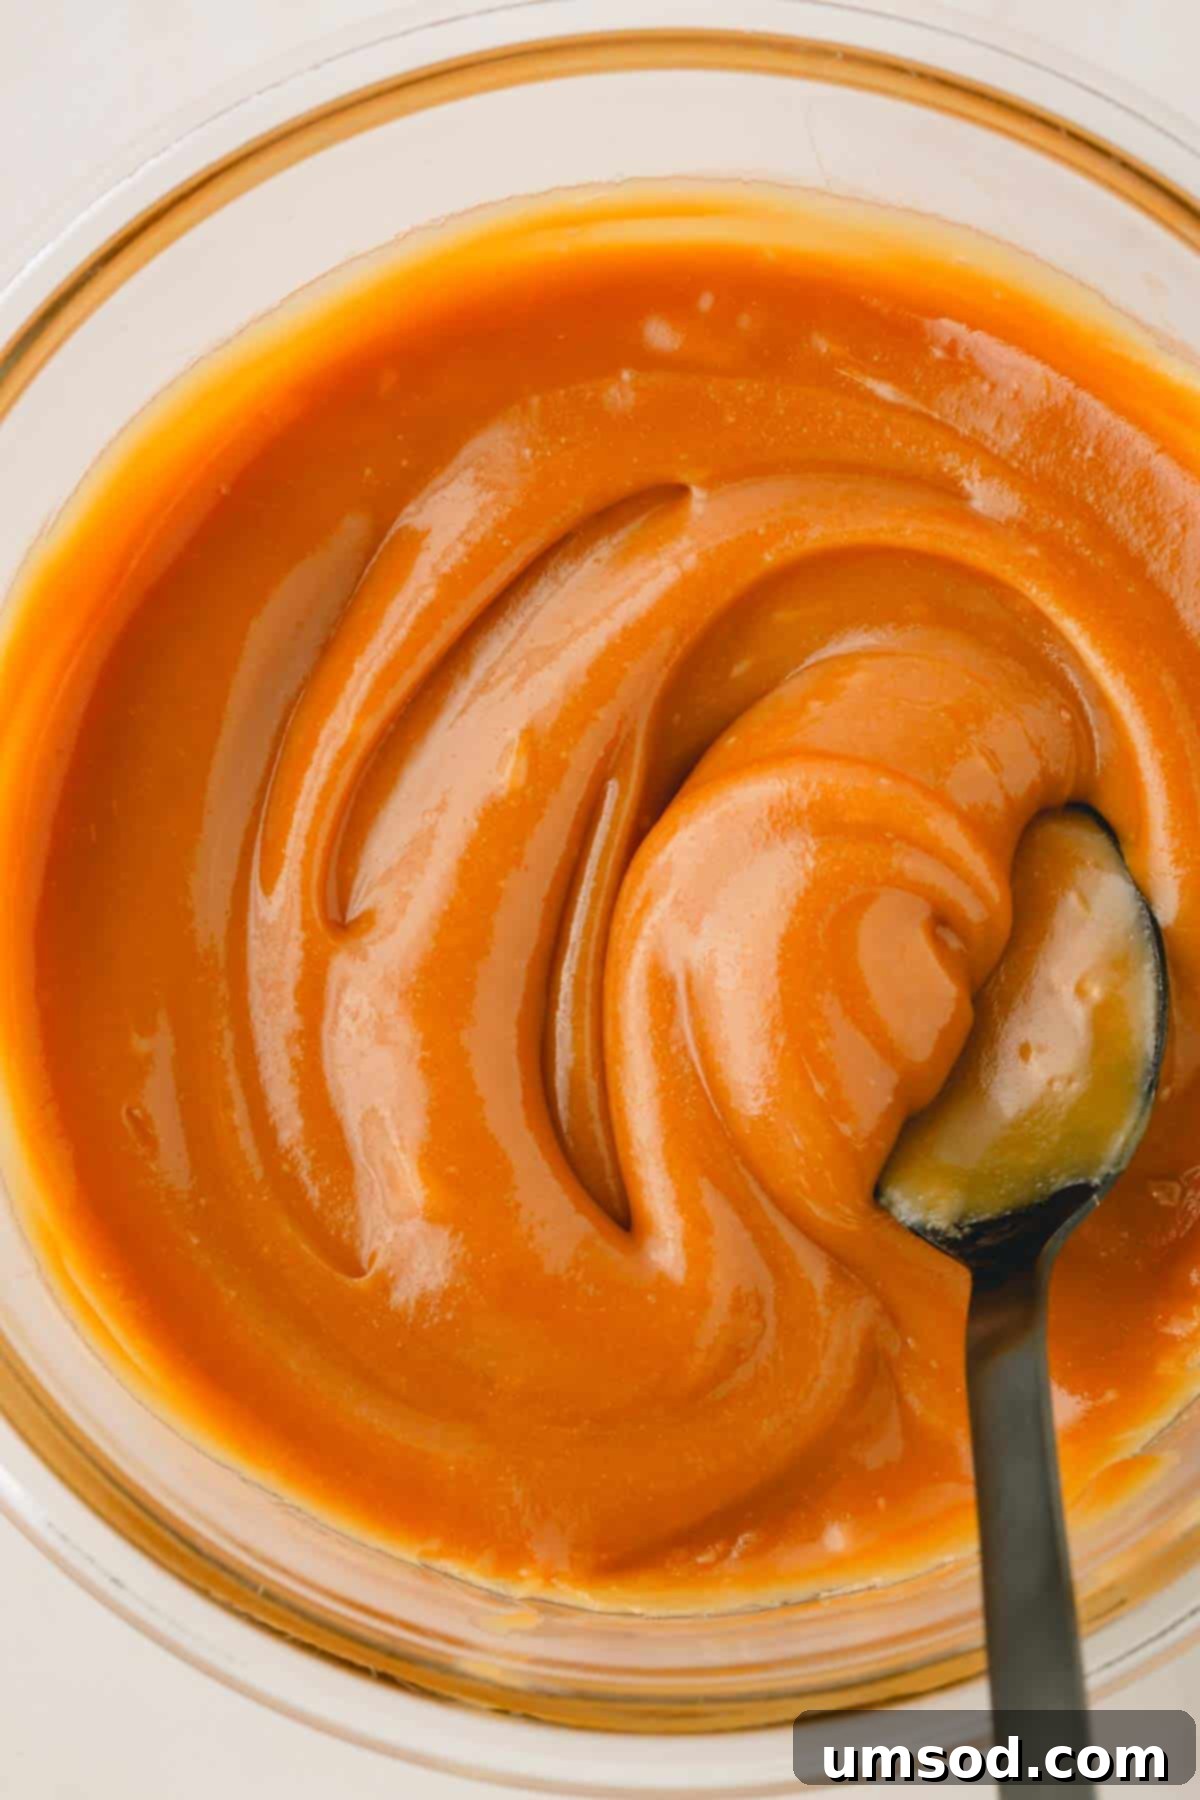
- Perfectly Versatile Texture – Designed to be thick and luxuriously smooth, this vegan caramel filling boasts a slightly gooey consistency. This prevents it from running out of your carefully crafted desserts, ensuring it stays exactly where you want it – be it in a macaron or a cake layer. With a slight adjustment to the cooking temperature, you can easily create a thinner, pourable sauce, perfect for lavish toppings and drizzles.
- Unmistakable, Rich Flavor – Prepare to be amazed by the depth of flavor. This vegan caramel filling is intensely rich and perfectly sweet, mirroring the taste of traditional caramel sauce so closely that most people won’t even detect it’s dairy-free. It’s a genuine caramel experience, purely plant-based.
- Dietary Inclusivity – For those with dairy allergies, lactose intolerance, or following a vegan lifestyle, this recipe is a game-changer. It allows everyone to enjoy classic caramel treats without compromise, making it a staple for inclusive entertaining and personal indulgence.
- Homemade Goodness – There’s an unparalleled satisfaction in making something from scratch. This homemade vegan caramel not only tastes superior to store-bought versions but also gives you complete control over the quality of ingredients, ensuring a fresh and wholesome product free from artificial additives.

Understanding Your Essential Ingredients
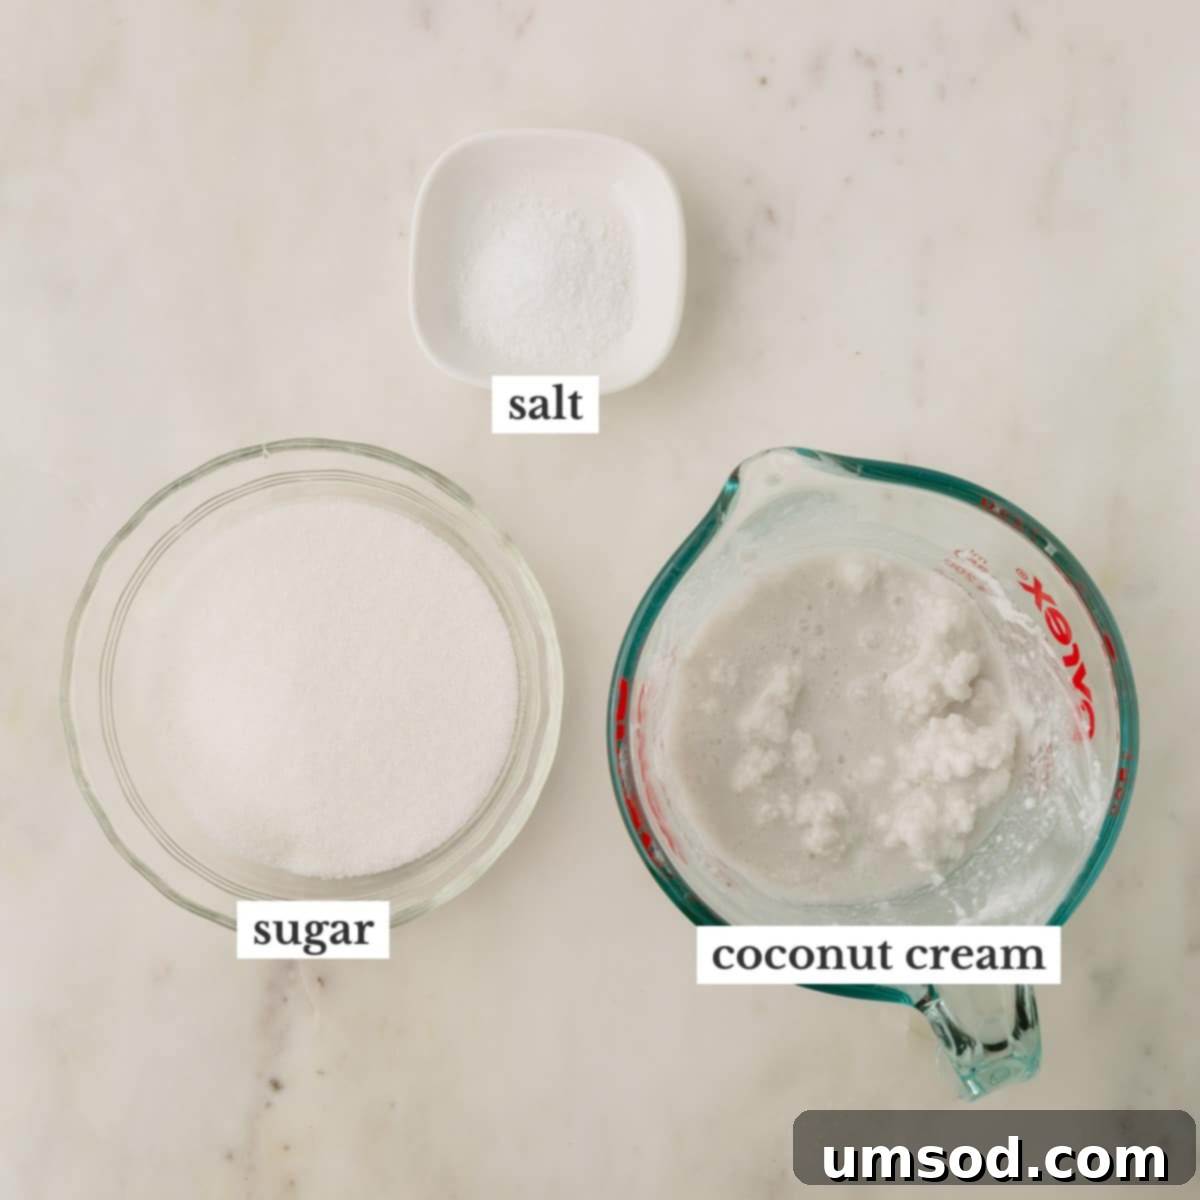
Creating this incredible vegan caramel requires only a handful of ingredients, but understanding their specific roles is key to achieving that perfect texture and flavor profile.
- Granulated Sugar – This forms the sweet, caramelized base of our recipe. While any granulated sugar works, for strictly vegan recipes, be aware that some conventional sugars are processed with bone char. If this is a concern, look for organic granulated sugar, which is always vegan-friendly, or certified vegan sugar brands. For a deeper dive into sweeteners, explore the different types of sugar and their uses in baking and cooking.
- Coconut Cream – The Dairy-Free Star – This is the magic ingredient that gives our vegan caramel its luscious, creamy texture without any dairy. It’s crucial to use full-fat coconut cream from a can, not thinner coconut milk. Coconut cream contains a higher fat content, which is essential for the caramel’s richness and structure. If you can only find canned coconut milk, simply refrigerate the can overnight. The thick, solid cream will separate and rise to the top; scoop out only this solid portion. Always check the label to ensure it has at least 60% fat content for the best results.
- Coarse Kosher Salt – A touch of coarse kosher salt is vital for balancing the intense sweetness of the caramel. It doesn’t just add saltiness; it enhances and rounds out all the flavors, creating a complex, well-balanced taste that prevents the caramel from being overly cloying. The coarse texture allows for a more even distribution and subtle burst of saltiness.
Crafting Your Perfect Coconut Caramel Filling: A Step-by-Step Guide
Follow these detailed steps to create a flawless batch of homemade vegan caramel. Patience is key, especially during the sugar melting phase!
1. The Art of Sugar Caramelization: Melting the Sugar
- Prepare Your Pan: Begin by heating a medium-sized, heavy-bottomed pan over medium heat. A pan of at least 2.5 quarts is recommended to prevent overflow when adding the cream. Heavy-bottomed pans ensure even heat distribution, which is crucial for preventing sugar from burning in spots while remaining unmelted in others.
- First Sugar Addition: Sprinkle ¼ cup of granulated sugar evenly over the bottom of the warm pan. Allow it to slowly melt, without stirring initially. This stage requires patience; it may seem to take a while, but resist the urge to crank up the heat, as this can lead to burning.
- Second Sugar Addition & Swirling: As the first batch of sugar begins to melt and liquefy around the edges, gently swirl the pan. This movement helps distribute the heat and encourages faster, more even melting. Once mostly melted, add another ¼ cup of sugar and continue to melt. At this point, you’ll start noticing the sugar developing a beautiful light amber-brown color. If you observe the sugar getting too dark before it’s fully melted, immediately remove the pan from the heat and stir it with a heat-resistant spatula or wooden spoon to slow down the cooking process. If necessary, reduce the heat to medium-low before returning it to the stove.
- Repeat for Remaining Sugar: Continue this process, adding the remaining sugar ¼ cup at a time. The melting process will accelerate as more sugar becomes liquid. Keep swirling the pan or gently stirring with a spatula to ensure all sugar crystals dissolve and the color deepens to a rich, dark amber.
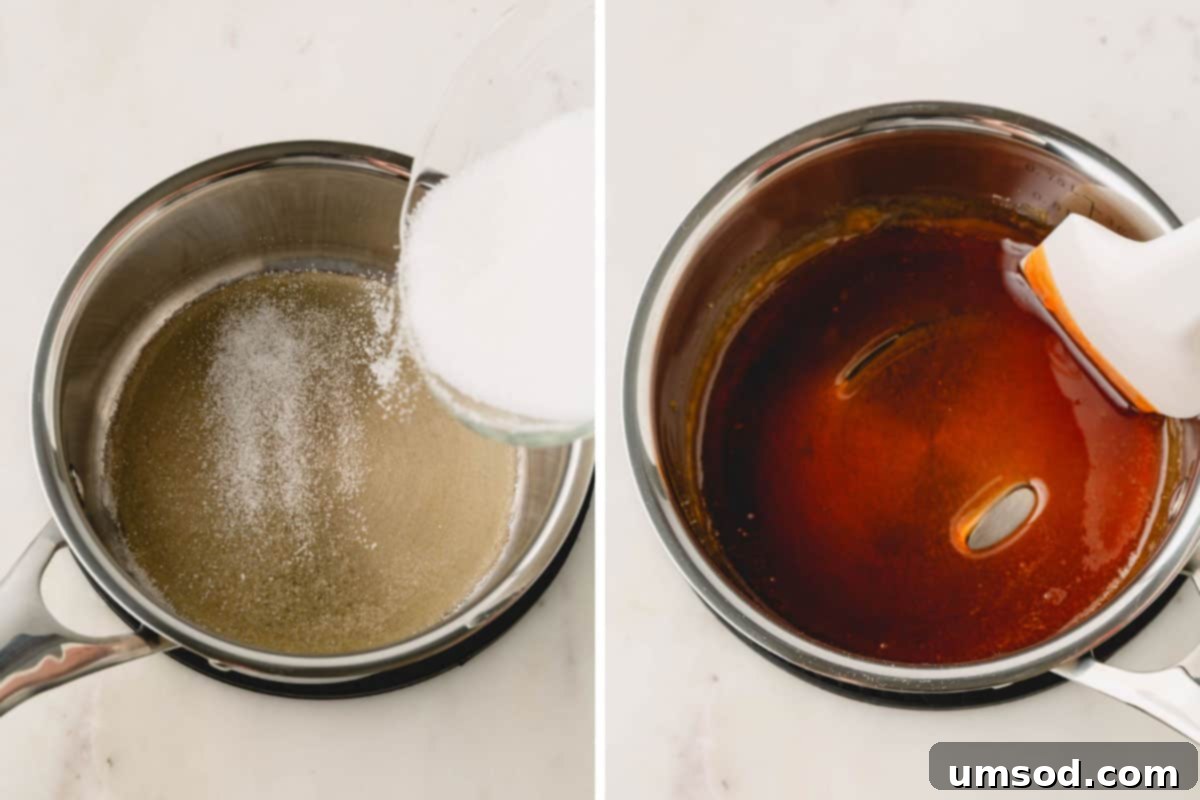
Pro Tip: Encouraging Even Melting
To ensure a smooth caramel, gently swirl the pan once the sugar starts melting around the edges. This helps move the sugar around, promoting even melting and preventing hot spots that can lead to burning.
2. The Creamy Infusion: Heating Coconut Cream and Combining
- Warm the Coconut Cream: While the sugar is caramelizing, gently heat the coconut cream in a microwave or a small saucepan until it reaches approximately 200°F (93°C). Using a candy thermometer, like a reliable Thermapen, is highly recommended here. Pre-heating the cream is critical to prevent the caramel from seizing.
- Slow Combination: Once the sugar has reached a dark amber color and the coconut cream is hot, slowly pour the hot cream into the melted sugar. Do this gradually while whisking slowly. Be extremely cautious, as the mixture will bubble up furiously and release steam. A large pan is essential to contain this reaction. Continuing to whisk slowly helps combat the rising bubbles and ensures a smooth, uniform blend.
- Cook to Consistency: Continue to cook the mixture over medium heat, stirring occasionally, until it reaches the desired temperature. For a thick, luscious filling perfect for macarons, aim for a temperature between 222°F to 226°F (106°C to 108°C). This specific range is vital for achieving that ideal firm-but-still-gooey consistency.

Adjusting for a Runnier Caramel Sauce
If your goal is a pourable vegan caramel sauce, perfect for drizzling, heat the mixture to a slightly lower temperature of 215°F (101°C) instead of the higher range for filling.
3. Finishing Touches: Adding Salt and Cooling
- Season with Salt: Remove the pan from the heat. Immediately stir in the coarse kosher salt. This will dissolve quickly and evenly, perfectly complementing the sweetness of the caramel.
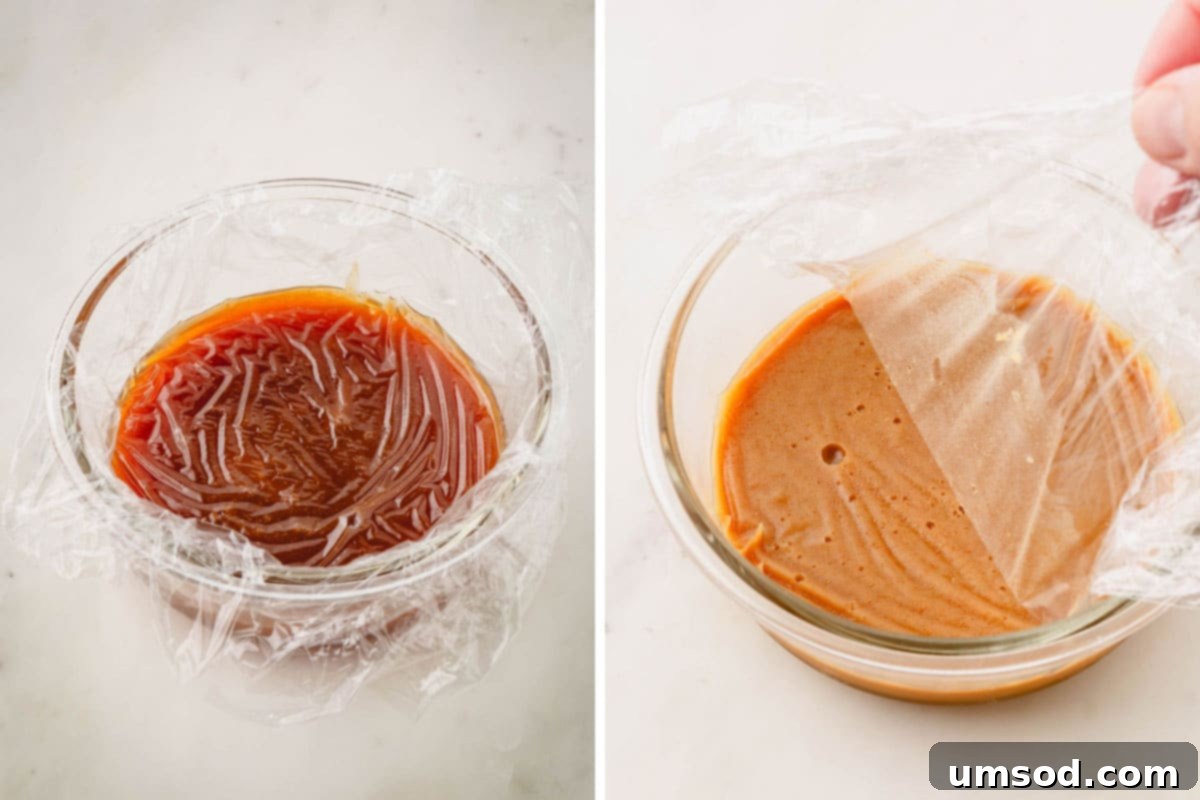
- Prepare for Cooling: Pour the hot caramel sauce into a shallow, heat-proof container. A wider surface area will help it cool more quickly and evenly.
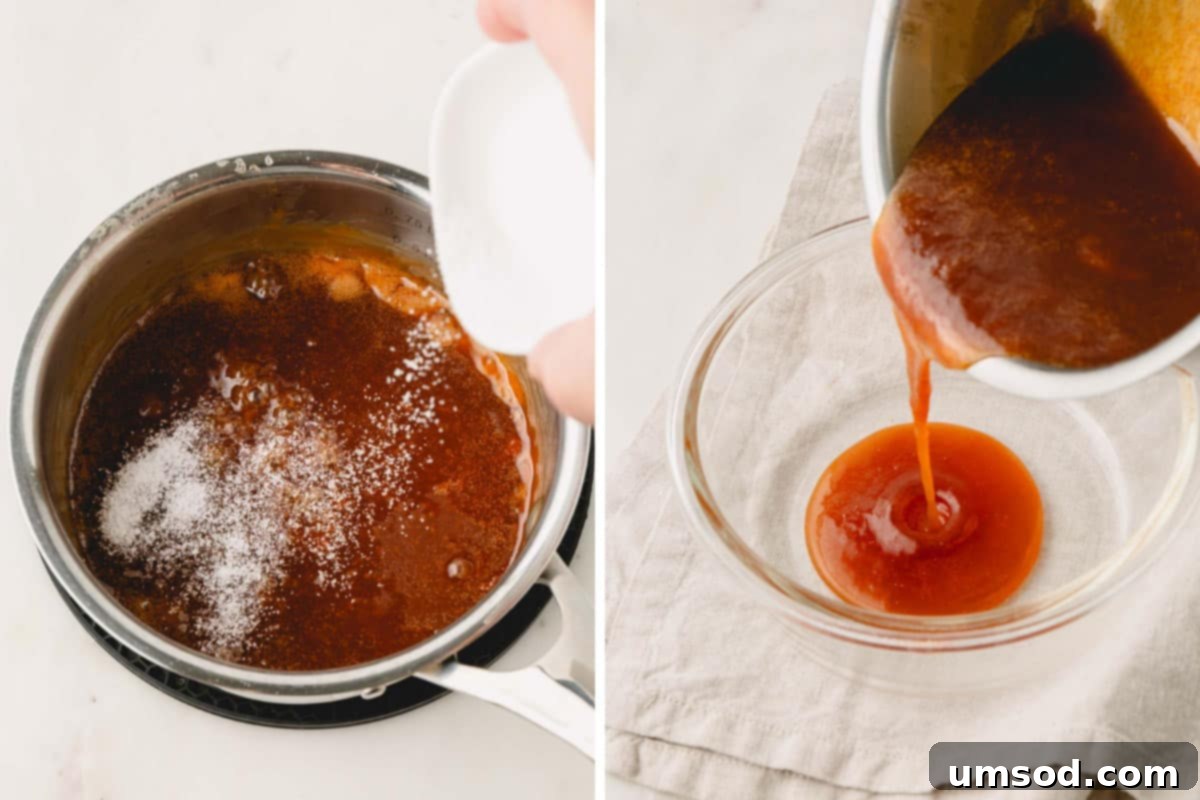
- Cover and Chill: Cover the surface of the caramel directly with plastic wrap, ensuring the wrap touches the entire surface. This prevents a “skin” from forming as it cools.
- Final Set: Allow the caramel to cool to room temperature on the counter, then transfer the covered container to the fridge for at least 2 hours. This chilling period is essential for the caramel to fully set and achieve its thick, desirable texture, especially if you’re using it as a filling.
Expert Tips for Vegan Caramel Success
Achieving perfect vegan caramel every time is simple with these crucial tips:
- Choose the Right Pan: Always use a large, heavy-bottomed saucepan. A minimum size of 2.5 quarts is recommended. The heavy bottom helps distribute heat evenly, which is vital for sugar melting consistently without burning. The generous size is essential because the caramel will bubble up significantly when the hot coconut cream is added, and you definitely want to prevent any messy (and potentially dangerous) overflows.
- Master Sugar Melting: Patience is your greatest tool. Start on medium heat and resist the urge to increase it. As the sugar begins to melt around the edges, gently swirl the pan to help it melt faster and more uniformly. You can also use a heat-resistant silicone spatula or wooden spoon to gently encourage melting, but avoid vigorous stirring that can introduce air and promote crystallization.
- Prevent Seizing: The most common reason caramel seizes (turns into a solid, hard lump) is adding cold cream to hot sugar. It’s imperative to heat your coconut cream to at least 200°F (93°C) before slowly pouring it into the melted sugar. If, despite your best efforts, your caramel does seize, don’t despair! Simply return the mixture to very low heat and gently cook, stirring frequently, until the sugar crystals fully dissolve and the mixture becomes smooth again.
- The Thermometer is Your Best Friend: For consistent results and to achieve the desired texture, a reliable candy thermometer is indispensable. Cook the caramel to specific temperature ranges:
- For a pourable, runny sauce consistency: Aim for 215°F (101°C).
- For a thick, gooey filling (perfect for macarons and cakes): Target 222-226°F (106-108°C).
Precision here makes all the difference!
- Troubleshooting Grainy Caramel: If your vegan caramel sauce turns grainy, it’s a sign that the sugar has crystallized. This often happens if sugar crystals cling to the sides of the pan and fall back into the mixture, seeding new crystal formation. To remedy this, gently warm the mixture over low to medium-low heat, stirring continuously, until all the sugar crystals have completely dissolved and the caramel is smooth again. You can also cover the pan for a few minutes while it’s on the heat; the steam generated can wash down sugar crystals from the sides.
Unleashing the Versatility: Creative Ways to Enjoy Vegan Caramel
This vegan caramel recipe is so deliciously good, you might find yourself sneaking spoonfuls straight from the jar – and I wouldn’t blame you! However, its true magic lies in its incredible versatility across a range of sweet applications.
As a rich and creamy filling, it’s absolutely perfect for:
- Delicate caramel vegan macarons, offering a beautiful contrast to their crisp shells.
- Decadent chocolate caramel cups, where its sweetness perfectly complements rich chocolate.
- Elegant salted caramel mini layer cakes, adding a professional touch and intense flavor.
- Filling tarts, pies, or even homemade chocolates for a gooey surprise.
Alternatively, if you opt for the thinner, pourable vegan caramel sauce consistency, its possibilities expand even further. Use it as a luxurious topping or a delightful dip with options like:
- Crisp, fresh fruit slices, especially apples, for a healthy yet indulgent snack.
- A generous drizzle over scoops of homemade vanilla bean ice cream or any plant-based frozen dessert.
- Elevating breakfast classics like fluffy waffles or stacks of buttermilk pancakes.
- Stirred into your morning coffee or favorite lattes for a homemade caramel latte experience.
- As a dip for pretzels, cookies, or even churros.
- Toppings for cheesecakes, cupcakes, or any other dessert that craves a caramel touch.
Storing Your Vegan Caramel for Lasting Enjoyment
One of the many advantages of this homemade vegan caramel is its excellent shelf life, allowing you to enjoy its deliciousness for an extended period.
- Refrigeration: Store any leftover filling or sauce in an airtight container in the fridge. Properly stored, it will maintain its quality and delicious flavor for up to 3 months. Its texture will firm up when cold, which is ideal for fillings.
- Freezing: For even longer storage, this vegan caramel freezes beautifully. Transfer it to a freezer-safe container, leaving a little headspace for expansion, and freeze for up to 1 year. This is perfect for meal prepping desserts or having a stash ready for future cravings.
- Thawing: When you’re ready to use your frozen caramel, simply transfer the container to the fridge and let it thaw overnight.
- Reheating: To restore its luscious, smooth consistency after refrigeration or thawing, you have a couple of easy options. Microwave the filling in short bursts, stirring well between each interval, until it reaches your desired warmth and pourable texture. Alternatively, gently warm it in a pot over medium-low heat on the stove, stirring continuously until smooth.
Frequently Asked Questions (FAQs) About Vegan Caramel
Yes, several brands do make vegan caramel filling and sauce, but it can often be challenging to find in regular grocery stores. Specialty health food stores or online retailers are usually your best bet. Making it at home, as with this recipe, ensures fresh ingredients and allows you to customize the consistency.
The most common culprit for caramel seizing (turning into a hard, crystalline lump) is an abrupt temperature change. If the coconut cream is significantly colder than the melted sugar, the shock will cause the sugar to crystallize. This is why it’s absolutely vital to heat your coconut cream to around 200°F (93°C) before slowly incorporating it into the hot melted sugar.
Grainy caramel is typically a sign of sugar crystallization. This can happen if undissolved sugar crystals on the sides of the pan fall back into the hot caramel mixture, acting as seeds for new crystals. To fix this, simply return the grainy mixture to medium-low heat and continue to warm and stir it until all the sugar crystals have completely dissolved and the sauce becomes smooth and clear again. Covering the pot briefly can also help, as the steam helps wash down any errant crystals from the sides.
Not always. While sugar itself is plant-derived, some conventional granulated sugars in North America are processed using bone char (charred animal bones) to achieve their white color. If you are a strict vegan, look for organic sugar, unrefined sugar, or sugar explicitly labeled as “vegan.”
For this specific recipe and to achieve the rich, thick texture of traditional caramel, full-fat coconut cream is highly recommended due to its high-fat content and ability to emulsify well. Other plant-based milks (like almond, soy, or oat milk) typically have a much lower fat content and may result in a thinner, less rich caramel that doesn’t set as well.
Explore More Delicious Homemade Sauces and Fillings
If you loved making this vegan caramel, you might enjoy trying these other fantastic homemade sauces and fillings to elevate your desserts:
- Pistachio Cream Filling
- Chocolate Mousse Filling
- Butterscotch Sauce
- Strawberry Sauce Topping
Coconut Caramel Filling
Comment
Print Recipe
Ingredients
- ½ cup (100 g) granulated sugar
- ½ cup (142 g) coconut cream Note 1
- ½ teaspoon coarse kosher salt
Instructions
- Heat a medium heavy-bottomed pan, at least 2 quarts, over medium heat.
- Then sprinkle ¼ cup of sugar evenly on the bottom of the pan. Slowly melt the sugar over medium heat. (This first stage may seem like taking long time, but be patient.)
- As sugar starts to melt around the edges, you may swirl the pan gently to move the sugar around and encourage it to melt.
- When the sugar is mostly melted, add another ¼ cup of the sugar and continue to melt it over medium heat. You’ll notice the color will start changing to a light amber color. NOTE: If you feel like it’s getting too dark, yet the sugar isn’t melted fully, take it off the heat and stir the sugar with a heat-resistant silicone spatula, a wooden spoon, or a whisk to slow down the cooking.
- If needed, reduce the heat to medium-low.
- Continue with the remaining sugar, ¼ cup at a time, and cook until all the sugar is melted and it’s dark amber color. NOTE: The sugar will start melting faster as more sugar is melted. Keep swirling the pan to encourage the sugar to move and melt faster, or you can also use a spatula or wooden spoon.
- Meanwhile, heat the coconut cream in a microwave until hot, about 200°F (93°C).
- Slowly pour in hot cream while whisking it slowly to combat the rising bubbles. Be careful, as the mixture will bubble up furiously. That’s why adding cream slowly and using a large enough pan is crucial. TIP: Make sure to heat the cream before adding it to the melted sugar, or your caramel will seize up on you. If that happens, return the mixture to a low heat and cook it until the sugar crystals are fully dissolved.
- Cook the mixture until it reaches 222-226°F (106-108°C). This is key for thick consistency for filling macarons. If you’re planning to use it as a sauce, cook the caramel until 215°F (101°C).
- Remove from heat and stir in salt.
- Transfer the sauce into a shallow container and cover with plastic wrap, ensuring it touches the entire surface.
- Cool to room temperature, then refrigerate for at least 2 hours.
⭐️ Did you make this recipe?
Please leave a review and let us know how you liked it!
Tips & Notes
Storage: Store in the fridge for up to 3 months. Or freeze for up to 1 year.
Nutrition
Did you make this?
Leave a rating and your feedback. Thank you!
