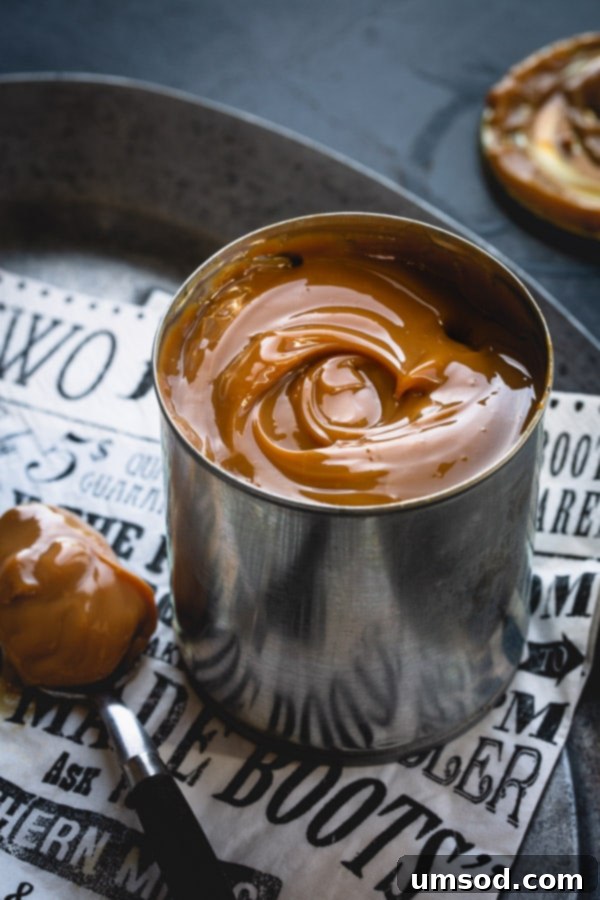
Ultimate Guide to Homemade Dulce de Leche: Three Proven Methods
Welcome to the definitive guide for crafting perfect homemade dulce de leche! After countless experiments in my kitchen, from traditional stovetop techniques to modern pressure cooking, I’ve meticulously documented the most effective methods to achieve that golden, creamy perfection. This comprehensive post delves into the specifics of three tried-and-true approaches, outlining their unique advantages and drawbacks, and even exposing one method that proved to be a complete disappointment.
Prepare to become a dulce de leche connoisseur as we explore each technique in detail, ensuring you can confidently choose the best method for your needs. Beyond the preparation, you’ll also discover invaluable tips for storing your homemade treat and a myriad of delicious ways to incorporate this irresistible confection into your culinary adventures. Get ready to transform simple sweetened condensed milk into a luxurious, toffee-like indulgence!
Making homemade dulce de leche has been a cherished tradition in my family for as long as I can remember. It’s truly a taste of my childhood – a rich, creamy, and deeply satisfying treat that brings instant comfort. Rather than simply sharing my personal go-to recipe, I embarked on a culinary quest to rigorously test various cooking methods, hoping to uncover new, perhaps even superior, techniques. This journey taught me a great deal, including identifying a particular method that is absolutely not worth your time or ingredients. Read on to discover all my findings and become a master of homemade dulce de leche.
What is Dulce de Leche?
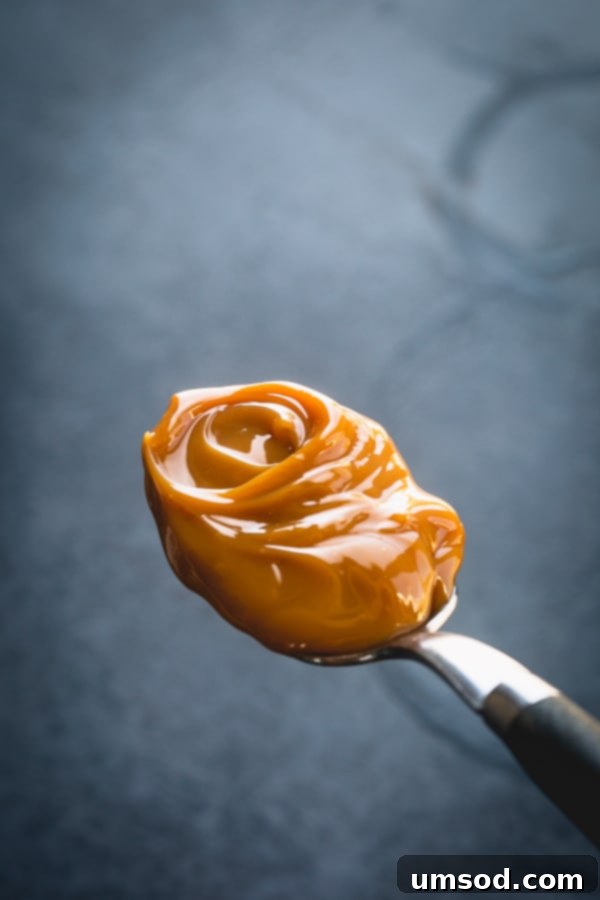
Dulce de leche is a Spanish phrase that elegantly translates to “candy made of milk.” At its heart, it is a caramelized sweetened milk product, beloved across Latin America and increasingly popular worldwide. This isn’t just a technical term; it’s a description of liquid gold—a lusciously creamy, incredibly sweet confection with a distinctive toffee-like flavor profile. Its rich, deep notes come from the Maillard reaction, a chemical process between amino acids and reducing sugars that gives it that characteristic caramelized taste and color, distinct from simple sugar caramelization.
While often enjoyed straight from the spoon (my personal favorite way!), dulce de leche is incredibly versatile. It can elevate everything from desserts to breakfast dishes. Its velvety texture and complex sweetness make it an essential ingredient in many cuisines, transforming ordinary treats into extraordinary indulgences.
Dulce de Leche vs. Caramel: Understanding the Delicious Difference
While often confused due to their similar appearance and sweet, rich profiles, dulce de leche and caramel are fundamentally distinct confections. The primary difference lies in their base ingredients and the chemical processes that create their unique flavors.
Caramel is primarily sugar-based. It is made by heating sugar (and often water) until it melts and caramelizes, undergoing a process known as caramelization, which involves the pyrolysis of sugar. This results in a sweet, often slightly bitter, glassy or syrupy product. Additional ingredients like cream and butter are often added to make caramel sauce, but the core reaction is sugar transforming.
Dulce de leche, on the other hand, is milk-based, traditionally made by slowly heating sweetened condensed milk until it caramelizes. The Maillard reaction, a chemical reaction between amino acids and reducing sugars that gives browned food its distinctive flavor, plays a significant role here. This process results in a more complex flavor profile—creamy, milky, and toffee-like, often described as less intensely sweet than pure caramel. If you’d like a more in-depth scientific explanation of the fascinating differences between caramel and dulce de leche, this article provides an excellent breakdown.
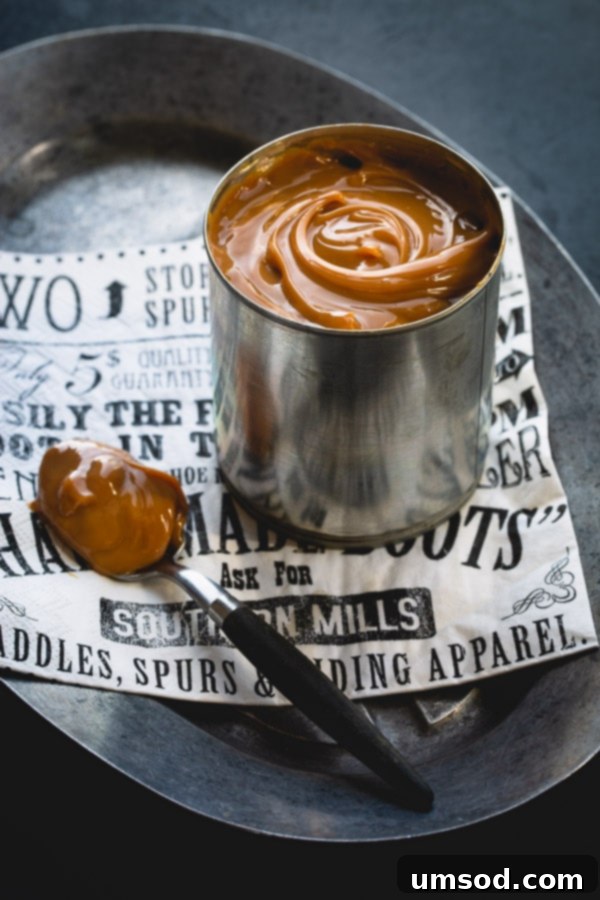
Mastering Homemade Dulce de Leche: Three Proven Methods
Now, let’s dive into the heart of the matter: the various cooking methods. I’ve personally tested and refined three distinct techniques for making homemade dulce de leche, each with its own set of advantages and considerations. We’ll explore the step-by-step process for each, weigh their pros and cons, and arm you with all the knowledge needed to choose your preferred approach. Plus, I’ll reveal a method that simply doesn’t deliver and should be avoided at all costs. Let’s get started on your journey to golden perfection!
Method #1: The Traditional Stovetop Method
This is my quintessential, time-honored method for making homemade dulce de leche—the way my mother, my friends’ mothers, and countless home cooks have done it for generations. It’s a classic for a reason, consistently yielding a product with unparalleled smoothness and rich color.
How to Cook Dulce de Leche on the Stovetop:
The process is remarkably straightforward, though it requires patience and occasional attention. Begin by carefully removing all paper labels from several cans of sweetened condensed milk. I typically prepare 3-4 cans simultaneously to ensure I always have a supply on hand. Place these unopened cans into a large, deep stockpot. Fill the pot with water, ensuring that the cans are submerged by at least 1 inch; ideally, aim for 2 inches of water covering the top of the cans. This generous water level is crucial for safety and even cooking. Cover the pot, bring the water to a rolling boil over high heat, then immediately reduce the heat to a low simmer. Allow the cans to simmer for 3 to 3.5 hours.
Crucial Safety Warning: Never Leave Unattended!
It is imperative that you do not leave the house or completely forget about the pot during this cooking process. Periodically check the water level to ensure the cans remain fully submerged. If the water evaporates and the cans become exposed to the direct heat of the pot, they can explode. This isn’t a mere kitchen mishap; it’s a serious hazard that can create an enormous mess and potentially cause injury. While a deep pot with a tight-fitting lid will significantly reduce water evaporation, always err on the side of caution. If you notice the water level dropping, carefully add more hot water to maintain full submersion.
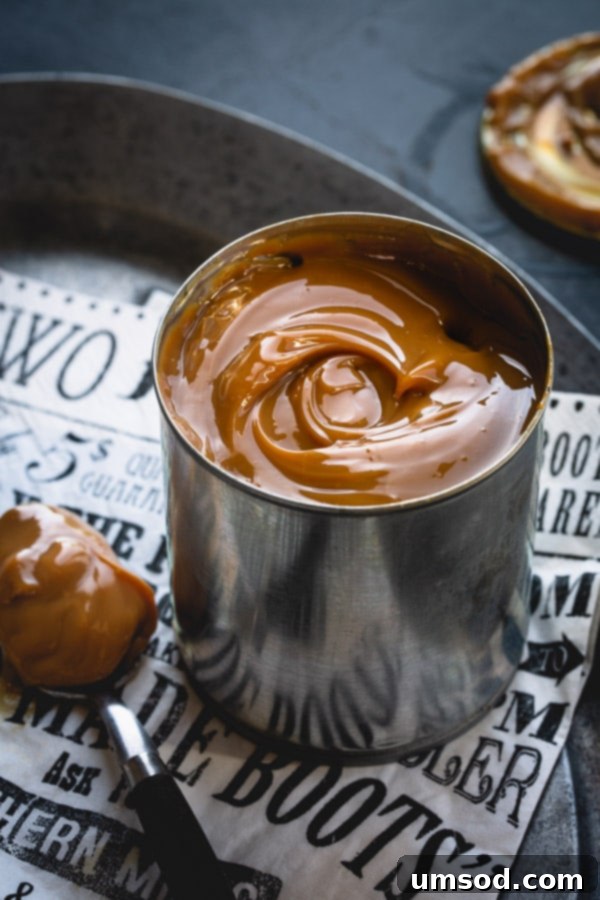
Pros of the Stovetop Method:
- Effortless Bulk Cooking: This method is ideal for preparing multiple cans of sweetened condensed milk simultaneously, making it highly efficient.
- Superior Texture: Consistently produces the silkiest, smoothest dulce de leche with an incredibly rich, dark color and thick consistency after 3-3.5 hours of simmering.
- Extended Shelf Life: Because the cans remain sealed during cooking, unopened jars of homemade dulce de leche boast a significantly longer shelf life, allowing for convenient pantry storage.
Cons of the Stovetop Method:
- Requires Supervision: It’s not a completely hands-off method. Regular check-ins are necessary to monitor and maintain the proper water level, preventing safety risks.
- Explosion Risk: Disregarding the critical warning about keeping cans submerged poses a genuine risk of explosion, which can be dangerous and extremely messy.
Conclusion on the Stovetop Method:
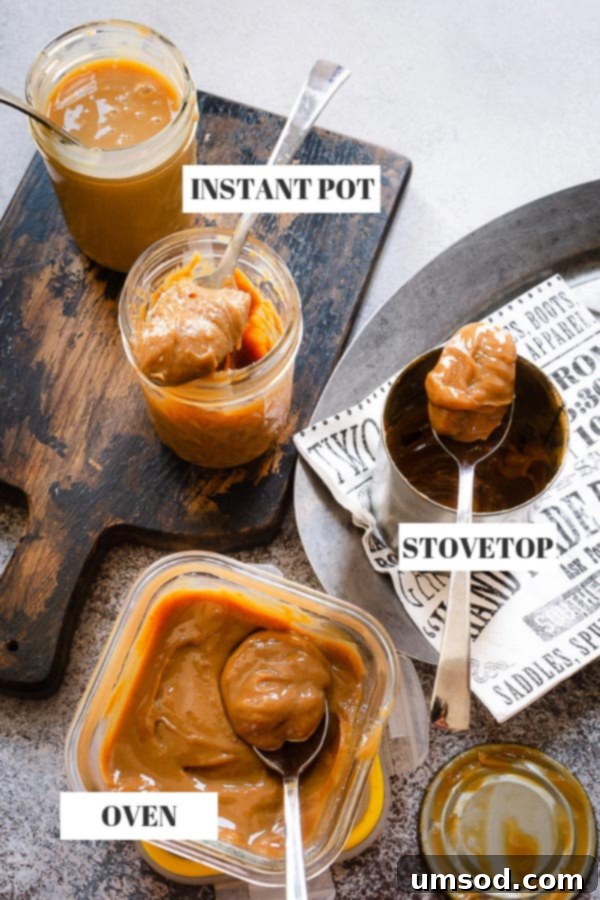
Despite the need for attentiveness, the stovetop method remains my absolute favorite. It consistently yields the most incredibly smooth and perfectly caramelized dulce de leche compared to any other technique I’ve explored. For a direct visual comparison, scroll down to see the side-by-side results.
Final, Crucial Warning: After cooking, always allow the cans to cool completely to room temperature before attempting to open them. Opening a hot, pressurized can can result in a dangerous spray of scalding hot dulce de leche, leading to severe burns. Patience is key for safety and enjoyment!
Method #2: The Oven (Bain-Marie) Method
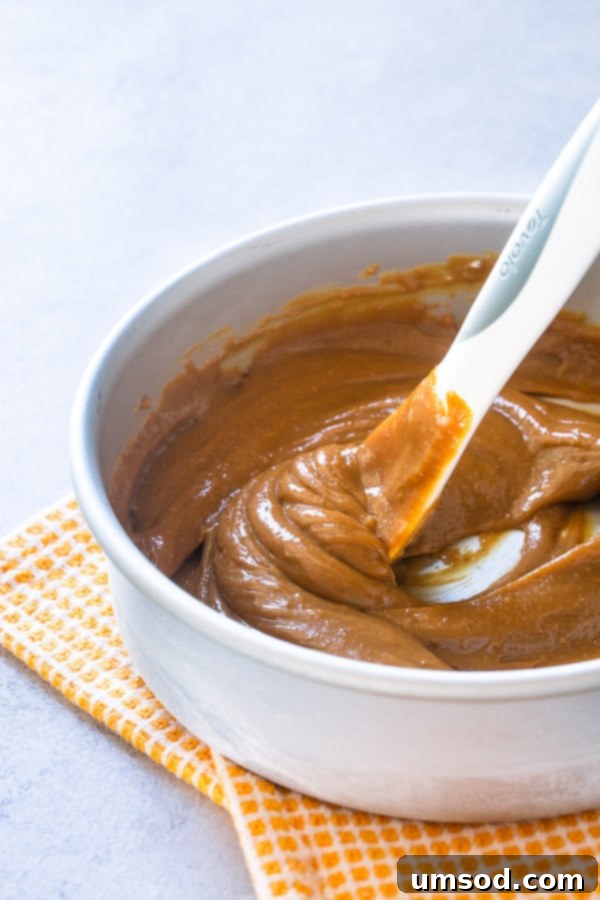
For those hesitant about boiling unopened cans, the oven method presents a fantastic alternative. Baking sweetened condensed milk in a water bath was a new technique for me, but I was genuinely impressed by the results. While it still takes a few hours to achieve that desirable rich, dark color and thick texture, the “set it and forget it” nature of oven baking offers a different kind of convenience once it’s set up. The primary distinction I observed is a slightly less silken texture compared to the stovetop version, but it’s still wonderfully creamy.
How to Cook Dulce de Leche in the Oven:
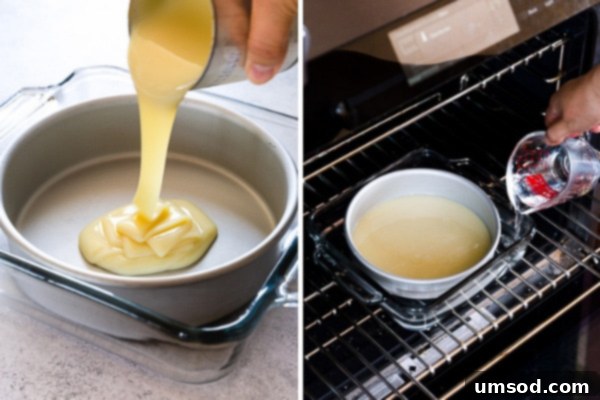
This method involves creating a bain-marie, or water bath. Begin by opening a can of sweetened condensed milk and pouring its contents into an oven-safe cake pan or a heatproof dish. Cover the cake pan tightly with aluminum foil to prevent the surface from scorching and to retain moisture. Next, place this covered cake pan into a larger roasting pan. Carefully pour hot water into the roasting pan until it reaches approximately halfway up the sides of the smaller cake pan. This water bath ensures gentle, even cooking. Bake the assembly in a preheated oven at 350°F (190°C) for about 3 hours, or until your dulce de leche reaches your preferred depth of color and thickness. Remember, covering the pan with foil is critical for preventing a dry, scorched top layer.
Pros of the Oven Method:
- Safety First: Eliminates any risk of can explosion since the sweetened condensed milk is cooked in an open, oven-safe container.
- Hands-Off Convenience: Once assembled and placed in the oven, this method requires minimal active supervision, allowing you to attend to other tasks.
- Excellent Results: Delivers a rich, dark color and thick, luscious consistency, closely matching the quality of the stovetop method.
Cons of the Oven Method:
- Slightly Grainier Texture: While mostly smooth, the texture can occasionally be slightly grainy compared to the impeccably smooth stovetop version.
- More Cleanup: Requires multiple pans (the cake pan and the roasting pan), leading to more dishes to wash.
- Shorter Shelf Life for Opened Product: Since the milk is transferred from its original can, the finished dulce de leche needs to be stored in an airtight container in the refrigerator, significantly shortening its shelf life compared to unopened cans.
Conclusion on the Oven Method:
I wholeheartedly recommend the oven method if you primarily need 1-2 cans of dulce de leche for immediate use (or within a week or two) and prefer a cooking process that doesn’t demand constant monitoring of a simmering pot. It’s a reliable and safe alternative that yields delicious results.
Method #3: The Instant Pot Method
My enthusiasm for the Instant Pot led me to have high expectations for this method, particularly the promise of significantly reduced cooking times. However, I also harbored some apprehension about placing sealed cans under pressure. My experiments involved two different approaches within the Instant Pot:
How to Cook Dulce de Leche in the Instant Pot:
I tested two main ways to cook sweetened condensed milk in an Instant Pot:
- Cooking in a Cake Pan or Stainless Steel Bowl: My first attempt involved pouring the sweetened condensed milk into a cake pan, which I then placed on a trivet inside the Instant Pot. After a painstaking 15+ minutes for the pot to come to pressure and an additional 40 minutes of cooking, I was disheartened to find the dulce de leche barely blond. A second 40-minute pressure cycle helped it darken slightly, but it still remained significantly paler than my desired rich golden hue. This method, while safer by avoiding a sealed can, proved to be inefficient for achieving proper caramelization in a reasonable timeframe.
- Cooking in a Canning Jar: Given the widespread online popularity of Instant Pot dulce de leche, I decided to try cooking sweetened condensed milk directly in a canning jar. This approach makes me slightly nervous due to the glass under pressure, but I ensured the lid was loosely sealed to allow for expansion. The results were remarkably better! In just 40 minutes of high-pressure cooking, I achieved a beautifully rich, dark color, much more aligned with the traditional dulce de leche.
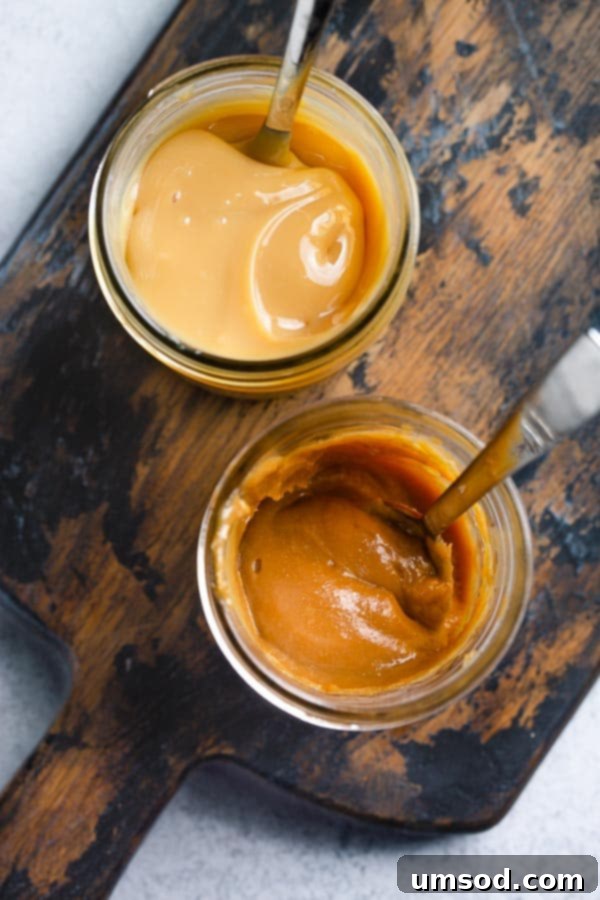
Despite the improved color with the canning jar method, I wasn’t entirely thrilled with the texture. It was noticeably the grainiest of all the methods I tested. You can visually discern this difference in the side-by-side comparison photo below.
Pros of the Instant Pot Method:
- Rapid Preparation: Undeniably the quickest method! When cooked in a canning jar, you can achieve a rich color and thick consistency in a little over an hour (including pressure build-up and release time).
- Batch Cooking Potential: You can prepare as many jars as your pressure cooker can comfortably accommodate, making it efficient for larger batches if you have multiple jars.
Cons of the Instant Pot Method:
- Grainier Texture: The primary drawback is the slightly grainy texture, which, while not affecting flavor, is a noticeable difference from the silky-smooth stovetop version.
- Multiple Dishes/Jars: Similar to the oven method, this approach requires additional containers (jars or pans) for cooking, contributing to more cleanup.
- Shorter Shelf Life: Dulce de leche cooked in jars has a shorter refrigeration shelf life compared to the long-lasting unopened stovetop cans.
Conclusion on the Instant Pot Method:
The Instant Pot offers a fantastic solution for making homemade dulce de leche, especially when time is of the essence. In about an hour, you can enjoy a delightfully rich, thick, and creamy dulce de leche. While the texture may lean slightly grainy, this doesn’t detract from its delicious flavor, making it a viable and quick option for your sweet cravings.
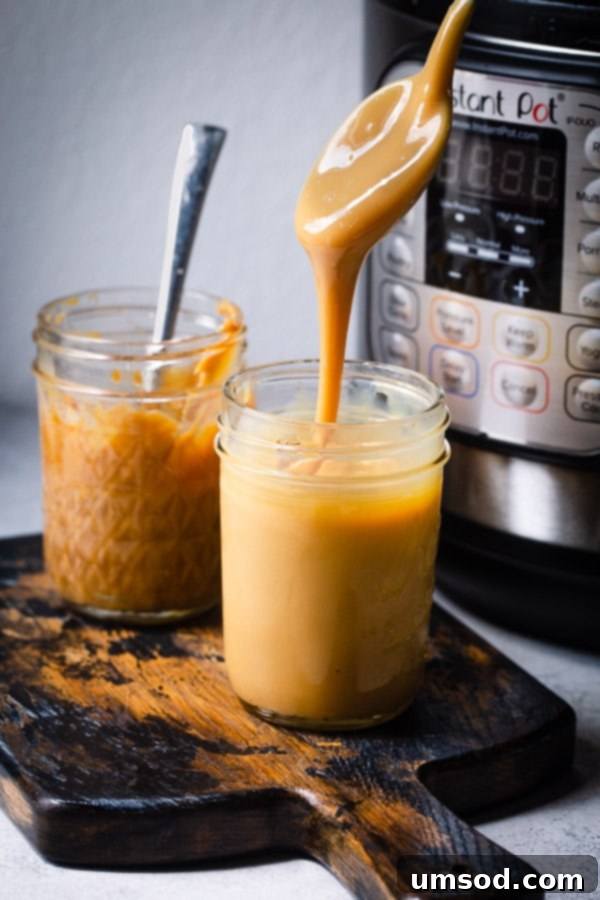
The Method to Avoid: Microwave!
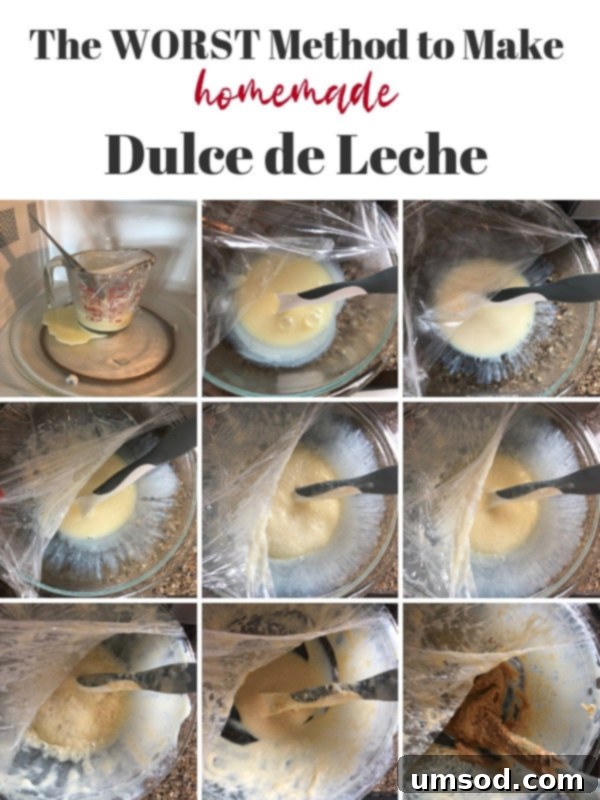
A promise of enjoying rich dulce de leche in less than 15 minutes seemed too good to be true, and unfortunately, it was. Despite the allure of speed, my attempts to make dulce de leche in the microwave proved to be a resounding failure and a source of significant frustration.
I gave this method multiple chances, convinced that perhaps I was doing something wrong, but both times resulted in an enormous, sticky mess, as vividly illustrated in the image below. The standard instructions involve placing sweetened condensed milk in a large bowl, cooking it at 50% power in 2-minute intervals, stirring diligently between each session. After about 10 minutes, the intervals are supposed to shorten to 1-minute bursts.
In my first attempt, using a 2-cup measuring cup for half a can of milk, it aggressively overflowed after just the second 2-minute interval, creating a sticky disaster across my microwave. For my second try, I escalated to a massive 5-quart bowl, thinking sheer volume would prevent spillage. While it initially seemed to be working, it eventually reached a dark color, but not without scorching parts of the milk. This happened despite careful stirring and adhering to the prescribed 1-minute intervals towards the end.
In conclusion: save your time, your sweetened condensed milk, and your microwave from this messy, unsatisfactory ordeal. The microwave method is unequivocally not recommended.
Side-by-Side Comparison: Which Dulce de Leche Reigns Supreme?
Now for the moment of truth! Below, you’ll find three scoops of deliciously creamy dulce de leche, each prepared using a different cooking method, displayed side by side. Take a good look and decide for yourself: Which one looks the best to you?
I might be a bit biased, but for me, the stovetop version stands out. Its thick, perfectly smooth consistency and rich, deep caramel color are exactly what I envision for ideal dulce de leche. The oven-baked version is also a strong contender, offering excellent color and texture. However, when time is pressing, the Instant Pot method proves its worth as a reliable and convenient rescue, delivering delightful results despite a slightly different texture profile. Each method has its merits, but the stovetop truly captures the essence of this golden indulgence.

How to Store Your Homemade Dulce de Leche for Freshness
Proper storage is key to enjoying your homemade dulce de leche for as long as possible. The method of preparation and whether the container has been opened significantly impact its shelf life:
- Unopened Cans (Stovetop Method): If you’ve prepared dulce de leche using the stovetop method in its original, unopened can, it can be safely stored at cool room temperature for up to 3 months. This is due to the sealed, sterile environment created during the canning process.
- Opened Cans or Jars (Oven/Instant Pot Methods): Any leftover dulce de leche that has been opened or prepared in a separate container (like from the oven or Instant Pot methods) must be transferred to an airtight container. Store it in the refrigerator, where it will remain fresh for up to 2 weeks. Always ensure the container is tightly sealed to prevent it from absorbing other odors and to maintain its texture.

Delicious Ways to Enjoy Dulce de Leche: Culinary Inspiration
Once you have a batch of this golden deliciousness, the possibilities for enjoyment are truly endless! My obsession with this sweet, creamy sauce means I’ve incorporated it into countless dessert recipes and everyday treats. So, put on your metaphorical yoga pants, because here are just a few irresistible ideas to add a dose of dulce de leche into your daily life:
- Coffee Enhancer: Stir a spoonful or two into your morning coffee or espresso for a rich, caramel-infused beverage that will instantly upgrade your daily ritual.
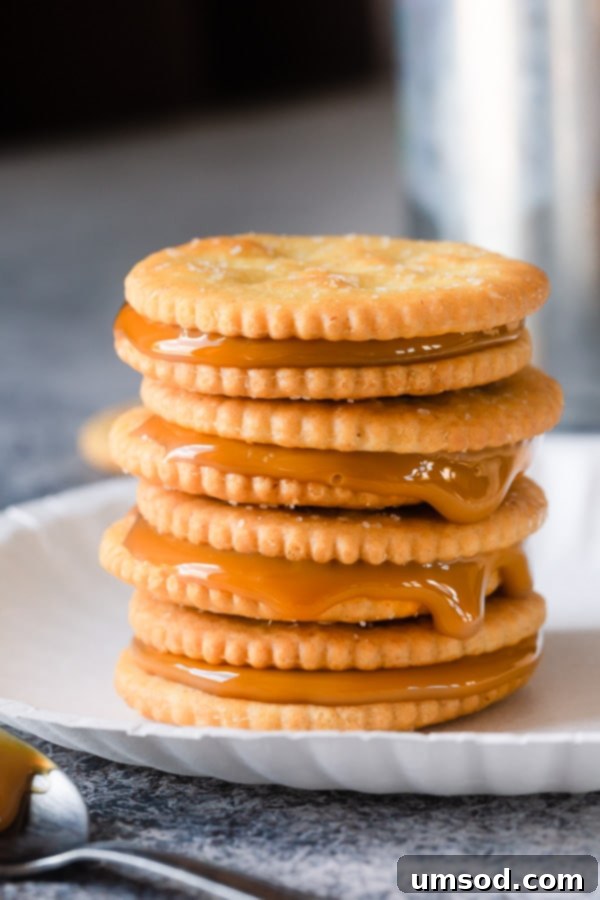
- Dulce de Leche and Ritz Cracker Sandwiches: This unexpected pairing is a true revelation! The complex combination of buttery, crispy, salty Ritz crackers with the lusciously sweet and creamy dulce de leche filling creates an addictive snack. They’re my absolute favorite treat with afternoon tea, offering a perfect balance of salty and sweet.
- Apple Slice Dip: Elevate a simple snack by dipping crisp apple slices (or any fruit!) into a dollop of dulce de leche for a quick, healthy-ish, and utterly satisfying treat.
- Crepe Filling: Spread it generously inside warm, delicate crepes for a classic and elegant dessert or a decadent breakfast. Add some sliced bananas or berries for an extra touch.
- Mini Chocolate Caramel Layer Cakes: Take your baking to the next level with these indulgent dulce de leche chocolate mini cakes. The rich chocolate and creamy dulce de leche are a match made in heaven.
- Decadent Cheesecake: Impress your guests (or just yourself!) with this stunning dulce de leche cheesecake. Its impressive appearance is matched only by its incredible flavor.
- 4-Ingredient Chocolate Cups: For a quick and easy sweet bite, whip up these 4-ingredient dulce de leche chocolate cups. They’re perfect to have on hand for sudden cravings or unexpected guests.
- Brownie Swirl: Swirl a generous amount of dulce de leche into your favorite brownie batter before baking for pockets of gooey, caramelized goodness.
- Quick Caramel Buttercream: Need a simple yet luxurious frosting? Use dulce de leche as the base for a speedy and delicious caramel buttercream frosting, perfect for cakes and cupcakes.
- Ice Cream Topping: Drizzle warm dulce de leche generously over your favorite vanilla or chocolate ice cream for an instant, crowd-pleasing dessert upgrade. Yum!
I sincerely hope this comprehensive guide has been helpful in empowering you to make delicious homemade dulce de leche with confidence. Whether you opt for the classic stovetop, the convenient oven, or the speedy Instant Pot, you’re now equipped to create this incredible treat!
Homemade Dulce de Leche Recipe
By Shinee Davaakhuu
Here’s a recap of my top 3 proven methods to make homemade dulce de leche. From stovetop to Instant Pot, these detailed instructions will guide you to perfection.
Total Time: 3 hrs – 3 hrs 30 mins
Servings: 10-40 servings (depending on cans cooked)
Ingredients
- 1-4 14oz cans of sweetened condensed milk (Note 1)
Instructions
- STOVETOP METHOD: Remove the label off of cans of sweetened condensed milk. Place unopened cans (I always cook 3-4 cans at a time) in a deep stockpot.
- Fill with water until it covers the cans at least 1 inch above (2 inches above cans is better). Cover the pot and bring it to a boil.
- Then reduce the heat to low and simmer for 3-3.5 hours. Keep an eye on water level often and make sure it doesn’t expose the cans. If the water level drops, add more hot water to keep the cans fully submerged.
- WARNING: This is not the time to leave the house! Keep an eye on the pot from time to time, making sure the water level doesn’t drop, exposing the cans. Exposed cans can explode, creating a huge mess or even damage.
- Using a pair of kitchen tongs, carefully remove the cans and cool completely before opening. Do NOT open hot cans; pressurized dulce de leche will spray you. Unopened cans can be stored at room temperature for up to 3 months.
- OVEN METHOD: Open a can of sweetened condensed milk, pour it into an oven-safe cake pan, and cover tightly with aluminum foil.
- Set the pan with sweetened condensed milk in a large roasting pan. Add hot water into the roasting pan until it reaches halfway up the cake pan.
- Then bake at 350°F (190°C) for about 3 hours, or until it reaches the desired dark color.
- Transfer dulce de leche into an airtight container and refrigerate for up to 2 weeks.
- INSTANT POT METHOD: Open a can of sweetened condensed milk, pour it into a canning jar, and close the lid (do not overtighten; finger-tight is sufficient).
- Place a trivet on the bottom of the inner pot of your Instant Pot. Place the canning jar(s) on the trivet.
- Add hot water until it reaches just under the lid of the jar(s). Close the Instant Pot, ensuring the valve is set to ‘Sealing’.
- Set Instant Pot to Manual/Pressure Cook for 40 minutes on High pressure.
- Once time is up, carefully perform a quick pressure release by turning the valve to ‘Venting’.
- Carefully open the lid and remove the jar(s) with kitchen tongs. Cool completely before opening. Store in the fridge for up to 2 weeks.
⭐️ Did you make this recipe?
Please consider leaving a review and letting us know how you liked it!
Tips & Notes
- Note 1: Always double-check and make sure you have purchased sweetened condensed milk, not evaporated milk. These two products often look identical on the shelf, and it’s very easy to grab the wrong one!
- Note 2: For more detailed explanations and additional tips, please read the full article above.
Nutrition (Approximate per 30ml serving)
- Calories: 127 kcal
- Carbohydrates: 22 g
- Protein: 3 g
- Fat: 3 g
- Sugar: 22 g
- Sodium: 50 mg
Recipe Details
- Course: Filling, Dessert
- Cuisine: Argentinean, Latin American

Did you make this? We’d love to hear your feedback. Thank you!
