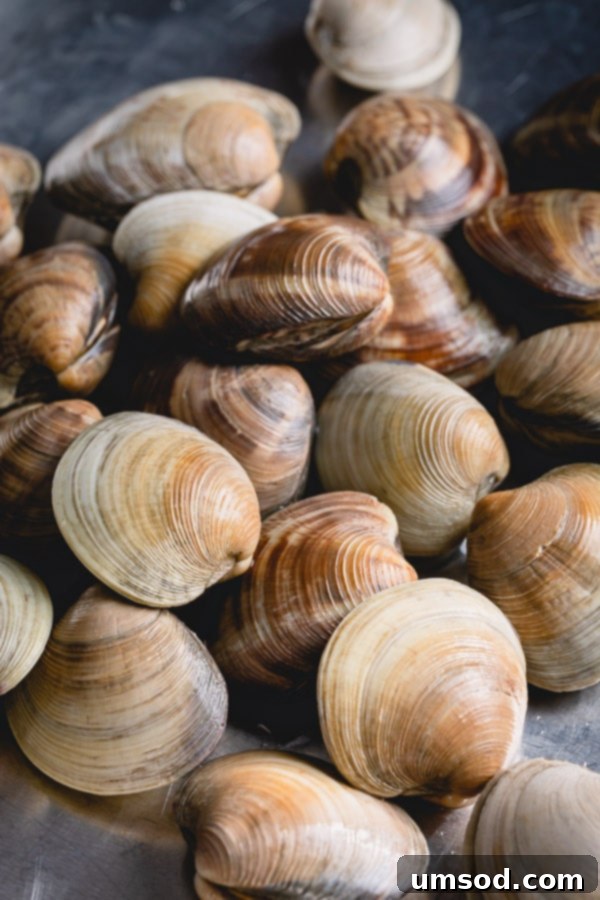
Are you tired of biting into delicious clam dishes only to be met with an unwelcome crunch of sand? It’s a common culinary frustration that can easily be avoided. This comprehensive guide will equip you with all the knowledge and techniques needed to ensure your little neck clams are perfectly clean, purged of grit, and ready to transform into a magnificent meal. From selecting the freshest shellfish to the simple yet crucial steps of deglitting, prepare to elevate your seafood experience and enjoy tender, pristine clams every time.
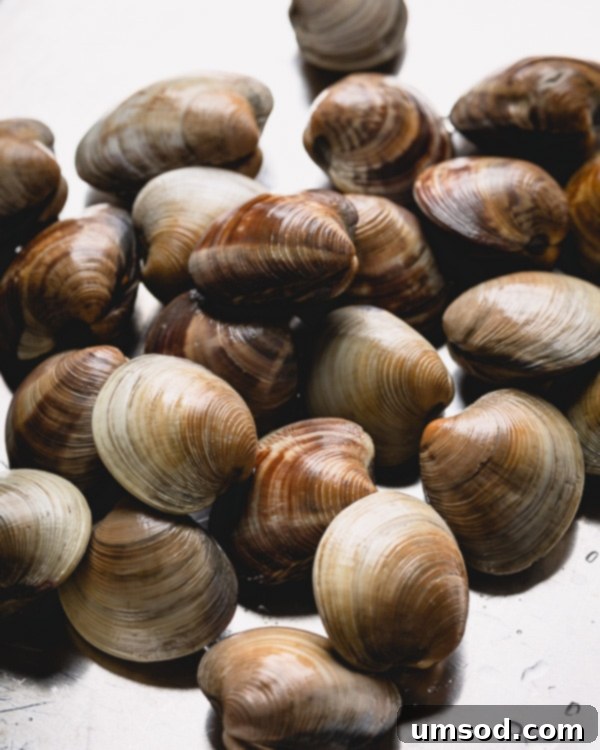
You’ve just brought home a bounty of beautiful, fresh little neck clams – perhaps from your local fishmonger or a successful day of clamming. But now comes the critical question: how do you properly clean and prepare them to unlock their tender, sweet flavor without any sandy surprises? The secret lies in a simple yet effective purging process that draws out any residual grit. Don’t worry, it’s much easier than you might think!
This guide will walk you through each step, ensuring that your next clam-infused soup, vibrant salad, or rich pasta dish is nothing short of perfection. We’ll start with the fundamentals of choosing the best clams, move on to the essential cleaning process, and conclude with tips for cooking and storing these delectable mollusks.
Why Properly Cleaning Clams is Essential
Clams, being filter feeders, naturally ingest sand, dirt, and other small particles from their environment. While perfectly natural for them, these particles can be quite unappetizing in your meal. The goal of cleaning clams, often referred to as “degritting” or “purging,” is to encourage the clams to expel this grit before they reach your plate. A simple saltwater soak mimics their natural habitat, prompting them to open slightly and flush out the sand. This crucial step makes the difference between a delightful culinary experience and a disappointing, gritty one.
How to Choose the Freshest Little Neck Clams
The success of any clam dish starts with selecting fresh, high-quality shellfish. Little neck clams are a popular choice due to their tender texture and sweet flavor, making them ideal for a variety of recipes. Here’s what to look for when you’re at the seafood counter:
- Tightly Closed Shells: This is the most important indicator of a live, healthy clam. Look for clams with shells that are firmly closed. If you find any clams with slightly open shells, gently tap them. A healthy clam will quickly close its shell. Discard any clams that remain open or have chipped, cracked, or broken shells, as these are likely dead and could harbor bacteria.
- Fresh Scent: Give the clams a good sniff. They should have a mild, fresh, briny aroma reminiscent of the ocean. Avoid any clams that smell strongly fishy, sulfuric, or like ammonia, as these are clear signs of spoilage. A clean, fresh scent indicates vitality.
- Weight and Appearance: Clams should feel heavy for their size, indicating they are full of meat and liquid. Their shells should appear clean and free from excessive mud or barnacles. While a little natural debris is normal, overly dirty shells can indicate poor handling.
- Temperature Control: Ensure the clams are stored on ice at the market. Temperature is crucial for keeping them alive. If you have a long journey home, ask for some extra ice to keep them cool. Remember not to seal them in an airtight bag, as they are living organisms and need to breathe.
Pro Tip: When transporting clams, place them in an open container or a breathable bag with ice. Never store them in a tightly sealed plastic bag, which can suffocate them and lead to spoilage.
Step-by-Step: How to Clean and Degrit Little Neck Clams
Once you’ve chosen your fresh clams, the cleaning process is straightforward and incredibly effective. This method focuses on thoroughly purging the clams of internal grit, ensuring a delightful, sandy-free eating experience.
Materials You’ll Need:
- A large bowl or pot
- Cold water
- Sea salt (non-iodized)
- A stiff brush (optional, for scrubbing shells)
The Cleaning Process:
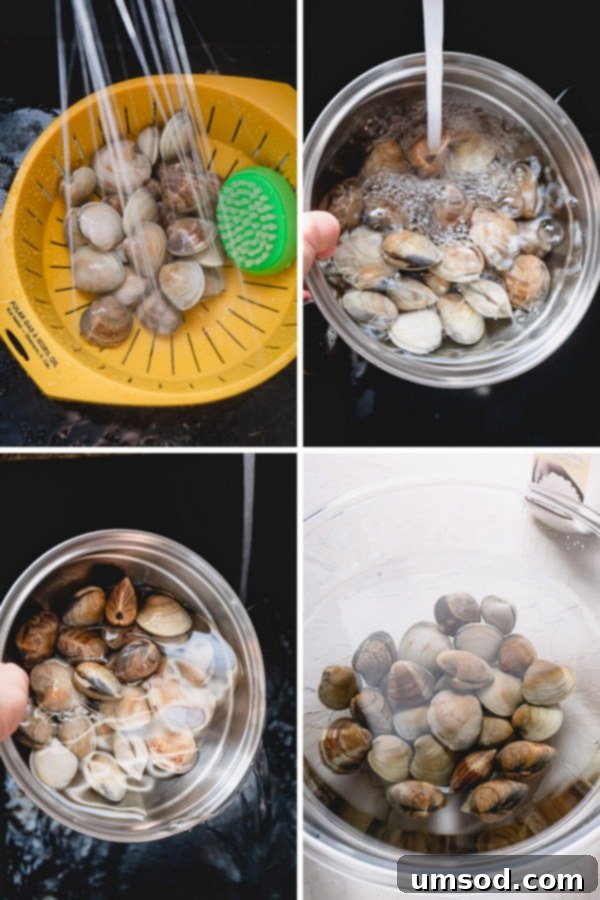
- Initial Rinse and Scrub: Begin by placing your clams in a colander under running cold water. Use a stiff brush, if necessary, to scrub any visible dirt, mud, or barnacles from the exterior of their shells. Rinse them thoroughly several times until the water running off them appears clear. This removes external debris, which can otherwise contaminate your soaking water.
- Prepare the Saltwater Solution: In a large bowl or pot, dissolve about ¼ cup of sea salt in 4 cups of cold water. It’s important to use cold water because warm water can shock the clams and cause them to close up, hindering the purging process. The salinity should be similar to seawater to encourage the clams to open and filter.
- Soak for Purging: Add the pre-rinsed clams to the saltwater solution. Ensure they are fully submerged. Place the bowl in the refrigerator for a minimum of 20 minutes, and ideally up to 2 hours. Soaking them in the refrigerator keeps the clams cool and happy, promoting active filtration. As they filter the water, they will naturally expel any sand or grit they contain. You might notice some sediment at the bottom of the bowl after soaking, which indicates the process is working effectively.
- Final Rinse (Optional): After soaking, gently remove the clams from the saltwater (leaving any expelled sand behind). Give them a quick final rinse under cold water just before cooking.
How to Cook Little Neck Clams
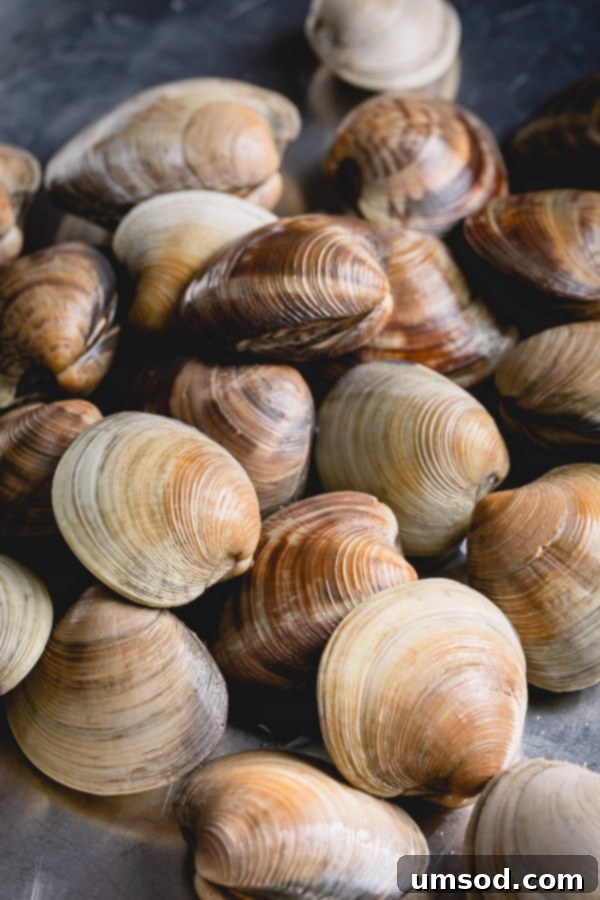
Once your little neck clams are perfectly cleaned, a world of culinary possibilities opens up. Their delicate flavor and tender texture make them versatile for a range of dishes. The key to cooking clams is speed – they cook very quickly, and overcooking will result in tough, rubbery meat.
Popular Cooking Methods:
- Steaming: This is one of the simplest and most common methods. In a large pot with a tight-fitting lid, add about ½ to 1 cup of liquid (water, white wine, broth, or a combination). Bring the liquid to a boil, then add the cleaned clams. Cover and steam for 5-7 minutes, or until the clam shells open. Discard any clams that do not open.
- In Soups and Stews: Little neck clams are fantastic additions to brothy soups like traditional miso soup, cioppino, or a simple clam chowder. Add them towards the end of the cooking process, allowing just enough time for them to open (typically 5-7 minutes).
- Pasta Dishes: Clams pair wonderfully with pasta. Sauté garlic and chili flakes in olive oil, deglaze with white wine, then add the clams and a splash of pasta water. Cover and cook until they open, then toss with cooked pasta, fresh parsley, and a squeeze of lemon juice.
- Grilling or Roasting: For a smoky flavor, place clams directly on a hot grill or roast them in a hot oven (around 400°F/200°C) until they open, about 6-10 minutes. Serve with melted garlic butter.
Crucial Cooking Tip: Always keep a close eye on clams while cooking. They are done the moment their shells open. Cooking them for longer than a minute or two past opening will make them tough and less enjoyable. Remove them from the heat immediately and serve.
Frequently Asked Questions About Cleaning and Cooking Clams
Do clams open when they die?
Yes, often they do. Live clams keep their shells tightly closed or will close them quickly when tapped. If a clam’s shell is open and doesn’t close after a gentle tap, it’s likely dead and should be discarded. It’s crucial to only cook and eat live clams to ensure food safety and quality.
How do you keep little neck clams alive before cooking?
To keep live little neck clams fresh, store them in the coldest part of your refrigerator (usually the bottom drawer) in an open container, such as a bowl covered with a damp cloth or paper towels, or in a mesh bag. Never store them in an airtight container or submerged in fresh water, as this will suffocate and kill them. Properly stored, they can typically last for 1-2 days.
How do you clean clam meat once shucked?
For most recipes, especially when steaming or using clams in their shells, you don’t need to “clean” or shuck the clam meat itself. The purging process takes care of the grit inside. However, if you plan to use clam meat in specific dishes like fried clams, clam cakes, or certain pasta fillings where the shells are removed, you’ll need to shuck them first. To shuck, carefully insert a clam shucking knife into the hinge and twist to pry the shells apart. Then, run the knife along the inside of both shells to detach the meat. A quick rinse of the shucked meat under cold water can remove any last traces of grit, though careful purging often makes this unnecessary.
How do you clean sand out of clams effectively?
The most effective method for cleaning sand out of clams is the saltwater soaking technique described above. By submerging the clams in a solution of cold water and sea salt, you mimic their natural environment, encouraging them to filter the water and expel any internal sand. This natural purging process is far more effective than simply rinsing the outside of the shells.
What if some clams don’t open after cooking?
It’s normal for a small percentage of clams not to open during cooking. These clams should be discarded. They may have been dead before cooking, or their adductor muscle might be too strong to relax. It’s best not to force them open, as consuming dead or uncooked clams can pose health risks.
Can you freeze little neck clams?
While fresh is always best, you can freeze clams. It’s recommended to cook them first, then shuck the meat and store it in freezer-safe bags with some of their cooking liquid to prevent freezer burn. Raw clams can also be frozen in their shells, but their texture may degrade upon thawing, and some might die during the freezing process.
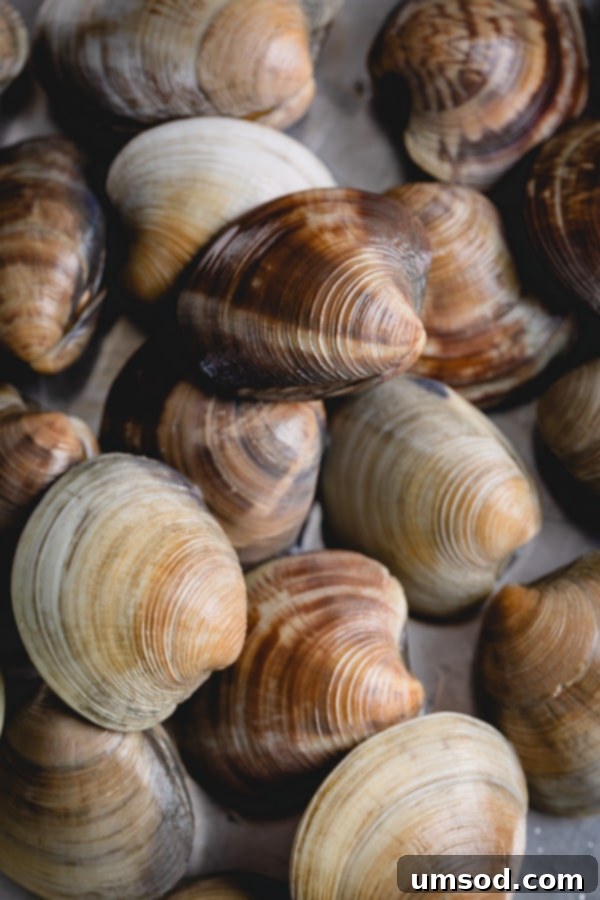
Recipe: How to Clean Little Neck Clams
How to Clean Little Neck Clams
Shinee Davaakhuu
4 servings
Comment
Print Recipe
Ingredients
- 12 little neck clams in the shell
- ¼ cup sea salt (non-iodized)
- 4 cups cold water
Instructions
- Scrub the clams under running cold water and rinse them thoroughly a few times until the water runs clear. This removes any external dirt or debris.
- In a large bowl, combine 4 cups of cold water and ¼ cup of sea salt. Stir well until the salt is completely dissolved.
- Add the washed clams to the saltwater solution. Ensure they are fully submerged. Place the bowl in the refrigerator for a minimum of 20 minutes, or up to 2 hours. This soaking process helps the clams naturally draw out and expel any sand or grit from within their shells.
- Gently remove the clams from the saltwater, leaving any sand at the bottom of the bowl. They are now thoroughly cleaned and ready for your favorite clam recipe!
⭐️ Made this recipe?
Please leave a review and let us know how you liked it!
Did you make this?
Leave a rating and your feedback. Thank you!
By following these steps, you can confidently prepare little neck clams that are free of grit and bursting with their natural, sweet flavor. Enjoy them in a myriad of dishes, from simple steamed preparations to elaborate pasta creations, knowing that each bite will be a pure culinary delight. Happy cooking!
More Favorites from Sweet & Savory
- Cherry Chocolate Dump Cake
- Powdered Sugar Icing Recipe
- Best Cherry Pie
- Philly Cheesesteak Sandwich Recipe
- Jalapeno Poppers with Bacon
