The Ultimate Guide to Room Temperature Butter in Baking: Why It Matters & How to Get It Right
Unlock the secrets to perfect baked goods by mastering the art of butter temperature. This comprehensive guide will teach you what room temperature butter truly means, how to identify its ideal consistency for baking, and the crucial differences between softened and room temperature butter. Understanding these nuances is essential for achieving the texture, flavor, and rise your recipes promise.
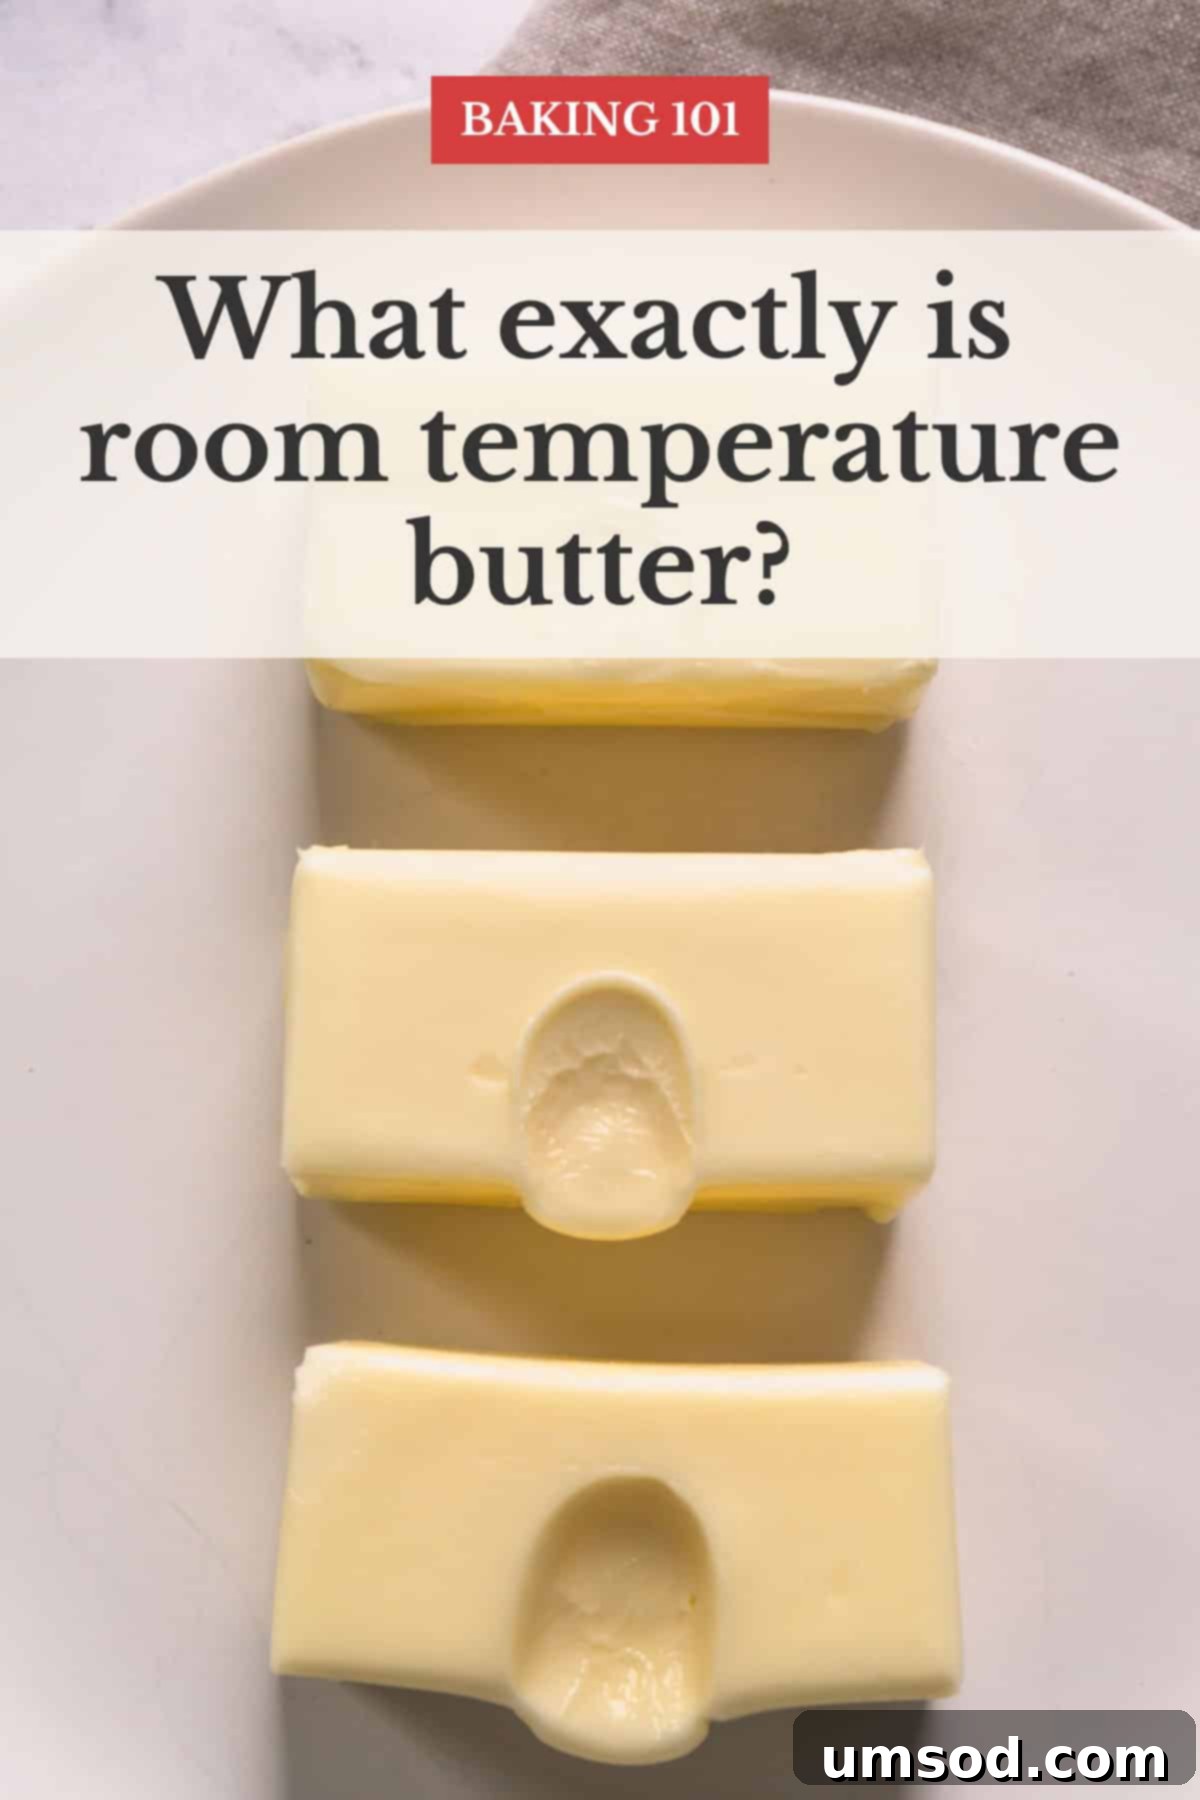
Did you know that the terms melted, softened, and room-temperature butter are not interchangeable in baking? The temperature and consistency of butter are critical factors that directly influence the final texture, structure, and rise of your baked goods. For instance, using melted butter typically results in cookies that spread more, leading to a crispier, flatter end product. Conversely, butter that is either too soft or too cold can yield denser, heavier cakes and pastries.
To consistently achieve the best possible results in your baking endeavors, it’s absolutely vital to meticulously follow a recipe’s specific instructions regarding butter temperature. This seemingly small detail holds immense power over your culinary success.
Softened vs. Room Temperature Butter: A Key Distinction
While often used interchangeably in casual conversation, “softened butter” and “room temperature butter” have distinct meanings in the world of baking. This distinction is crucial for understanding how butter interacts with other ingredients and influences the outcome of your recipe.
When a recipe specifically calls for room temperature butter, it generally refers to butter that has reached an internal temperature of no more than 68°F (20°C). This precise temperature range is critical for specific chemical and physical reactions during the baking process, which we will explore in detail below.
On the other hand, if a recipe simply specifies softened butter, the requirements are typically more lenient. In these cases, butter that is simply soft enough to be easily workable—perhaps a bit warmer than the ideal room temperature butter—will often suffice without negatively impacting the final result. Recipes like a compound butter, where precise aeration isn’t the primary goal, are perfect examples where “softened” is adequate.
Why Room-Temperature Butter is Crucial for Baking Success
Employing butter at the correct room temperature isn’t just a suggestion; it’s a fundamental step that ensures your baking recipes achieve their intended texture, flavor, and impressive rise. Consider my tall blueberry muffins, whose perfect height and tender crumb are a direct result of using butter at its ideal room temperature. Let’s delve into the science behind why this matters so much:
- Achieving Even Mixing & Homogeneous Batter: Room-temperature butter boasts a pliability that allows it to seamlessly integrate with other ingredients like sugar, eggs, and flour. This creates a smooth, consistent batter or dough where fats and sugars are uniformly distributed. Such even dispersion is vital for a homogenous texture throughout the final product, preventing pockets of unmixed ingredients and ensuring every bite is delightful. When butter is too cold, it breaks into small chunks, leading to an uneven mixture. If it’s too warm, it becomes greasy and can resist emulsifying with liquids.
- Superior Creaming Ability for Enhanced Aeration: Many classic baking recipes, particularly for cakes and cookies, rely on the “creaming method,” where butter and sugar are beaten together. Room-temperature butter is firm enough to create microscopic air pockets when creamed with granular sugar. These trapped air bubbles are what expand during baking, providing the lift and lightness characteristic of fluffy cakes and tender cookies. Butter that is too cold won’t incorporate enough air, resulting in a dense product. Butter that is too soft or melted loses its structure and cannot trap air effectively, leading to a heavy, flat result.
- Better Emulsification and Structure: The ideal consistency of room-temperature butter facilitates better emulsification within the batter or dough. It allows the fat to combine stably with the liquid components, preventing separation and creating a more cohesive mixture. This smoother, more stable emulsion is key to preventing lumps and clumps, contributing to an even crumb structure and ensuring your baked goods have the desired delicate texture and rich, well-distributed flavor. Proper emulsification also contributes to a stable structure that can hold its shape during baking.
- Optimal Flavor Dispersion: When butter is at the correct temperature, its fat soluble flavor compounds are evenly distributed throughout the dough or batter. This ensures that the richness and nuanced taste of the butter, along with any other fat-soluble ingredients (like vanilla extract), are tasted consistently in every mouthful, enhancing the overall sensory experience of your baked goods.
What Exactly is Room-Temperature Butter for Baking? The Ideal State
While the average room temperature in many homes hovers between 68 and 72°F (20-22°C), ideal room temperature butter for baking is actually slightly cooler than the ambient air. This subtle difference is paramount for achieving perfect results.
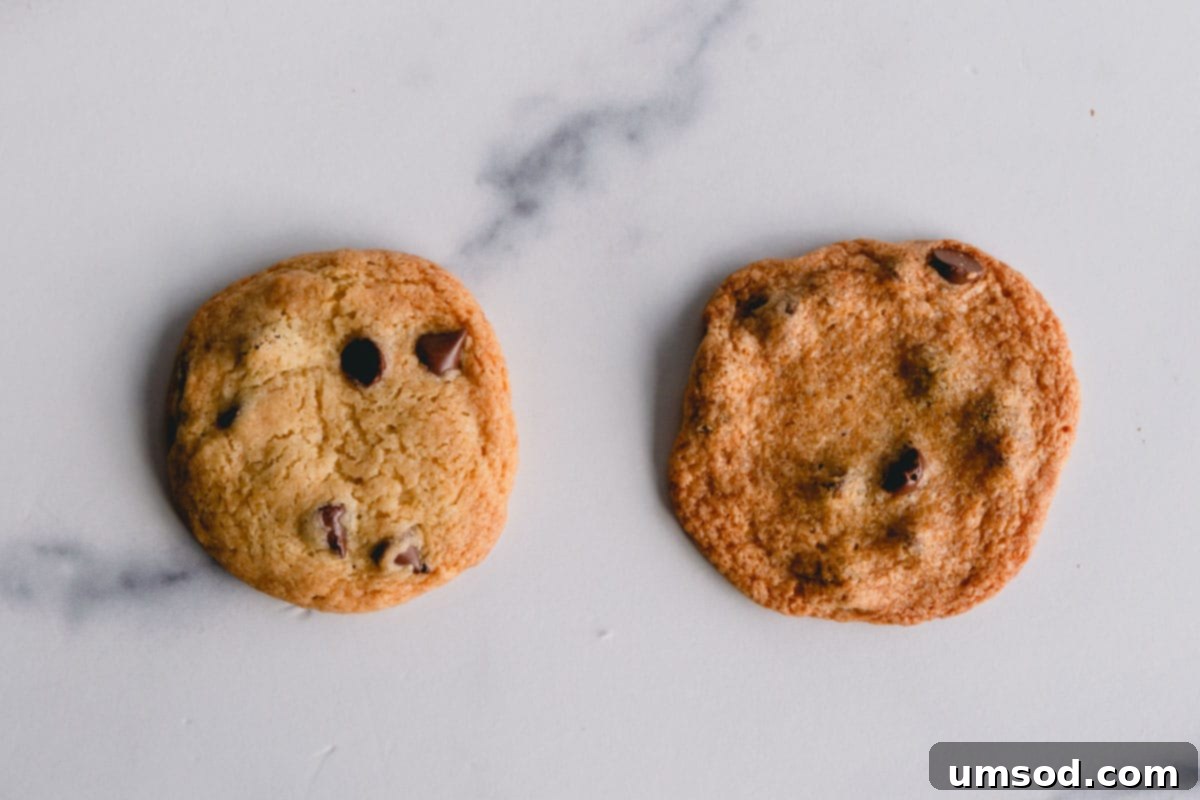
The sweet spot for room temperature butter in baking is precisely around 65-68°F (18-20°C). At this temperature, the butter is soft enough to mix easily but still firm enough to hold its structure and trap air effectively during the creaming process.
3 Signs of Perfect Room Temperature Butter:
Don’t just guess; train your senses to recognize the perfect state of your butter:
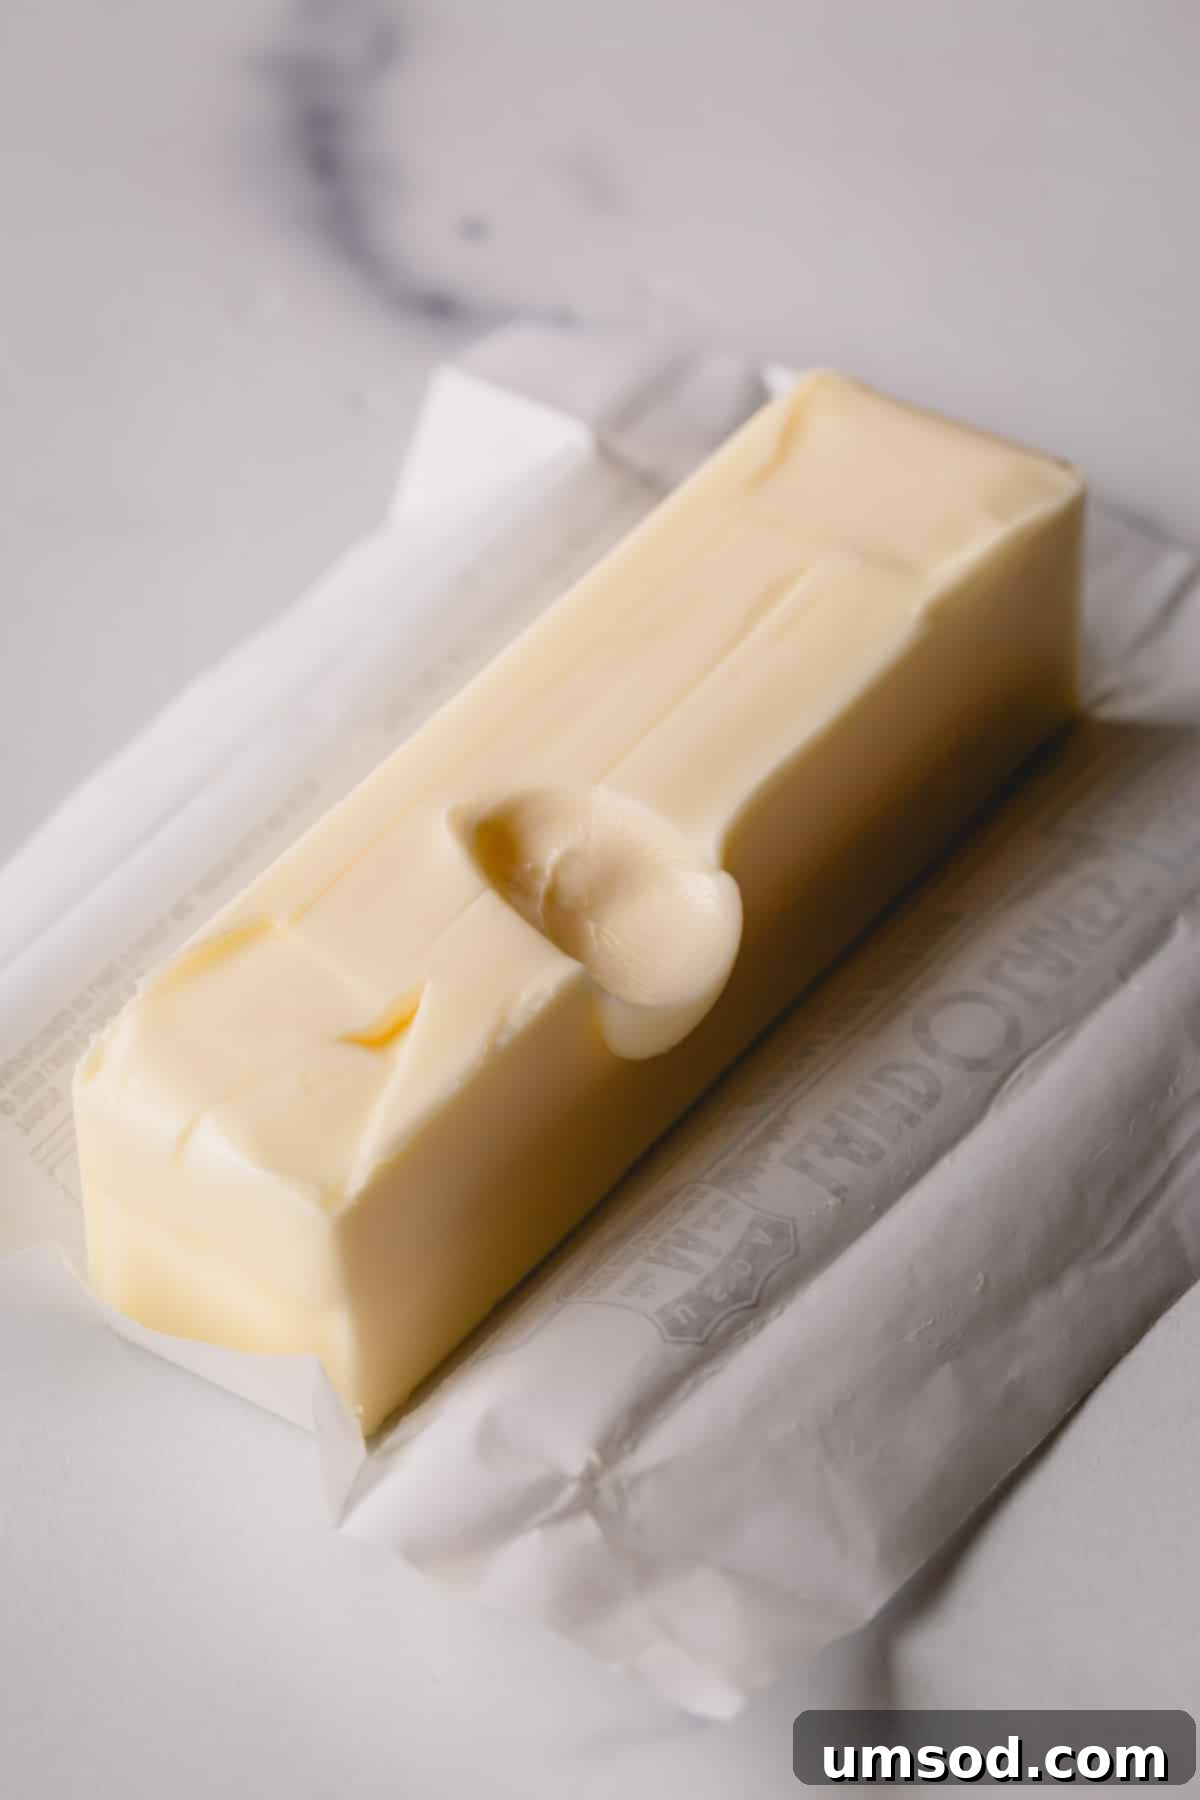
- It’s Cool to the Touch: When you pick up a stick of perfectly tempered butter, it should feel cool, not cold and hard like it came straight from the fridge, but also not warm or greasy. If you have an instant-read thermometer, this is the most accurate way to check. The internal temperature should register between 65-68°F (18-20°C). Anything below 60°F is too cold; anything above 70°F is usually too warm.
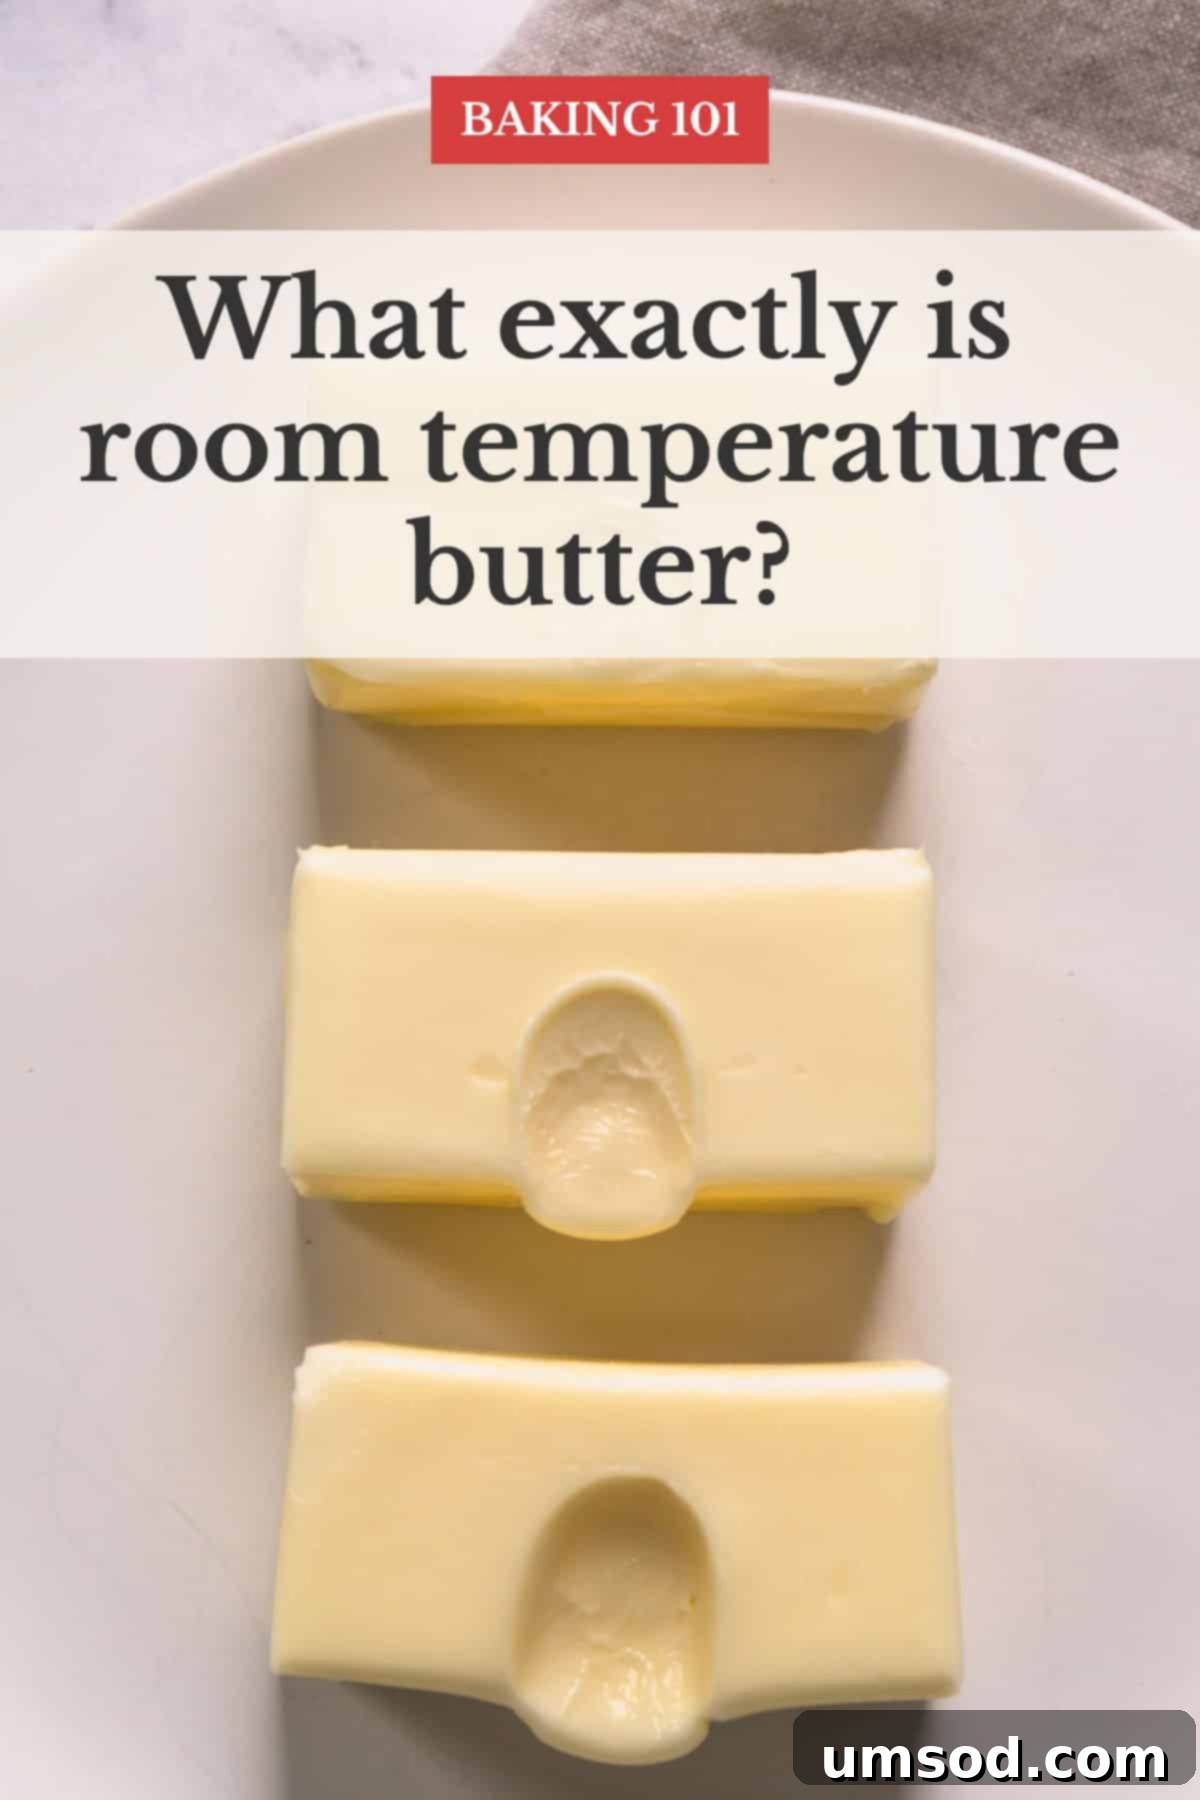
- It Dents with a Little Resistance: This is the classic “finger test.” Gently press your finger into the butter. It should leave an indentation without much effort, but you should still feel a slight resistance, indicating its internal structure is intact. The indent should be shallow, not deep. If your finger sinks through easily and deeply, like pushing into soft cream cheese, the butter is too soft. Overly soft butter can lead to baked goods that are dense, spread too much, or have a greasy texture.
- It Shouldn’t Be Shiny or Greasy: Visually inspect the butter. Perfectly tempered butter will have a dull, matte appearance. If the butter looks shiny, glossy, or feels greasy to the touch, it indicates that the fat has started to separate or melt. This is a telltale sign that your butter is too warm and will negatively impact the texture and rise of your baked goods.
Why Not Too Cold and Why Not Too Warm?
Too Cold Butter: Butter straight from the refrigerator is hard and brittle. It won’t cream properly with sugar, failing to incorporate air and resulting in a dense, heavy product. It also won’t mix evenly, creating lumps in your batter.
Too Warm Butter: When butter gets too warm, its emulsifying properties are compromised. The fat molecules begin to separate, and the butter becomes oily and greasy. It can’t trap air effectively during creaming, leading to a flat, dense texture, and it can also cause the batter to separate or become oily.
How to Bring Butter to Room Temperature Effectively
Achieving perfectly tempered butter can sometimes feel like a waiting game, but there are several reliable methods to speed up the process without compromising quality. From gently manipulating the butter to using quick-warming techniques, bakers have many tricks up their sleeves to ensure their butter is ready when they are. While there are many different ways to approach this, here are some of my favorite and most effective methods:
- Method #1: The Patience Method (Countertop Acclimation): This is the simplest and often preferred method, as it allows the butter to warm evenly and naturally. Take the butter out of the refrigerator 1-2 hours before you plan to start baking. The exact time will depend on several factors: the ambient room temperature in your kitchen (a warmer kitchen means faster softening), the amount of butter (a whole pound will take longer than half a stick), and whether the butter is frozen or refrigerated. As a general guideline, a single stick of butter typically reaches room temperature in about 1 hour when left on the counter in a kitchen that’s around 70°F (21°C). For frozen butter, allow at least 3-4 hours, or even overnight, in the refrigerator before moving it to the counter.
- Method #2: The Controlled Microwave Method: This is my go-to technique for bringing butter to perfect room temperature in less than 30 seconds, especially when I’m short on time!
- Keep the butter in its wrapper.
- Place it in the microwave, seam-side down (this helps prevent butter from melting out of the wrapper).
- Microwave for 10 seconds at 40% power (this is based on a standard 1000-watt microwave; adjust power or time for different wattages).
- Flip the butter over to the opposite side.
- Microwave for another 10 seconds at 40% power.
- Check the butter with your finger. If it still feels too firm, microwave for additional 5-second increments at 20-30% power, checking after each burst. Be extremely cautious, as butter can go from perfect to melted very quickly!
- Method #3: The Water Bath Method: If you’re looking for a gentle and even warming without a microwave, this method works well. Fill a bowl with warm (not hot!) water. Place the wrapped stick of butter into a Ziploc bag, seal it, and submerge it in the warm water for 5-10 minutes. Check the butter after 5 minutes and every minute thereafter until it reaches the desired consistency. Make sure no water gets into the butter.
- Method #4: The Rolling Pin Method: For a quick physical method, unwrap the butter and place it between two sheets of parchment paper or plastic wrap. Use a rolling pin to gently pound and roll the butter until it’s flattened and more pliable. This increases its surface area, allowing it to warm up faster. Once flattened, you can fold it back into a stick shape if needed.
- Method #5: The Grating Method: If you need softened butter almost instantly, grate it using a box grater. The small shreds warm up very quickly, often becoming perfectly pliable within minutes. This is especially useful for recipes where you need small pieces of butter to mix in quickly.
Remember, no matter which method you choose, the goal is always to achieve that ideal 65-68°F (18-20°C) range where the butter is cool to the touch, dents with slight resistance, and is not shiny or greasy.
No-Fuss Recipes with Butter: Embracing All Temperatures
Sometimes, despite knowing the importance of precise butter temperature, you just want to whip up something delicious without the wait or the fuss. I completely understand! The good news is that not every fantastic recipe demands perfectly tempered room-temperature butter. Many delightful treats rely on butter at different states, providing foolproof results for every occasion.
Delicious Recipes With Melted Butter:
Melted butter is perfect for recipes where a denser texture, crispier edges, or a moist, chewy crumb is desired, as it prevents excessive aeration. It’s often found in brownies, some cookie recipes, and certain quick breads.
- Overnight Caramel Rolls
- Easy Fruit Crisp
- Sourdough Discard Crackers
Flaky Recipes With Cold Butter:
Cold butter is the star in pastries that require flakiness. The small, cold pieces of butter create steam pockets during baking, which separate the layers of dough and produce that signature light, airy texture.
- All-Butter Pie Crust
- Pain au Chocolat
- Homemade Croissants
Versatile Recipes With Softened Butter:
Softened butter, which can be slightly warmer than strictly “room temperature,” is often suitable for recipes where you need butter to be pliable and easily combined, but where the maximum aeration of the creaming method isn’t the absolute primary goal, or for butter-based sauces and spreads.
- Egg Yolk Cookies
- Raspberry Lemon Tartlets
- How to Brown Butter
Mastering Butter Temperature: Your Key to Baking Excellence
Understanding and correctly applying the concept of room-temperature butter is a foundational skill that can elevate your baking from good to extraordinary. It’s more than just a minor detail; it’s a critical element of baking science that directly impacts the texture, rise, and overall quality of your creations. From the airy lightness of a perfectly creamed cake to the tender chewiness of a well-baked cookie, the state of your butter plays a starring role.
By learning to identify the three signs of perfect room-temperature butter and employing the right techniques to achieve it, you are equipping yourself with invaluable knowledge that will consistently lead to more successful and satisfying baking experiences. So, the next time a recipe calls for room-temperature butter, remember these insights, take that extra moment, and watch your baked goods transform into masterpieces.
Happy baking!
