Luxurious Pumpkin Mousse Pie: Your Ultimate Fall Dessert Recipe
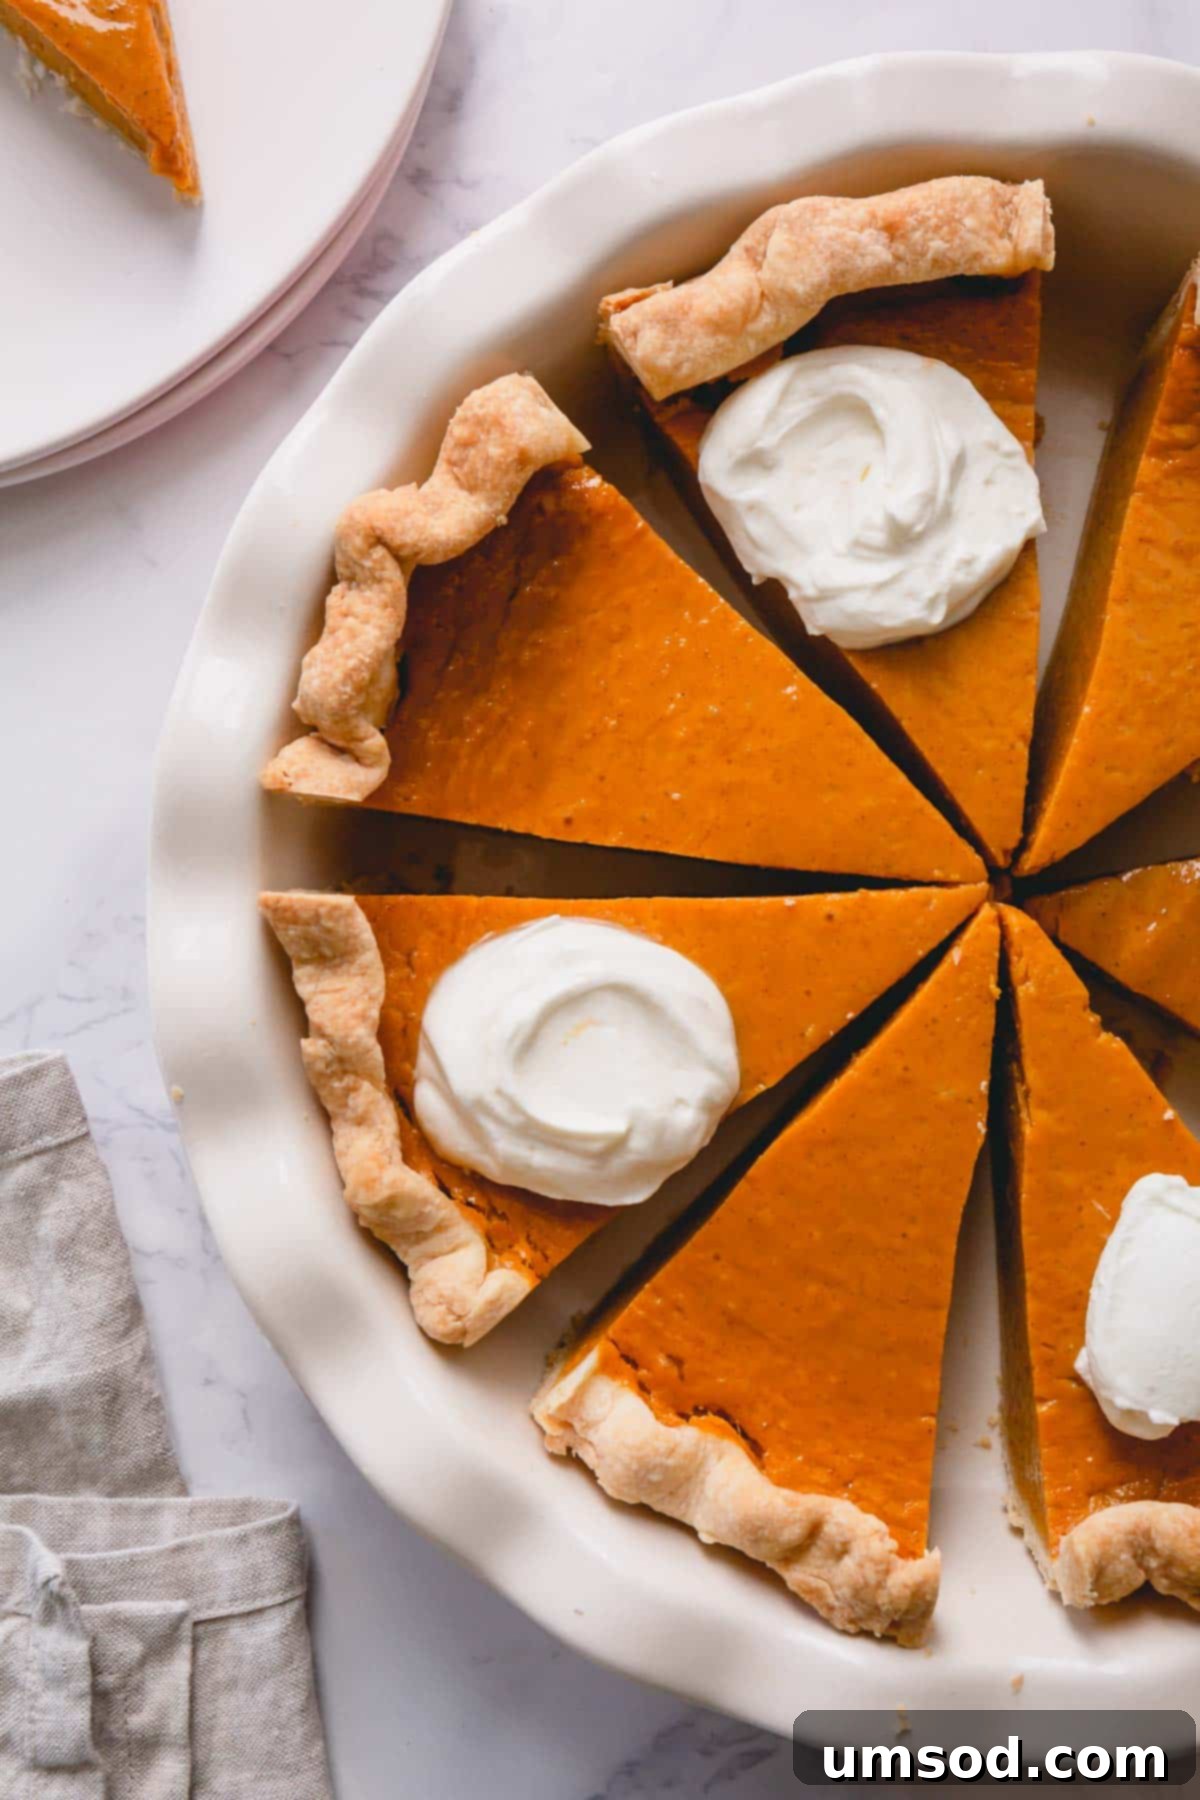
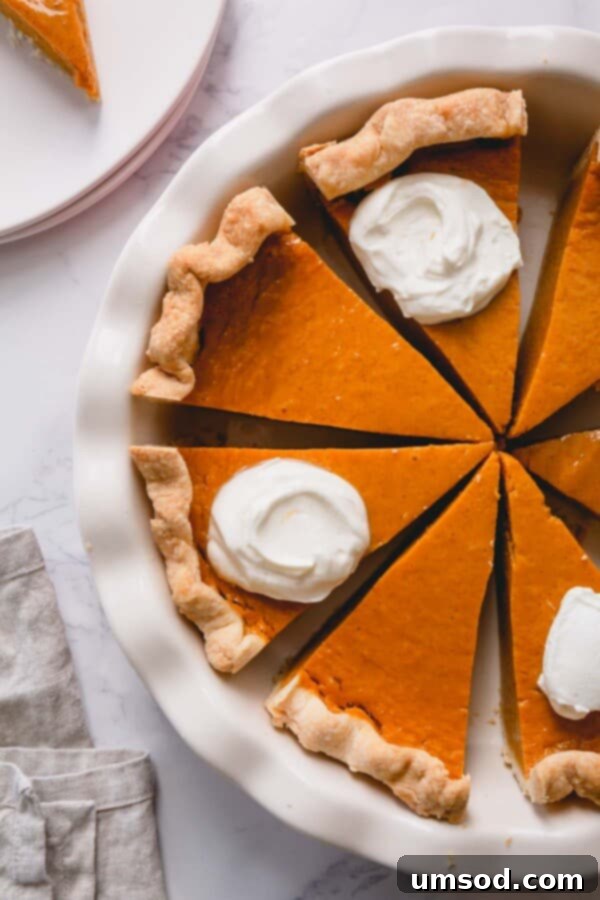
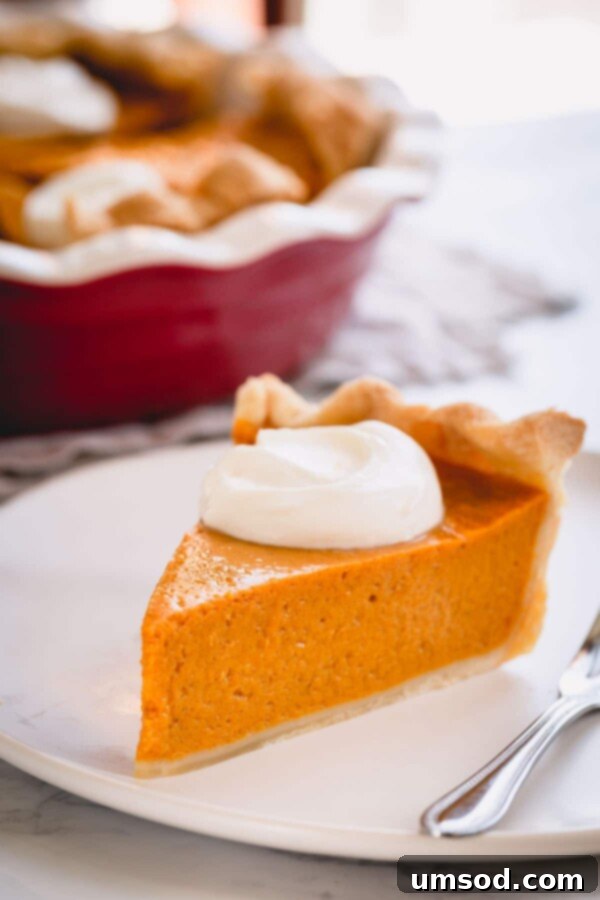
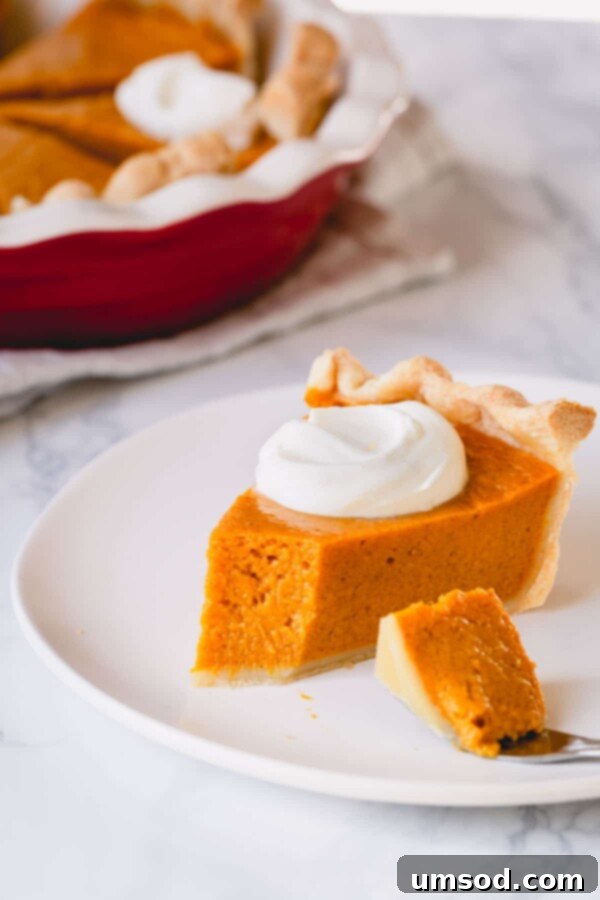
Embrace the quintessential flavors of autumn with this extraordinary Pumpkin Mousse Pie. Luxuriously creamy and incredibly light, this recipe transforms traditional pumpkin pie into an elevated dessert experience. You’ll be captivated by the extra tall, velvety smooth filling, perfectly cradled in a buttery, flaky homemade pie crust. Crown each slice with a generous dollop of homemade whipped cream for an unforgettable treat that will quickly become a cherished family favorite, ideal for Thanksgiving, holiday gatherings, or simply celebrating the season.
Why This Pumpkin Mousse Pie Will Become Your Signature Fall Dessert
Fall baking simply isn’t complete without a show-stopping pumpkin pie, and this recipe delivers beyond expectations. Developed and refined since 2012, this pie has graced countless holiday tables and earned rave reviews for its unique characteristics. Here’s why this pumpkin mousse pie stands out from all the rest and why you’ll fall in love with it:
- Unrivaled Light, Mousse-Like Texture: The true magic of this recipe lies in its incredibly airy filling. By carefully separating the eggs and folding in whipped whites, we create a delicate, almost cloud-like texture that melts in your mouth. This is a refreshing departure from denser, heavier pumpkin pies, offering an elegant lightness that will surprise and delight your guests.
- Incredibly Smooth and Creamy Filling: Every bite of this pie is pure silkiness. We blend the ingredients to perfection, ensuring a consistently smooth custard free from any graininess. The result is a luxurious mouthfeel that makes this pie exceptionally satisfying and sophisticated.
- Rich, Authentic Pumpkin Flavor: We truly highlight the natural sweetness and earthy notes of high-quality pumpkin puree, perfectly complemented by a warm, aromatic blend of traditional fall spices. This combination evokes the cozy essence of autumn, delivering a deeply comforting and authentic pumpkin taste.
- Perfectly Balanced Sweetness: This pie strikes the ideal balance between sweetness and spice. It’s sweet enough to satisfy your dessert cravings without being cloying, allowing the nuanced flavors of the pumpkin and spices to truly shine through, creating a harmonious taste experience.
- Buttery, Flaky Homemade Pie Crust: A truly exceptional pie begins with its foundation, and our recipe calls for a superior crust. Our recommended all-butter pie dough provides a tender, flaky, and buttery counterpoint to the smooth filling. This textural contrast is essential for a well-rounded and delicious pie.
The extra step of carefully separating the eggs and gently folding in the whipped egg whites is not merely a detail; it’s a transformative technique. It infuses the filling with precious air, resulting in an incredibly light, almost ethereal texture that elevates this dessert from good to extraordinary. Once you experience this mousse-like pumpkin pie, with its delicate custard and robust flavor, you might just find yourself saying goodbye to traditional versions forever!
The Art of Crafting Your Perfect Pumpkin Mousse Pie
Creating this magnificent pumpkin pie involves three main components: laying the foundation with a stellar pie crust, crafting the luxurious filling, and executing precise baking. Follow these detailed steps for a dessert that will impress everyone at your table.
1. The Foundation: A Flaky Pie Crust
Every truly great pie begins with an exceptional crust, and this pumpkin pie is no exception. Our foolproof all-butter pie dough recipe is highly recommended for its incredible flavor, tender texture, and ease of preparation. It comes complete with step-by-step photos and a video tutorial, guiding you through creating a crust that’s perfectly flaky and buttery, providing the ideal counterpoint to the smooth filling.
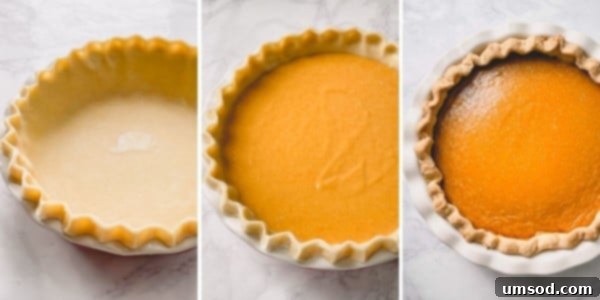
A wonderful advantage of this recipe is that there’s no need to blind-bake the pie crust. Simply prepare your homemade pie dough, roll it out evenly, gently line your chosen deep pie dish, and then chill it thoroughly while you assemble the filling. This not only saves you a significant step but also helps ensure a wonderfully tender crust that won’t become tough or dry from excessive baking.
Pro Tip: Prepare Your Crust in Advance!
To streamline your baking process, especially during busy holiday periods, you can prepare the pie crust well ahead of time. The rolled-out pie dough (or even just the dough ball) can be stored in the refrigerator for up to 3 days. For longer storage, it can be frozen for up to 3 months. Just thaw it in the fridge before rolling and using.
If you’re pressed for time or simply prefer a more convenient option, don’t hesitate to use your favorite high-quality store-bought pie crust. Ensure it’s a good brand known for flakiness. For an even quicker and unique twist, consider exploring our easy pumpkin pie with puff pastry recipe. This offers a delightfully light and crisp alternative to traditional pie crust, creating a dessert that’s both elegant and surprisingly simple.
2. The Velvety Pumpkin Filling
The heart of this pie is its uniquely light and creamy filling. The secret to its signature mousse-like texture lies in the careful preparation and incorporation of the eggs:
- Separate the Eggs: Begin by meticulously separating the egg whites from the yolks. A helpful kitchen tip: eggs are often easier to separate cleanly when they are cold, straight from the refrigerator, as the yolks are firmer. Once separated, allow the egg whites to come to room temperature, which is crucial for them to achieve maximum volume when whipped.
- Combine Wet Ingredients & Yolks: In a large mixing bowl, combine the pumpkin puree, sweetened condensed milk, egg yolks, brown sugar, all-purpose flour, ground cinnamon, and salt. Whisk these ingredients thoroughly until the mixture is completely smooth, lump-free, and well-combined. The small amount of flour acts as a subtle thickener, helping the pie set beautifully without compromising its light texture.
- Whip Egg Whites: In a separate, impeccably clean mixing bowl, use an electric mixer (preferably with a whisk attachment) to whip the room-temperature egg whites. Continue whipping until soft peaks form. This means the peaks will hold their shape when the whisk is lifted but will still gently curl or droop at the tip. Be careful not to over-whisk them to stiff, dry peaks, as this can make them more challenging to fold in smoothly and potentially lead to a less tender filling.
- Gently Fold: This is a crucial step for achieving the mousse texture. Gently fold the whipped egg whites into the pumpkin mixture using a rubber spatula. Use a light, lifting motion to preserve as much of the incorporated air as possible. Continue folding until the mixtures are just combined, being careful not to overmix. Once combined, carefully pour the luscious filling into your chilled, prepared pie crust.
Important Tip: Choose the Right Pie Dish
This recipe is designed to yield a wonderfully tall and impressive pie, so selecting the correct dish is important. Be sure to use a deep pie dish, typically 9 inches in diameter, to accommodate the generous volume of filling. In the past, I’ve even had excellent results using a 9-inch springform pan for an extra-deep and easily releasable presentation. A standard, shallow pie plate might overflow, so a deep dish is highly recommended.
3. Baking to Golden Perfection
Baking this pumpkin mousse pie requires a bit of patience and attention to detail to ensure a perfect set, a beautifully golden crust, and no unsightly cracks:
- Preheat & Bake: Preheat your oven to 375°F (190°C). Carefully place the pie on a sturdy baking sheet before transferring it to the oven. This helps catch any potential spills and makes it easier to move the pie in and out of the oven. Bake for approximately 50-60 minutes.
- Check for Doneness: The pie is perfectly cooked when the edges of the filling are set and firm, but the very center (an area about 1-2 inches in diameter) still has a slight, delicate wobble when you gently shake the pie dish. It’s crucial to resist the urge to over-bake, as this is the most common cause of cracks. The filling will continue to set and firm up beautifully as it cools, resulting in that perfectly creamy, custardy consistency.
- Cooling: Once baked, transfer the pie from the oven to a wire rack and allow it to cool completely at room temperature for at least 2 hours, or even longer. This gradual cooling process is essential for the pie to set properly and helps prevent cracking.
Expert Tip: Preventing Cracks in Your Pumpkin Pie
The most common culprit behind cracks in pumpkin pie is over-baking. When the custard bakes too long, it dries out and contracts, causing the surface to pull apart. To avoid this, religiously follow the doneness test described above. As soon as the edges are set and only the very center jiggles slightly, remove the pie from the oven. Additionally, if you notice the pie crust browning too quickly during baking, you can loosely tent the edges with a strip of aluminum foil to protect them.
Deep Dive into Pumpkin Puree: Canned vs. Fresh
One common question when making pumpkin pie is whether to use canned pumpkin puree or to go the extra mile with fresh, homemade pumpkin. I’ve successfully prepared this pumpkin pie recipe using both options, and I can confidently say that both yield fantastic results. Each has its distinct advantages:
- Canned Pumpkin Puree: This is by far the most convenient option, offering consistent texture, flavor, and moisture levels. It’s readily available in most grocery stores and requires no additional preparation. An interesting fact to note: did you know that most “canned pumpkin” sold in the US is actually made from various types of winter squash, such as Dickinson squash, rather than the large, carving-style pumpkins? This is because these specific squash varieties tend to have a richer flavor, a naturally sweeter profile, and a smoother, less fibrous texture, making them inherently superior for baking into pies. The Kitchn has an excellent article delving deeper into this fascinating culinary revelation.
- Fresh Pumpkin Puree: For those who enjoy a culinary project and desire full control over their ingredients, making your own pumpkin puree from scratch is incredibly rewarding. While traditional “sugar pumpkins” or “pie pumpkins” can certainly be used, I often lean towards other varieties of winter squash like butternut squash, acorn squash, or kabocha squash. These squashes typically boast a more intense, naturally sweeter flavor and a less watery consistency compared to some pie pumpkins, leading to an even more flavorful and robust pie. If you opt for fresh puree, it’s essential to ensure it’s thoroughly roasted and then well-drained after pureeing to prevent a watery filling that could impact the pie’s set and texture.
Ultimately, the choice between canned and fresh pumpkin puree comes down to your personal preference, the time you have available, and your desire for a truly homemade experience. Rest assured, this recipe is robust enough to shine brilliantly with either option!
Serving Suggestions & Topping Ideas
While this Pumpkin Mousse Pie is utterly delicious and satisfying on its own, a few simple additions and garnishes can elevate it further, transforming it into an even more spectacular dessert presentation:
- Classic Whipped Cream: A dollop of freshly whipped cream is the quintessential topping for any pumpkin pie. Our homemade yogurt whipped cream offers a delightful, slightly tangy counterpoint that beautifully complements the pie’s sweetness. However, any classic homemade or even a good quality store-bought whipped cream will be divine.
- Luscious Caramel Sauce: A generous drizzle of warm homemade or store-bought caramel sauce adds a touch of luxurious sweetness and a beautiful visual appeal to each slice.
- Toasted Nuts: For an inviting textural crunch, sprinkle some finely chopped and lightly toasted pecans, walnuts, or candied almonds over the top of the pie or whipped cream.
- Aromatic Spice Dusting: A light dusting of ground cinnamon, freshly grated nutmeg, or a pinch of pumpkin pie spice blend on top of your whipped cream adds an extra layer of fragrant aroma and visual charm.
This pie is best served chilled or at a comfortable room temperature. It pairs beautifully with a warm cup of coffee, a comforting spiced cider, or even an elegant glass of dessert wine, making it the perfect ending to any fall meal.
Storing Your Pumpkin Mousse Pie for Lasting Enjoyment
Proper storage is key to maintaining the delicious taste and perfect texture of your homemade pumpkin mousse pie. Leftover pumpkin pie should always be stored in the refrigerator due to its dairy and egg content. To keep it fresh and prevent it from drying out or absorbing other flavors from your fridge, cover it tightly with plastic wrap or aluminum foil.
When stored correctly, your delicious pumpkin mousse pie will remain fresh and delightful for up to 5 days. For the best flavor and texture experience, I recommend allowing individual slices to come to room temperature for about 15-20 minutes before serving. Alternatively, if you enjoy a colder dessert, it’s perfectly delicious served straight from the refrigerator!
Frequently Asked Questions (FAQ) About Pumpkin Mousse Pie
Can I make pumpkin pie ahead of time?
Absolutely! Pumpkin pie is an excellent make-ahead dessert, making it perfect for busy holidays like Thanksgiving. You can bake this pie up to 2-3 days in advance. Ensure it cools completely on a wire rack at room temperature before chilling it in the refrigerator. This allows it to set properly and prevents any unwanted condensation.
How do I know when my pumpkin pie is truly done baking?
The best indicator is when the edges of the pie filling are set and firm, but the very center (an area about 1-2 inches in diameter) still has a slight, delicate wobble when you gently shake the pie dish. The center will continue to firm up and set completely as the pie cools. For precision, an internal temperature of 175°F (80°C) at the center is also a good indicator, though the visual wobble test is often sufficient and reliable.
Why did my pumpkin pie crack, and how can I prevent it?
Cracks in pumpkin pie are most commonly caused by over-baking or cooling the pie too quickly. When the custard bakes for too long, it dries out excessively and pulls away from the crust, leading to surface cracks. Rapid temperature changes during cooling can also stress the surface. To prevent cracks, closely follow the doneness test and remove the pie promptly when ready. Always allow the pie to cool gradually and completely on a wire rack at room temperature before transferring it to the refrigerator.
Can I customize the spices in this pumpkin pie recipe?
Yes, absolutely! While ground cinnamon is a standard and essential spice in this recipe, you are welcome to customize the spice blend to suit your personal preference. Feel free to add or adjust the quantities of other warm spices such as ground nutmeg, ginger, cloves, or allspice. A pre-mixed pumpkin pie spice blend can also be a convenient and flavorful option if you prefer.
What is the best way to serve pumpkin mousse pie?
Pumpkin mousse pie is typically enjoyed chilled or at a comfortable room temperature. It is almost universally served with a generous topping of freshly whipped cream. Other popular and delicious choices include a scoop of vanilla bean ice cream, a light dusting of cinnamon, or an elegant drizzle of caramel sauce for an added layer of indulgence.
Pumpkin Mousse Pie Recipe Card
By: Shinee Davaakhuu
Luxuriously creamy and light, this pumpkin pie is a must-try! You’ll love the extra tall and velvety smooth texture of the filling over buttery pie crust with a dollop of homemade whipped cream!
Prep Time: 30 minutes
Cook Time: 1 hour
Additional Cooling Time: 3 hours 30 minutes (approx.)
Total Time: 5 hours
Servings: 8 servings
Pin Recipe |
Print Recipe
Ingredients
- 1 pie crust (homemade or store-bought – see Note 1 in Tips & Notes section)
- 2 large eggs (separated)
- 1 can (15oz/450g) pure pumpkin puree (see Note 2 in Tips & Notes section)
- 1 can (14oz/400g) sweetened condensed milk
- 1/3 cup brown sugar
- 2 tablespoons all-purpose flour
- 1 tablespoon ground cinnamon
- ½ teaspoon salt
Instructions
Prepare Pie Crust:
- Prepare the pie dough according to this all-butter pie dough recipe, completing up through step 4 (chilling the dough). (Alternatively, you may use a high-quality store-bought pie crust.)
- Once the pie dough has chilled for at least 1 hour in the refrigerator, roll it out into an approximate 15-inch circle on a lightly floured surface.
- Carefully transfer the rolled dough into a 9-inch deep pie dish. Trim any excess dough from the edges, then artfully roll and crimp the edges for a decorative finish. Refrigerate the prepared crust immediately while you proceed to make the pie filling.
- Preheat your oven to 375°F (190°C).
Make the Filling:
- Carefully separate the egg yolks from the egg whites. (TIP: It’s generally easier to separate cold eggs directly from the fridge, as the yolks are firmer. Allow the separated egg whites to come to room temperature while you prepare the other filling ingredients.)
- In a large mixing bowl, combine the pumpkin puree, sweetened condensed milk, egg yolks, brown sugar, all-purpose flour, ground cinnamon, and salt. Mix these ingredients thoroughly with a whisk until the mixture is completely smooth and well-incorporated.
- In a separate, impeccably clean mixing bowl, use an electric mixer (with a whisk attachment if available) to whip the room-temperature egg whites until soft peaks form.
- Gently fold the beaten egg whites into the pumpkin mixture using a rubber spatula. Use a light, upward motion to preserve as much air as possible, mixing carefully until just combined. Pour the luscious filling into your chilled, prepared pie crust.
Bake:
- Bake the pie in the preheated oven for 50-60 minutes, or until the edges of the filling are set and firm, and the very center has a slight, delicate wobble when gently shaken.
- Transfer the baked pumpkin pie to a wire rack and allow it to cool completely at room temperature for at least 2 hours. This gradual cooling period is crucial for the pie to set properly and helps prevent cracking.
- Serve the pie chilled or at room temperature, garnished with homemade whipped cream or any other desired toppings.
- Refrigerate any leftover pumpkin pie, covered tightly, for up to 5 days.
Tips & Notes
- Note 1 (Pie Crust): While my homemade all-butter pie crust is highly recommended for its superior flavor and texture, using your favorite store-bought pie crust is a perfectly acceptable and convenient alternative. If you prefer a lighter, non-traditional crust, explore my easy pumpkin pie with puff pastry recipe.
- Note 2 (Pumpkin Puree): This versatile pumpkin pie recipe works beautifully with both canned pure pumpkin puree (ensure it’s 100% pumpkin, not pie filling) and fresh homemade pumpkin puree. If opting for fresh puree, ensure it is thoroughly drained of excess moisture after pureeing to prevent a watery filling.
Nutrition Information (Per Slice)
Please note: Nutritional values are approximate and may vary based on specific ingredients and preparation methods.
- Servings: 1 slice (out of 8 total servings)
- Calories: 334 kcal
- Carbohydrates: 53g
- Protein: 7g
- Fat: 11g
- Sugar: 38g
- Sodium: 316mg
Course: Dessert | Cuisine: American

⭐️ Did you make this recipe? We’d love to hear from you! Please consider leaving a review and sharing your feedback below. Your comments and ratings help us and other home bakers!
This recipe was originally published on November 20th, 2013, and has been thoughtfully updated and refined for optimal perfection and clarity.
