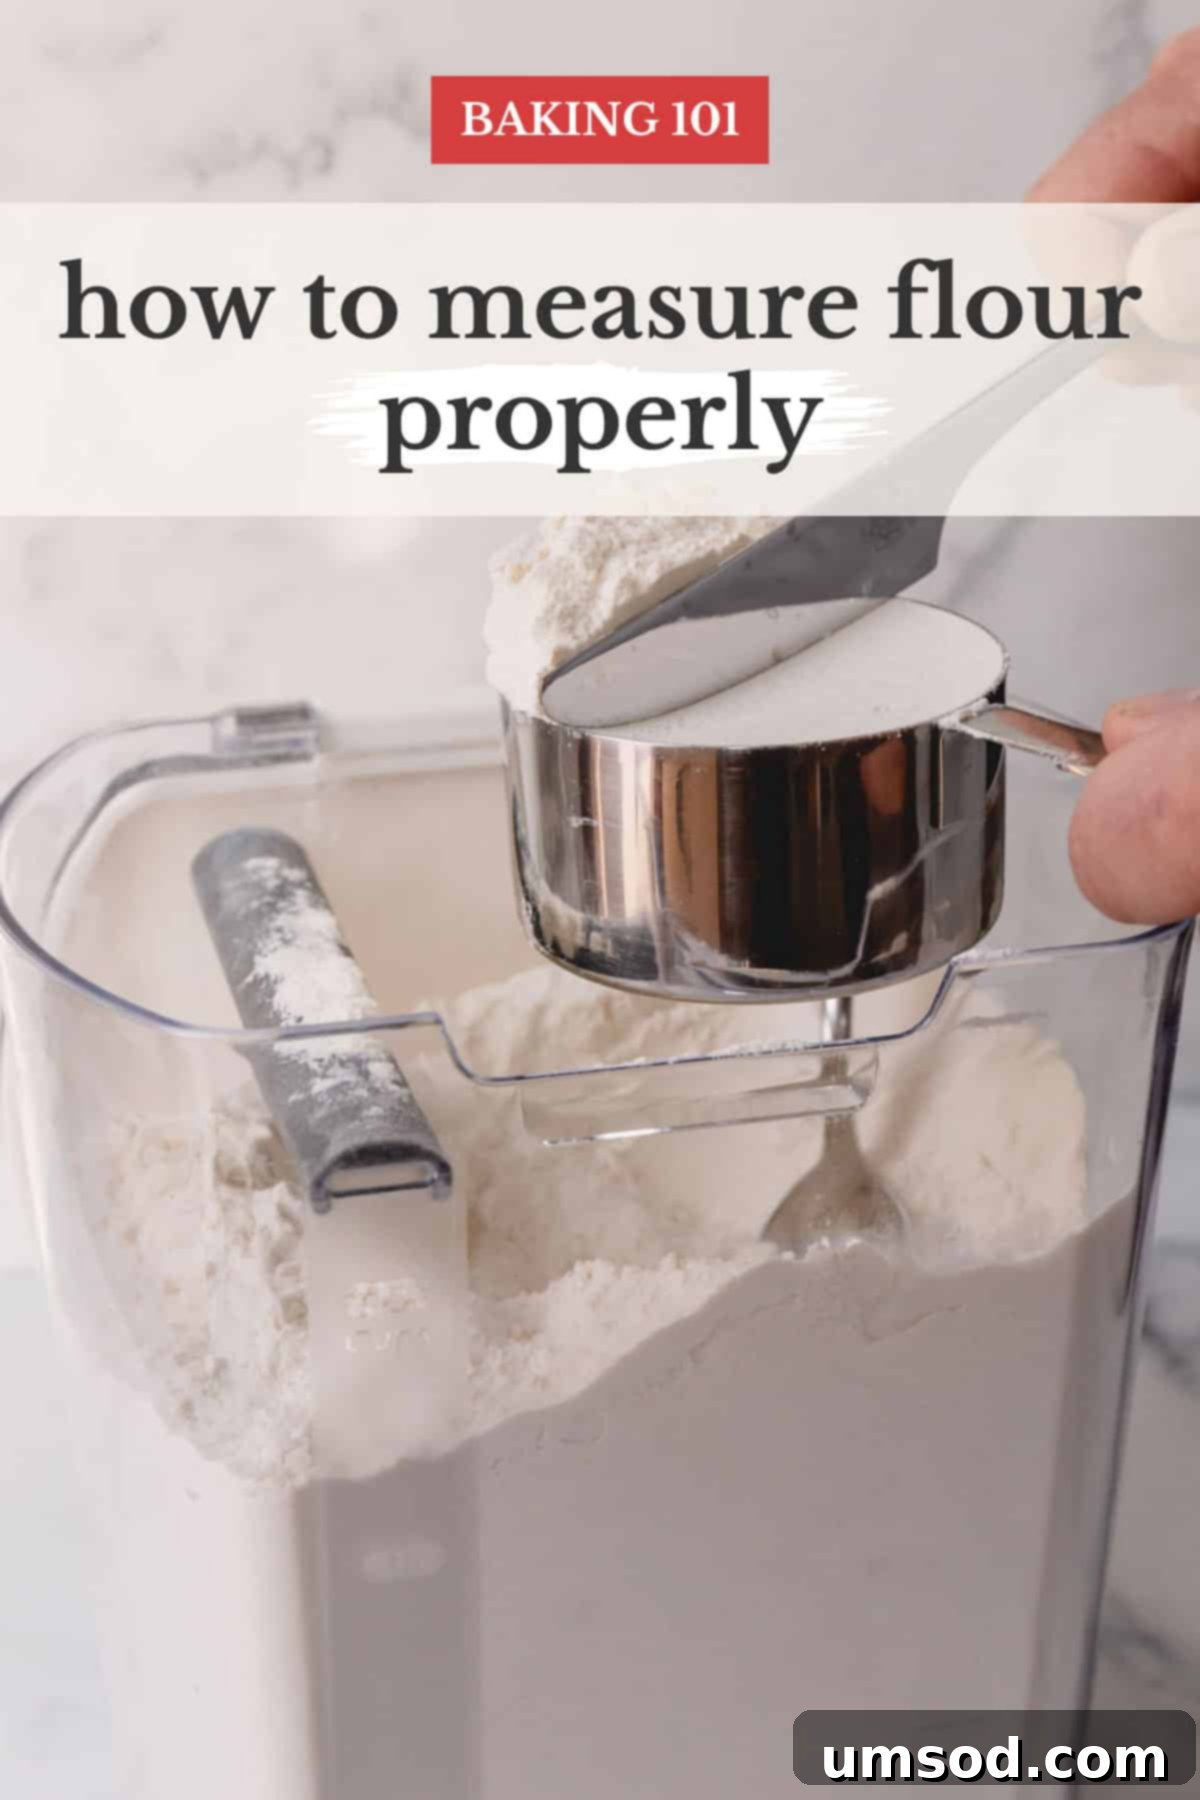
Mastering Flour Measurement: The Essential Guide to Perfect Baking Results
Achieving baking perfection hinges on precision, and when it comes to ingredients, few are as critical as flour. Its role in providing structure, texture, and consistency makes accurate measurement non-negotiable for successful outcomes. This comprehensive guide will illuminate the best techniques for measuring all-purpose flour, exploring both traditional volume methods and the superior accuracy of weighing, and demonstrating how these practices profoundly impact your cakes, cookies, and other baked goods.
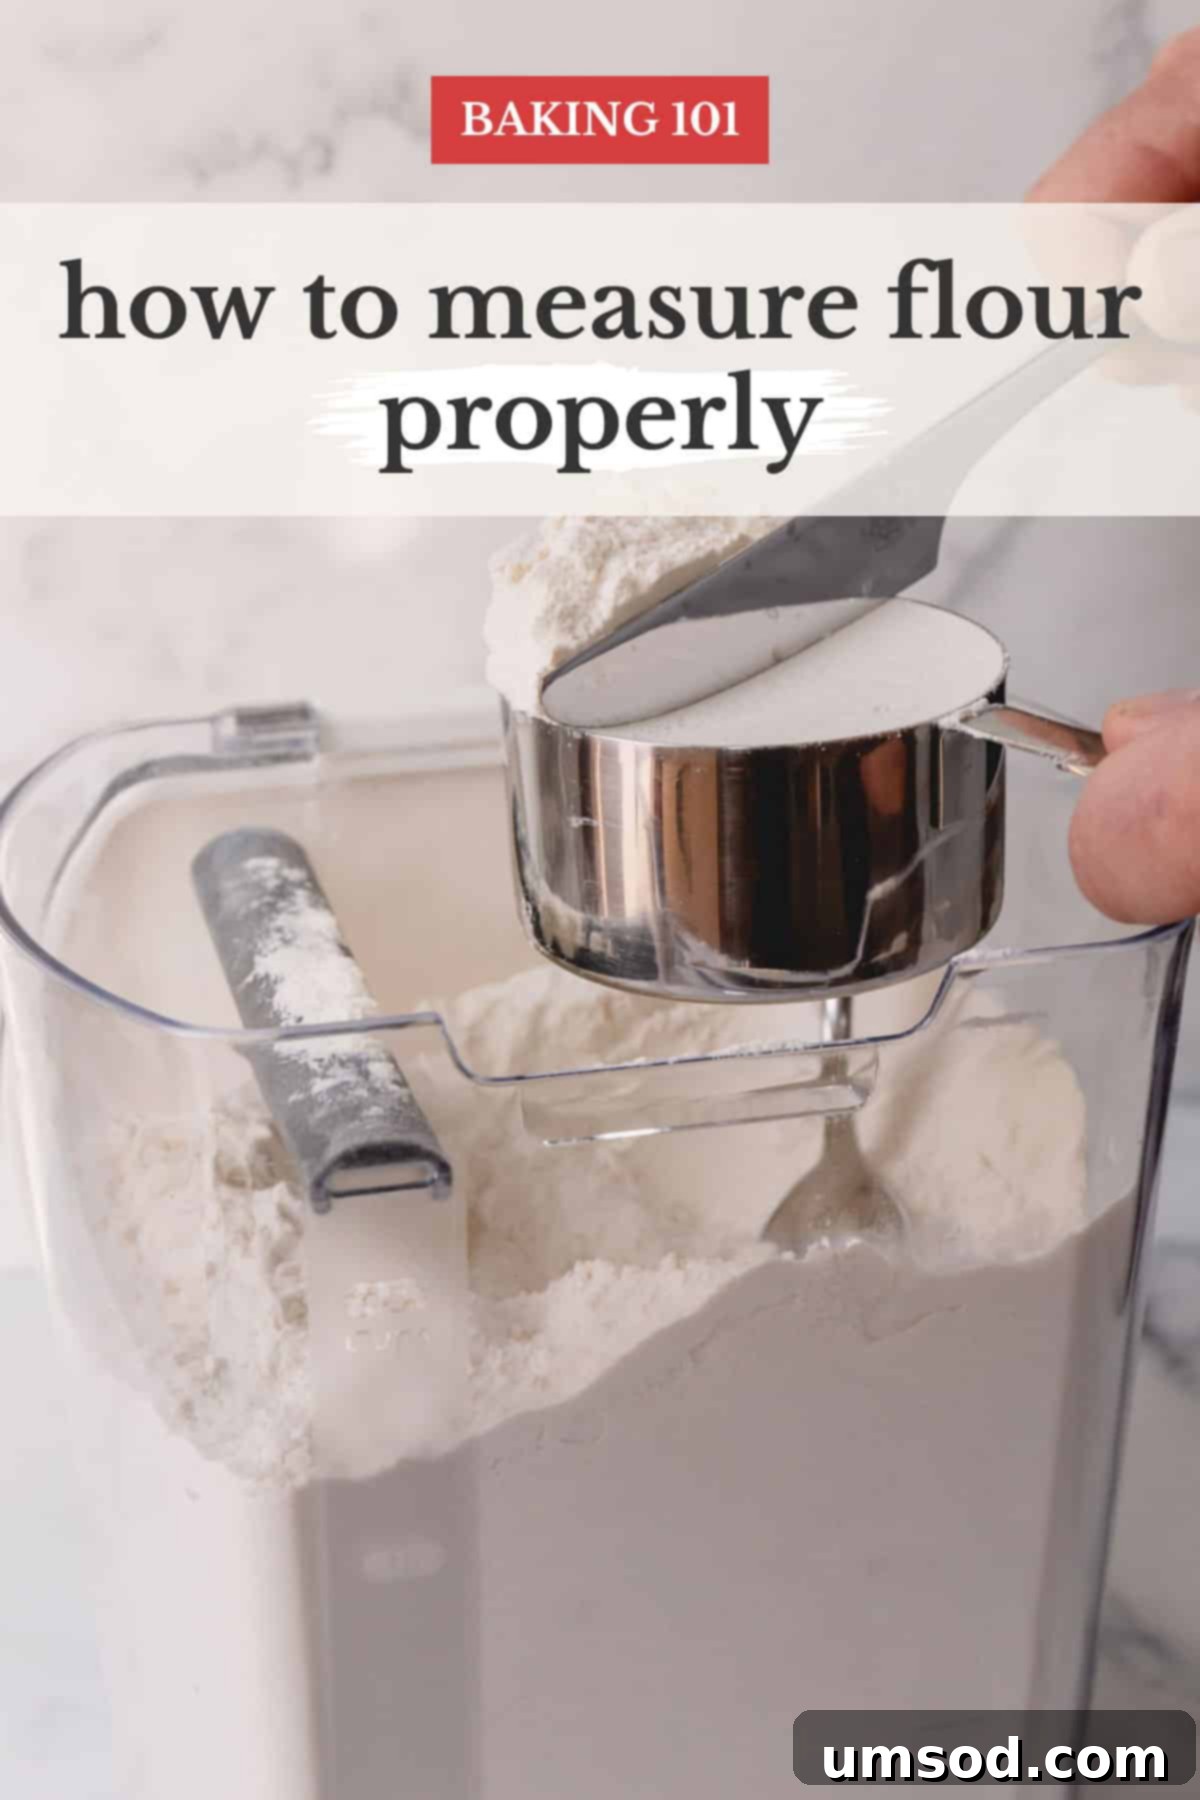
Why Precise Flour Measurement Matters So Much in Baking
In the intricate world of baking, even the slightest deviation in ingredient ratios can lead to drastically different results. While many home bakers, both novices and experienced enthusiasts, often rely on measuring flour by volume using standard cups, this method is fraught with potential inconsistencies. Flour is not a perfectly uniform ingredient; its density can fluctuate significantly due to a variety of factors.
Environmental conditions like humidity can cause flour to absorb moisture, increasing its weight per volume. Storage conditions, such as how tightly packed the flour is in its container, also play a role. Most critically, the way you scoop flour into a measuring cup can lead to enormous variations. It’s incredibly easy to inadvertently compact too much flour into a cup, leading to an over-measurement that can throw off an entire recipe.
Consider this common scenario: If you directly scoop flour from its bag or canister with a 1-cup measuring cup and then simply level the top, you might easily collect around 140 grams of flour. However, most professional and meticulously tested recipes define one cup of all-purpose flour as approximately 125 grams. This seemingly small difference of 15 grams can have a profound impact on the chemistry and structure of your baked goods.
For optimal consistency and to align with most carefully developed recipes, assume 1 cup all-purpose flour = 125g.
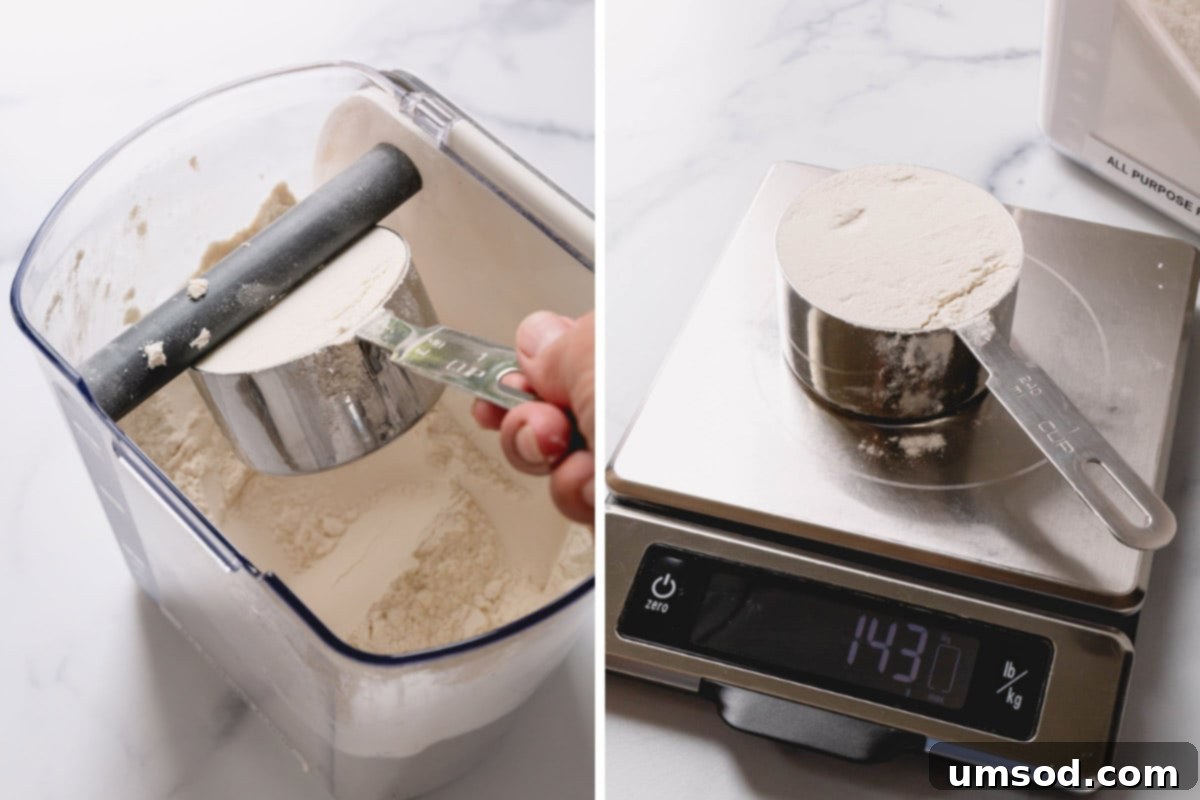
Using more flour than your recipe specifies will inevitably alter the expected outcome. For instance, if you’re aiming for deliciously crispy chocolate chip cookies but add an excess amount of flour, you’ll likely end up with cookies that are noticeably thicker and chewier. While still delicious, they won’t possess the desired crisp texture.
While cookies can often be forgiving, albeit with altered textures, other recipes are far less tolerant of such mistakes. Imagine the disappointment of baking a cake with too much flour – it won’t just be slightly off; it will likely turn out dry, dense, and potentially crumbly. Flour provides structure by forming gluten, but too much gluten development without sufficient moisture can lead to a tough and unpleasant mouthfeel. Similarly, too much flour can absorb excessive moisture, leaving your cake parched and heavy. Understanding these fundamental impacts is the first step toward becoming a more confident and successful baker.
The “Spoon and Level” Method: A Reliable Approach to Volume Measurement
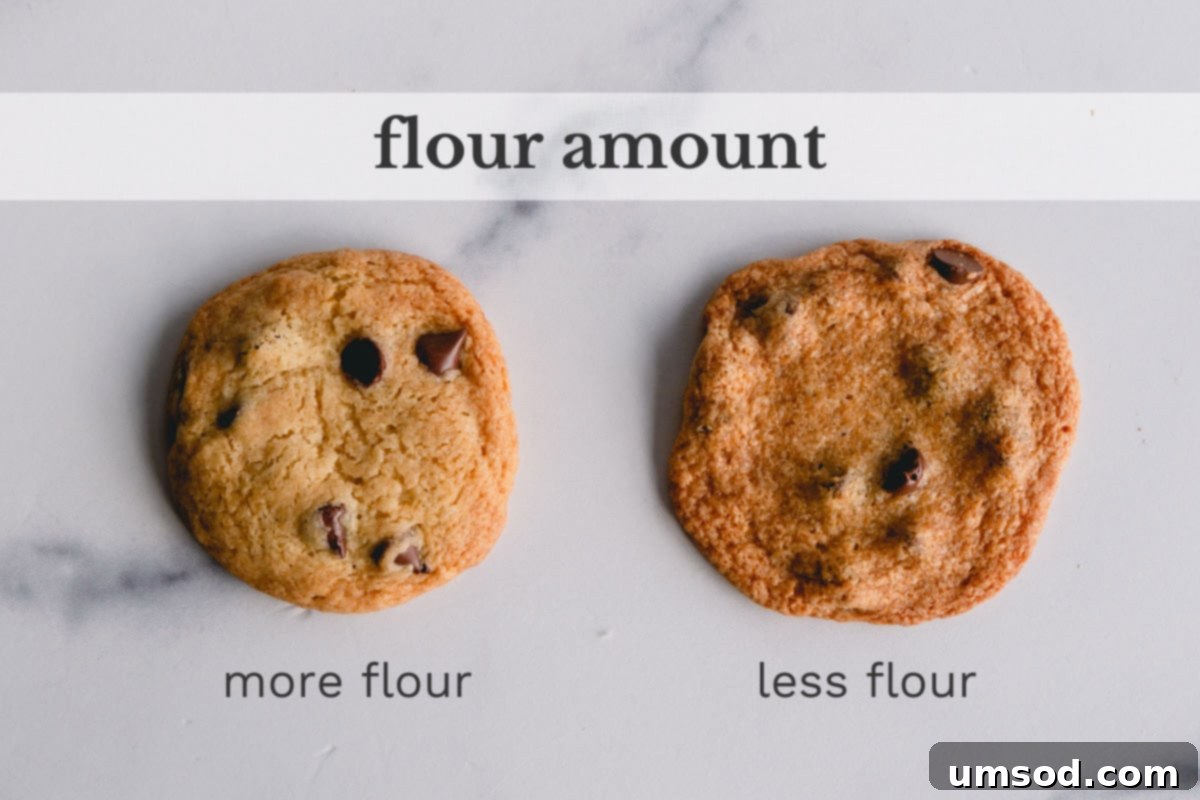
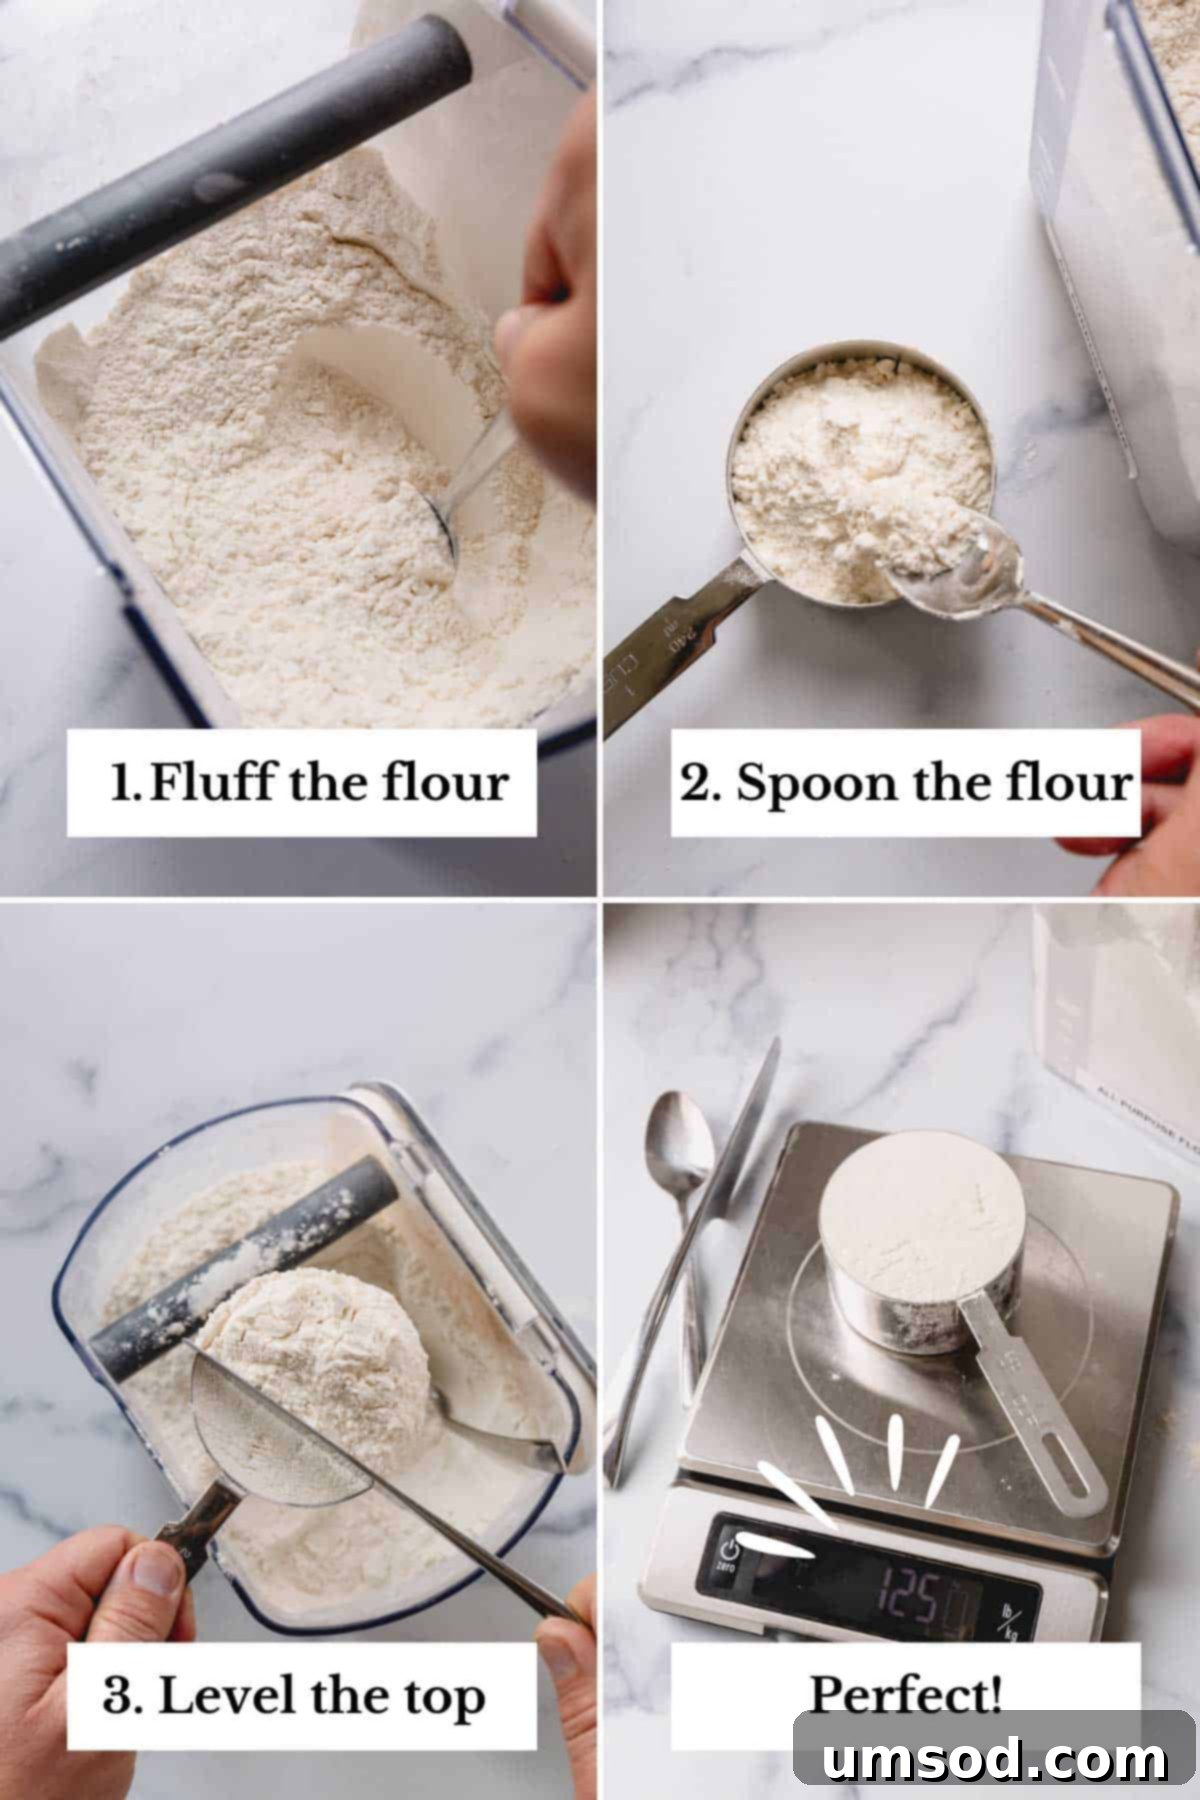
While the ultimate precision comes from weighing ingredients (which we’ll delve into shortly), there is a universally accepted and significantly more accurate way to measure flour by volume. This technique, known as the “spoon and level” method, mitigates many of the inconsistencies associated with direct scooping. It’s a crucial skill for any baker who relies on cup measurements.
- Fluff the Flour: Before you even begin to measure, gently aerate the flour in its container. Use a whisk, fork, or spoon to lighten and break up any compaction that might have occurred during storage. This ensures the flour is loose and less dense, preventing you from packing too much into your measuring cup. This step is vital because flour settles over time, and fluffing it mimics its natural, less dense state.
- Spoon into Cup: Using a separate spoon, gently spoon the aerated flour into your dry measuring cup. Continue spooning until the flour overflows slightly above the rim of the cup. The key here is to avoid pressing or tapping the cup against the counter, which would compact the flour again and defeat the purpose of fluffing. Allow the flour to pile naturally.
- Level with a Flat Edge: Once the cup is overflowing, use the flat back of a butter knife or a straight edge (like a ruler or offset spatula) to level off the excess flour. Simply scrape across the top of the measuring cup, letting any extra fall back into your flour container. This ensures you have an exact, uncompacted volume of flour.
Understanding the Difference: Sugar vs. Flour Measurement
It’s important to note that this “spoon and level” method is specifically critical for flour and other highly compressible dry ingredients. Granulated sugar, for example, behaves differently. Its crystalline structure doesn’t compact as easily as fine flour particles. Therefore, when measuring granulated sugar, you can typically scoop it directly into the measuring cup and level it off without significant concern for over-packing. Always consult your recipe for specific instructions, but generally, the spoon and level method is a flour-specific best practice.
Unlocking Baking Excellence: The Unparalleled Benefits of Weighing Flour
While the “spoon and level” method offers a significant improvement over direct scooping, the gold standard for accuracy in baking is undoubtedly using a digital kitchen scale. Weighing flour provides a level of precision that volumetric measurements, no matter how carefully executed, simply cannot match. It completely eliminates guesswork, accounts for variations in flour density, and guarantees that you’re using the exact amount of flour specified in your recipe. This unwavering precision is paramount for achieving the perfect texture, structure, and flavor in all your baked creations.
- Guaranteed Consistent Results: The most significant advantage of weighing flour is the absolute consistency it brings to your baking. Every single time you bake, you can be confident that the amount of flour is identical, leading to predictable and perfect results. This is especially crucial for delicate and finicky recipes, such as my no-spread sugar cookies or light and fluffy vanilla cupcakes, where minute changes in flour can drastically alter the final texture and rise. Consistent results build confidence and make baking a truly rewarding experience.
- Eliminates All Guesswork: Say goodbye to the anxiety of wondering if you’ve packed too much flour into your cup or if your “leveling” was truly accurate. Weighing flour removes all ambiguity. When a recipe calls for 125 grams, you measure precisely 125 grams. This peace of mind allows you to follow recipes with unwavering confidence, knowing you’ve nailed the foundational ingredient measurement.
- Elevates Your Entire Baking Experience: As you embrace the practice of weighing flour and other dry ingredients, you’ll witness a remarkable transformation in the quality of your baked goods. Cakes will be consistently moist and tender, cookies will have the exact chewiness or crispness intended, and breads will boast perfect crumb structures. Your baking will become more reliable, professional, and ultimately, more delicious. It’s a simple change that yields profound improvements, boosting your skills and enjoyment.
- Streamlined Cleanup and Efficiency: Beyond accuracy, weighing offers practical benefits. Instead of dirtying multiple measuring cups and spoons for various dry ingredients, you can often measure several ingredients directly into your mixing bowl on the scale. Simply zero out the scale between additions. This significantly reduces the number of dishes you need to wash, saving you time and effort – a win-win for any busy baker!
- Universal Precision and Adaptability: Many international and professional recipes use weight measurements exclusively because they are universally understood and eliminate conversion errors. Adopting a kitchen scale allows you to effortlessly follow a wider range of recipes, regardless of their origin. It also simplifies scaling recipes up or down, as multiplying or dividing weights is far more accurate than adjusting volumes.
How to Effectively Use a Kitchen Scale for Baking
Using a kitchen scale is incredibly straightforward and quickly becomes an indispensable part of your baking routine. If you’re new to using one, these simple steps will guide you to flawless measurement:
- Place Your Container: Start by placing your empty mixing bowl or the container you intend to measure your ingredients into, directly onto the kitchen scale’s platform.
- Zero Out (Tare) the Scale: Most digital kitchen scales have a “TARE” or “ZERO” button. Press this button. The display will reset to 0. This crucial step subtracts the weight of your container, ensuring that only the weight of the ingredients you add subsequently will be measured.
- Add Your First Ingredient: Slowly add your flour (or any other ingredient) to the container until the scale displays the exact weight required by your recipe. For example, if your recipe calls for 125g of flour, add flour until the display reads 125g.
- Repeat for Subsequent Ingredients: For each new dry ingredient (like sugar, cocoa powder, or baking soda), simply press the “TARE” button again to reset the scale to zero. Then, add the next ingredient directly into the same bowl, measuring its specific weight. This continuous taring process is what makes weighing so efficient and reduces cleanup.
- Tips for Success: Always place your scale on a flat, stable surface. Ensure the display is clear and easy to read. Keep your scale clean, wiping it down after each use to prevent residue buildup, which can affect accuracy over time. Invest in a good quality digital scale for the best results and longevity.
By mastering the “spoon and level” method for volume measurements, or better yet, by embracing the unparalleled accuracy of a digital kitchen scale for weighing flour and other dry ingredients, you elevate your baking from guesswork to a precise science. This fundamental shift will ensure you never again contend with a dry, dense cake, or a batch of crumbly, disappointing cookies.
Embrace precision, enjoy consistent perfection, and transform your kitchen into a haven of culinary success.
Happy Baking!
