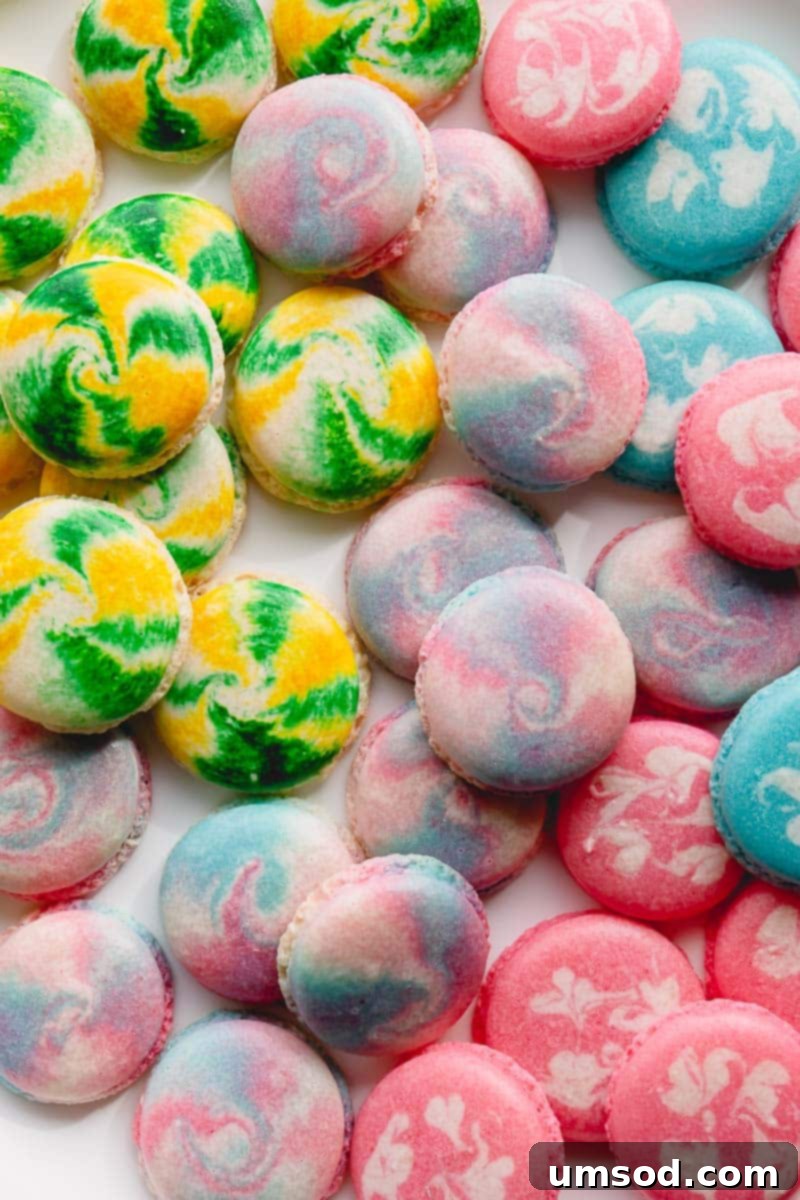
Transform your homemade macarons from simple to spectacular with these three incredibly easy methods for creating stunning marbled designs. Elevate your baking artistry and impress everyone with beautifully patterned macaron shells that taste as amazing as they look.
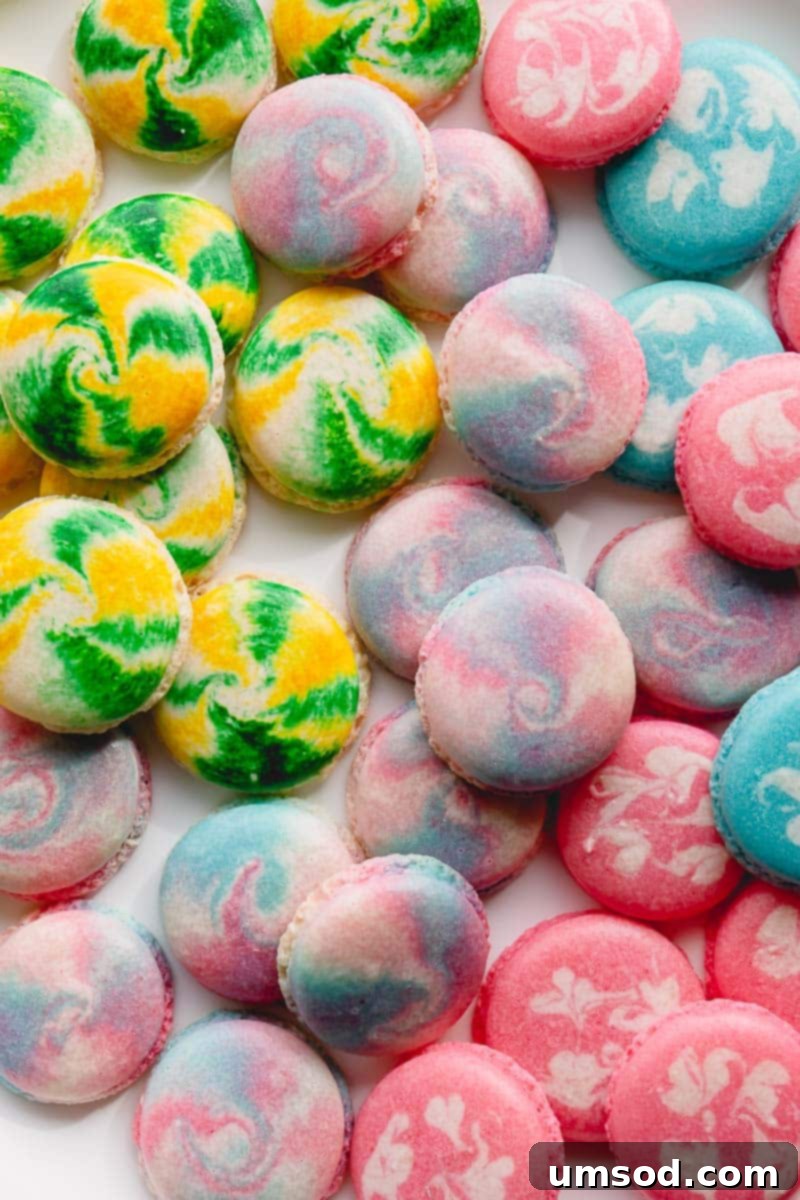
Loved this tutorial? Pin it for later reference!
Pin It Now
Once you’ve confidently mastered the delicate art of baking basic French macarons – achieving those coveted ‘feet’ and perfectly smooth shells – you might find yourself yearning for a new challenge. Moving beyond plain, single-colored shells opens up a world of creative possibilities, and marbled macarons are the perfect next step for adding a touch of elegance and visual interest without needing elaborate artistic skills.
While some bakers specialize in intricate character macarons (a truly amazing talent that we leave to the dedicated artists!), my personal passion lies in transforming simple shells into something truly special through the beauty of marbling. It’s a sophisticated technique that’s surprisingly easy to execute and always yields stunning results, making your confections stand out for any occasion.
Why Marbled Macarons Are a Game-Changer
Marbled macarons aren’t just pretty; they bring a level of sophistication and artistry to your baking that is simply unmatched by plain shells. Imagine presenting a box of these beautifully swirled treats at a special gathering, or as a thoughtful homemade gift. The intricate patterns, unique to each macaron, make them feel incredibly bespoke and luxurious. They’re perfect for weddings, baby showers, birthdays, or simply elevating an ordinary afternoon tea into an extraordinary experience.
Beyond their visual appeal, the process of creating marbled macarons is incredibly rewarding. It allows you to experiment with color combinations, texture, and design, truly making each batch your own. Each of the three methods we’ll explore offers a distinct aesthetic, ensuring you can find a technique that best suits your style and the occasion.
Discover 3 Simple Methods for Marbled Macaron Shells:
Yes, you don’t just marble macarons one way! There are several techniques, each producing a distinct and charming effect. From subtle swirls to bold color mixes, these methods are designed to be accessible for the home baker looking to add a professional touch to their macaron recipe.
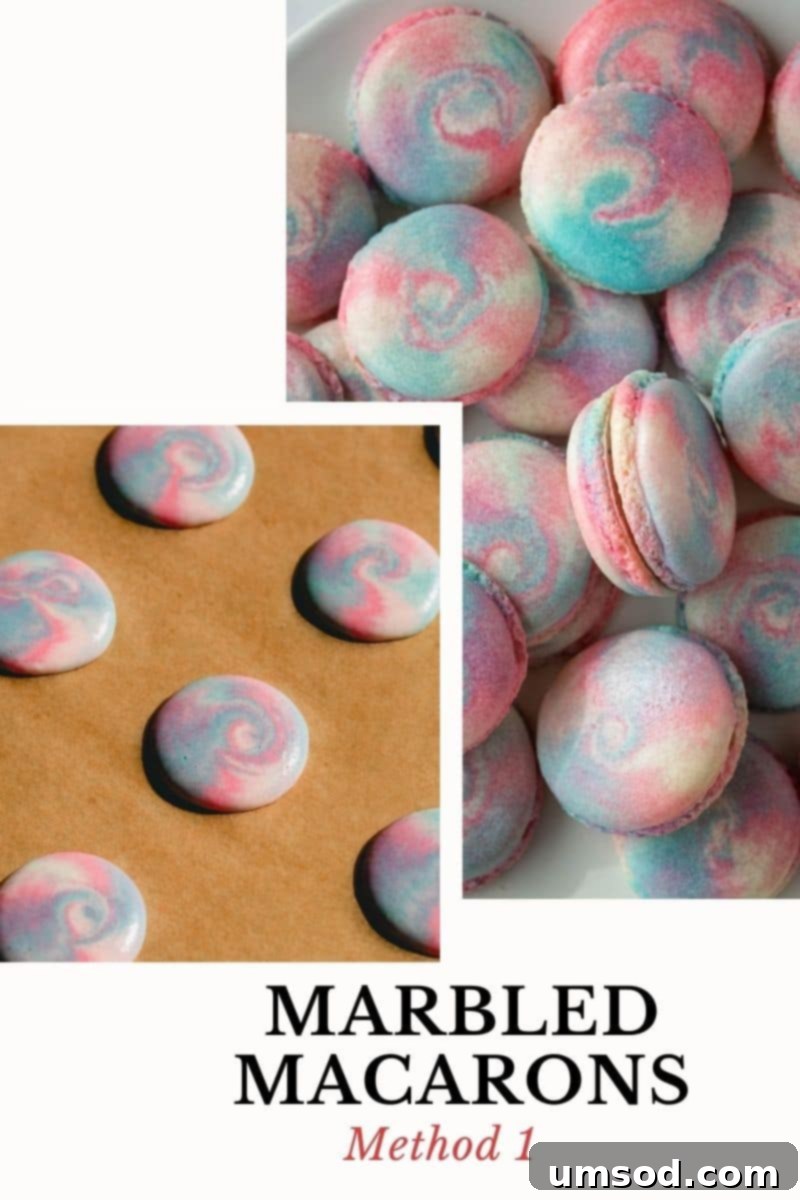
Method 1: The True Marble Technique
Let’s call this the “True Marble” method, as it creates the most authentic, free-flowing marble patterns, reminiscent of natural stone. This technique involves blending multiple colored batters within the piping bag itself, resulting in beautifully organic and unpredictable designs. It’s fantastic for achieving elegant, watercolor-like effects.
For this method, you’ll need at least two, preferably three or more, different colored macaron batters. If you’re wondering how to expertly divide a single batch into multiple colors without overmixing, watch this helpful video on how to make 3 different colors out of a single macaron batch.
Step-by-Step for True Marble:
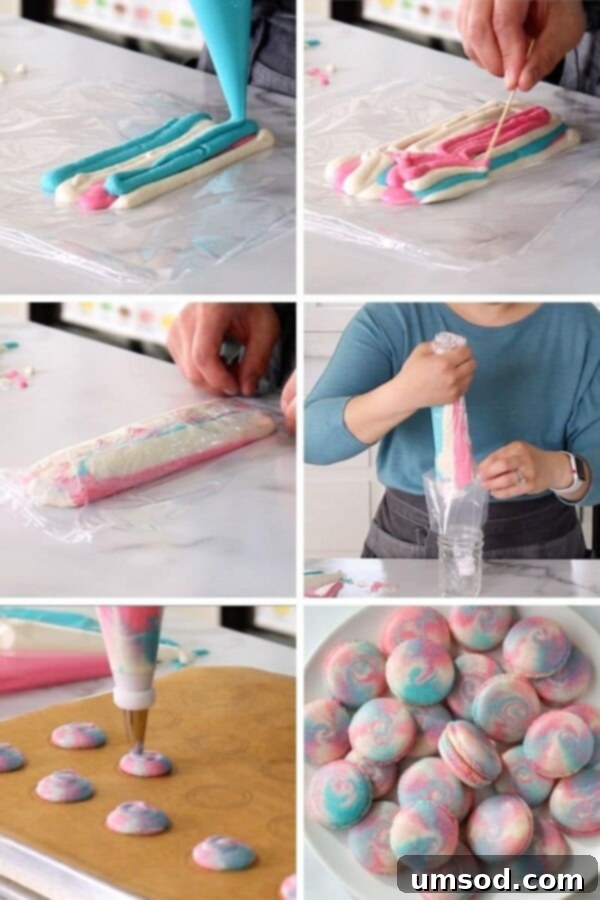
- Prepare Your Surface: Lay a clean piece of plastic wrap or baking parchment paper on your counter. This provides a non-stick surface to work with your batters.
- Arrange Your Colors: Carefully pour each of your colored macaron batters onto the plastic sheet. You can create stripes, dollops, or abstract patterns – the arrangement here will influence the final marble design. Don’t worry about perfection; randomness often yields the best results.
- Form the Log: Gently lift the edges of the plastic sheet and carefully roll or wrap it into a loose tube, encasing the different colored batters. The goal is to bring the colors together without thoroughly mixing them.
- Transfer to Piping Bag: Snip one end of the plastic wrap tube and carefully insert it into a piping bag fitted with your desired round piping tip (typically a Wilton 1A or similar). Position it so the batter is ready to be piped.
- Pipe Your Shells: Now, pipe your macaron shells onto your prepared baking sheets (lined with parchment or silicone mats) as you normally would. As you pipe, the mixed batters will swirl together, creating unique and stunning marbled patterns on each shell.
Tips for True Marble Success:
Ensure your batters are all of the correct macaronage consistency – if one is too thick or too thin, it won’t marble well. Avoid over-squeezing the plastic wrap tube, as this can overmix the colors before piping. Play with complementary or contrasting colors for different visual impacts.
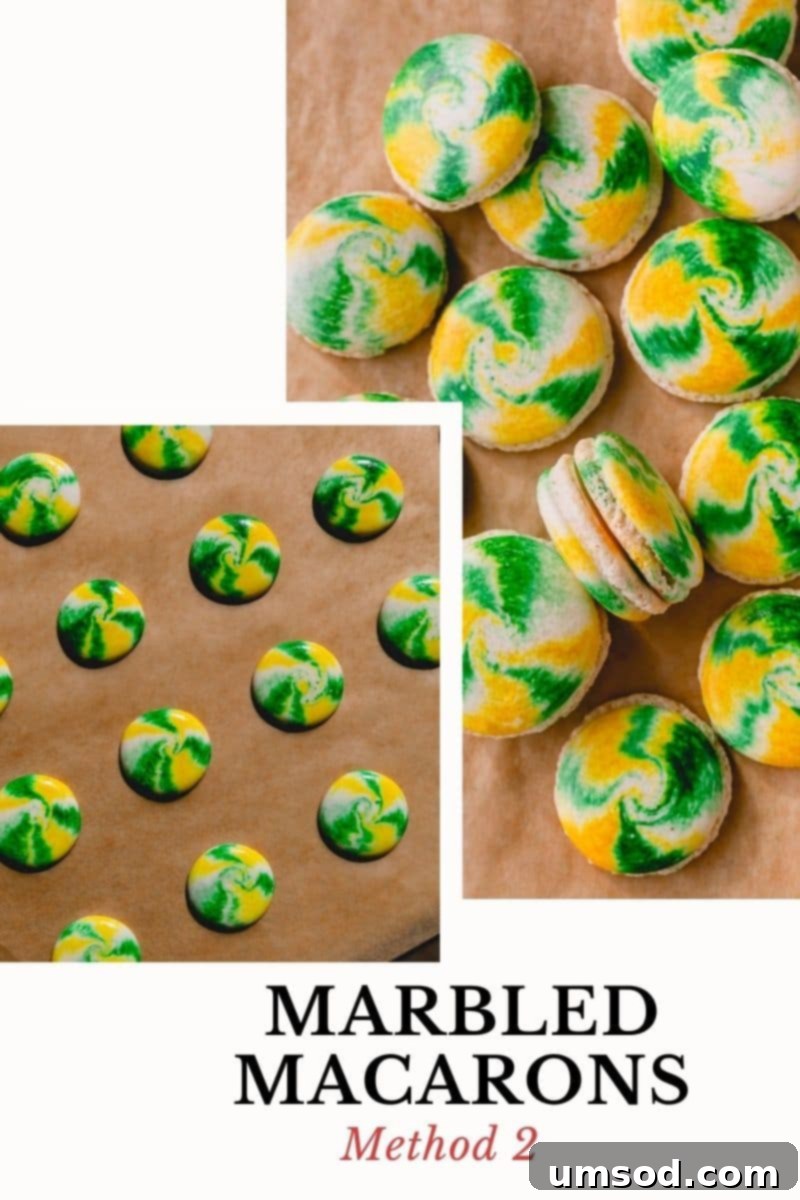
Method 2: The Tie-Dye Stripe
This method, which I affectionately call “Tie-Dye,” is arguably the simplest and fastest way to achieve striking marbled macarons. It requires minimal fuss and only one base color of macaron batter, making it perfect for beginners or when you’re short on time but still want a dramatic effect. The result is typically a series of bold, colorful stripes or streaks on your macaron shells, much like a tie-dye pattern.
You’ll need one batch of macaron batter (any color you desire, even plain white) and your choice of concentrated gel food colorings. Gel colors are crucial here as they are highly pigmented and won’t thin your batter.
Step-by-Step for Tie-Dye Stripes:
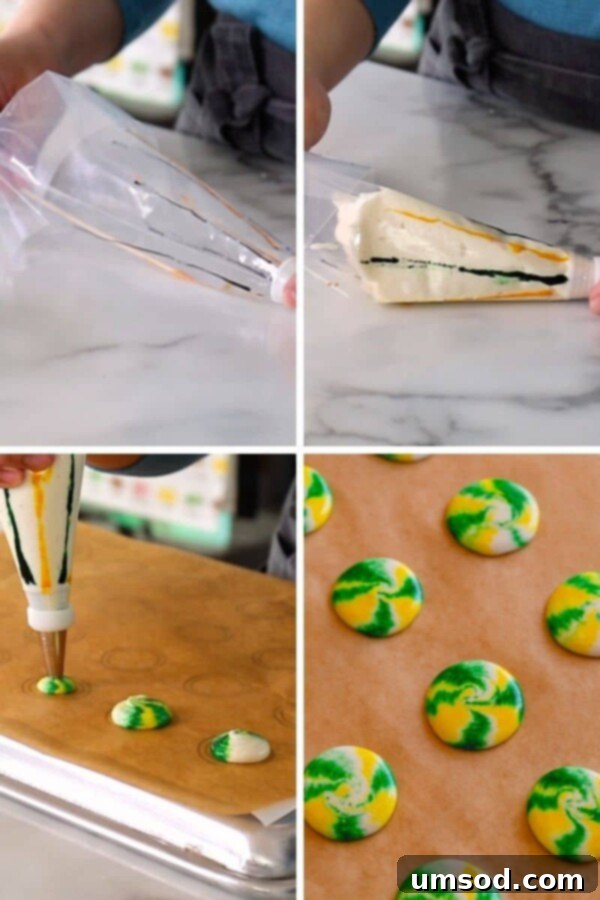
- Prepare the Piping Bag: Take your piping bag, already fitted with a round piping tip (like a Wilton 1A). Using a long wooden skewer, a thin paint brush, or even a toothpick, dip it into your chosen gel food coloring.
- Draw Inside the Bag: Carefully draw one or more lines of gel food coloring along the inside walls of the piping bag, from the tip upwards. You can create vertical stripes, zig-zags, or even dots – experiment with different patterns. Use multiple colors for a more vibrant tie-dye effect.
- Add Batter and Pipe: Now, gently fill the prepared piping bag with your macaron batter. Be careful not to disturb the colored lines too much. As you pipe out the macaron shells onto your baking mat, the batter will pick up the gel coloring from the sides of the bag, creating beautiful, distinct stripes and swirls on your shells.
Tips for Tie-Dye Stripe Perfection:
Use highly concentrated gel food colors for the best color transfer and vibrancy. Avoid using liquid food coloring, as it can thin your batter. Don’t overload the piping bag with color on the inside, as too much gel can affect the texture of the macaron shell. The first few shells might have less color; the pattern will become more pronounced as you continue piping.
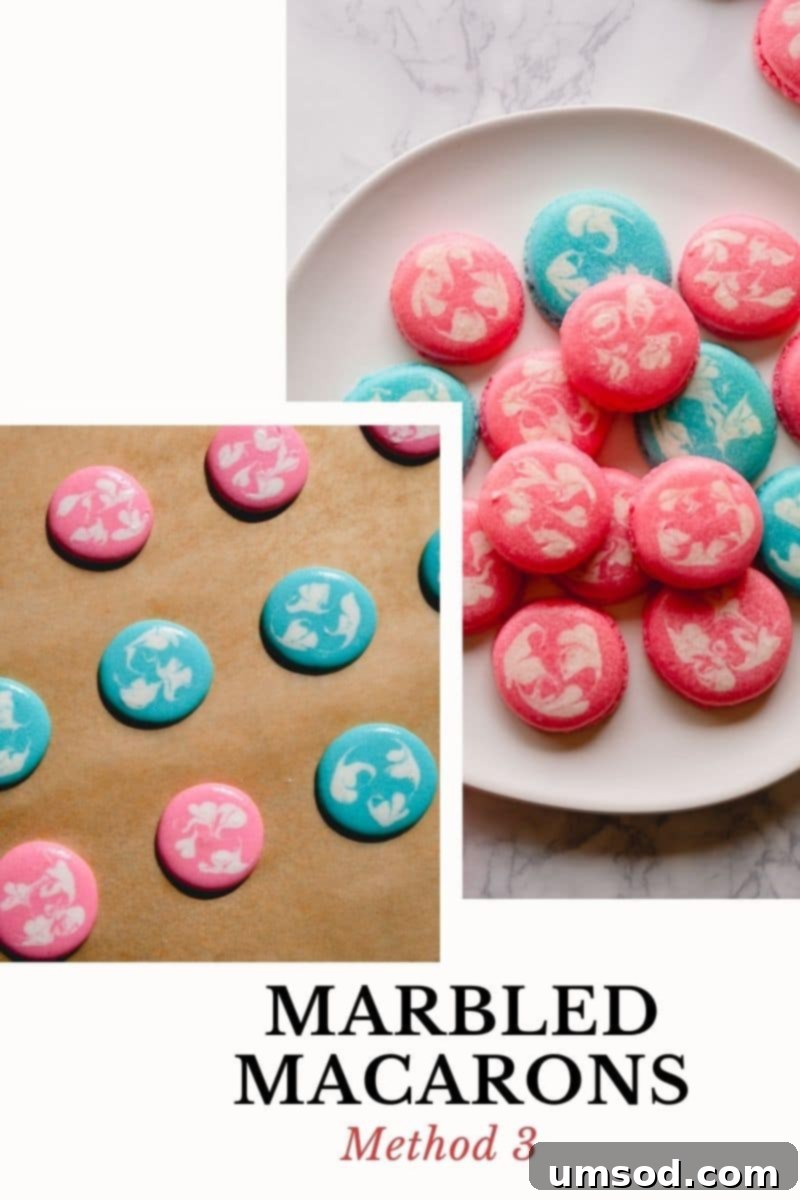
Method 3: The Elegant Swirl Design
This is undeniably my favorite method, and for good reason: it consistently creates such chic-looking macarons. The Swirl Design technique allows for more controlled marbling, resulting in sophisticated, delicate patterns that are incredibly visually appealing. It’s perfect when you want a refined look that still highlights the beautiful contrast of colors.
For this method, you’ll need at least two different colored macaron batters – one as your base, and another for the contrasting swirl. This technique offers a delightful blend of control and artistic freedom.
Step-by-Step for Swirl Design:
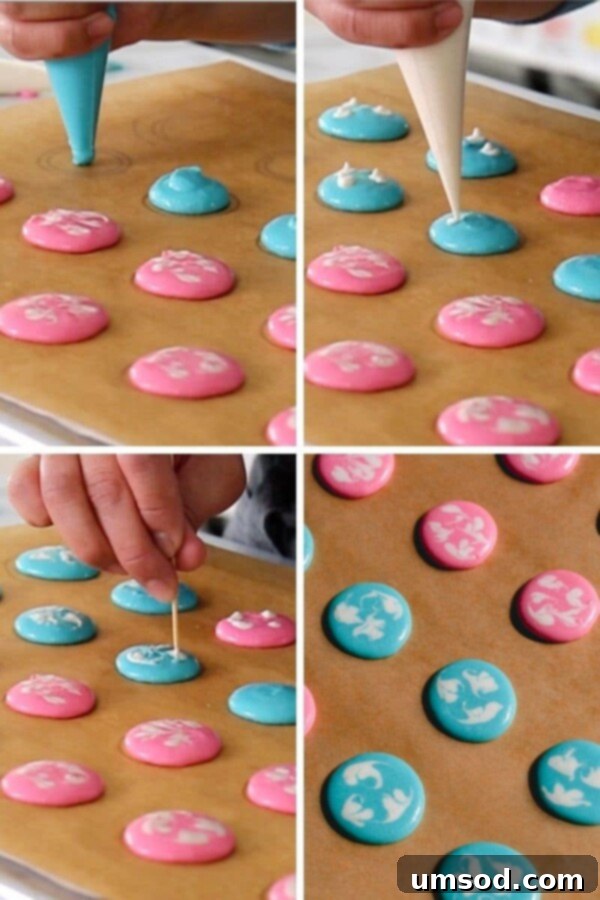
- Pipe Base Shells: Begin by piping your regular macaron shells onto your prepared baking sheets using your primary colored batter. Ensure they are uniform in size and shape, as this will be the canvas for your swirl.
- Add Contrasting Dots: Using a piping bag filled with your second color batter (or a small spoon/toothpick if the amount is minimal), pipe 4-5 small dots directly on top of each freshly piped base macaron shell. Arrange these dots evenly around the center or in a small cluster, depending on the desired swirl effect.
- Create the Swirl: Take a clean toothpick or a very fine skewer. Gently drag the tip through the dots and into the base color, creating elegant swirls and patterns. You can drag from the edge towards the center, or create figure-eights – experiment until you achieve your desired marbled look. Be careful not to pierce through to the baking mat; keep the swirling action on the surface of the batter.
Tips for Swirl Design Excellence:
Work quickly after piping the dots, as the macaron batter starts to form a skin. The fresher the batter, the easier it is to swirl. Clean your toothpick between each macaron to avoid transferring too much color and muddying the design. For a subtle effect, use fewer dots; for a more dramatic swirl, use slightly larger dots. This method is fantastic for creating gradients or intricate feathery patterns.
Essential Tips for Flawless Marbled Macarons
Regardless of the marbling method you choose, a few fundamental macaron principles remain crucial for success:
- Perfect Macaronage: The consistency of your macaron batter (macaronage) is paramount. It should flow like lava off your spatula, creating a “ribbon” that slowly melts back into the batter. If it’s too stiff, your shells will be lumpy; if too runny, they’ll spread excessively.
- Quality Gel Food Coloring: Always opt for high-quality gel food coloring. Liquid food colorings can add too much moisture to your batter, compromising its texture and stability. Gel colors are concentrated and deliver vibrant hues without affecting consistency.
- Tap and Rest: After piping your marbled shells, firmly tap your baking sheets on the counter several times to release any trapped air bubbles. Then, allow the shells to rest (or ‘dry’) at room temperature until a skin forms. This prevents cracking and helps develop the iconic ‘feet’.
- Consistent Oven Temperature: Macarons are notoriously finicky about oven temperature. Ensure your oven is accurately calibrated. Baking too hot can cause browning or hollows, while too cool can prevent proper lift and feet development.
- Experiment with Color Palettes: Don’t be afraid to play with different color combinations! Contrasting colors create dramatic effects, while analogous colors offer subtle, sophisticated blends. Consider the flavor of your macarons when choosing colors to create a cohesive theme.
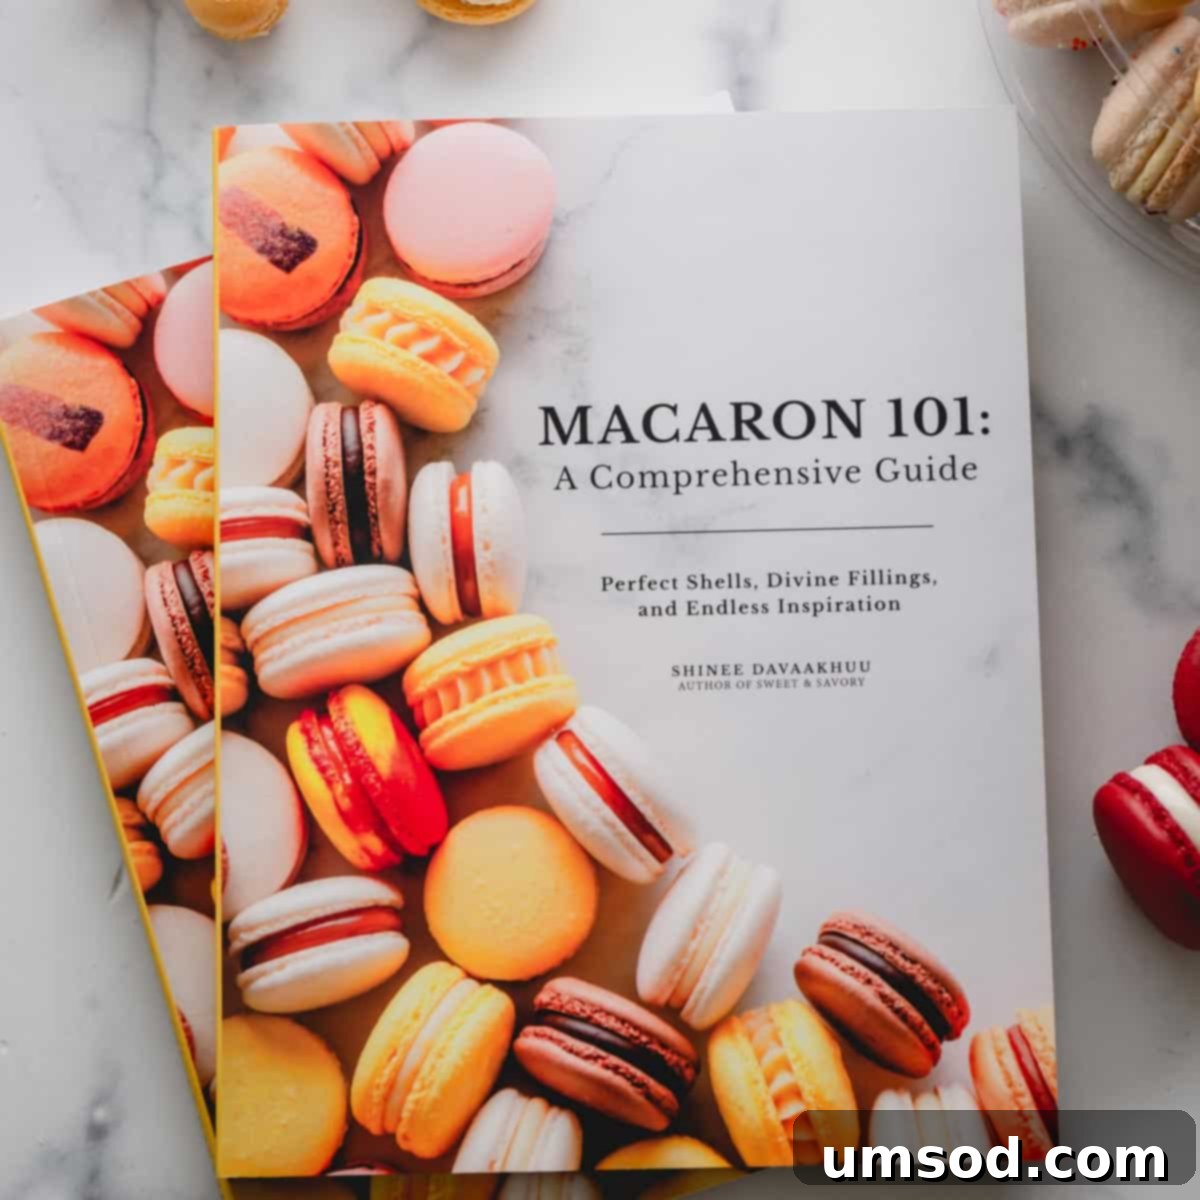
Master the Art of Macarons: Get the Comprehensive Guide!
Ready to dive deeper and perfect every aspect of macaron baking? My “Macaron 101: A Comprehensive Guide” cookbook is your ultimate resource for mastering this delicate dessert and creating your signature flavors, from basic techniques to advanced decorating!
Watch the Magic Unfold: Video Tutorial
Sometimes, seeing is believing! For a complete visual guide and to watch these marbling techniques in action, check out my detailed video tutorial. It’s the perfect companion to these written instructions, offering real-time demonstrations and tips for achieving perfect marbled macarons every time.
We truly hope this comprehensive marbled macarons tutorial has been incredibly helpful in inspiring your next baking adventure. Whether you’re aiming for a bold statement or a subtle elegance, these three methods provide accessible ways to elevate your macaron game and add an artistic flourish to your desserts.
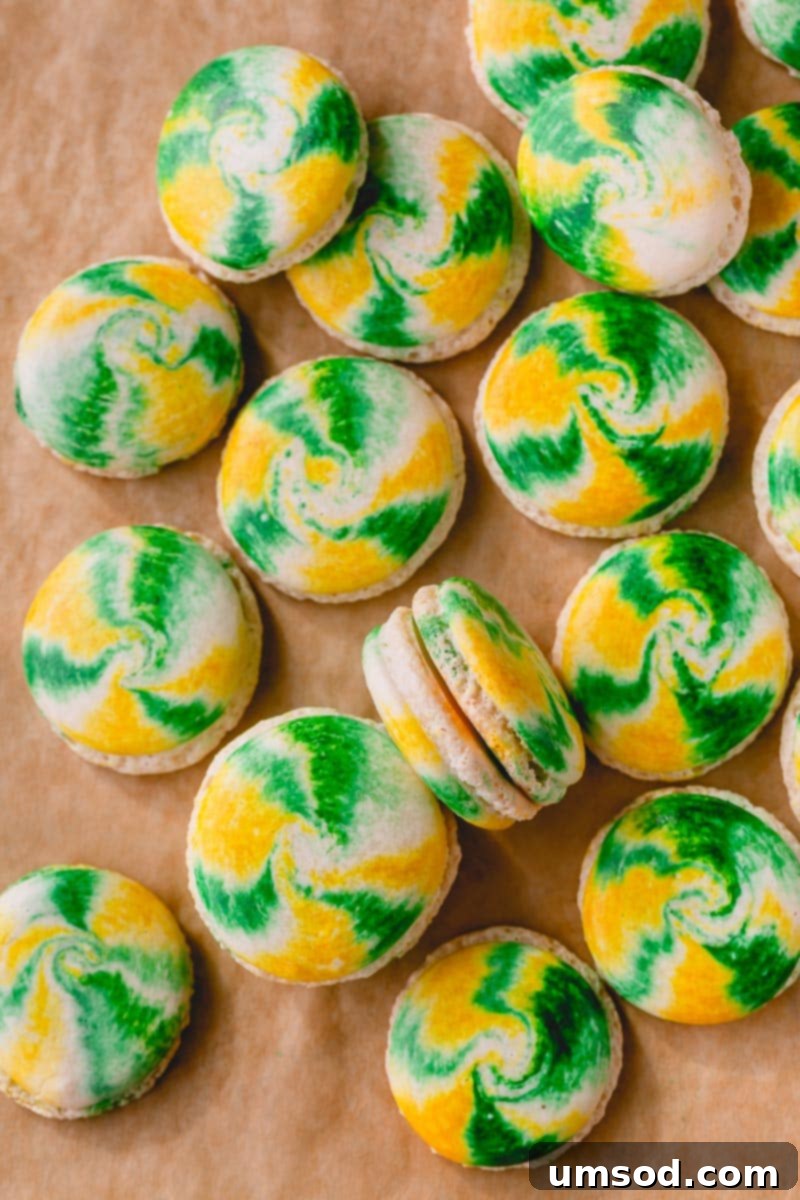
Now comes the fun part: which method will you try first? The dramatic True Marble, the playful Tie-Dye Stripe, or the sophisticated Swirl Design? Whichever you choose, get ready to create some truly show-stopping treats. Share your beautiful creations with us – we can’t wait to see your marbled macaron masterpieces! Happy baking!
